1936 Ford Five Window Coupe Street Rod Restoration 2020
January
New Engine Build
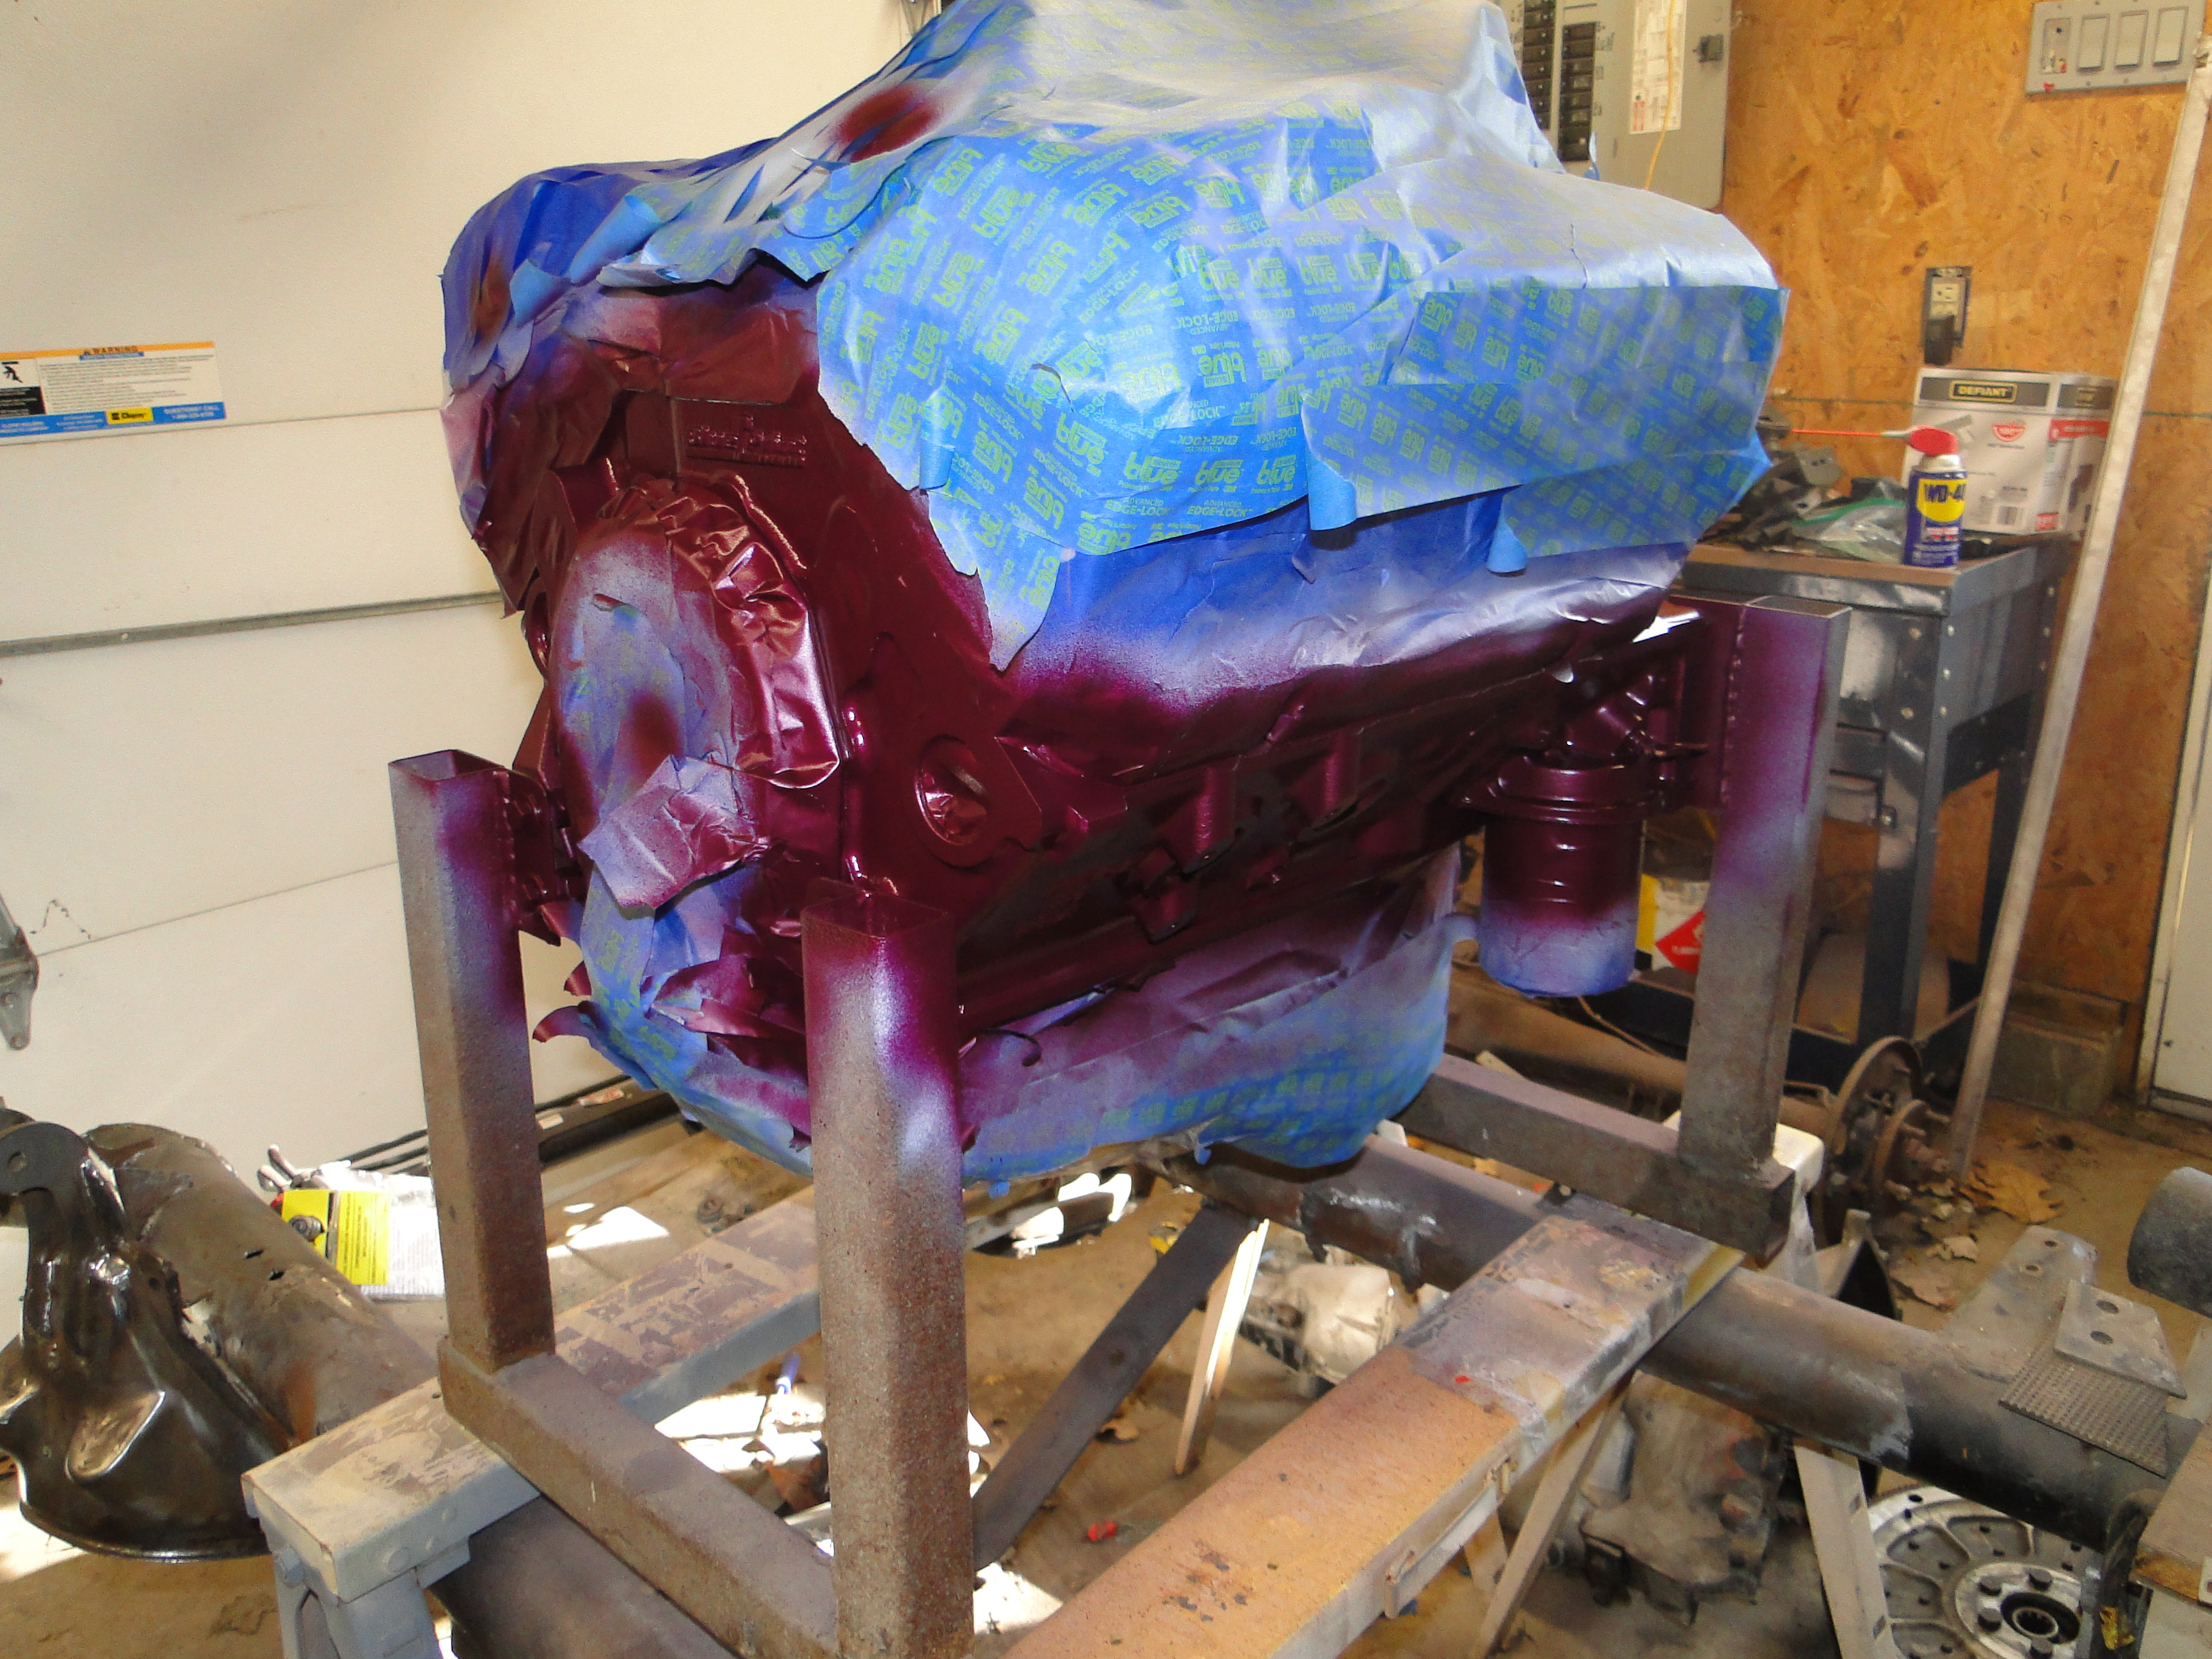
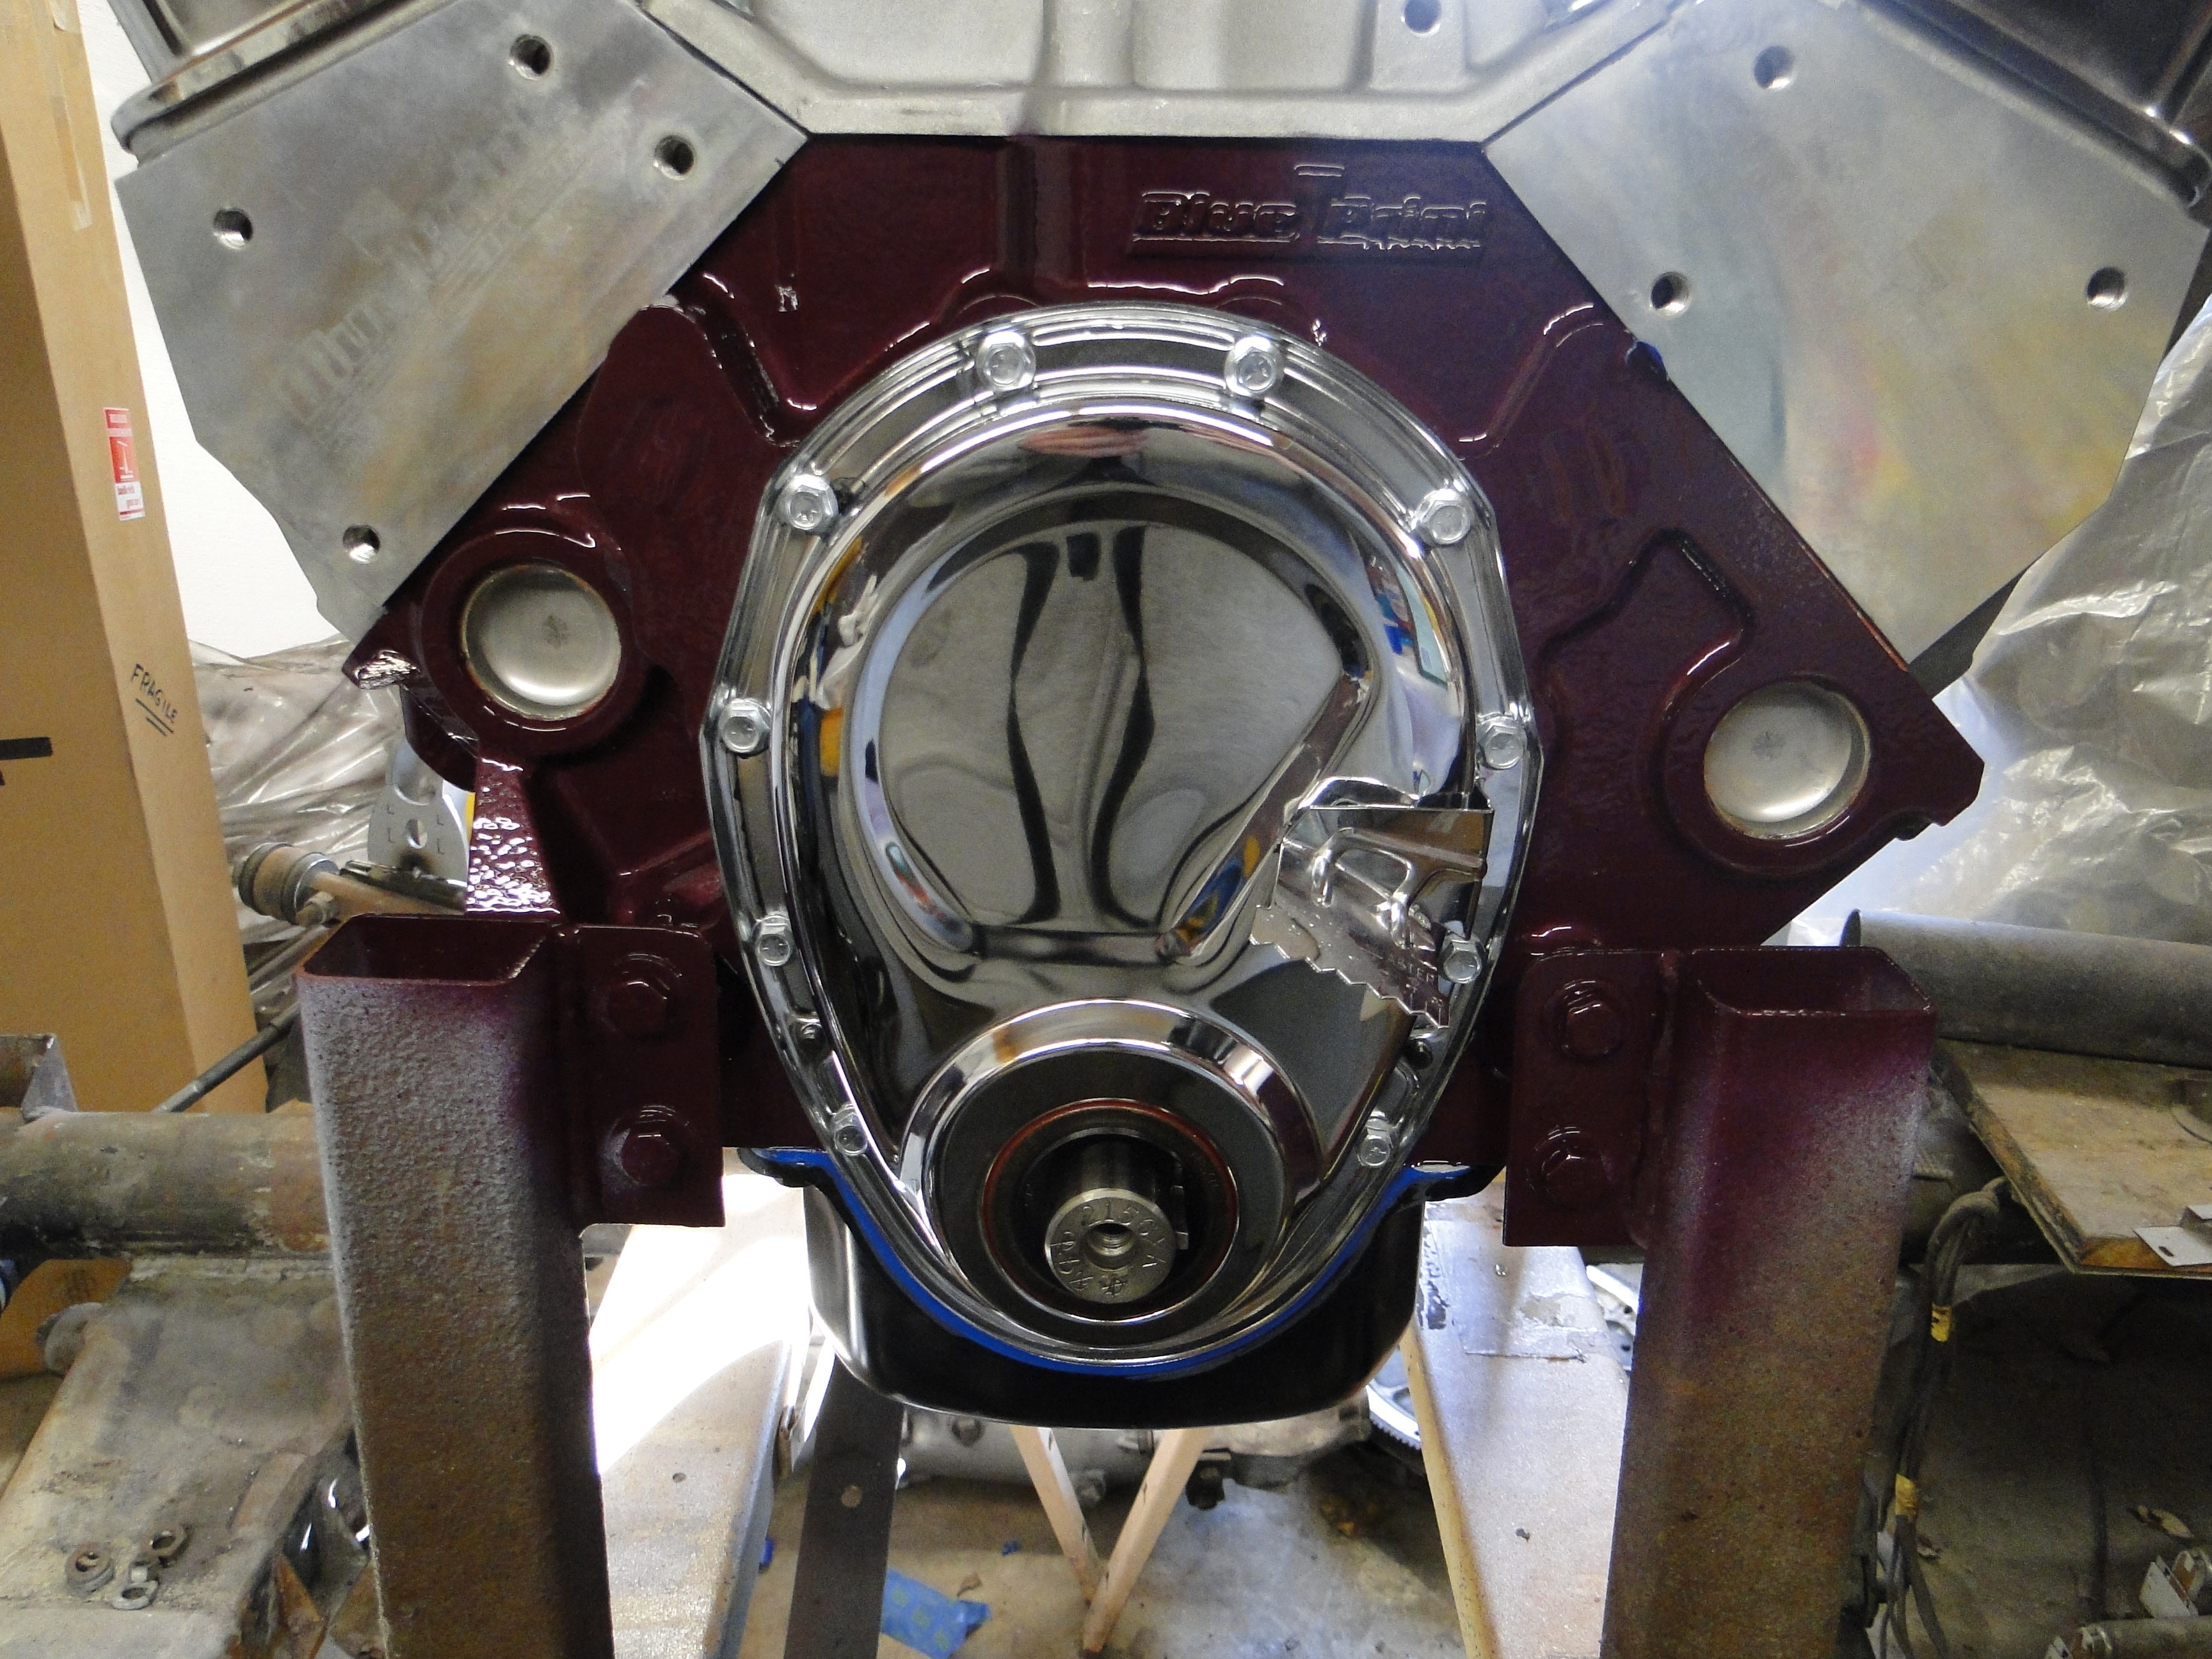
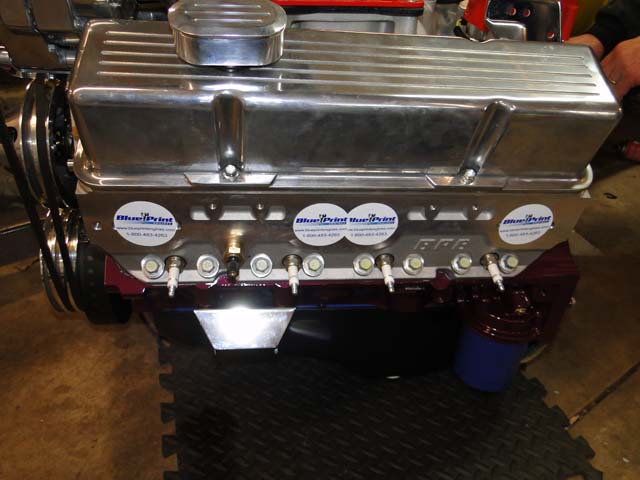
After the BPE short block engine was delivered and unpacked, I decided to paint the block the same as the body color of my car.
I started taping off the heads, soft plugs, oil pan, and then I applied the primer, color, and last but not least the clear coat.
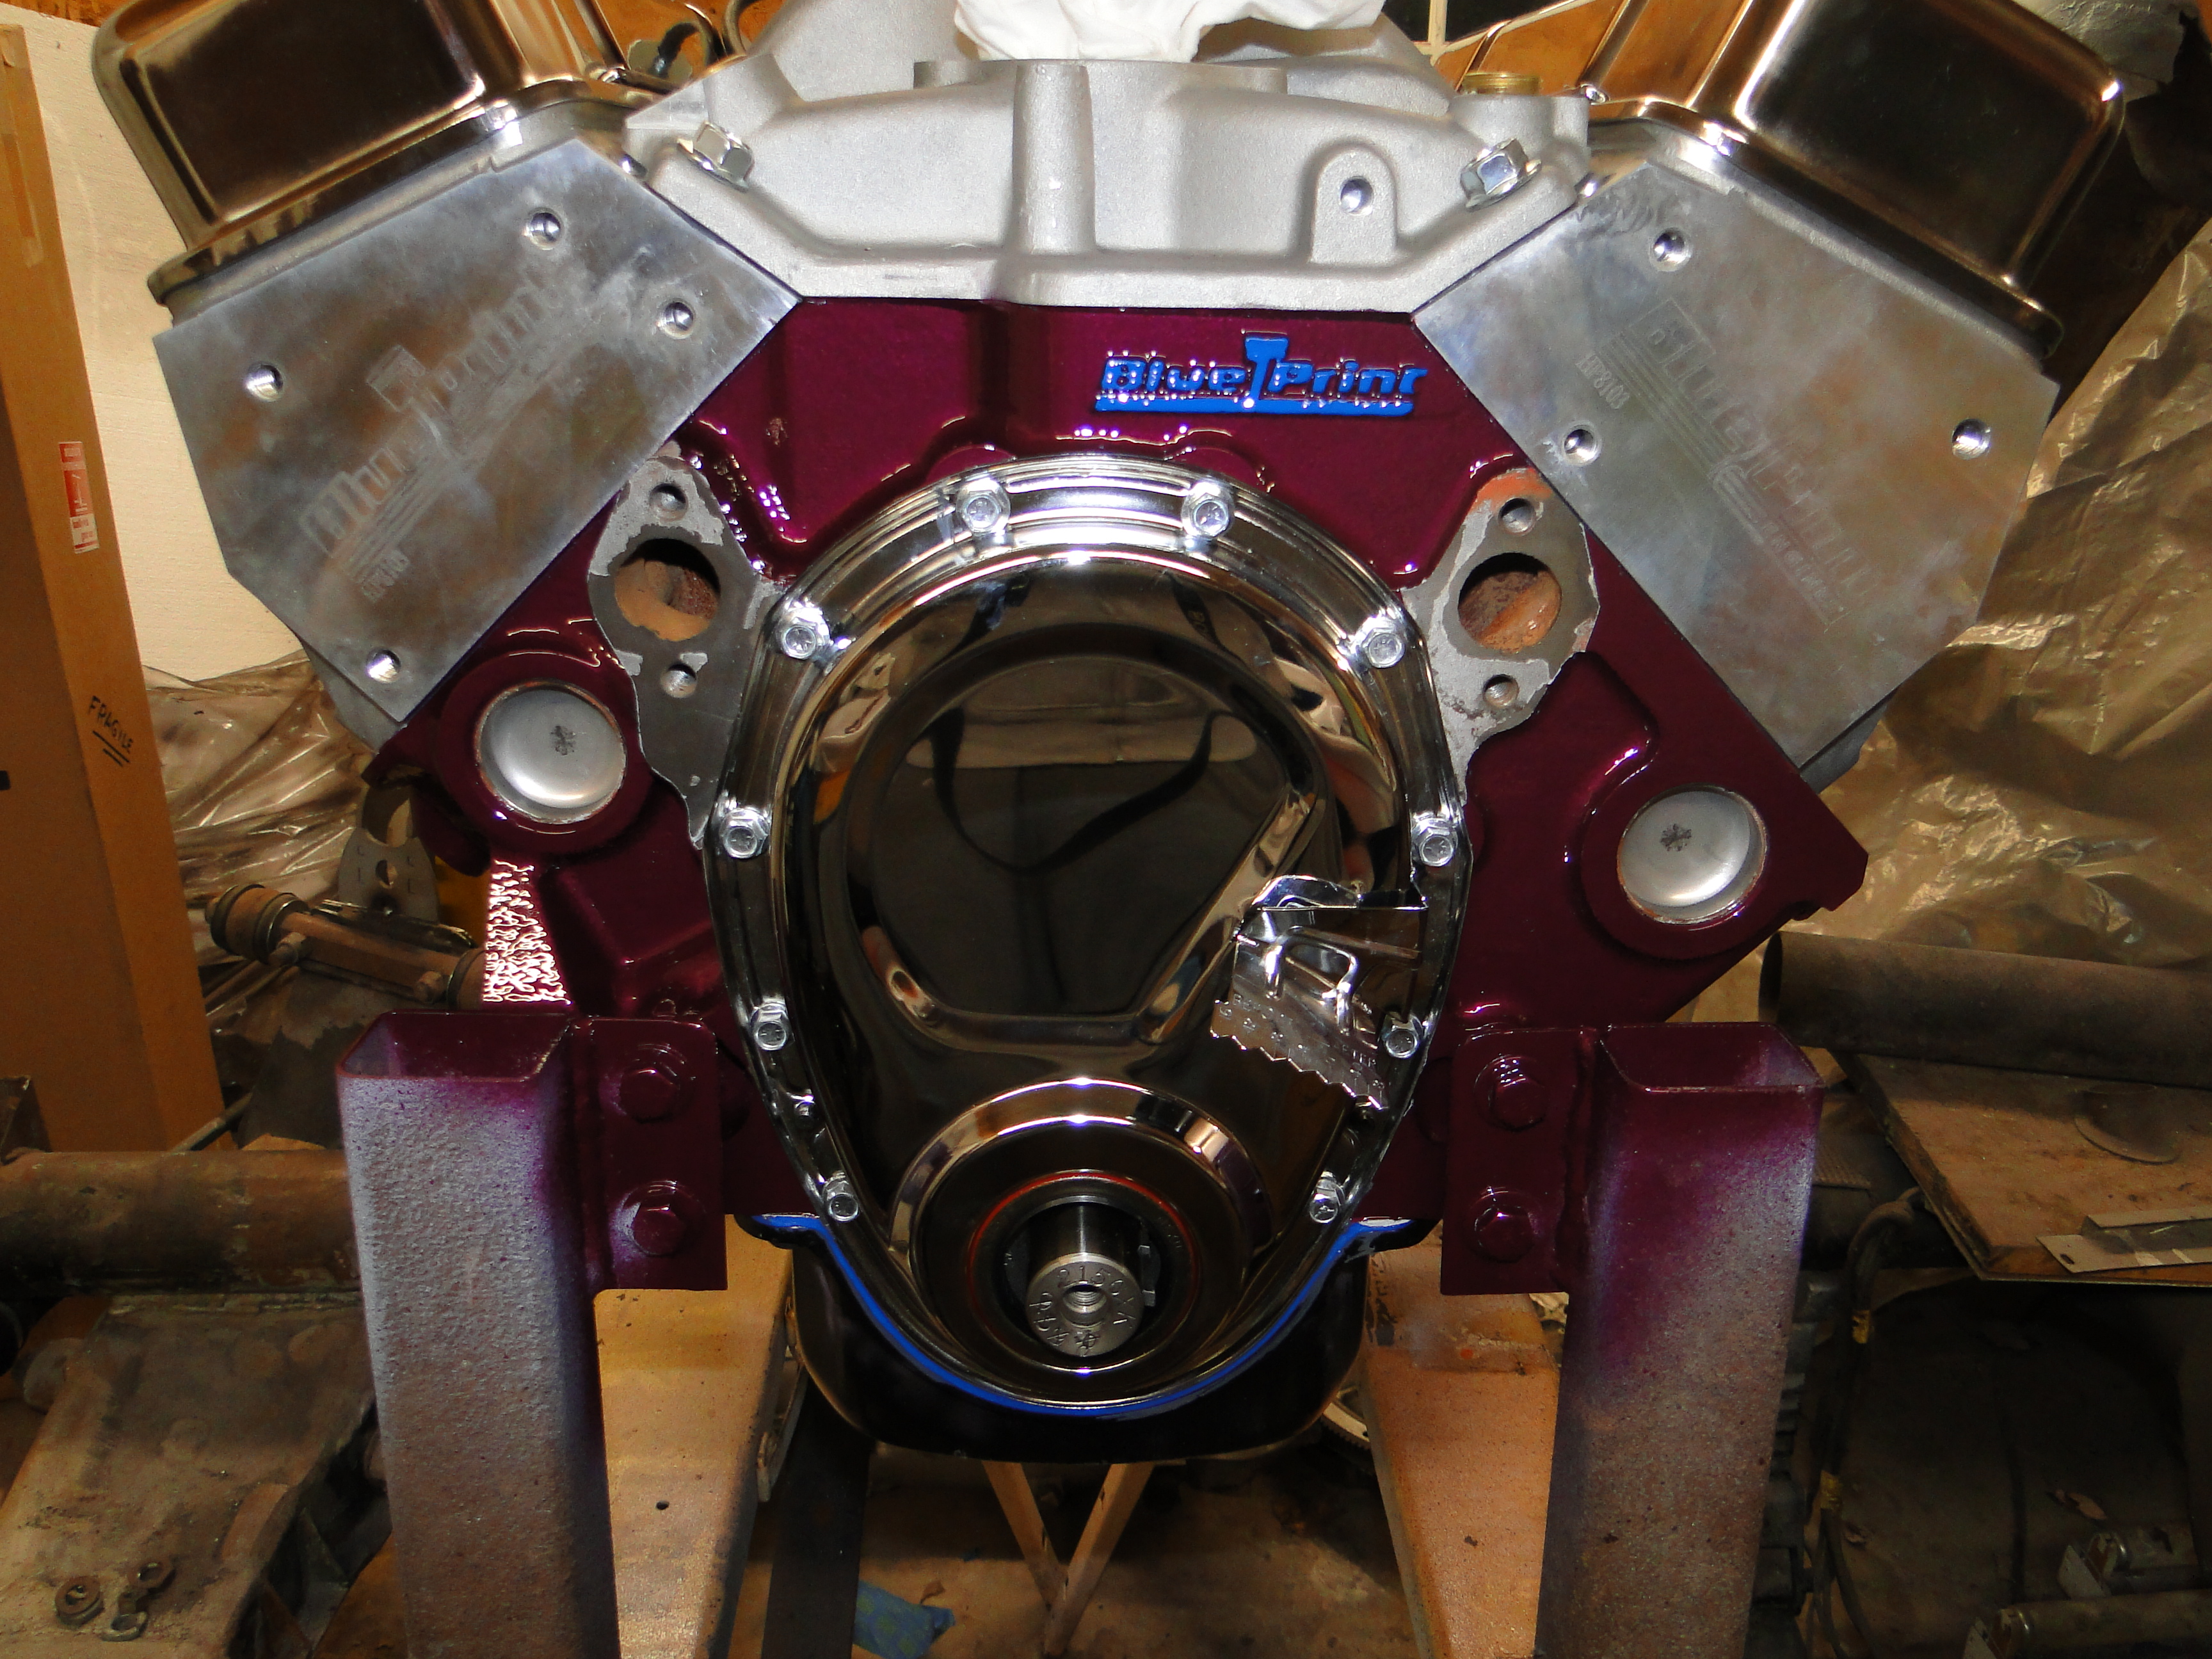
Then I thought I would get a little fancy and paint the BPE block logos in blue.
I also decided to painted the transmission black.
Click any picture to enlarge
Engine Assembly
Now that the painting is done, I can start the engine assembly.
In order to save some money, I planed on reusing the engine parts from my SBC 350 engine, after all most SBC 350 and 400 engine parts are compatible right?
This idea in theory sounds real good however in real life it did not work out so well.
The Alternator, Air conditioner mounting bracket,
Power steering pump, and Power steering belt adjustment arm all needed extra spacers made
and
chromed for a proper
fit.
Click any picture to enlarge
I went to use the flex plate from the old engine,
and realized the new engine requires the newer style flex plate, so that had to be replaced.
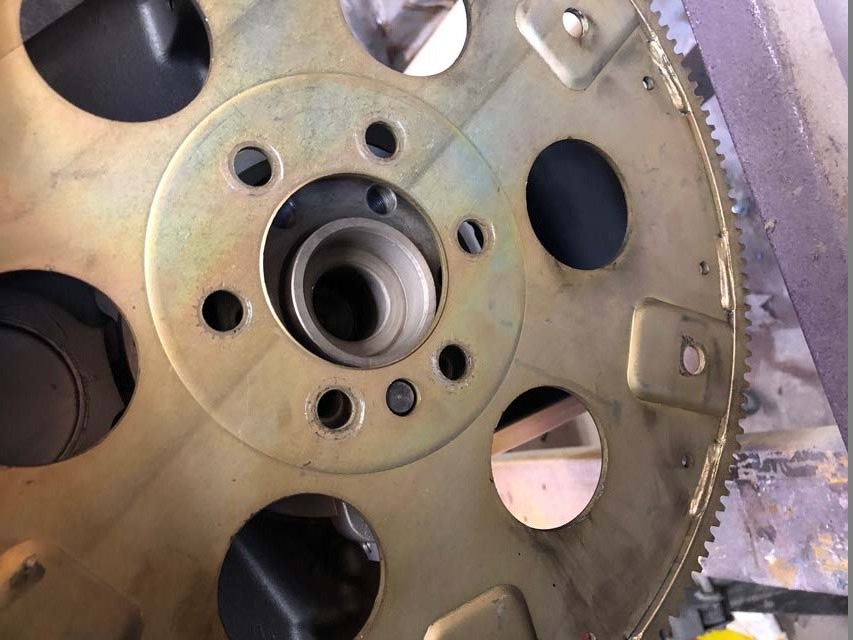
Click picture to enlarge
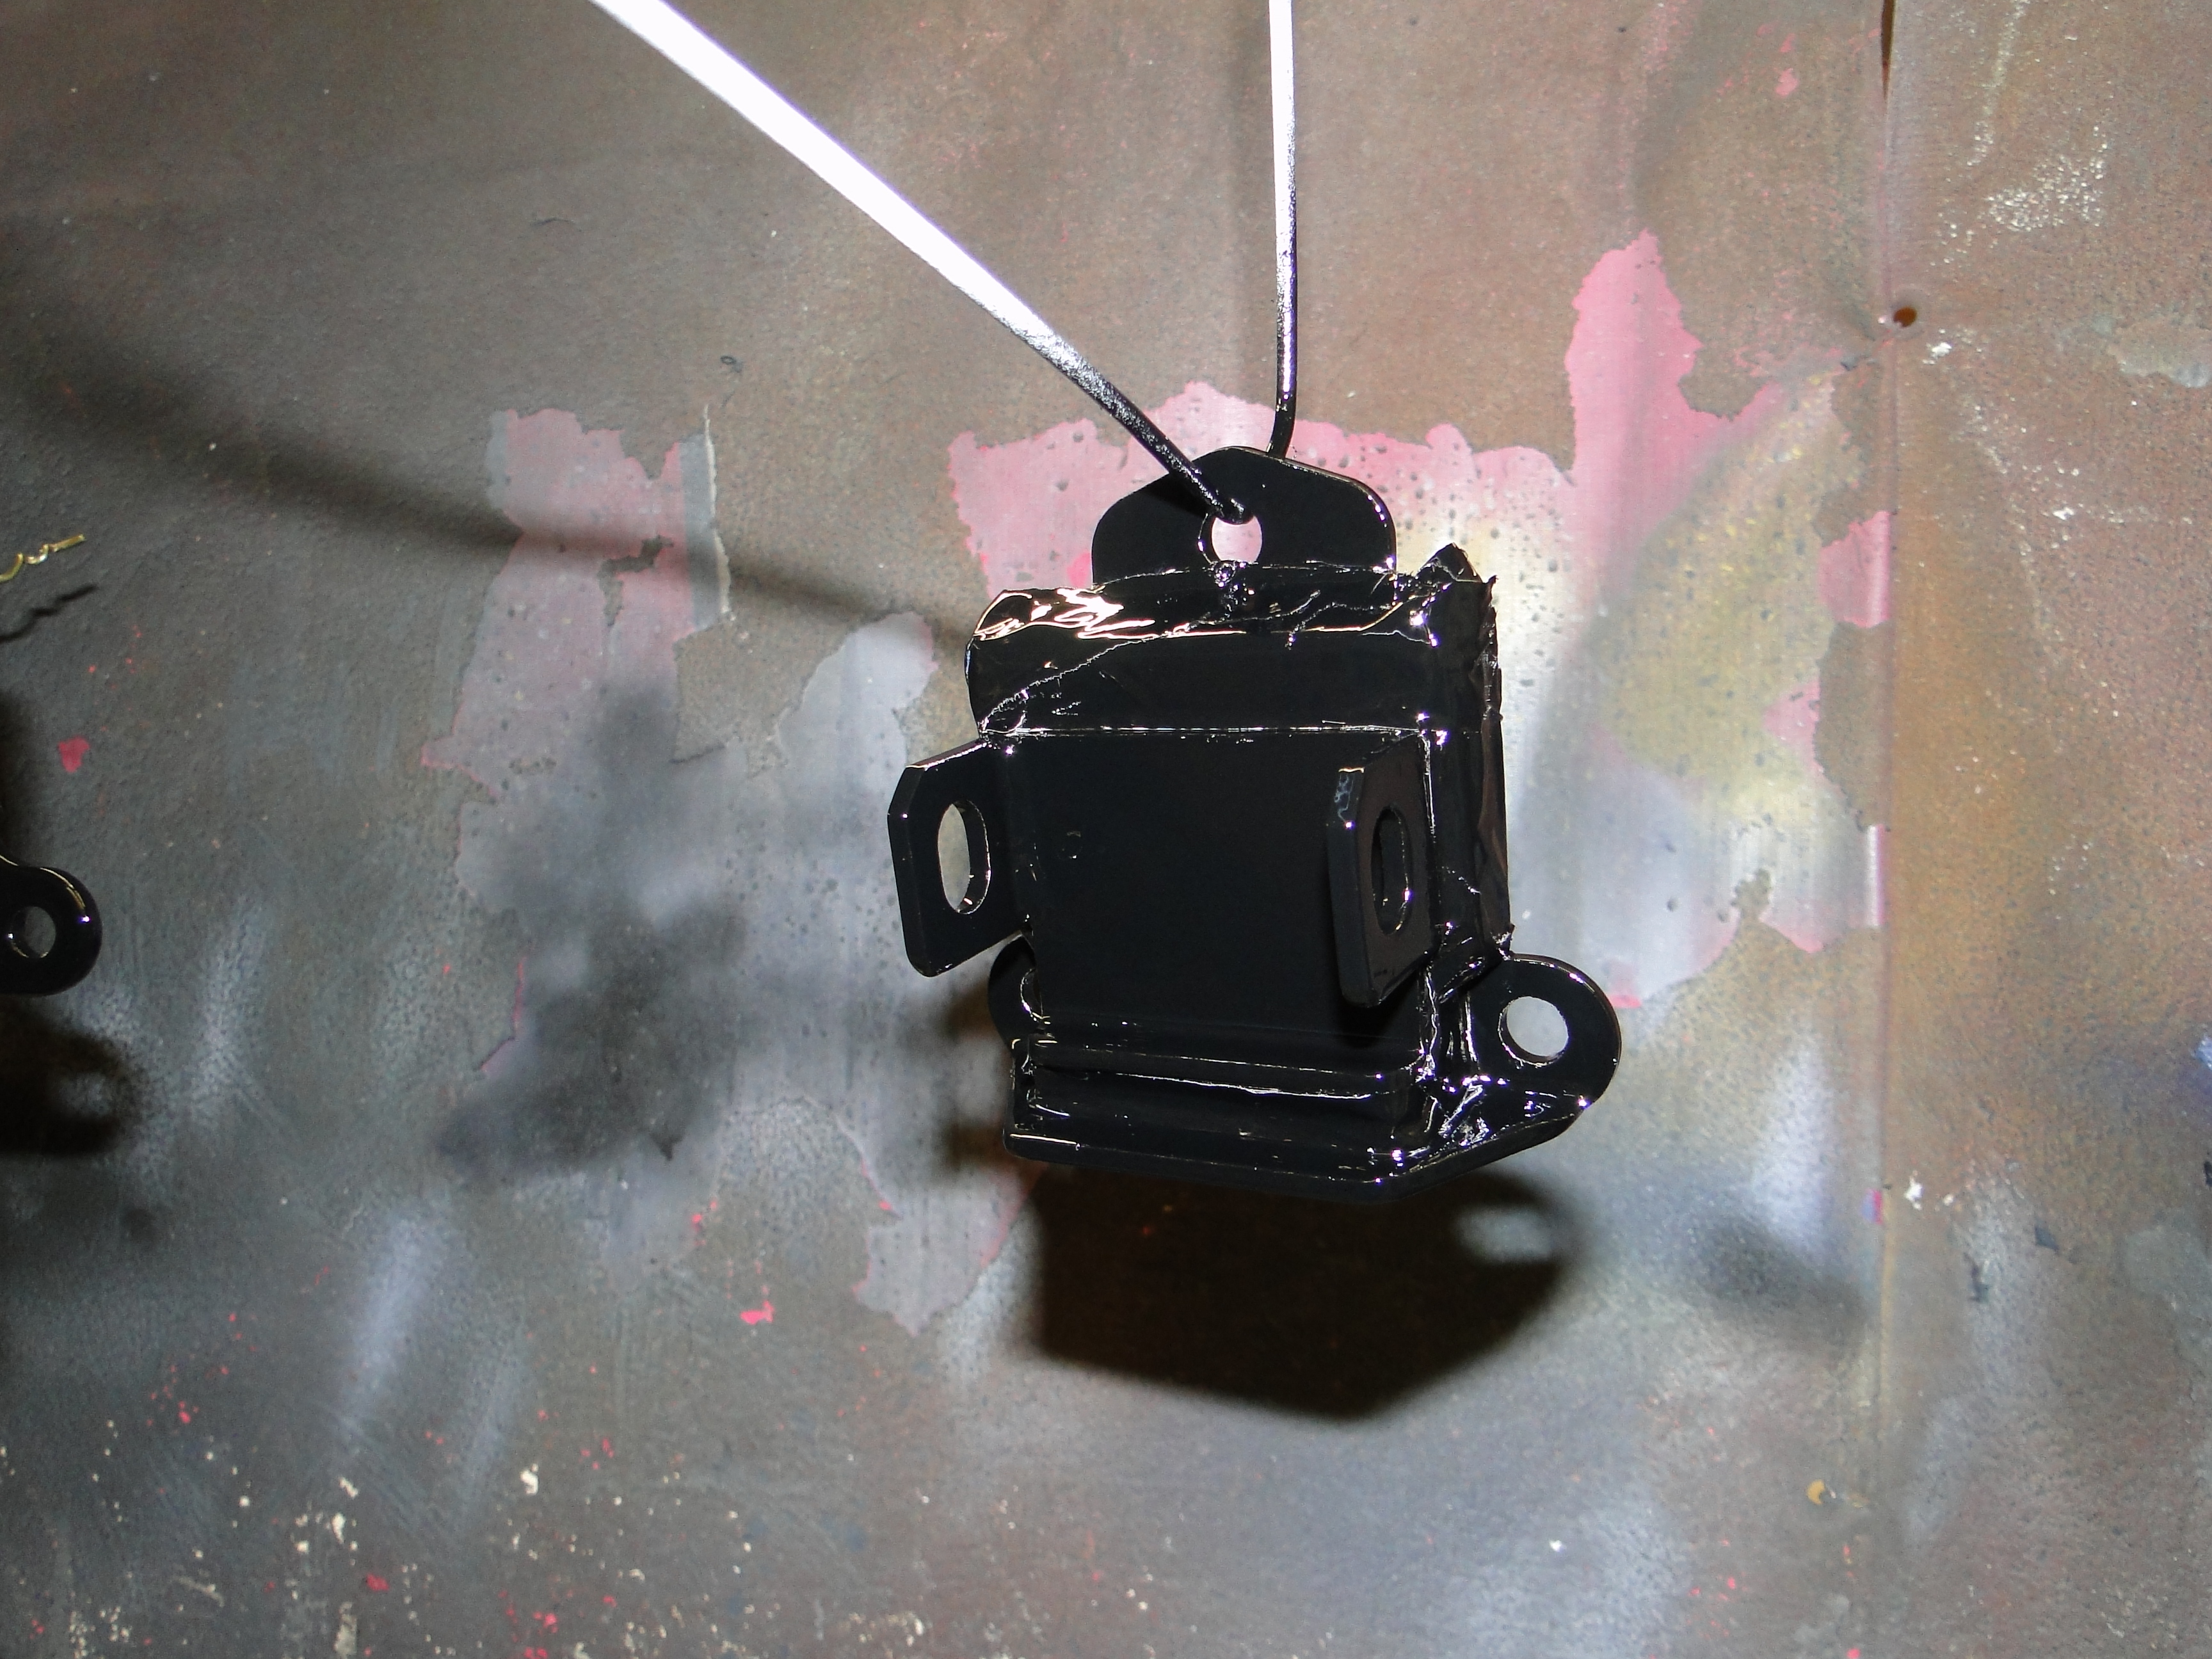
For no other reason other than age I
decided to replaced the engine rubber mounts.
I added a little black paint and a chrome cover to
the mix.

Click picture to enlarge
I test mounted my hooker headers and discovered
that the headers from the old engine were blocking the sparkplugs holes on the
new engine, great now we need to get a different set of headers.

Click picture to enlarge
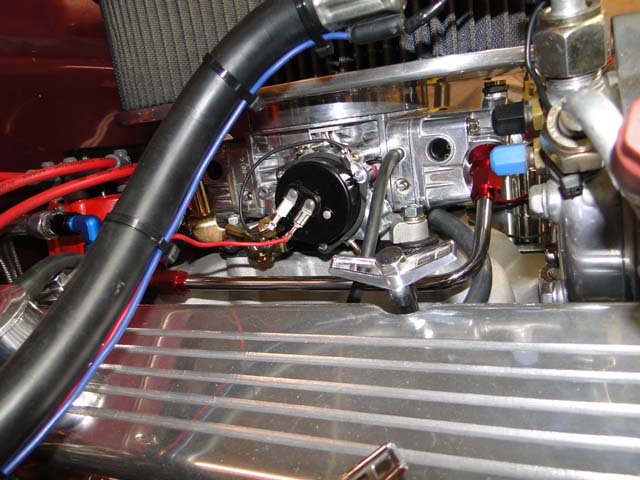
The BPE engine came with a manual choke "Really!" a
manual choke, that's not going to work.
I had to replace manual choke with an
electric choke.
Click picture to enlarge
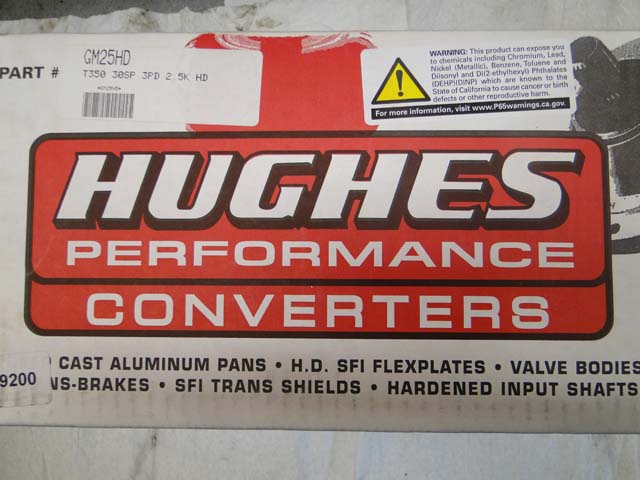
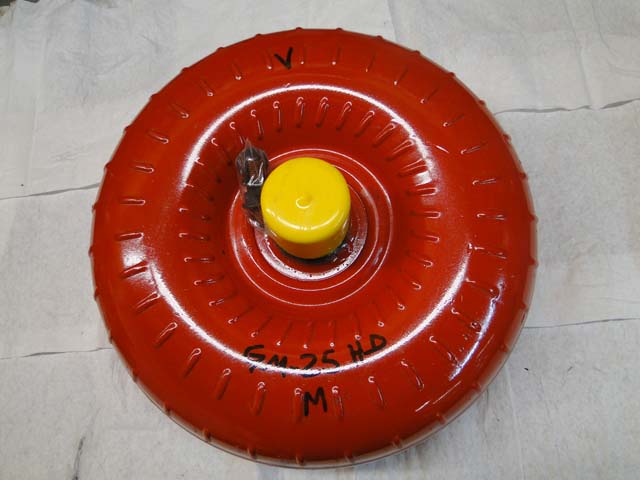
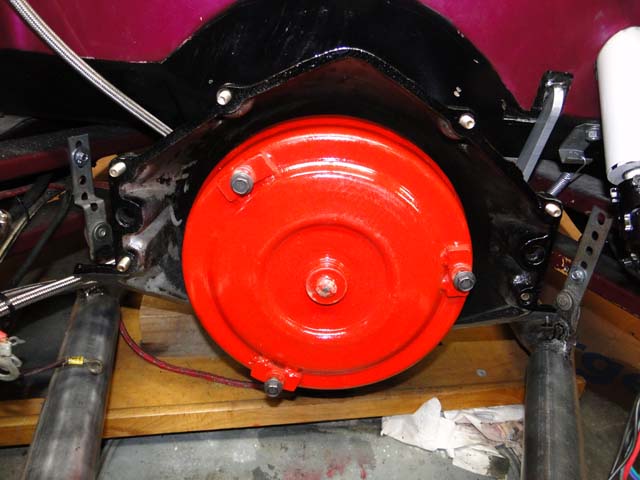
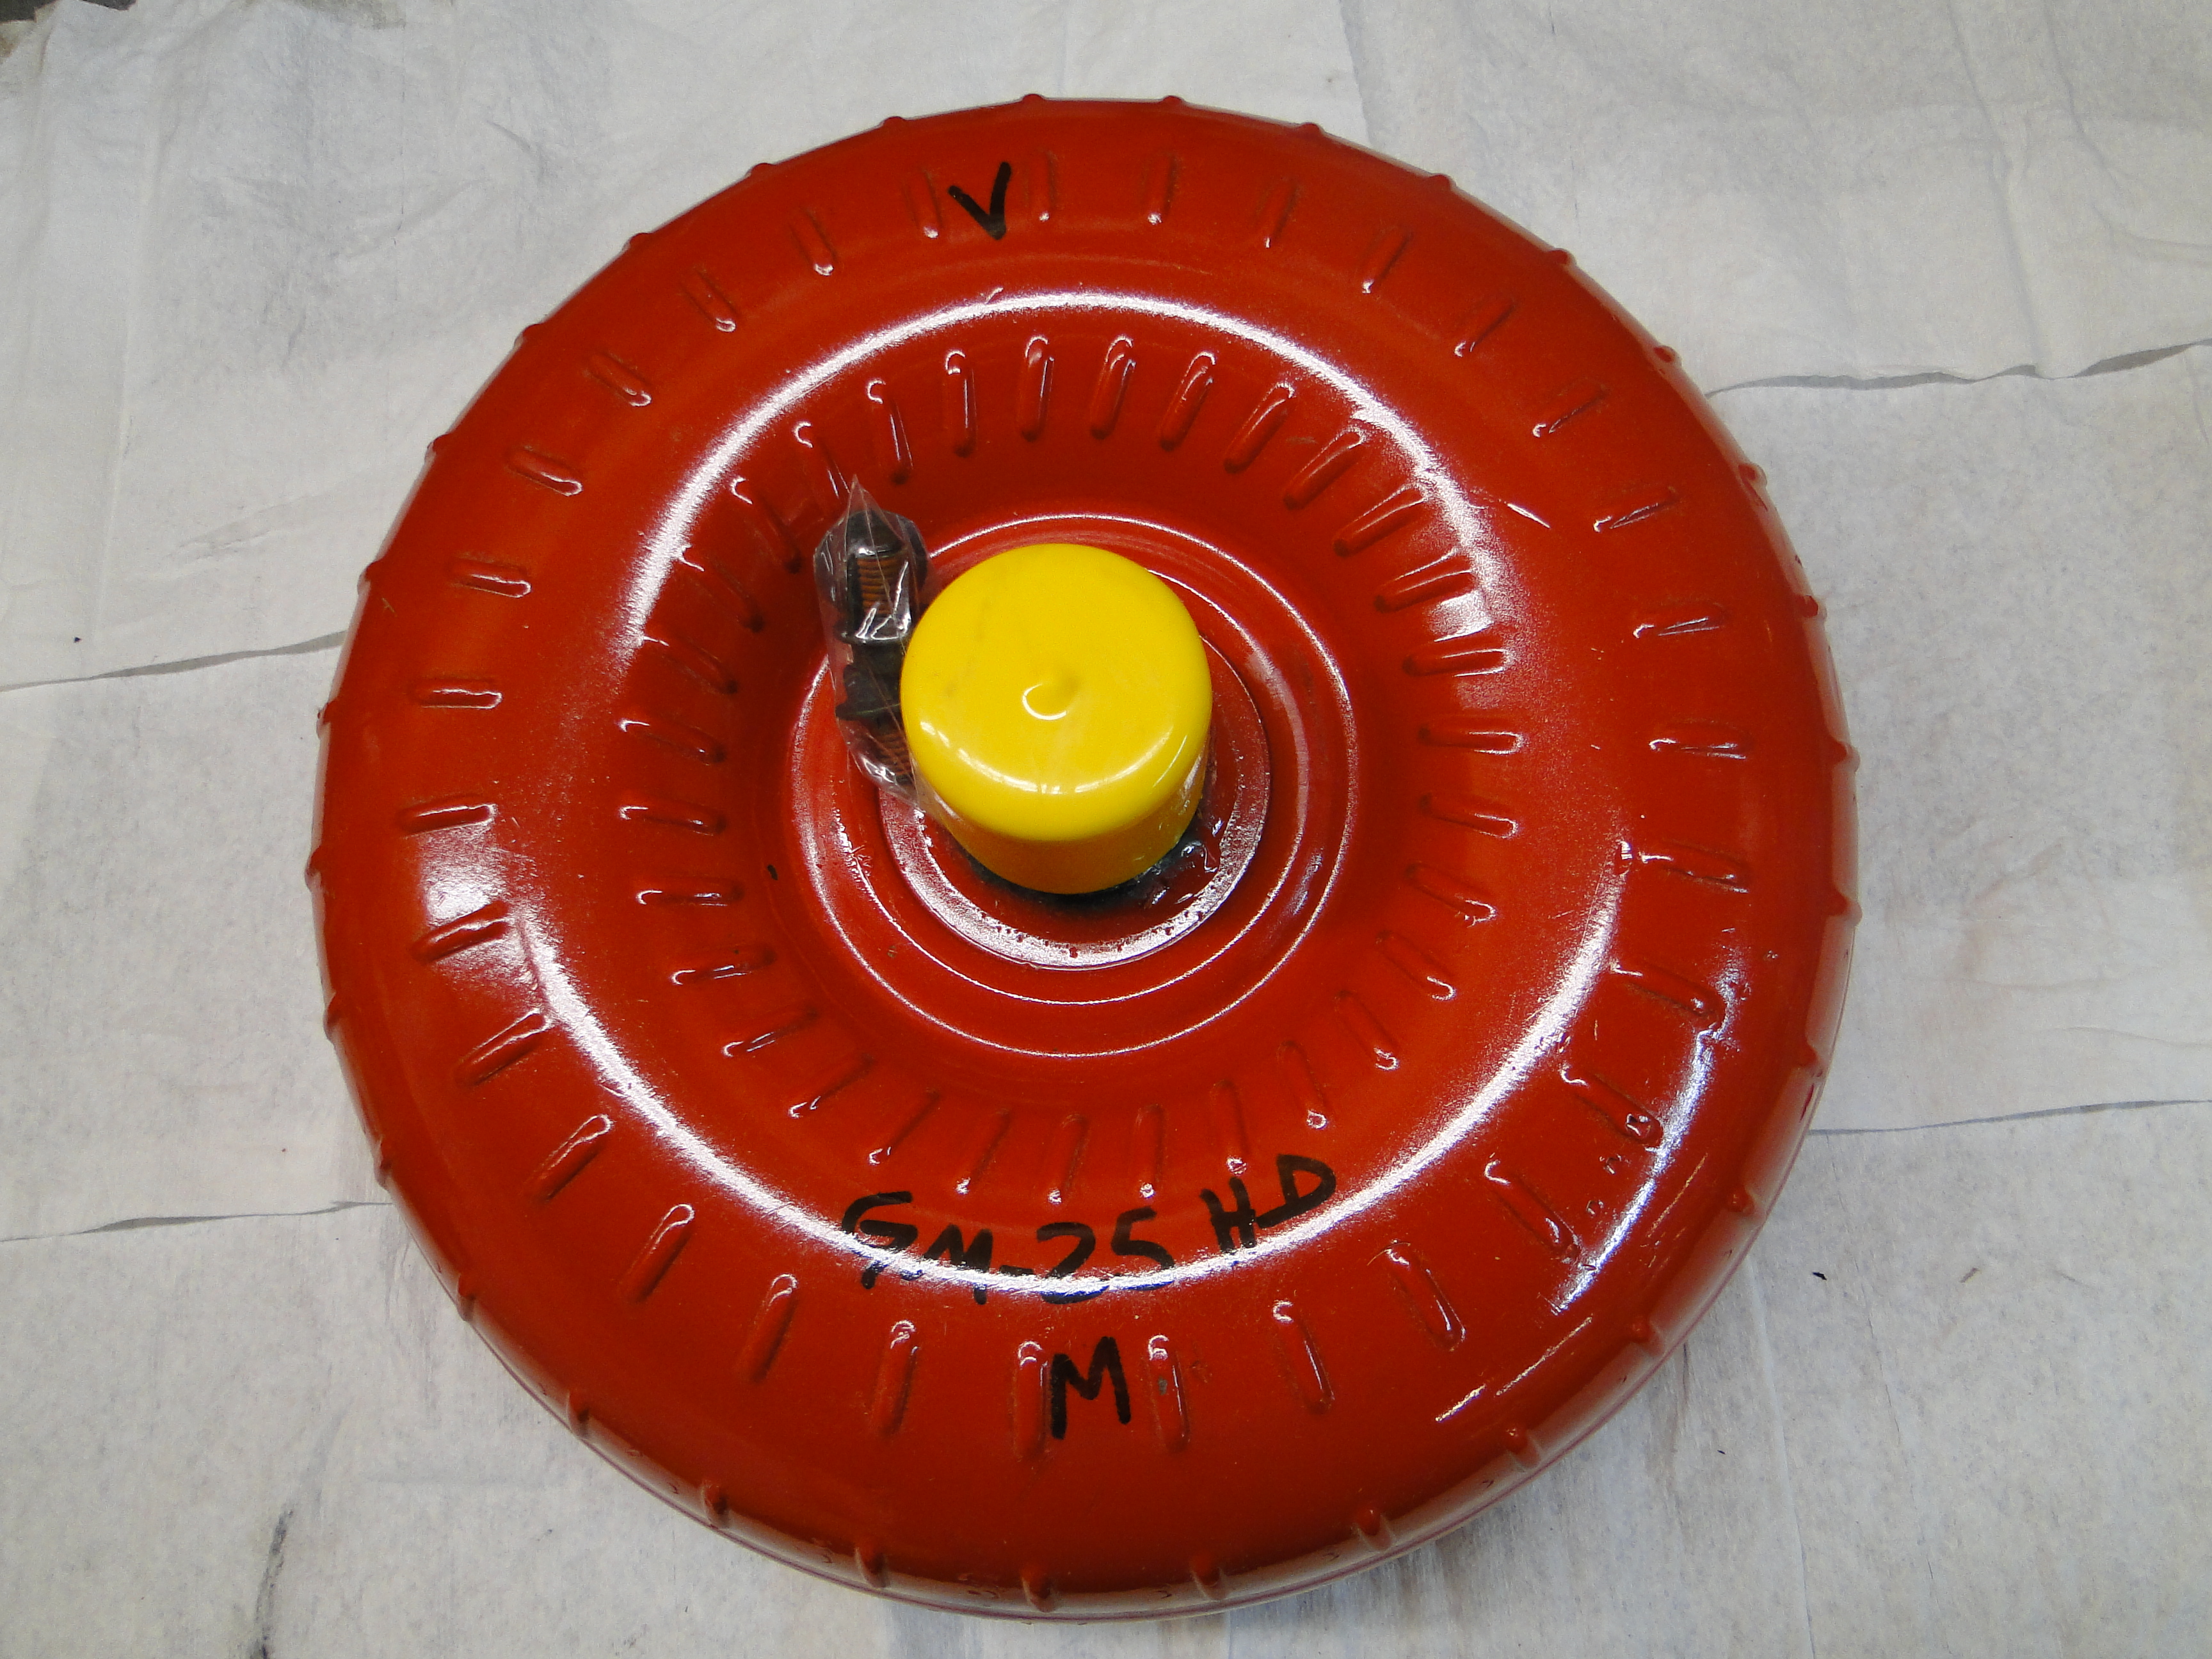
Last but not least the stock 1200rpm stall rate
torque converter has to be
replaced with Hughes Heavy Duty 2500rpm stall rate torque converter to handle
the additional horse power.
Click any picture to enlarge


Last but not least the stock 1200rpm stall rate torque converter has to be replaced with Hughes Heavy Duty 2500rpm stall rate torque converter to handle the additional horse power.


Click any picture to enlarge
February
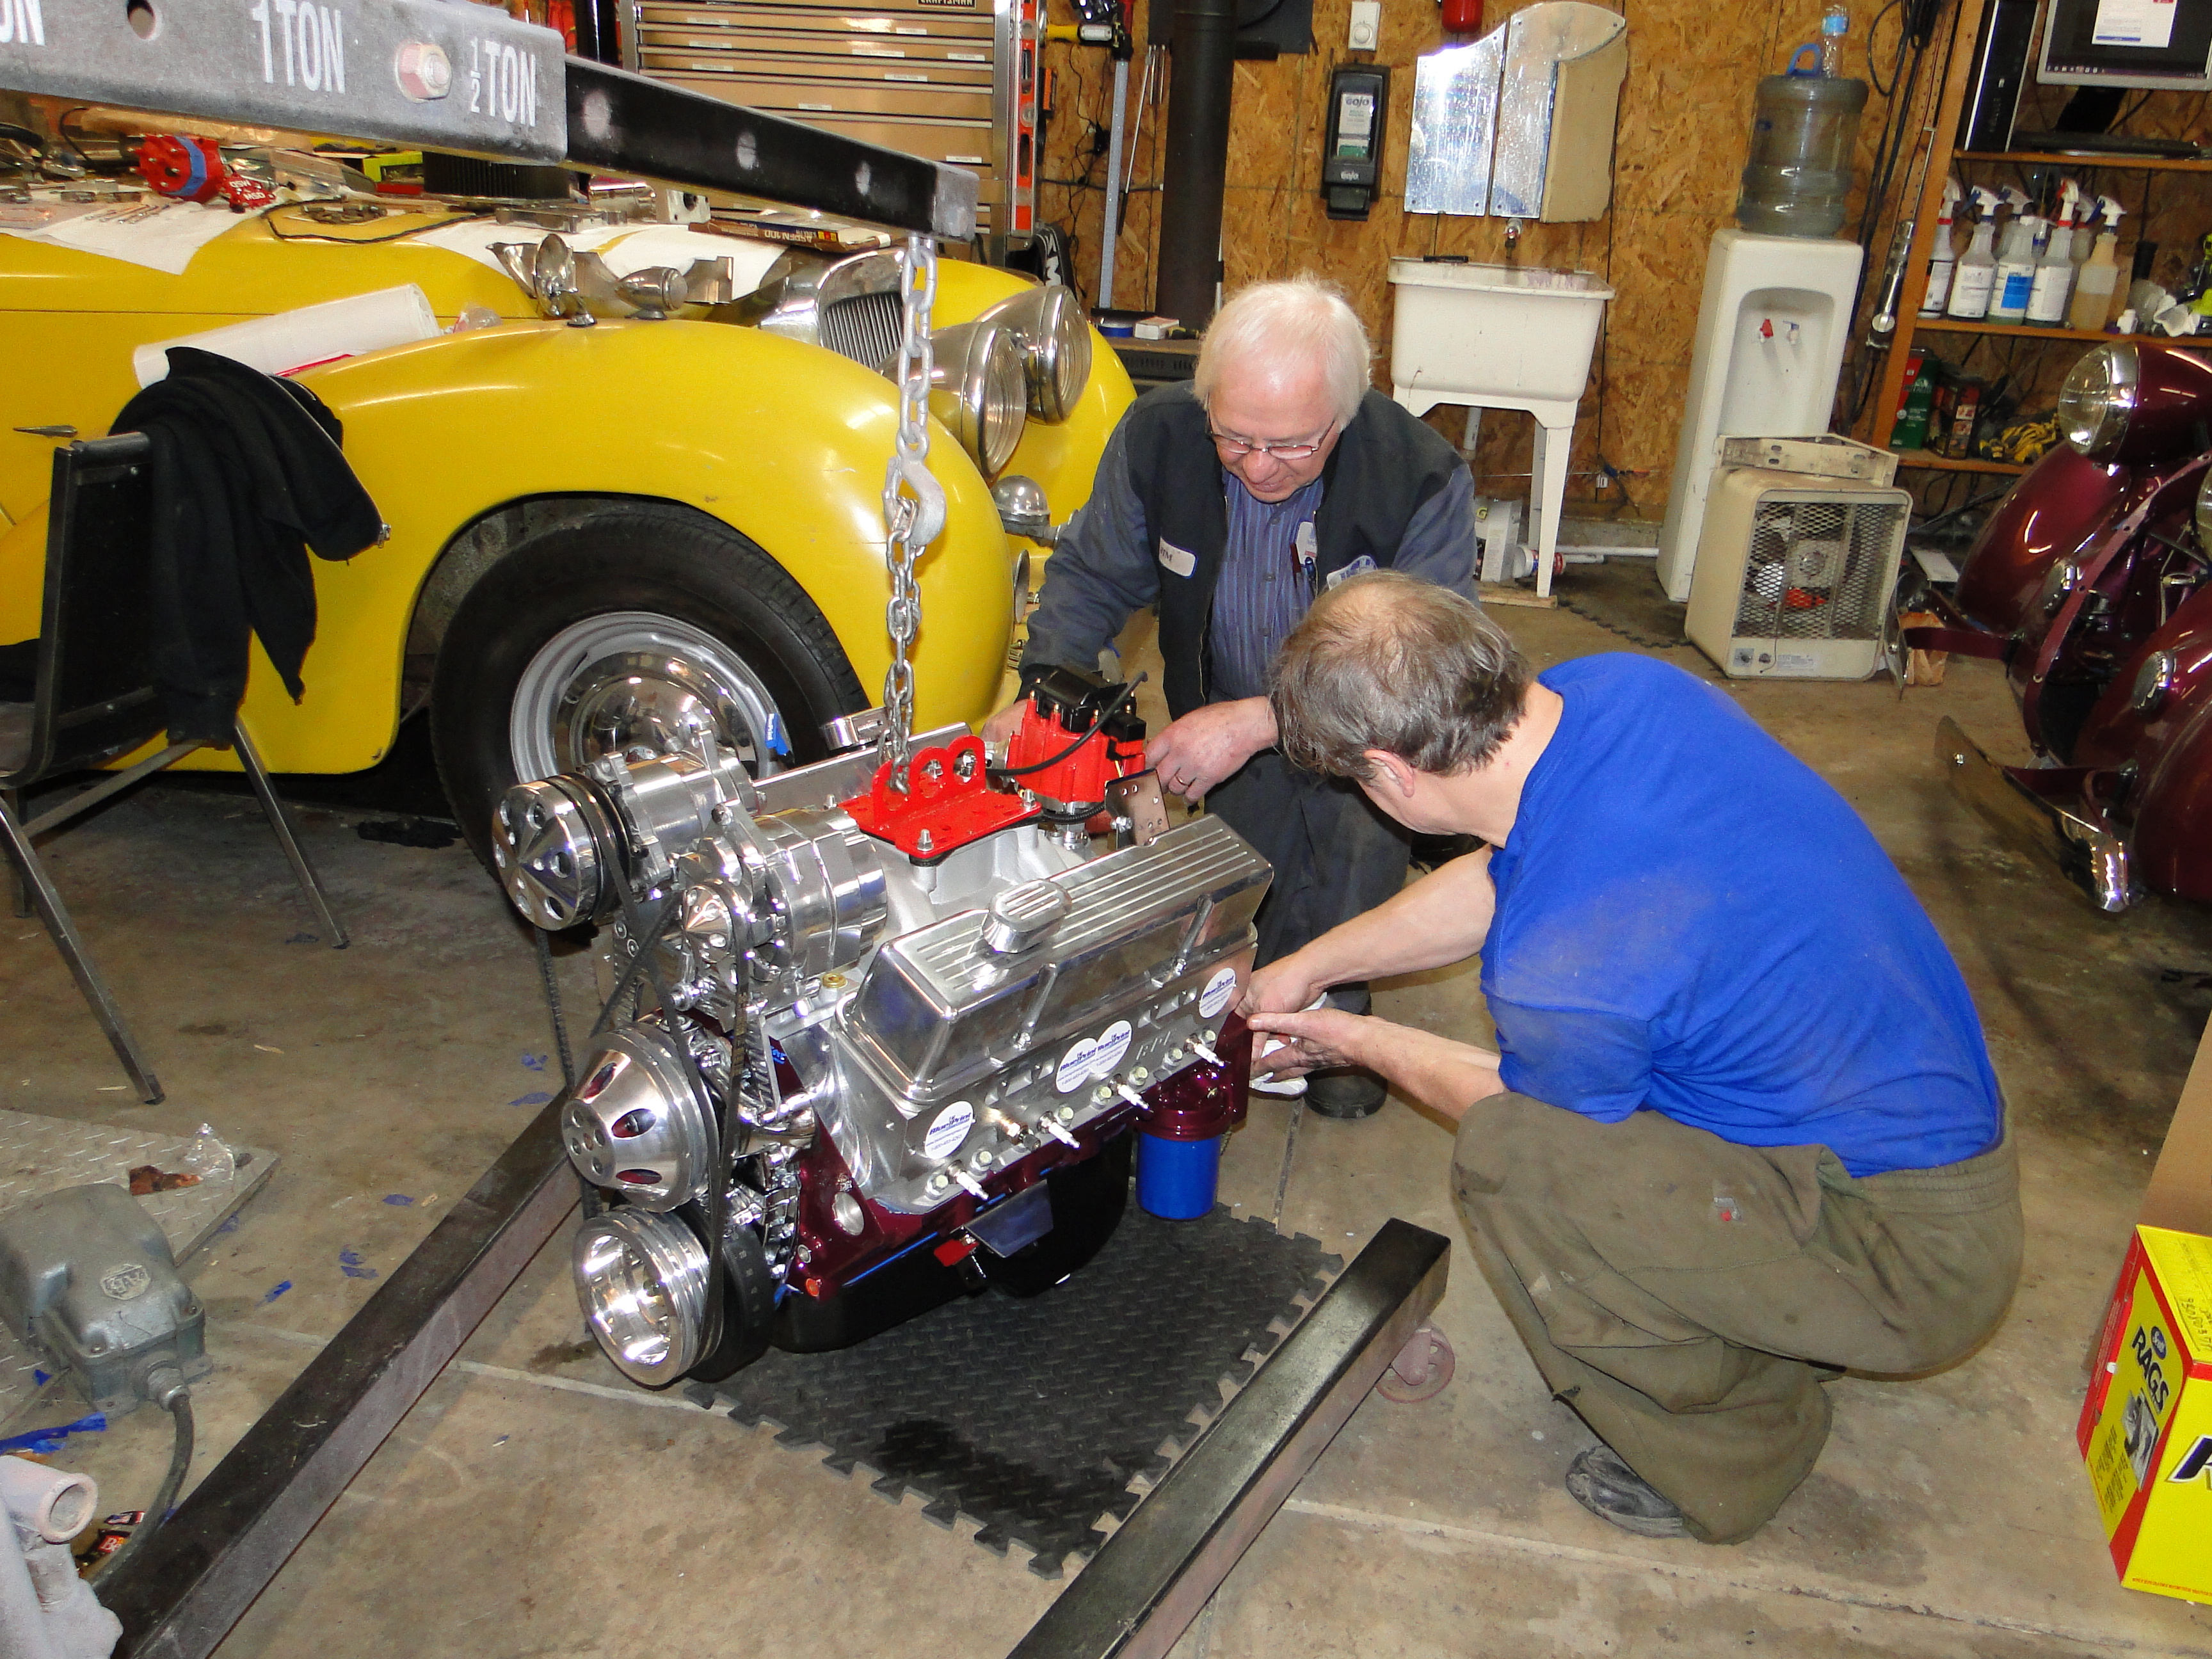
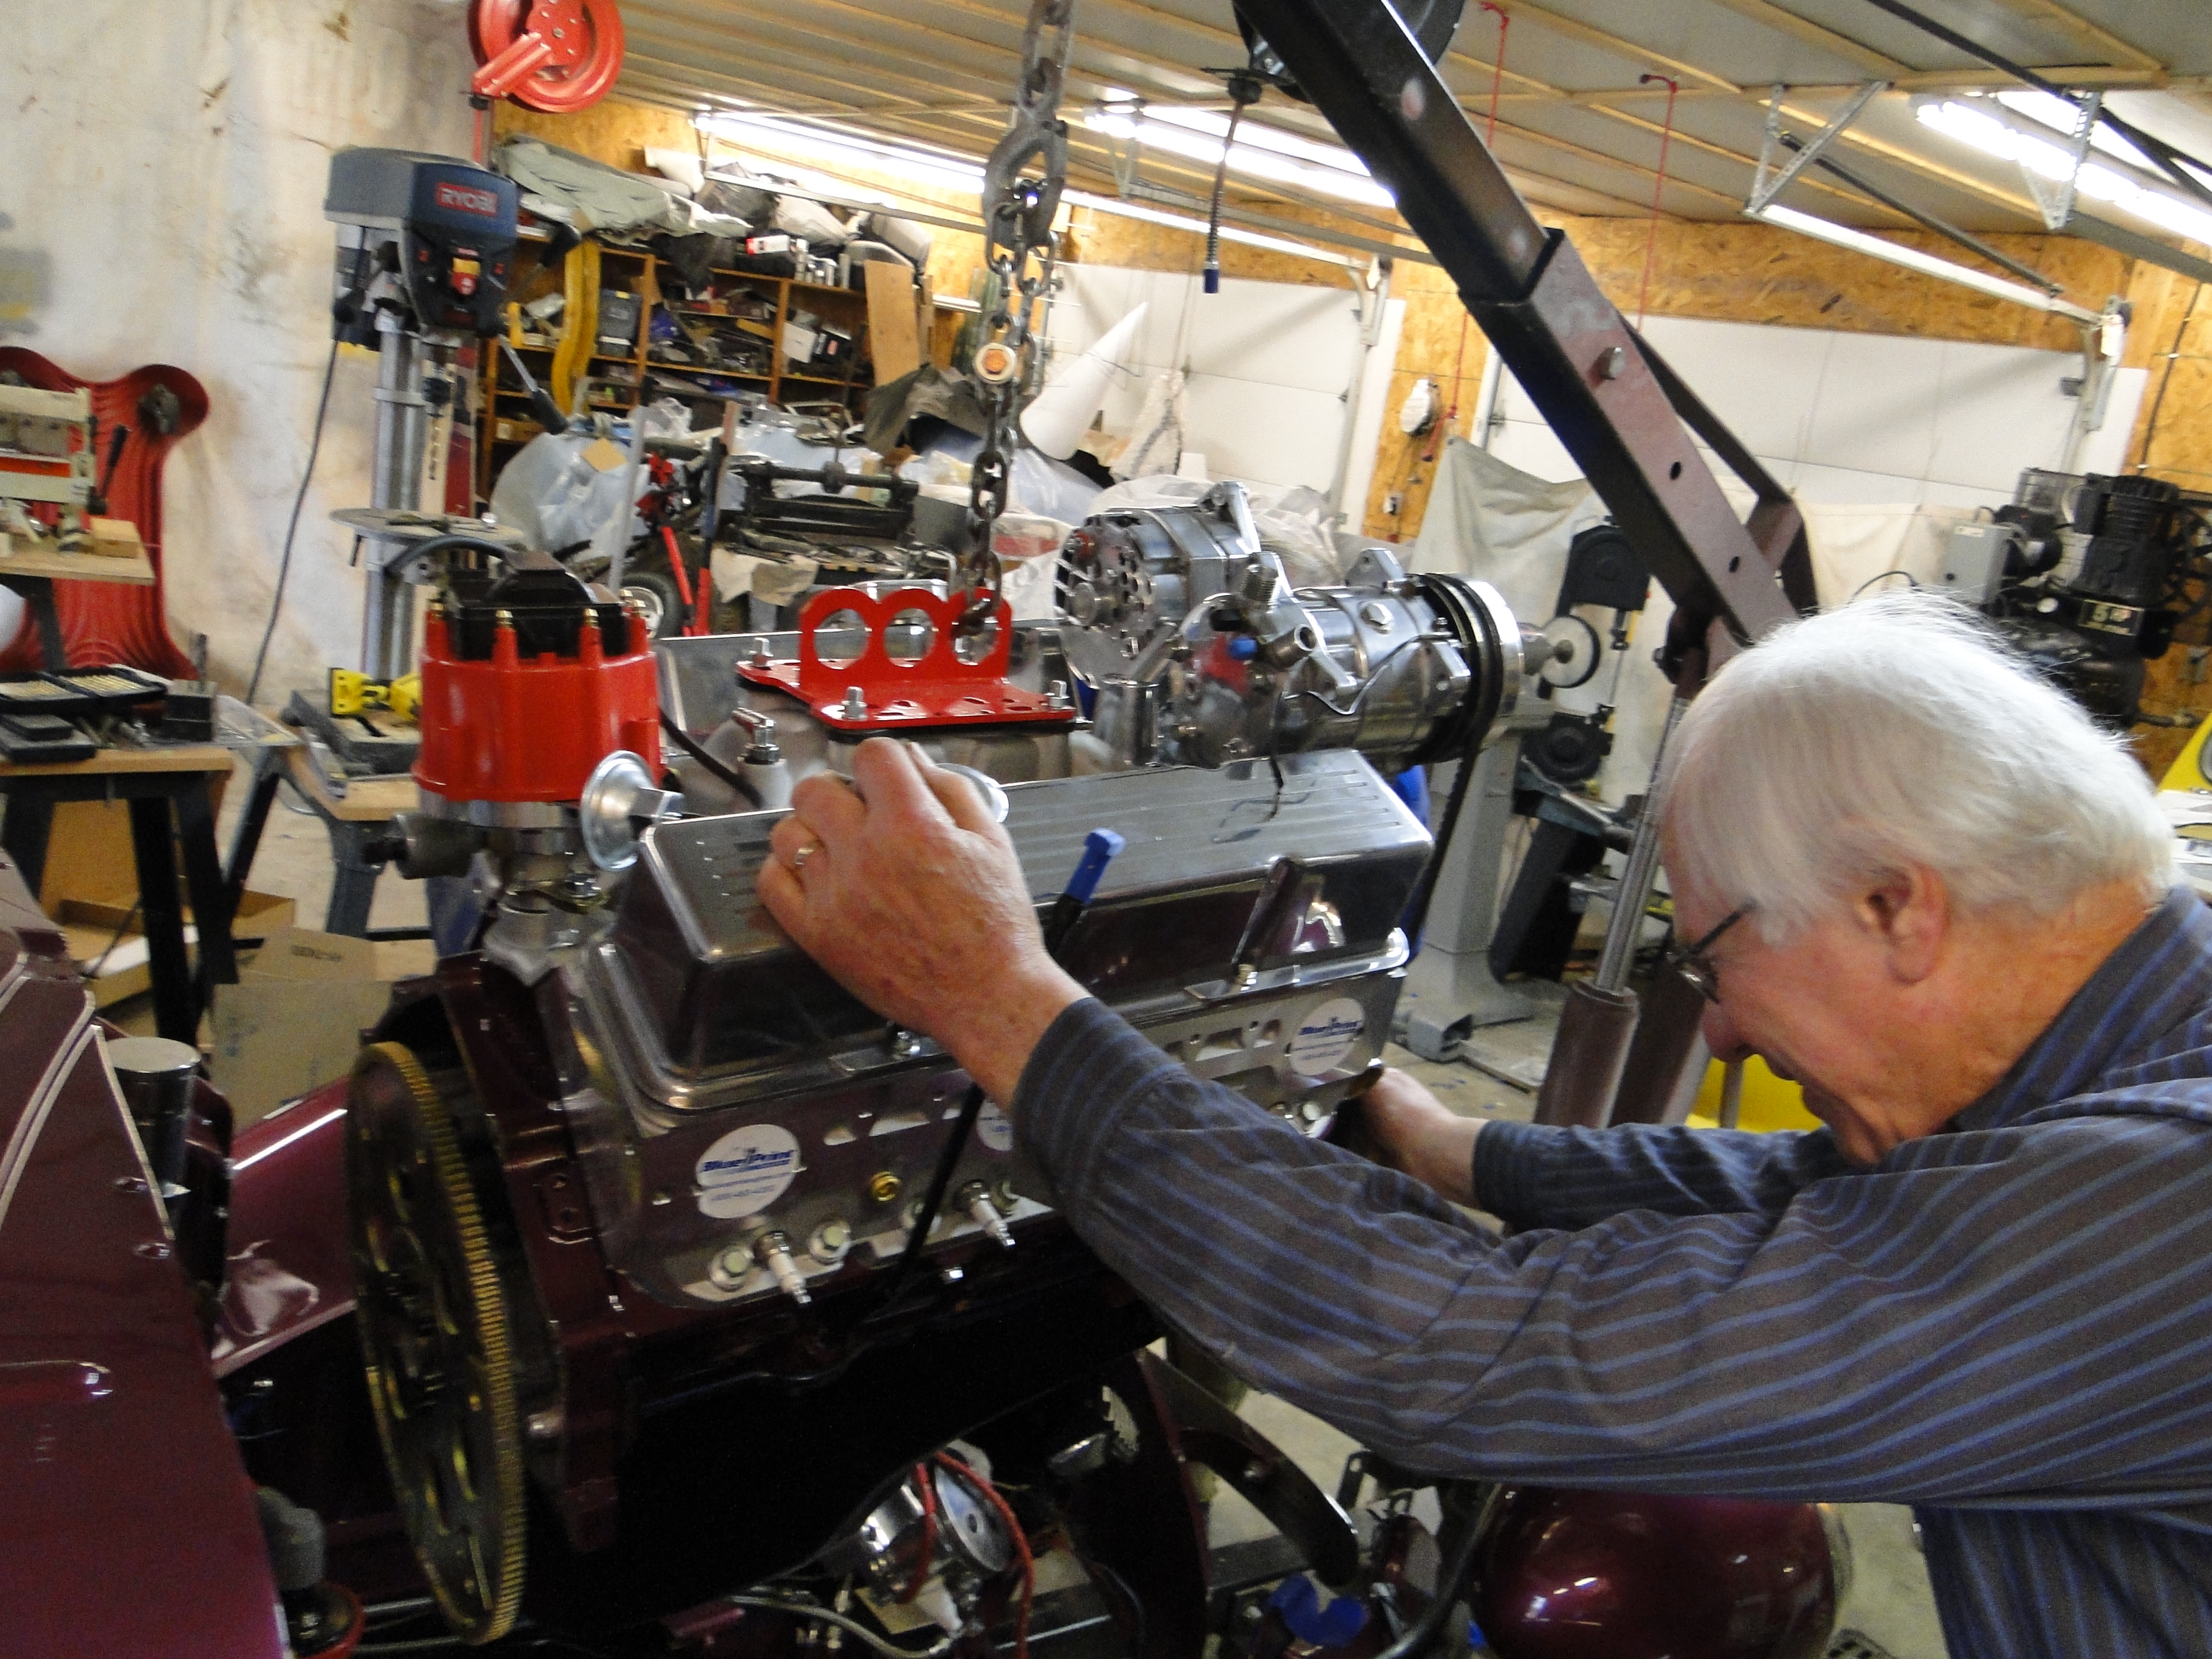
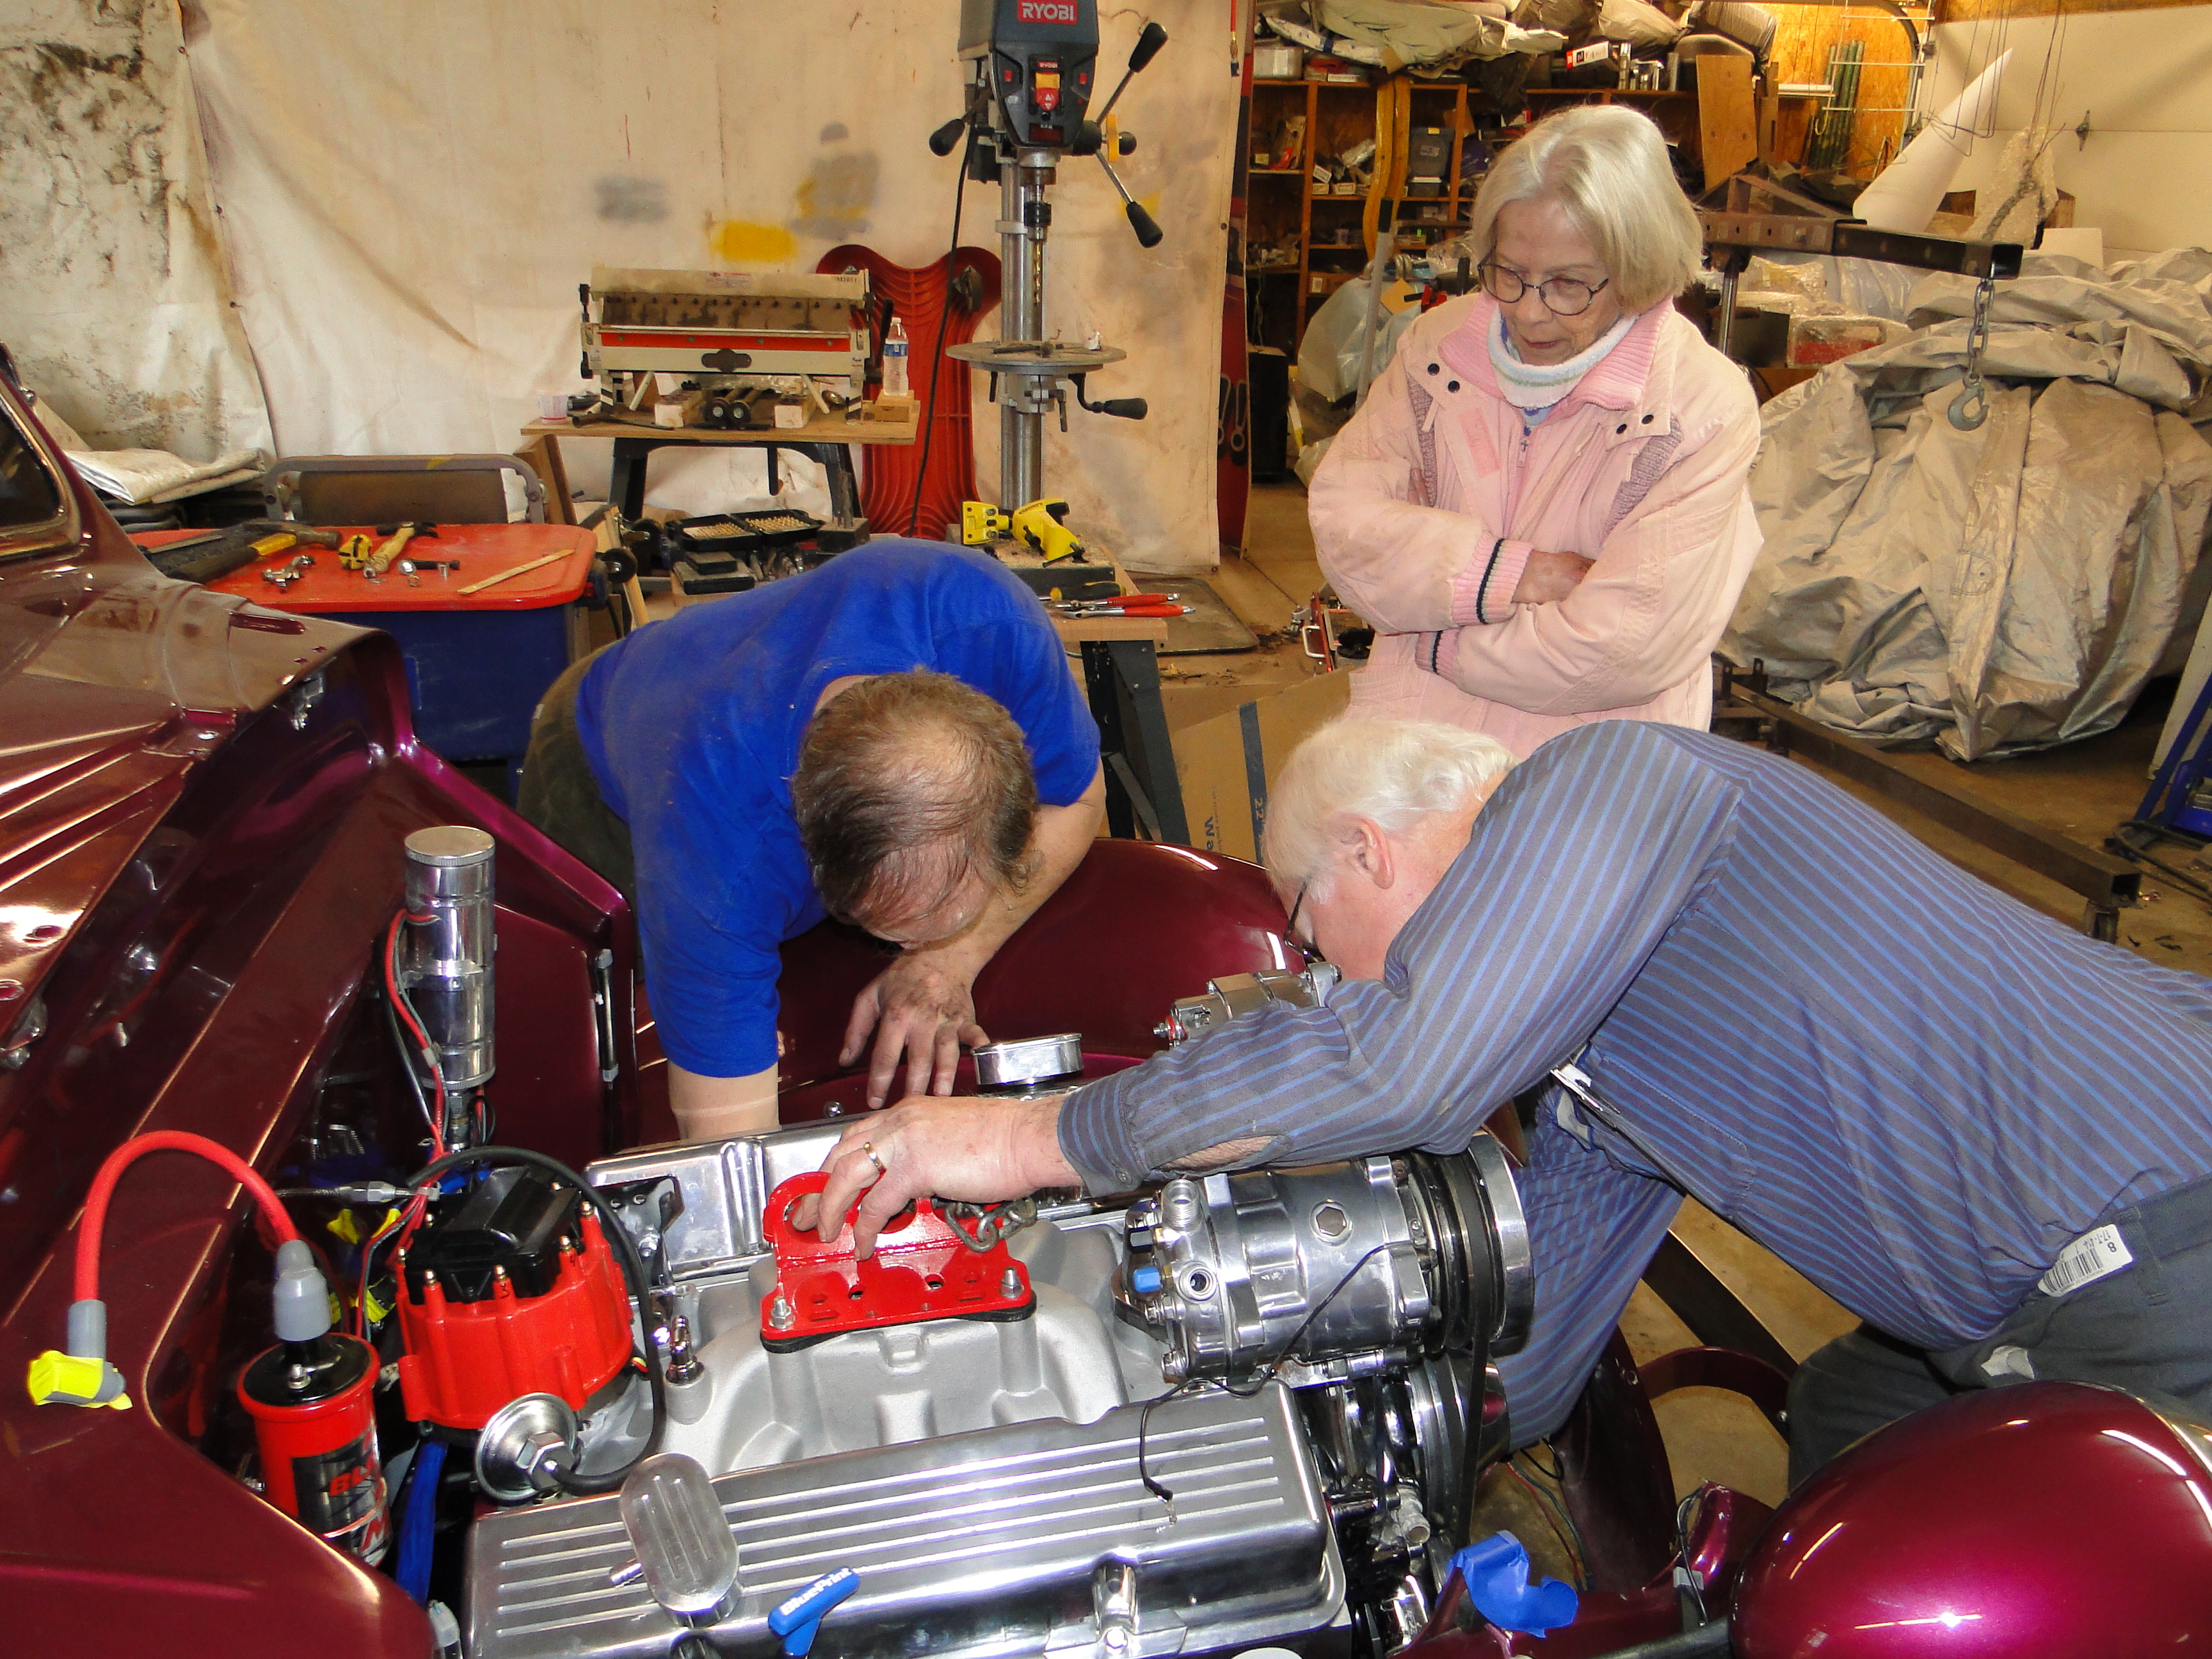
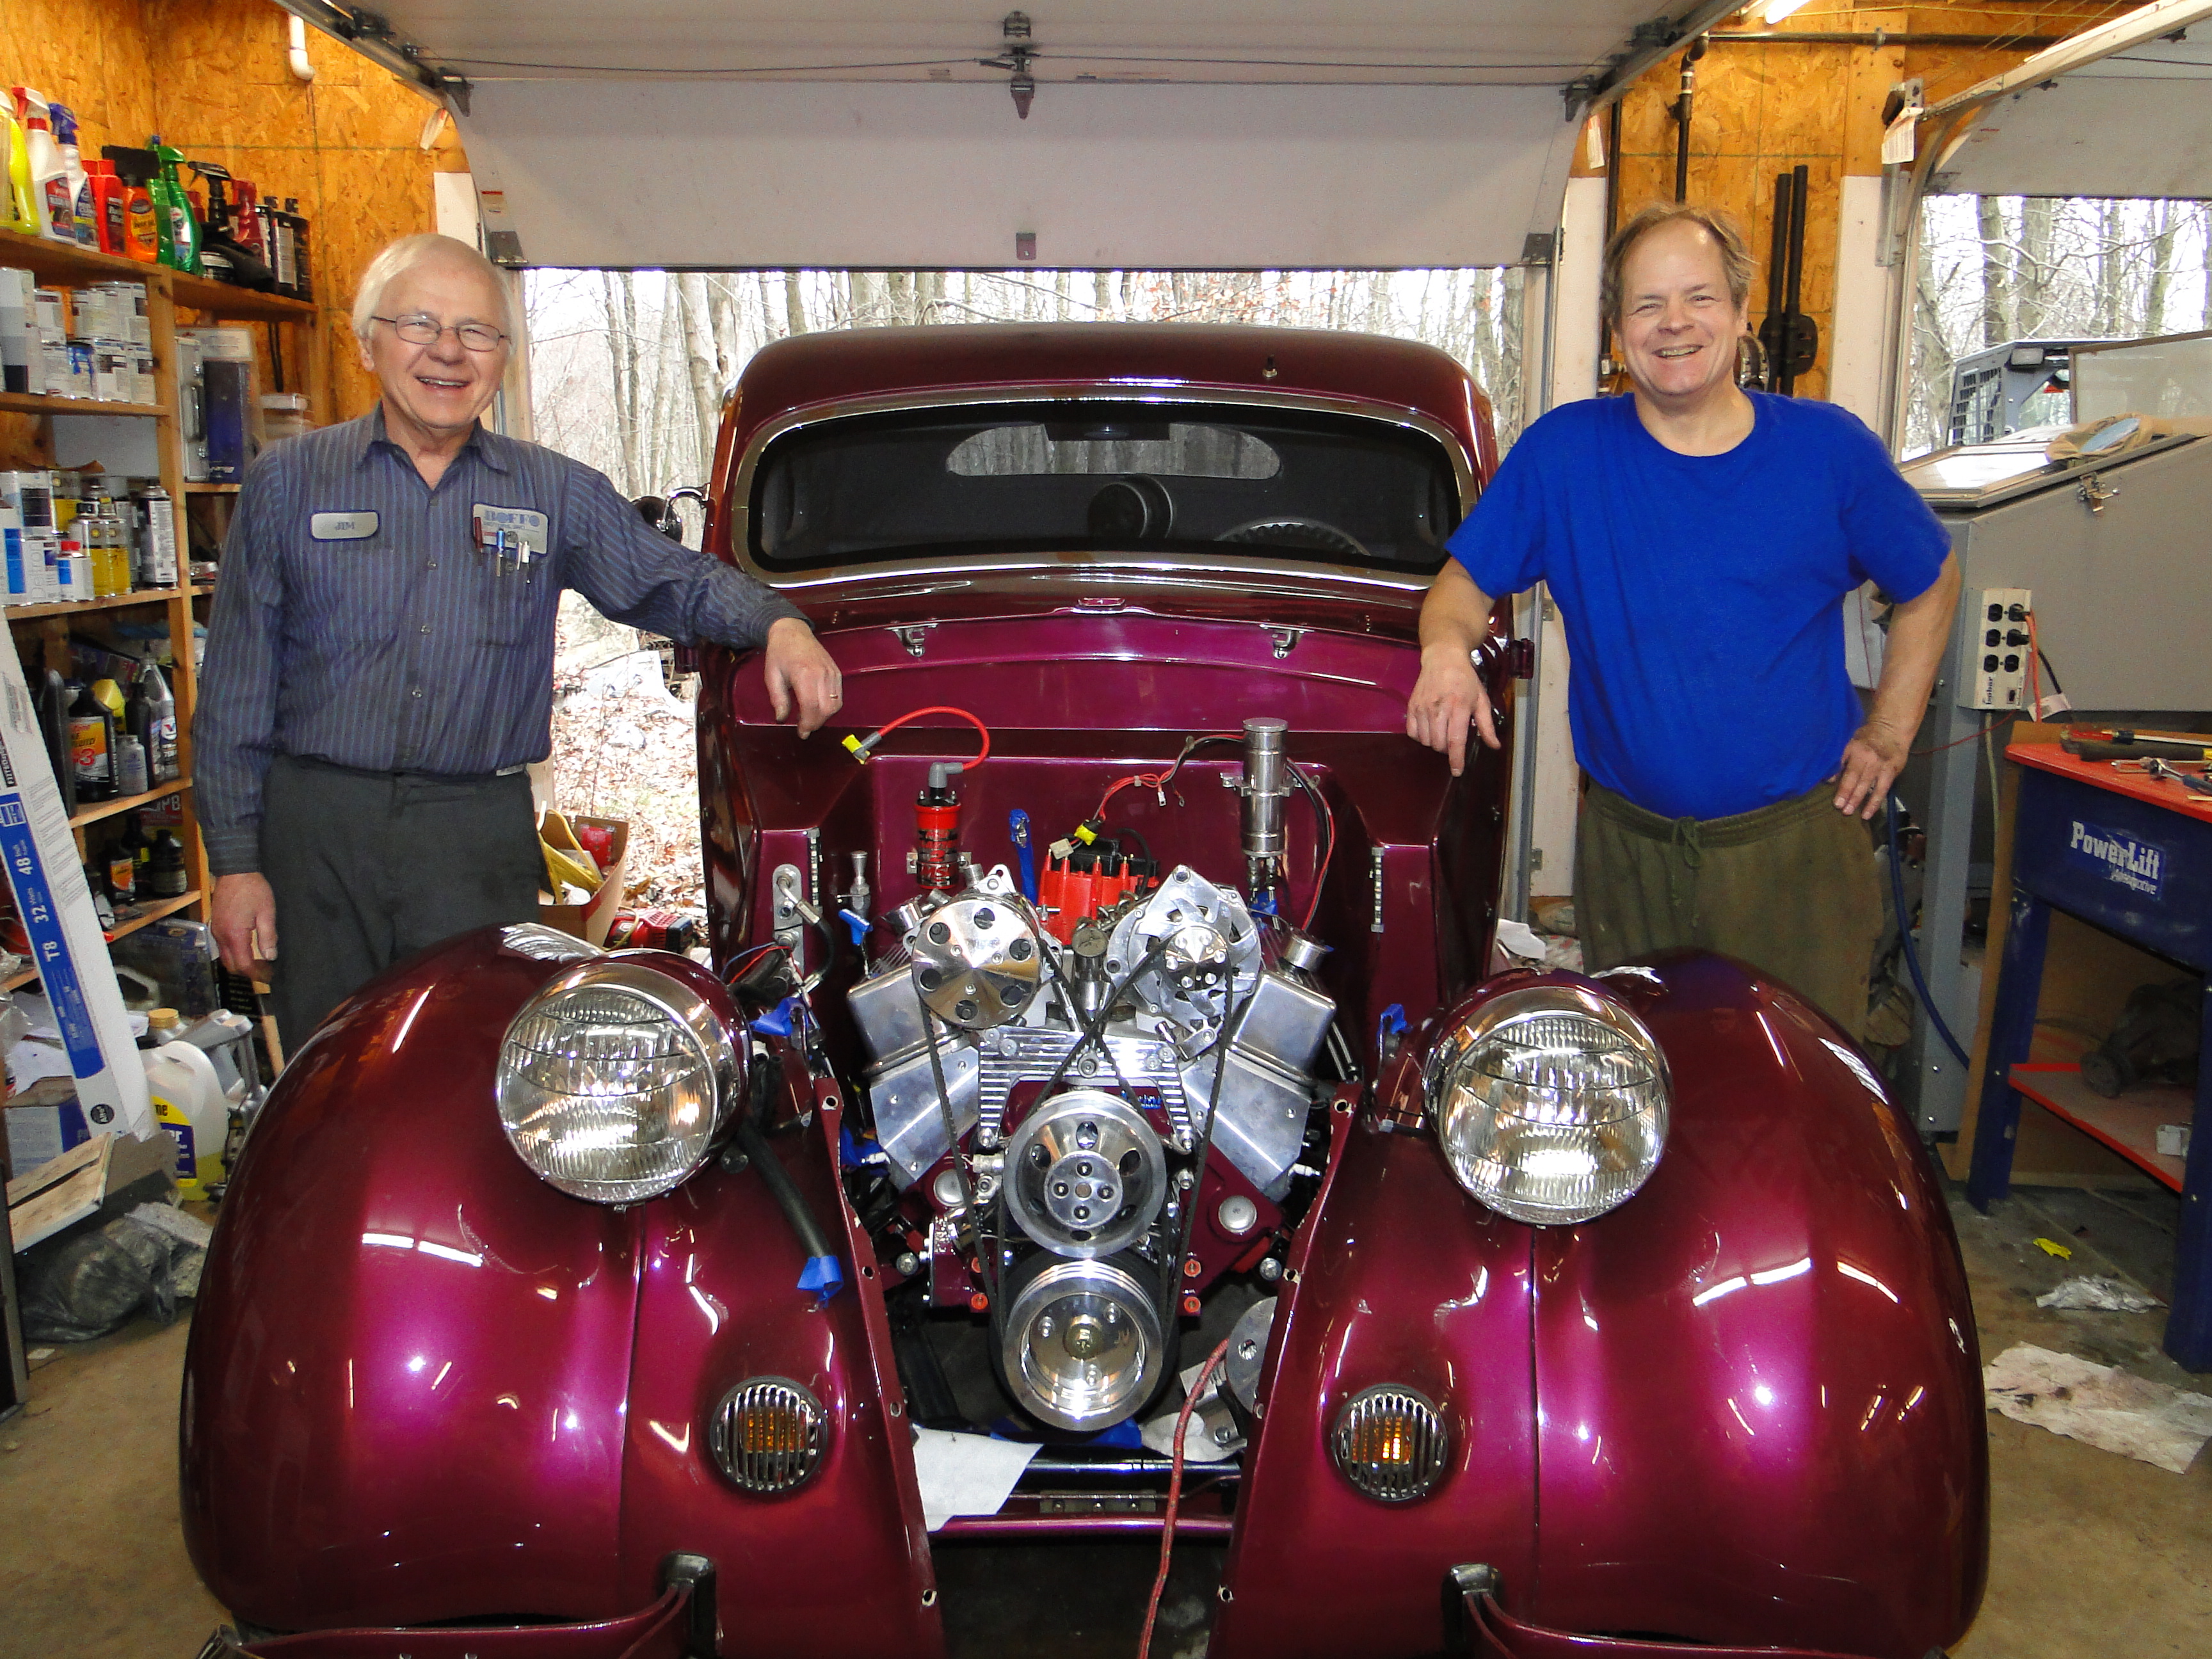
Engine Install
Jims expertise made the engine install rather easy.
What I thought was going to take a couple hours or maybe longer was completed in under an hour.
In the third photo when the work was almost done, our Forman Gram shows up to make sure everything was done right.
The forth photo showing Jim and myself taking a victory photo.
Click any picture to enlarge
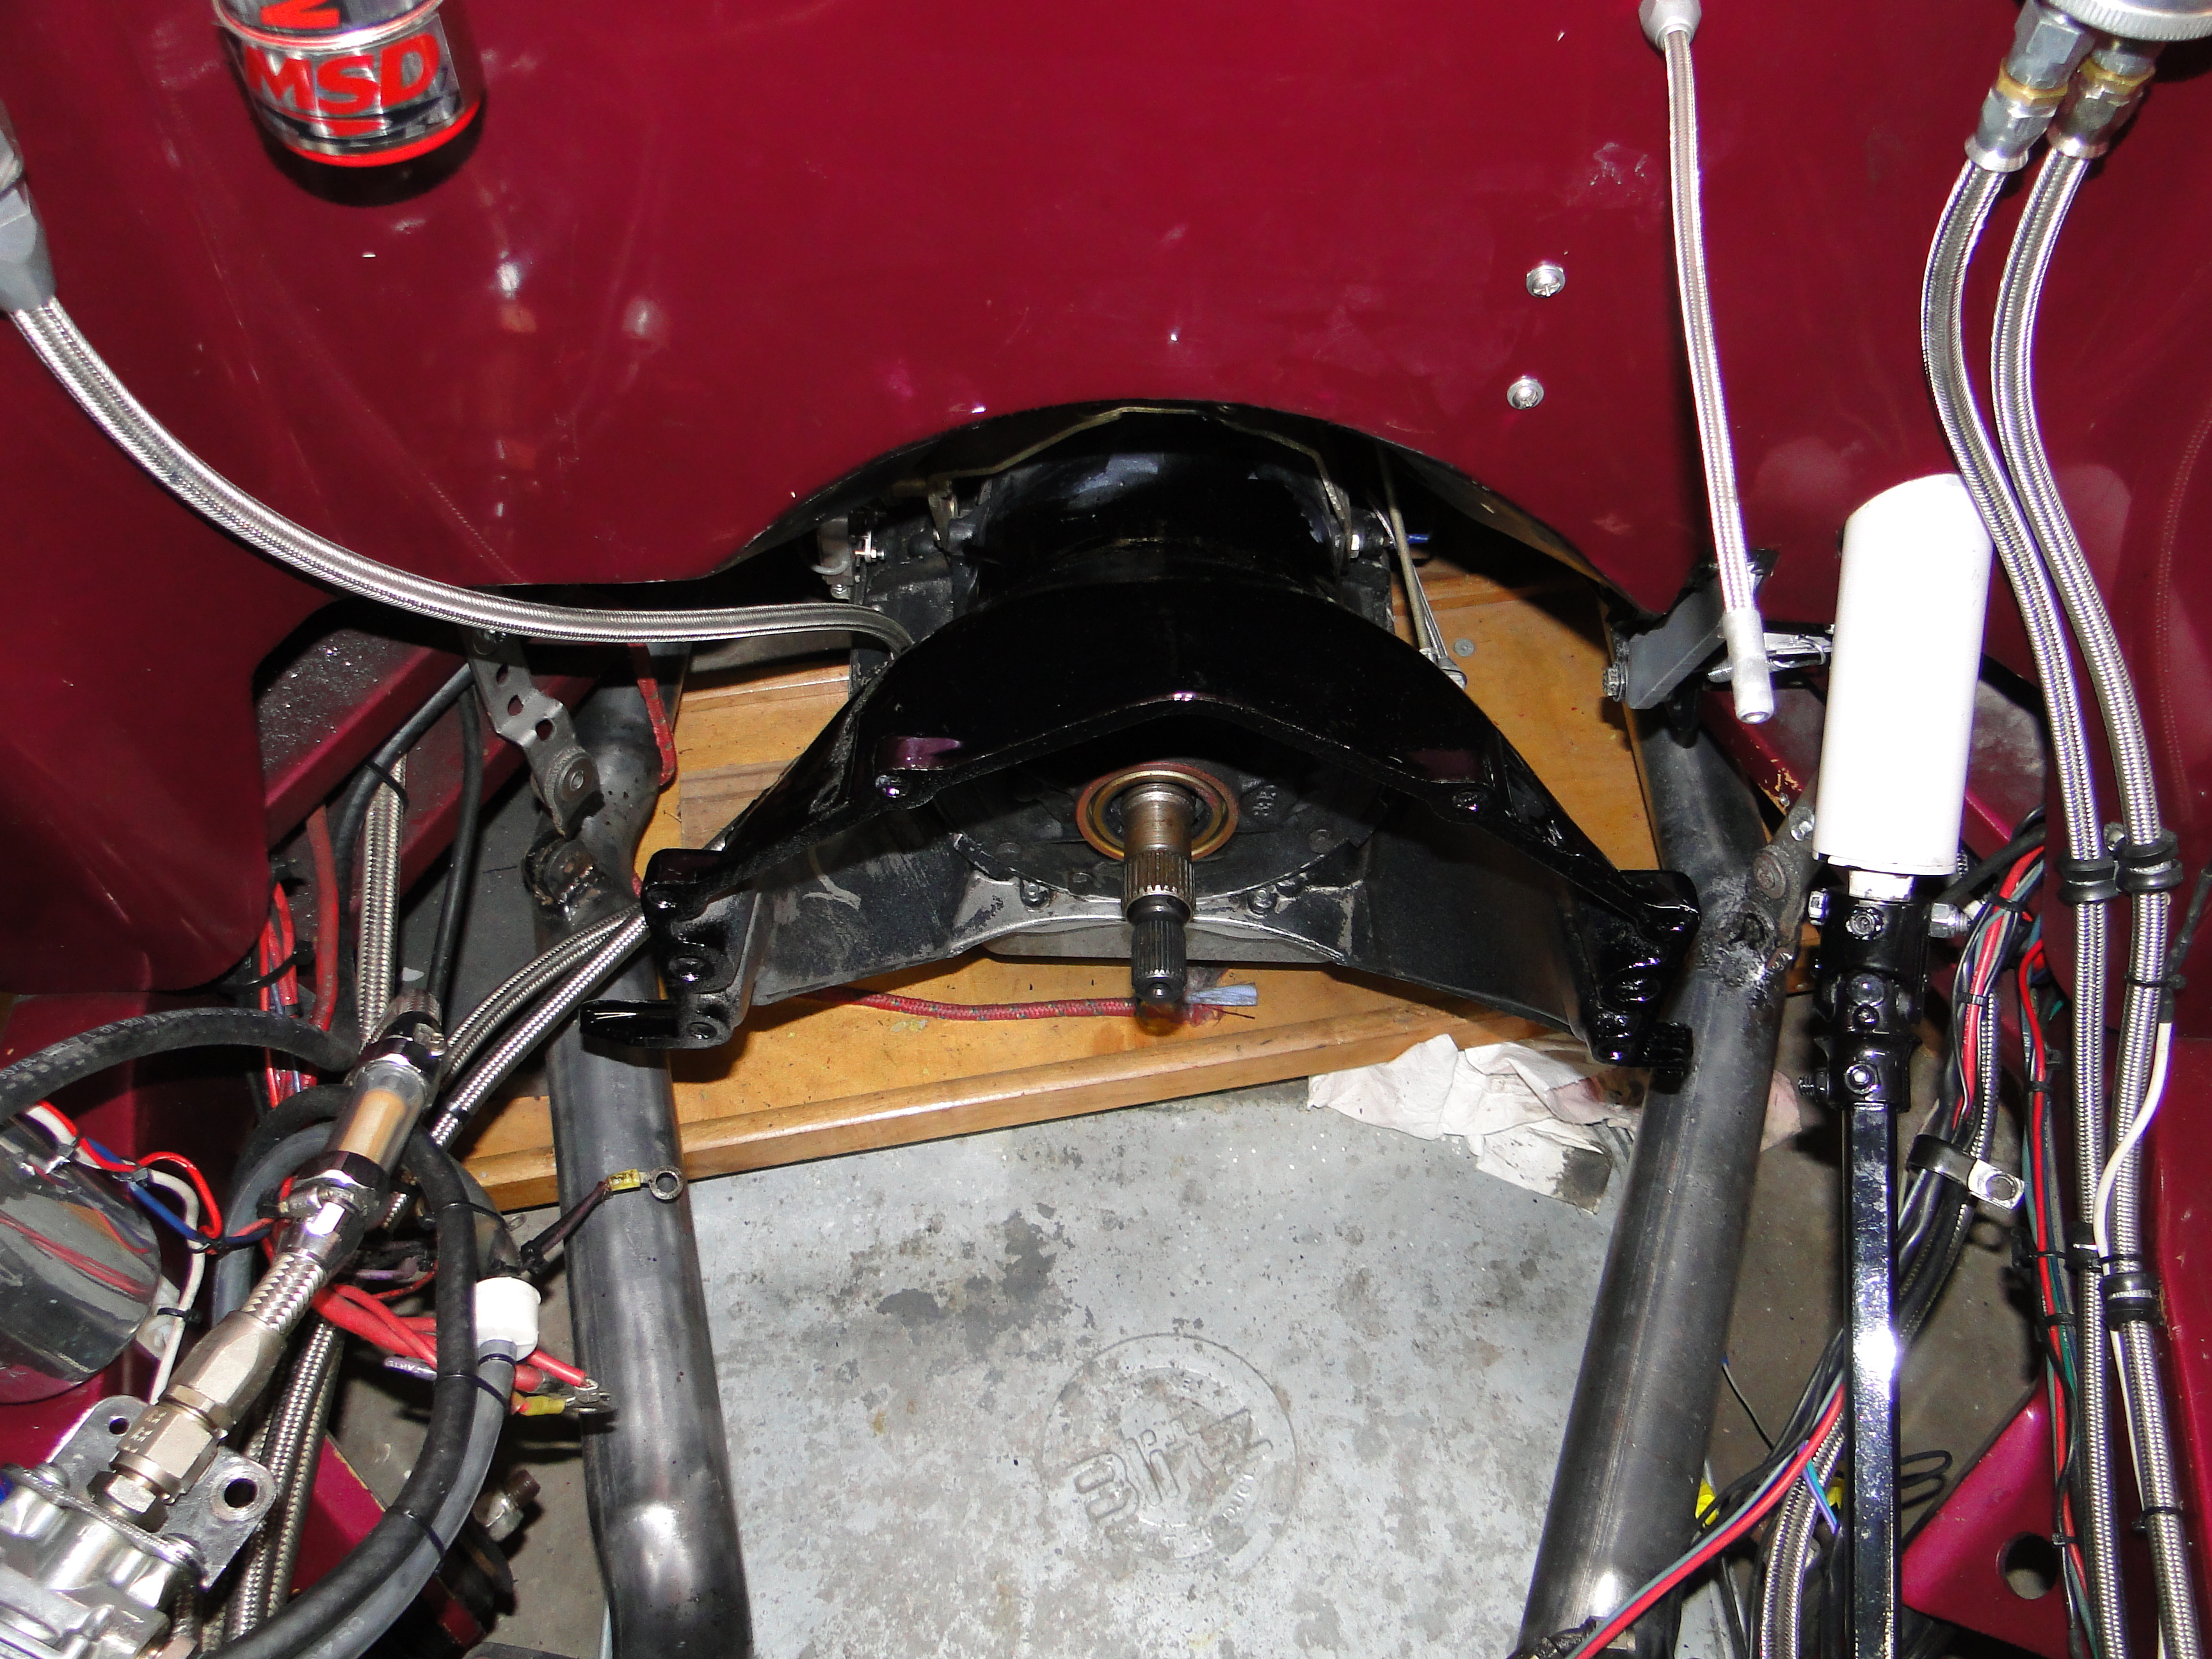
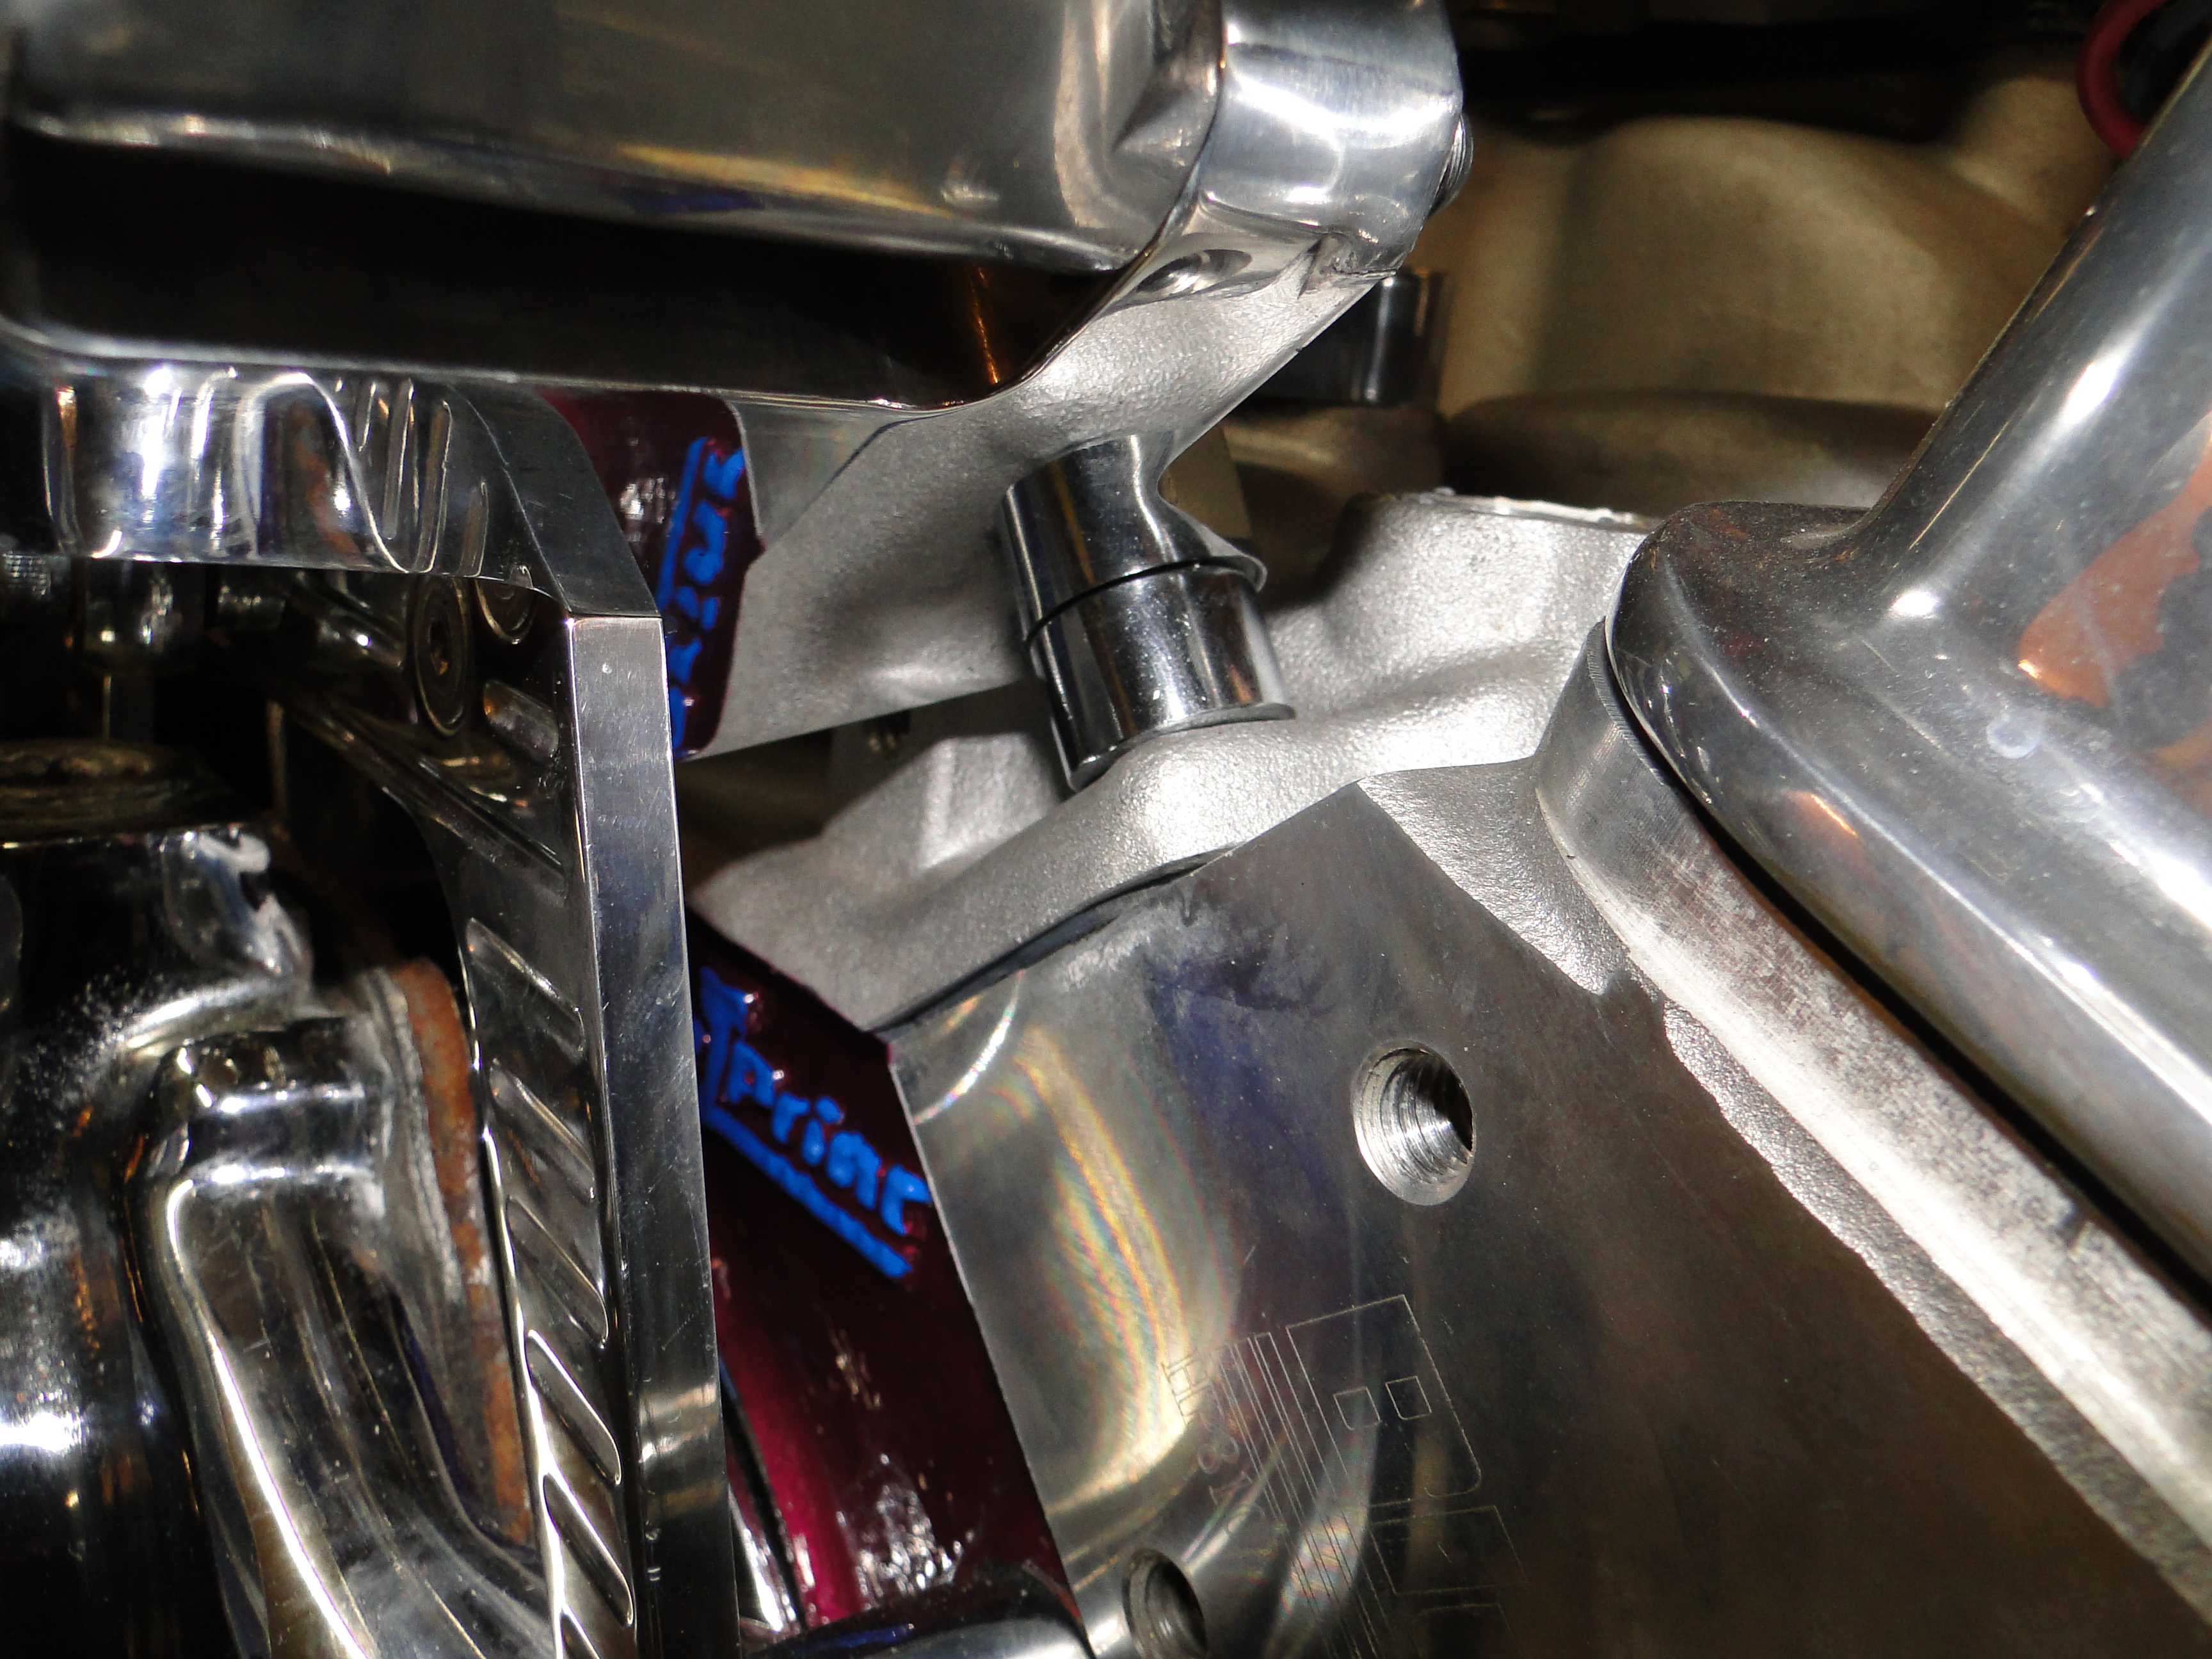
Fuel Pump Clearance issue
The hard part is over right?
Wait not so fast I have said it before and I will say it again nothing is easy with this car.
It would seem the fuel pump location on the new engine has changed slight, I had to make room for the fuel line by grinding away a bit of the engine mount to allow enough room for the fuel line to connect to the fuel pump.

Click picture to enlarge
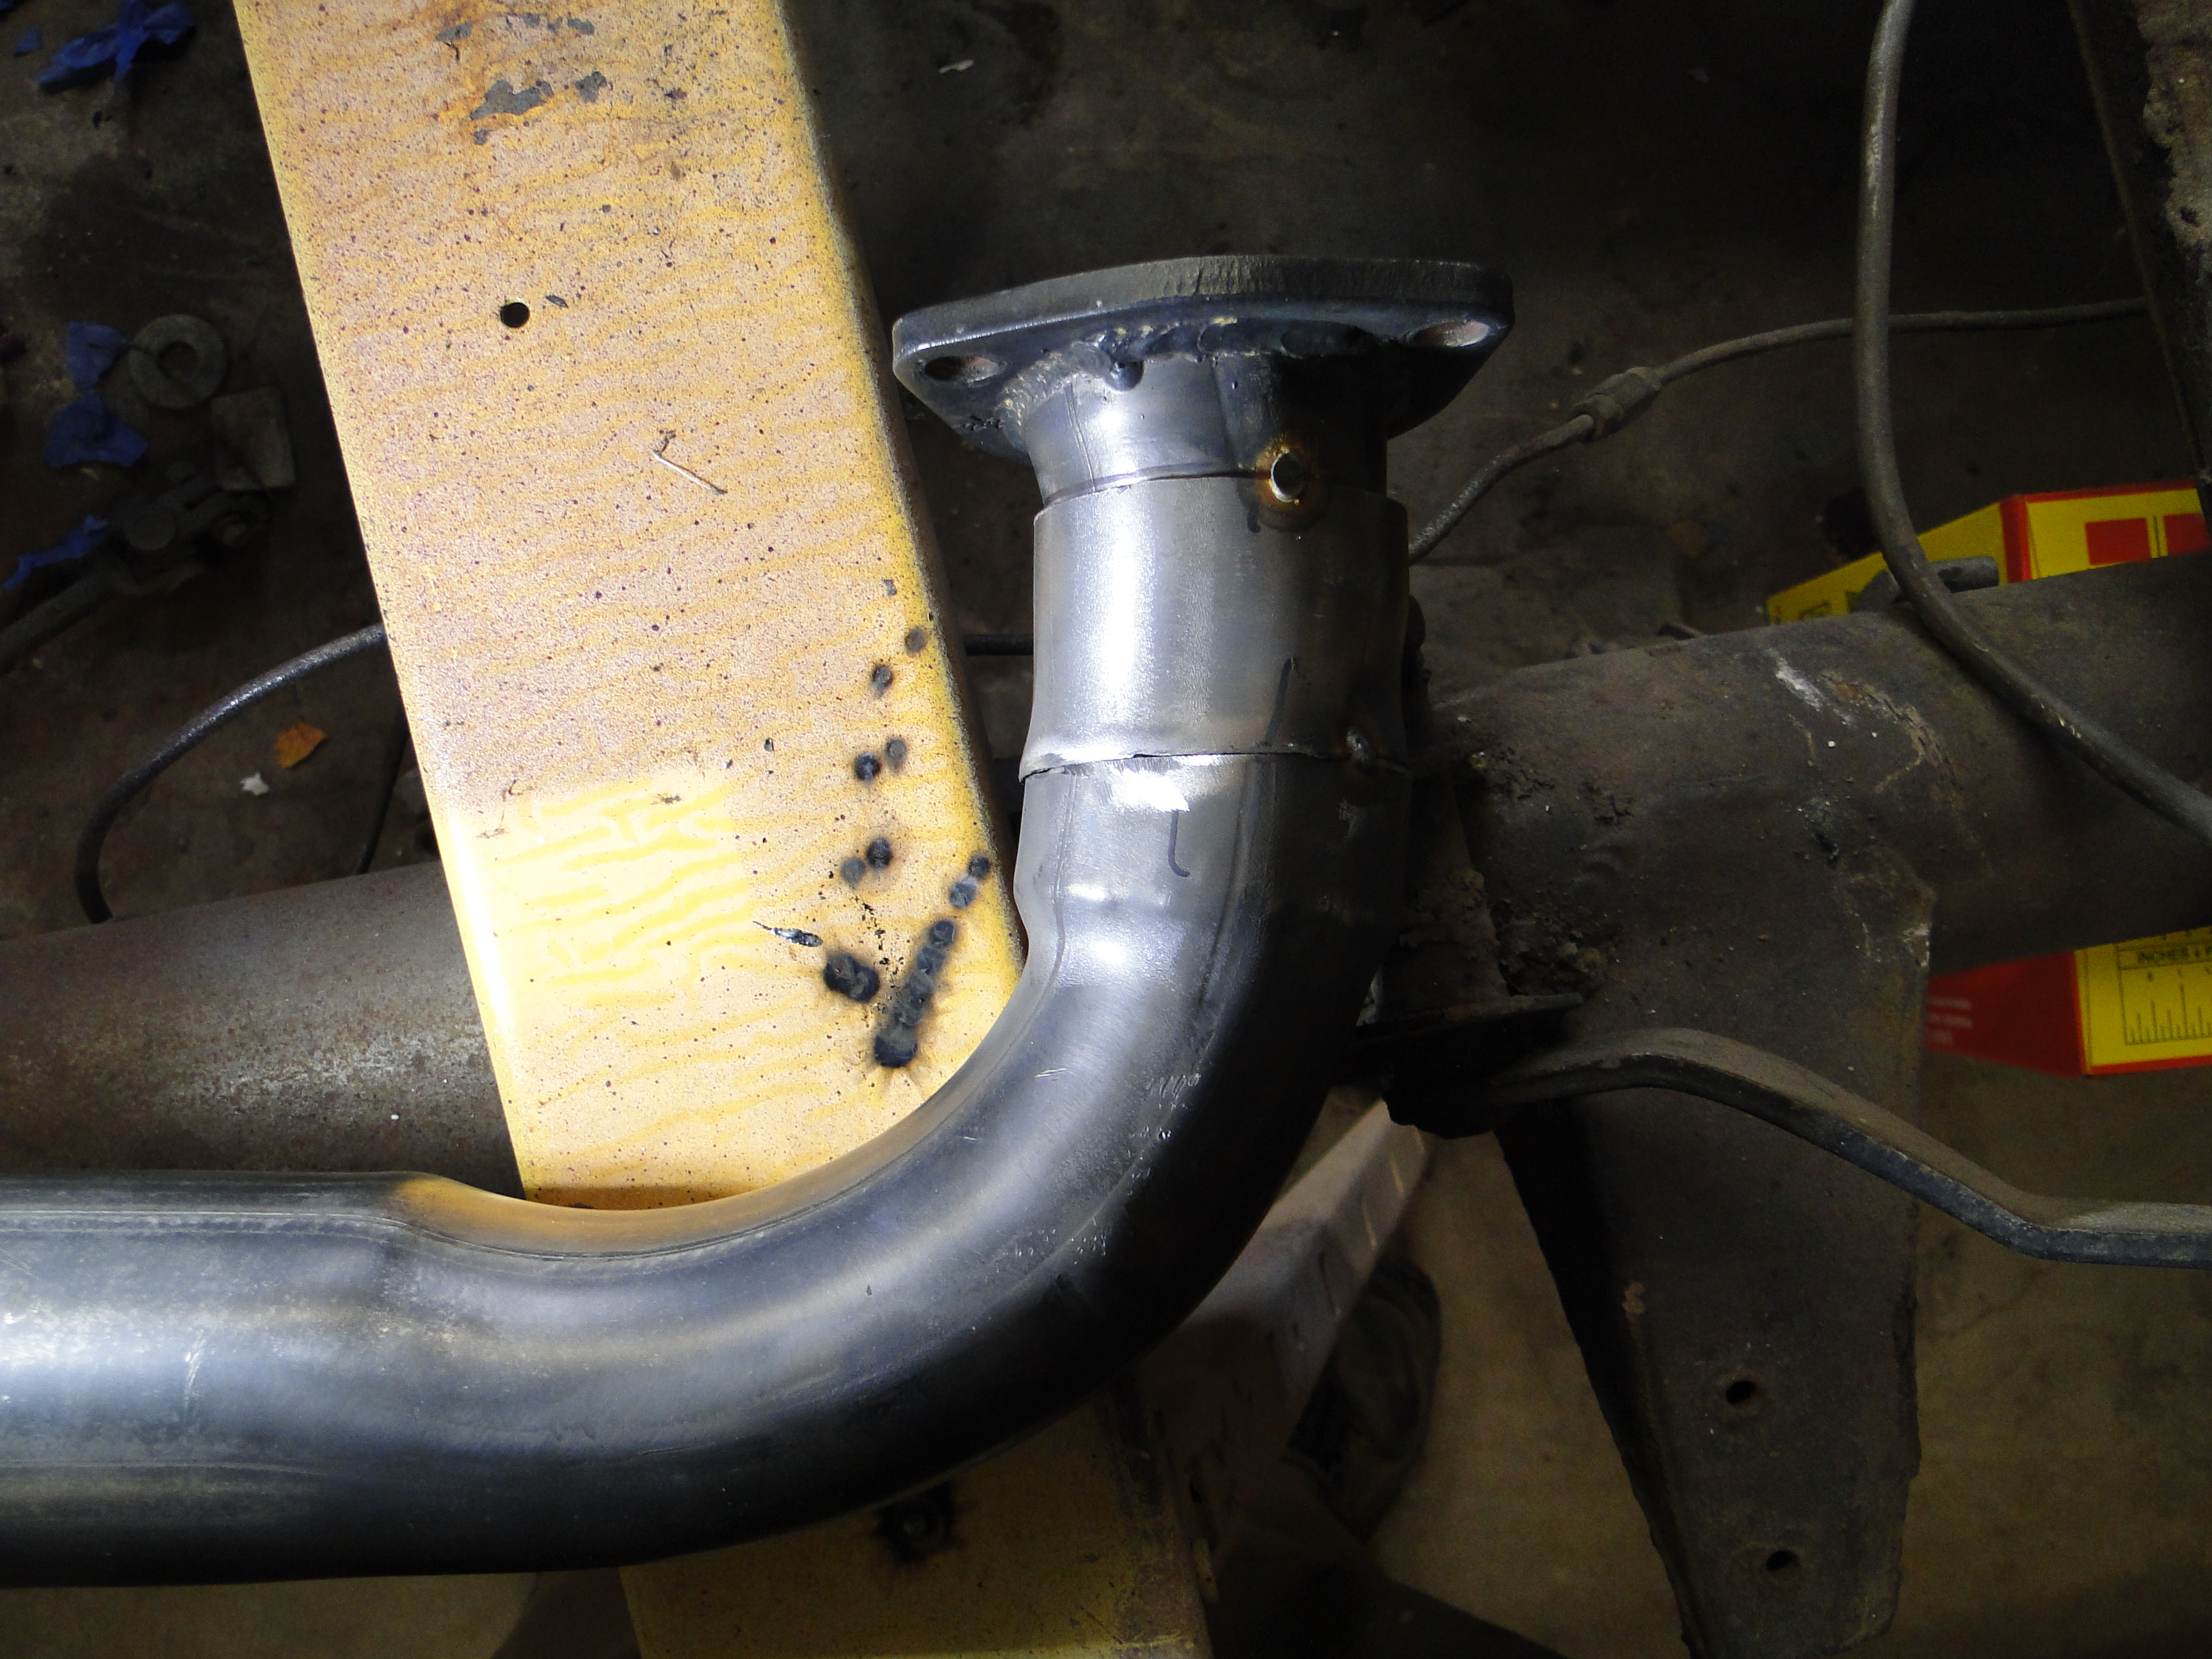
Exhaust Modifications
Because I had to replace the headers, I am now forced to modify the new exhaust that was just installed last year.
The exhaust needed to have two inches of pipe vertically added, and I had to rotate the mounting flanges so the bolt holes would properly align with the new headers.
I welded, ground, filed, sanded, and then last but not least, wire brushed the pipe to give it that seamless look.
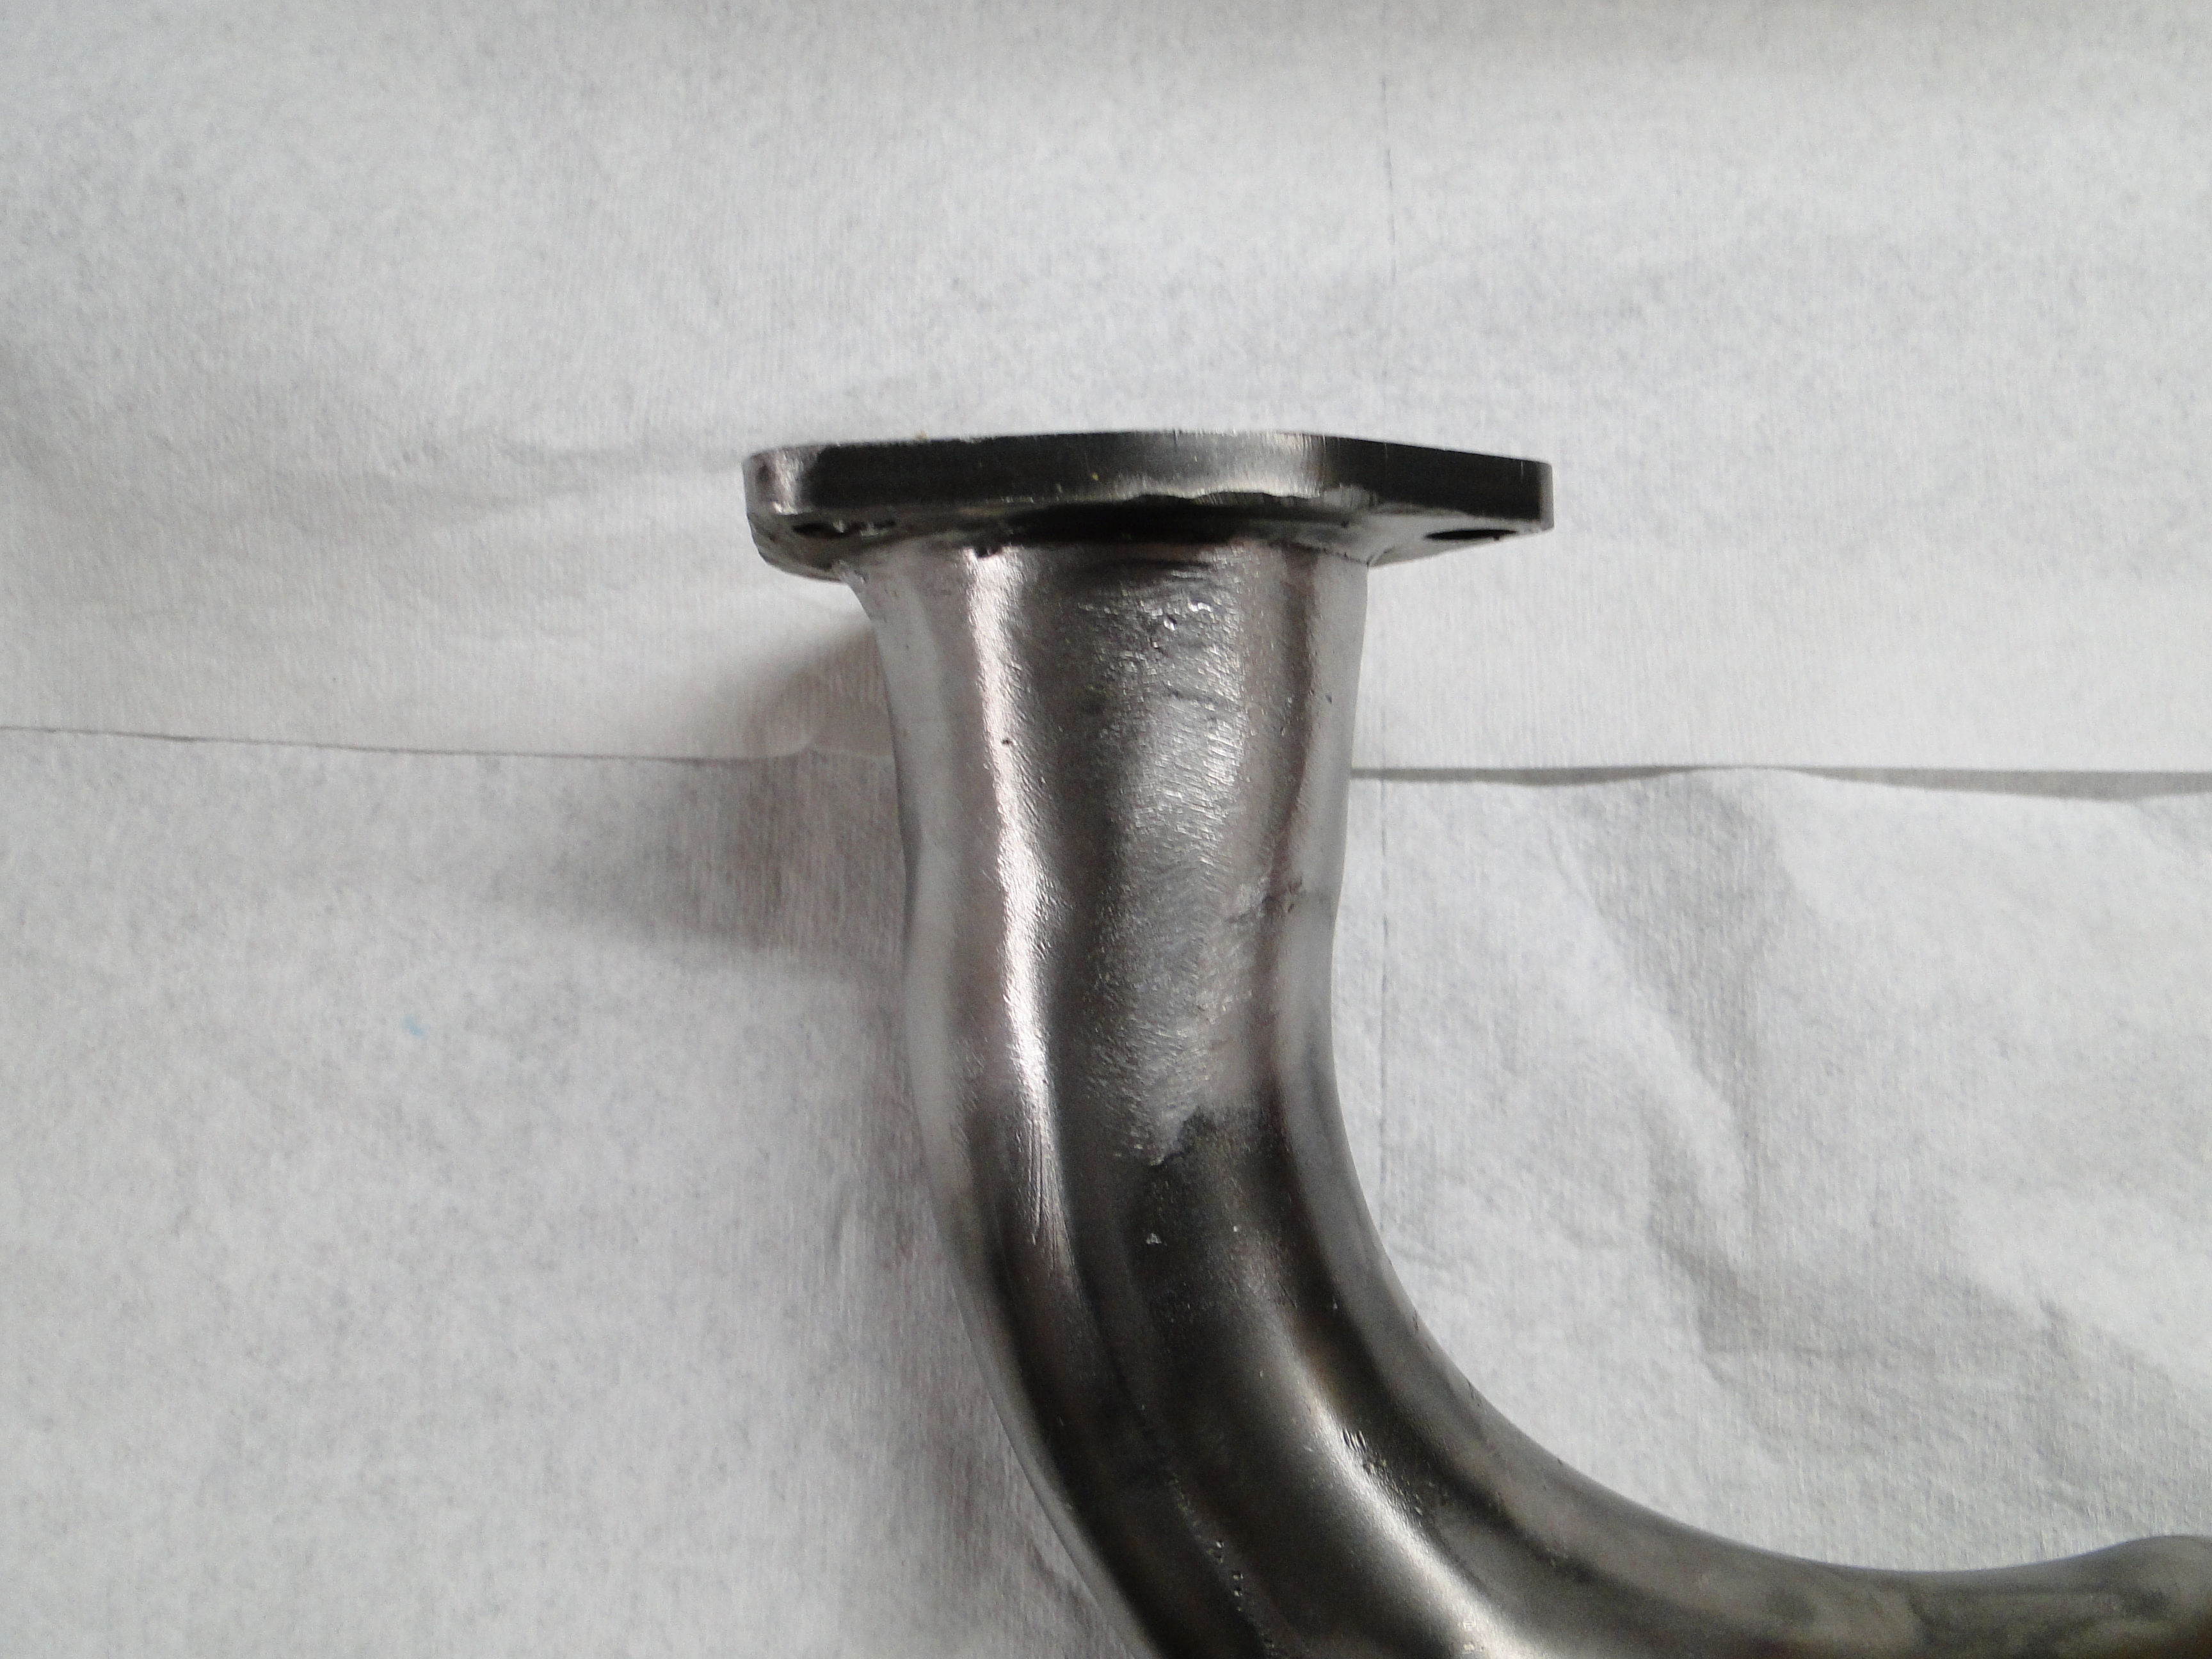
Click any picture to enlarge
March
Rerouting Steering Column
As I went to install the drivers side exhaust pipe, I discovered the pipe was now hitting the steering column.
After a some web research I decided to purchase a coupler and a four inch spline extender to move the column to the outside of the exhaust pipe. Now in the middle of a Pandemic I had no access to a mechanist so I had to get creative. The four inch spine extension needed safety bolt groves machined on each end to prevent the steering column from disconnecting while driving causing a loss of steering. My drill press had to double as a milling machine and I must say the results are much better than expected. Last but not least paint. see photos

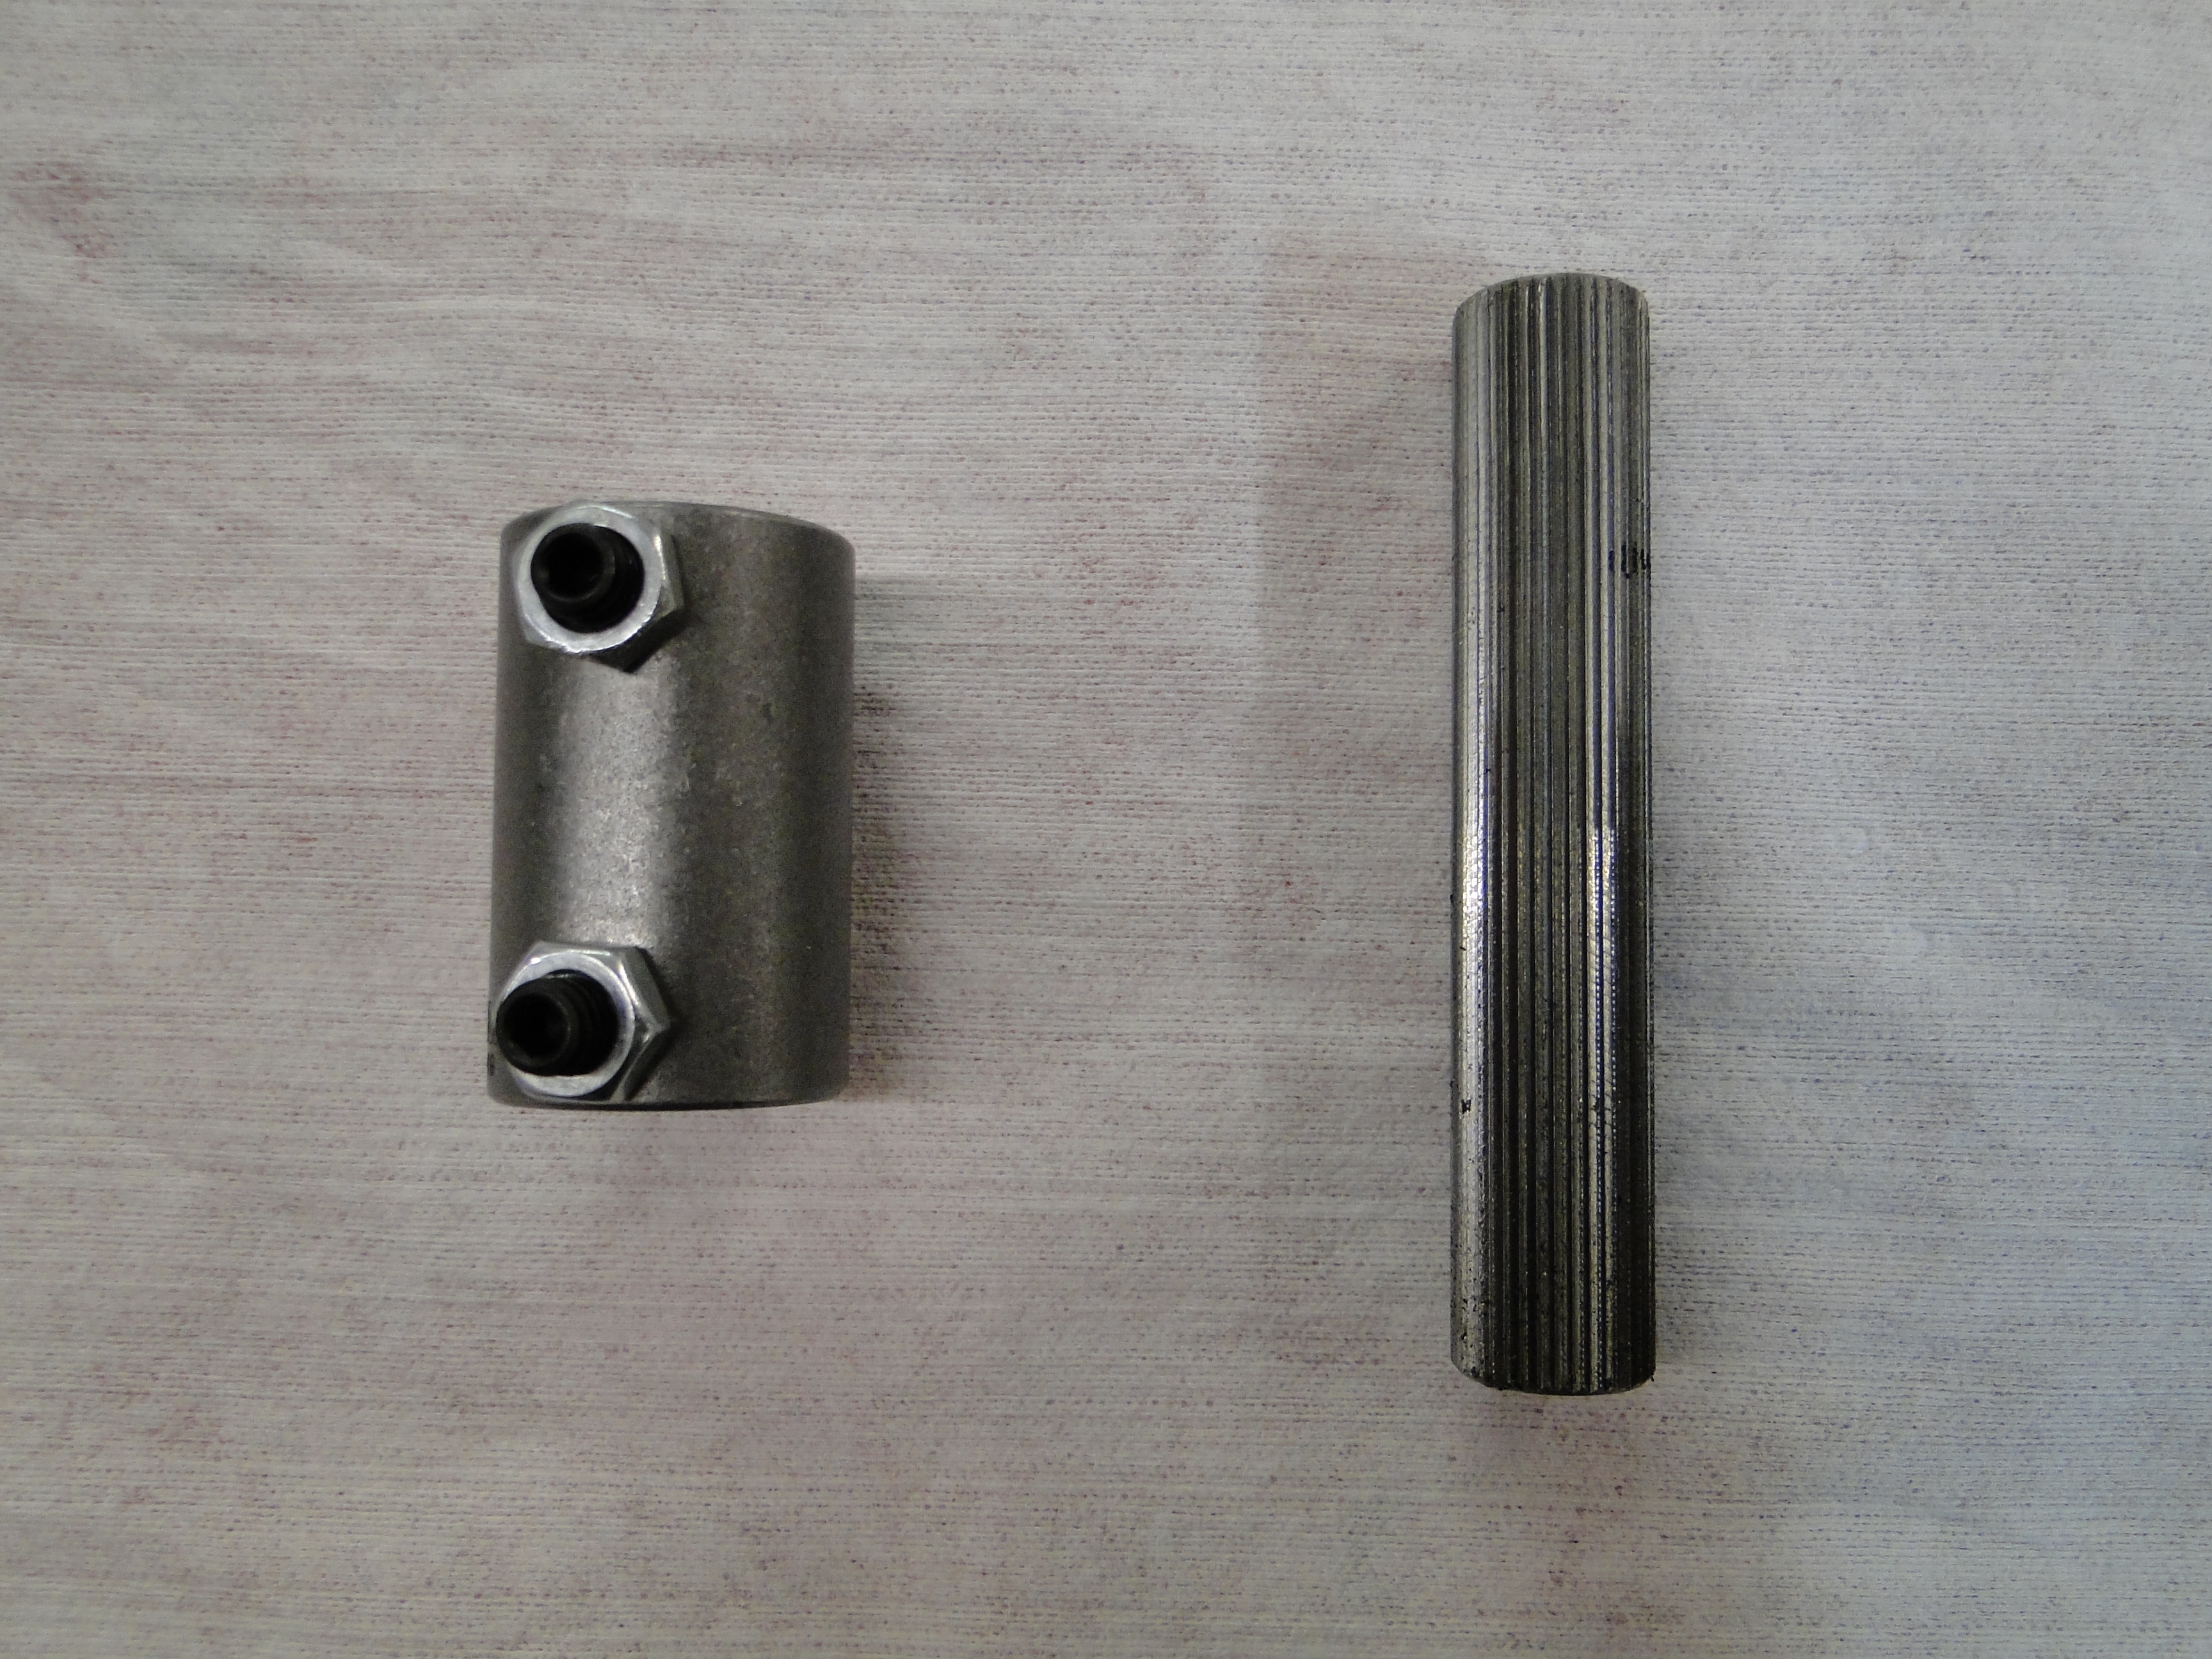
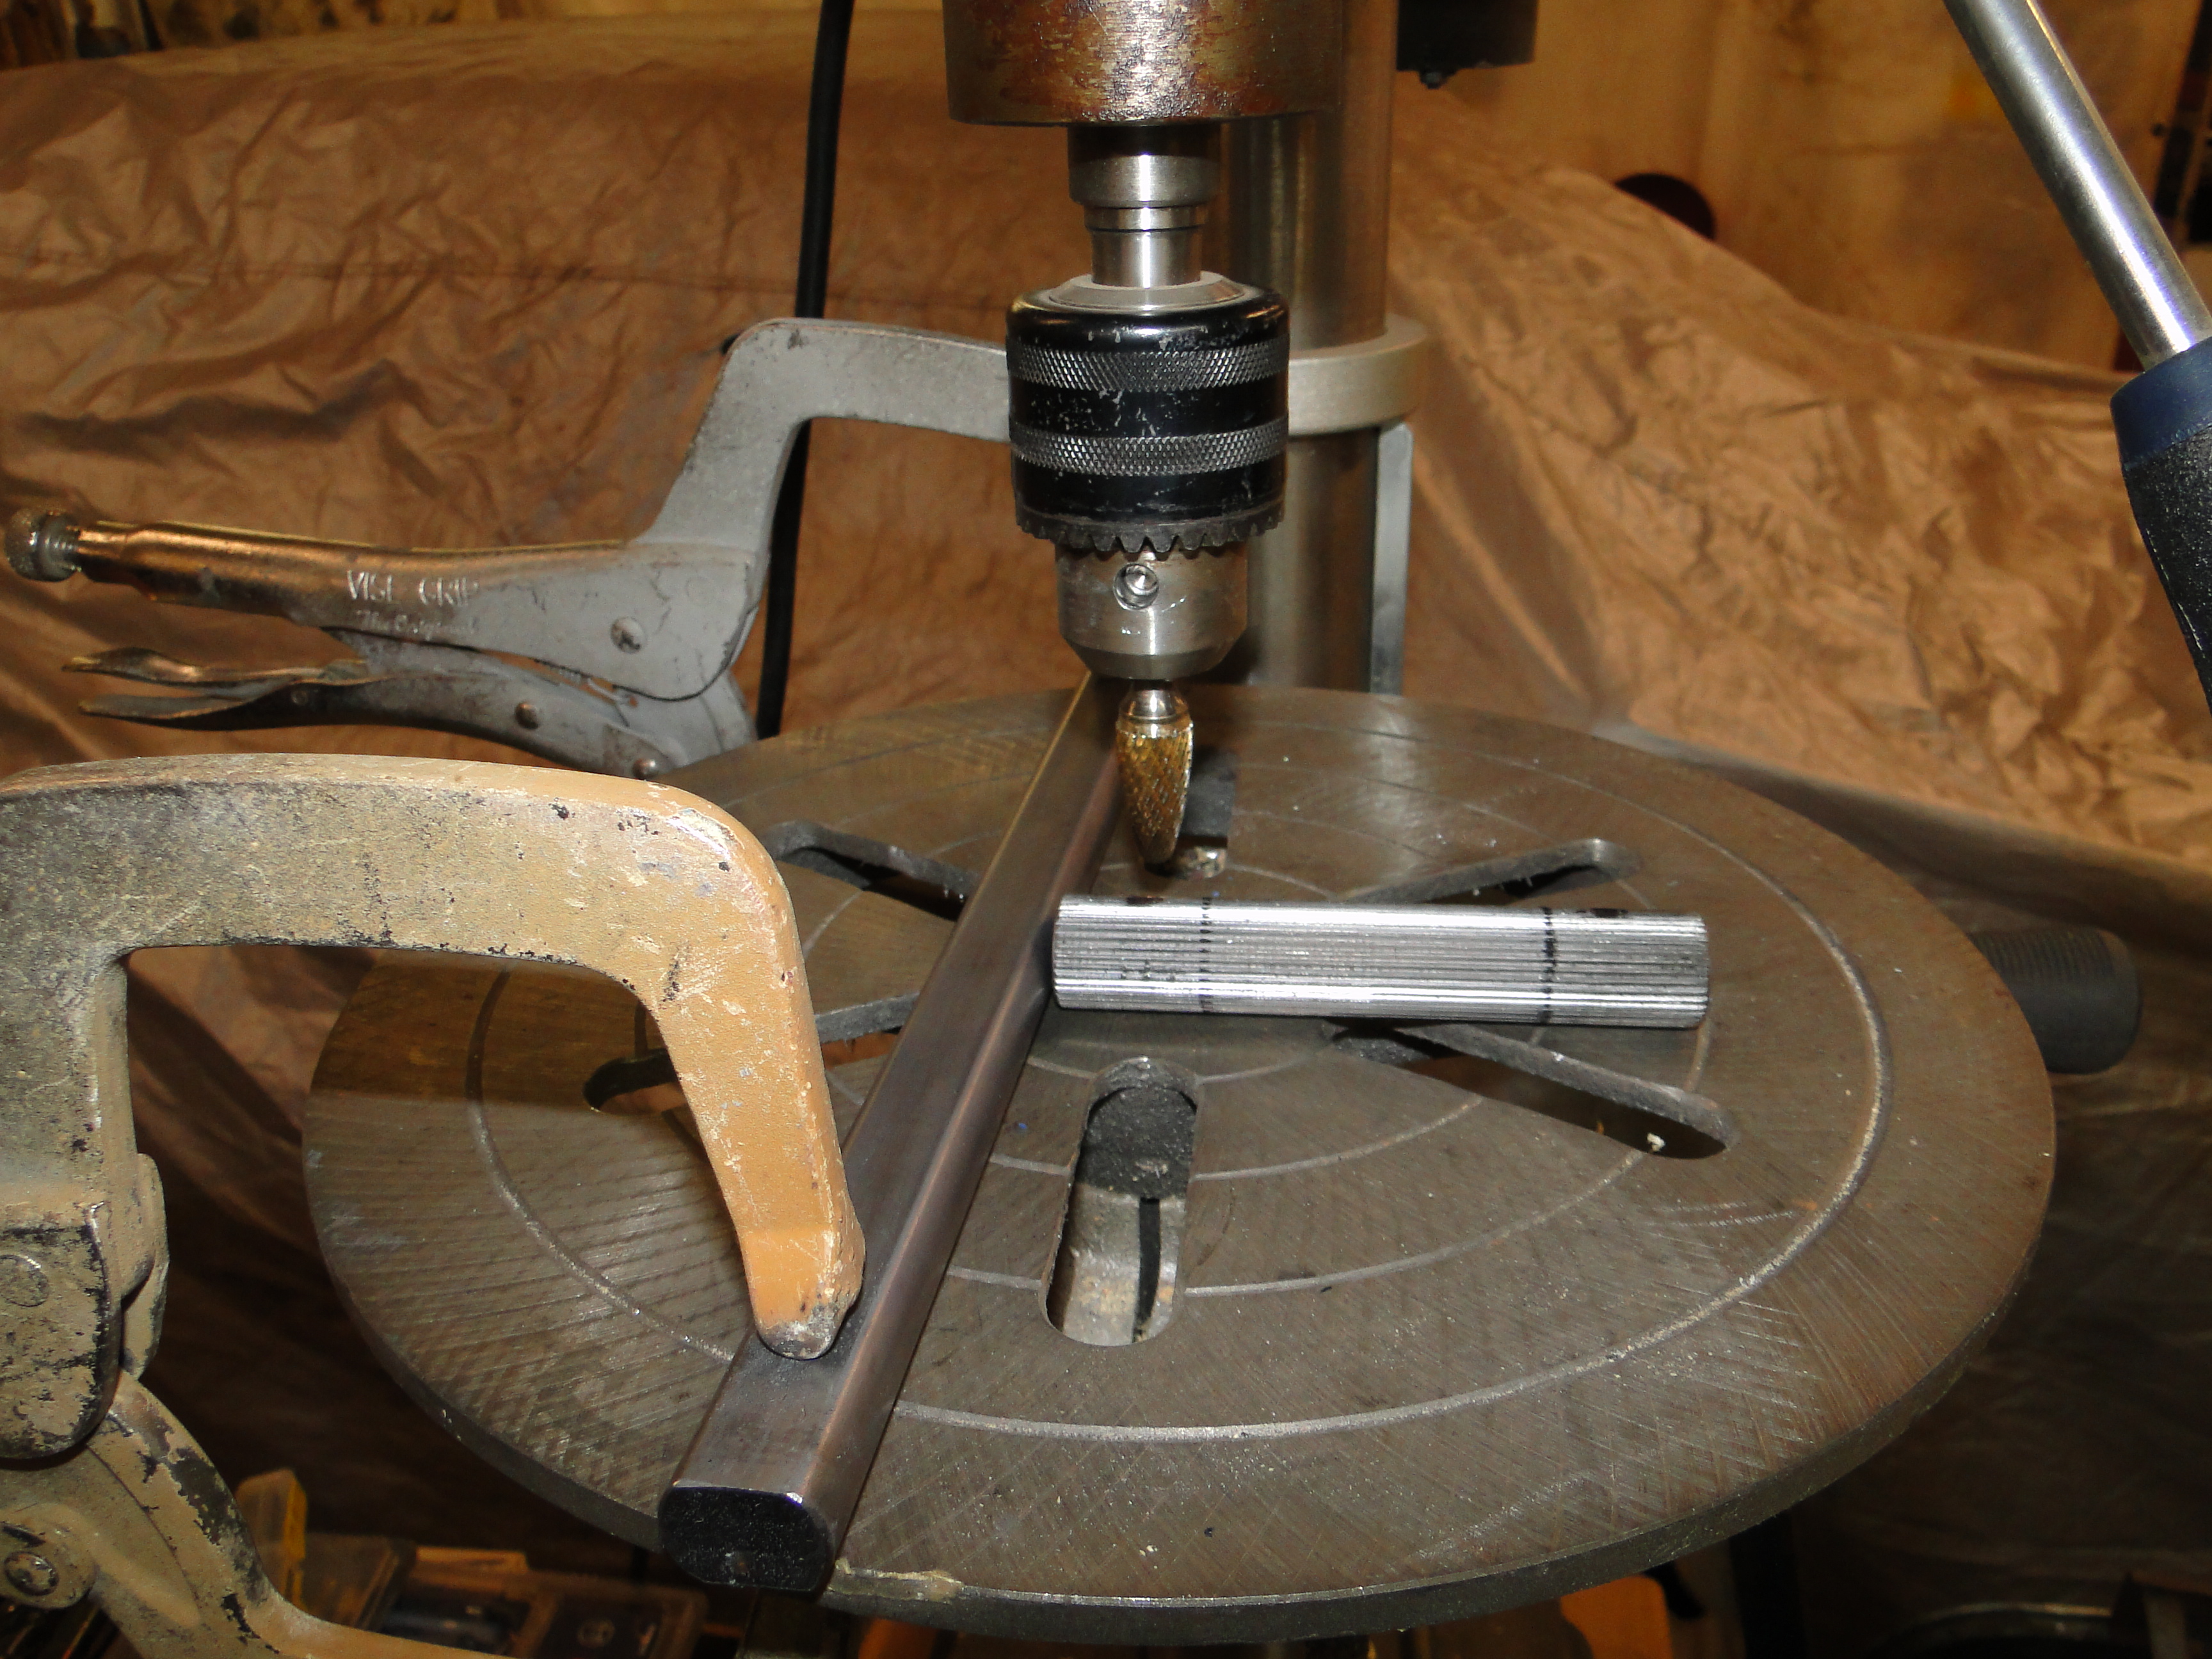
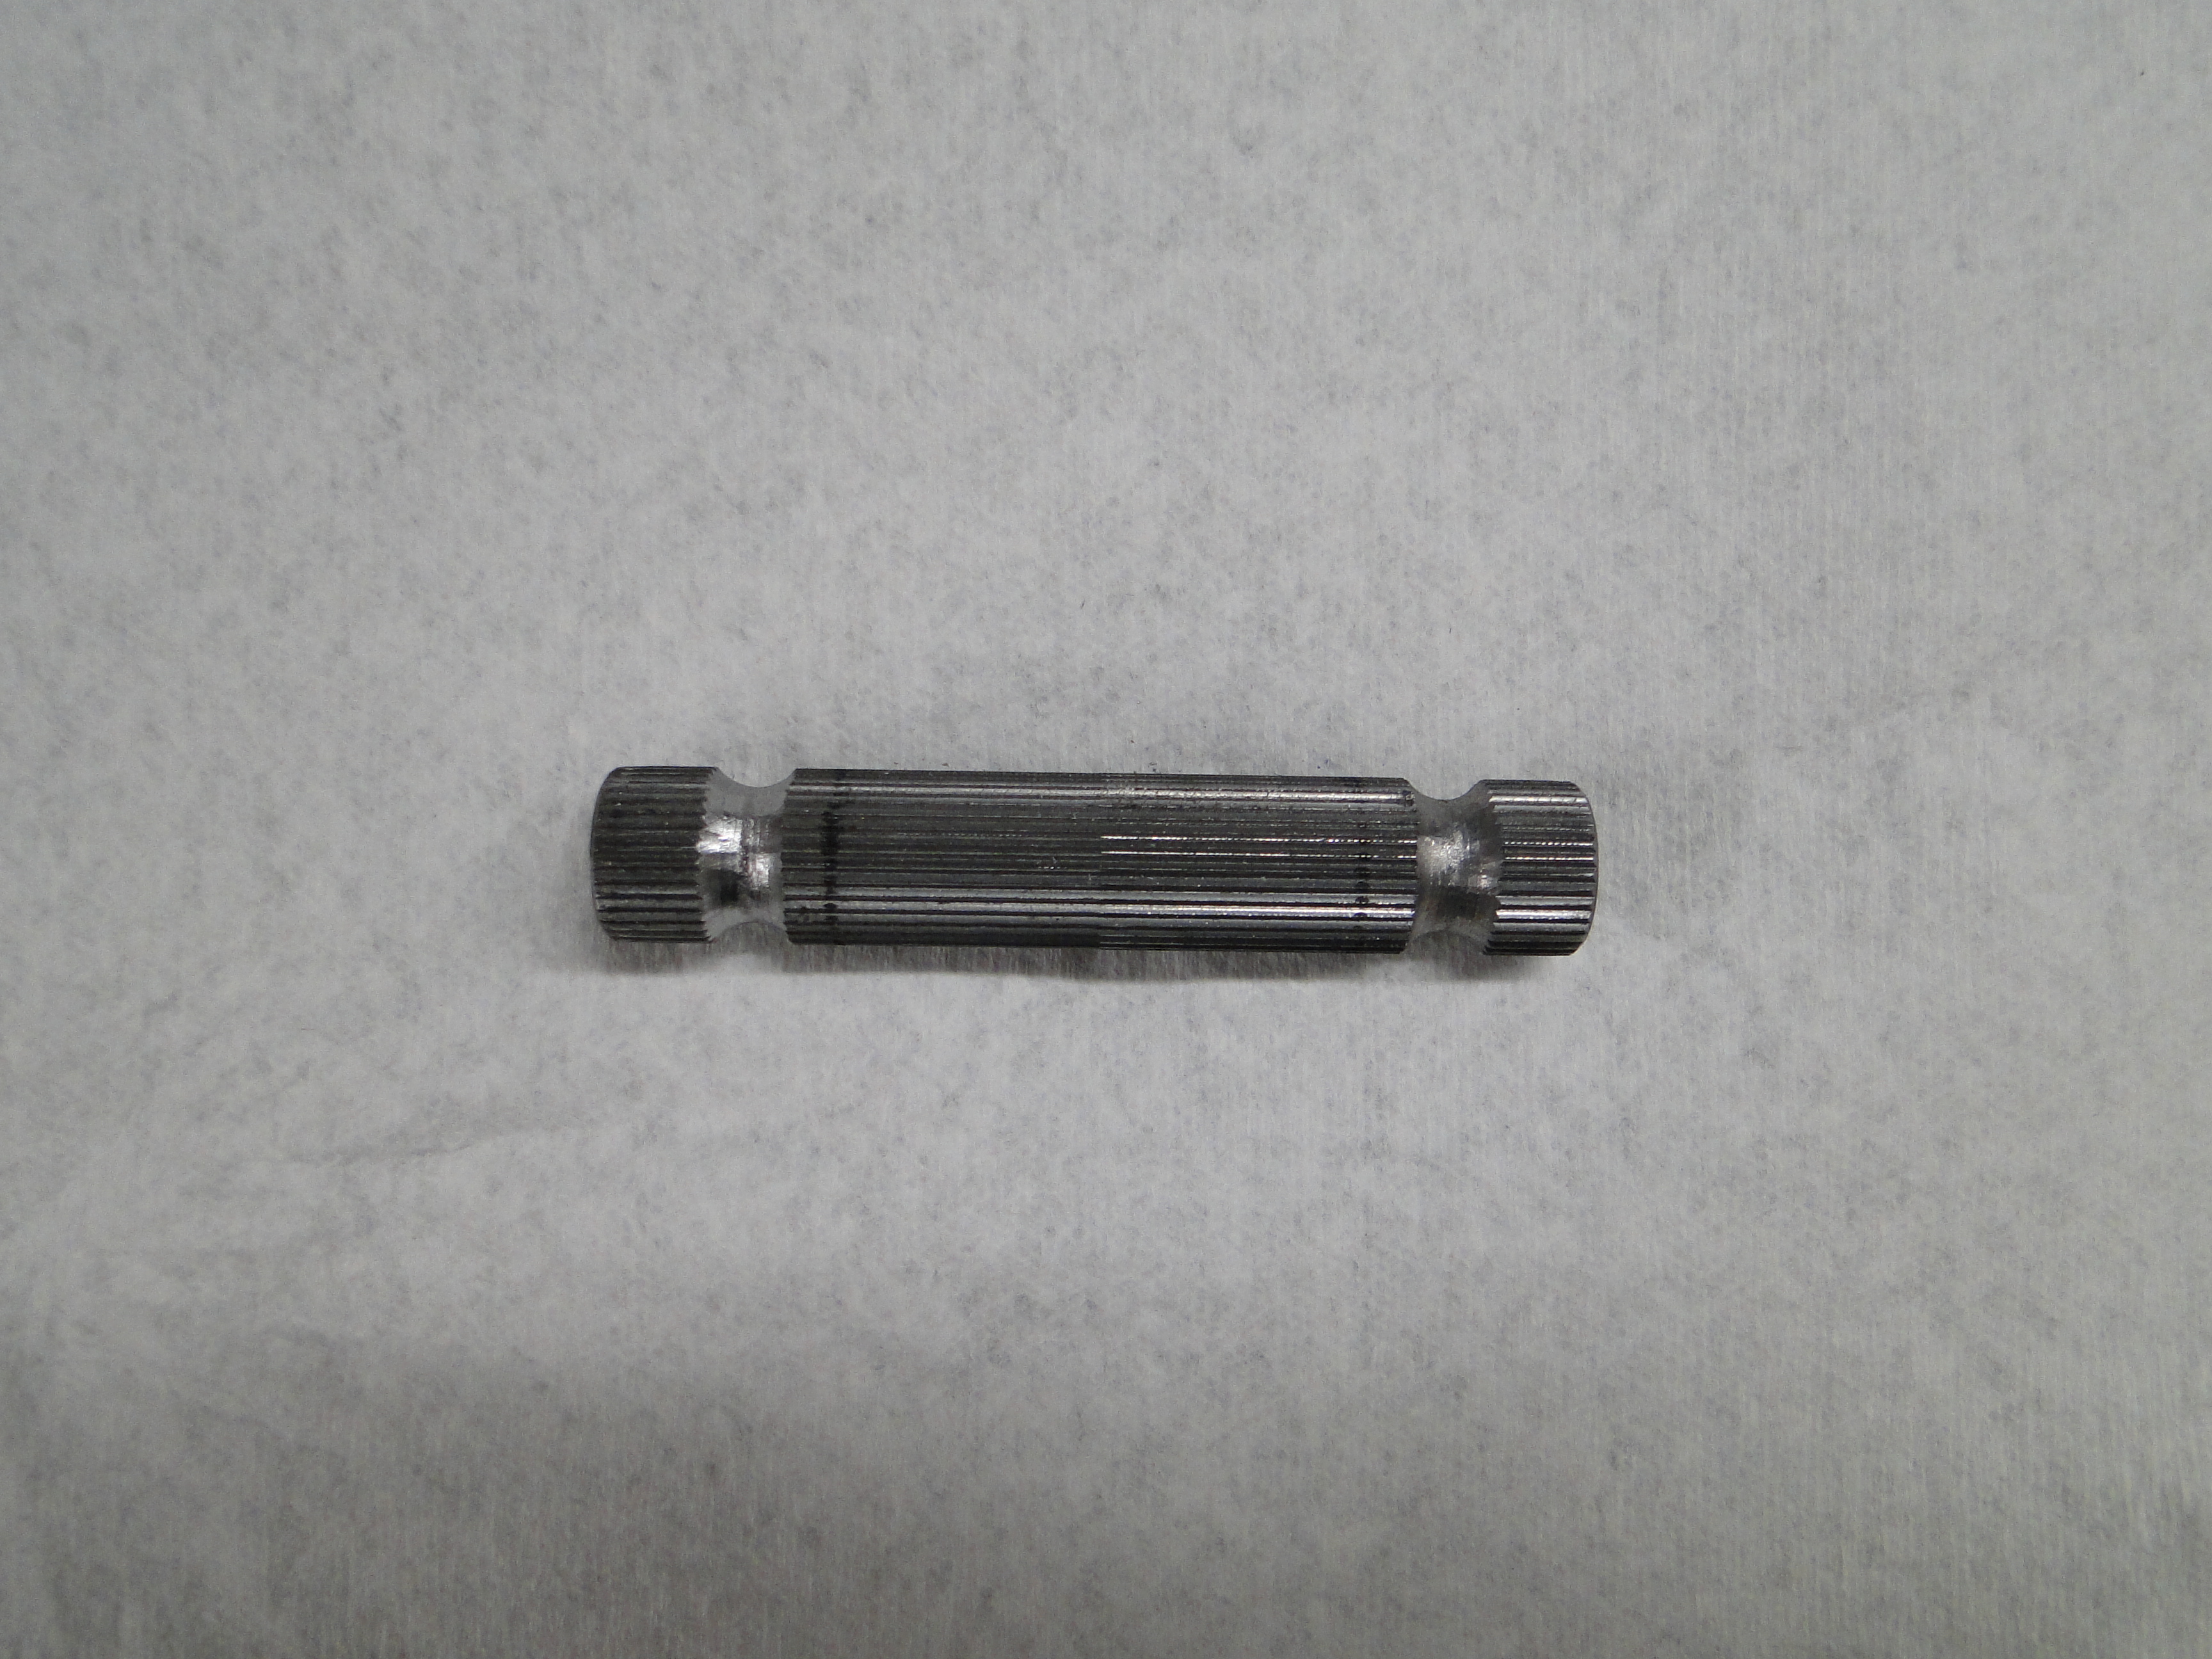

Click any picture to enlarge
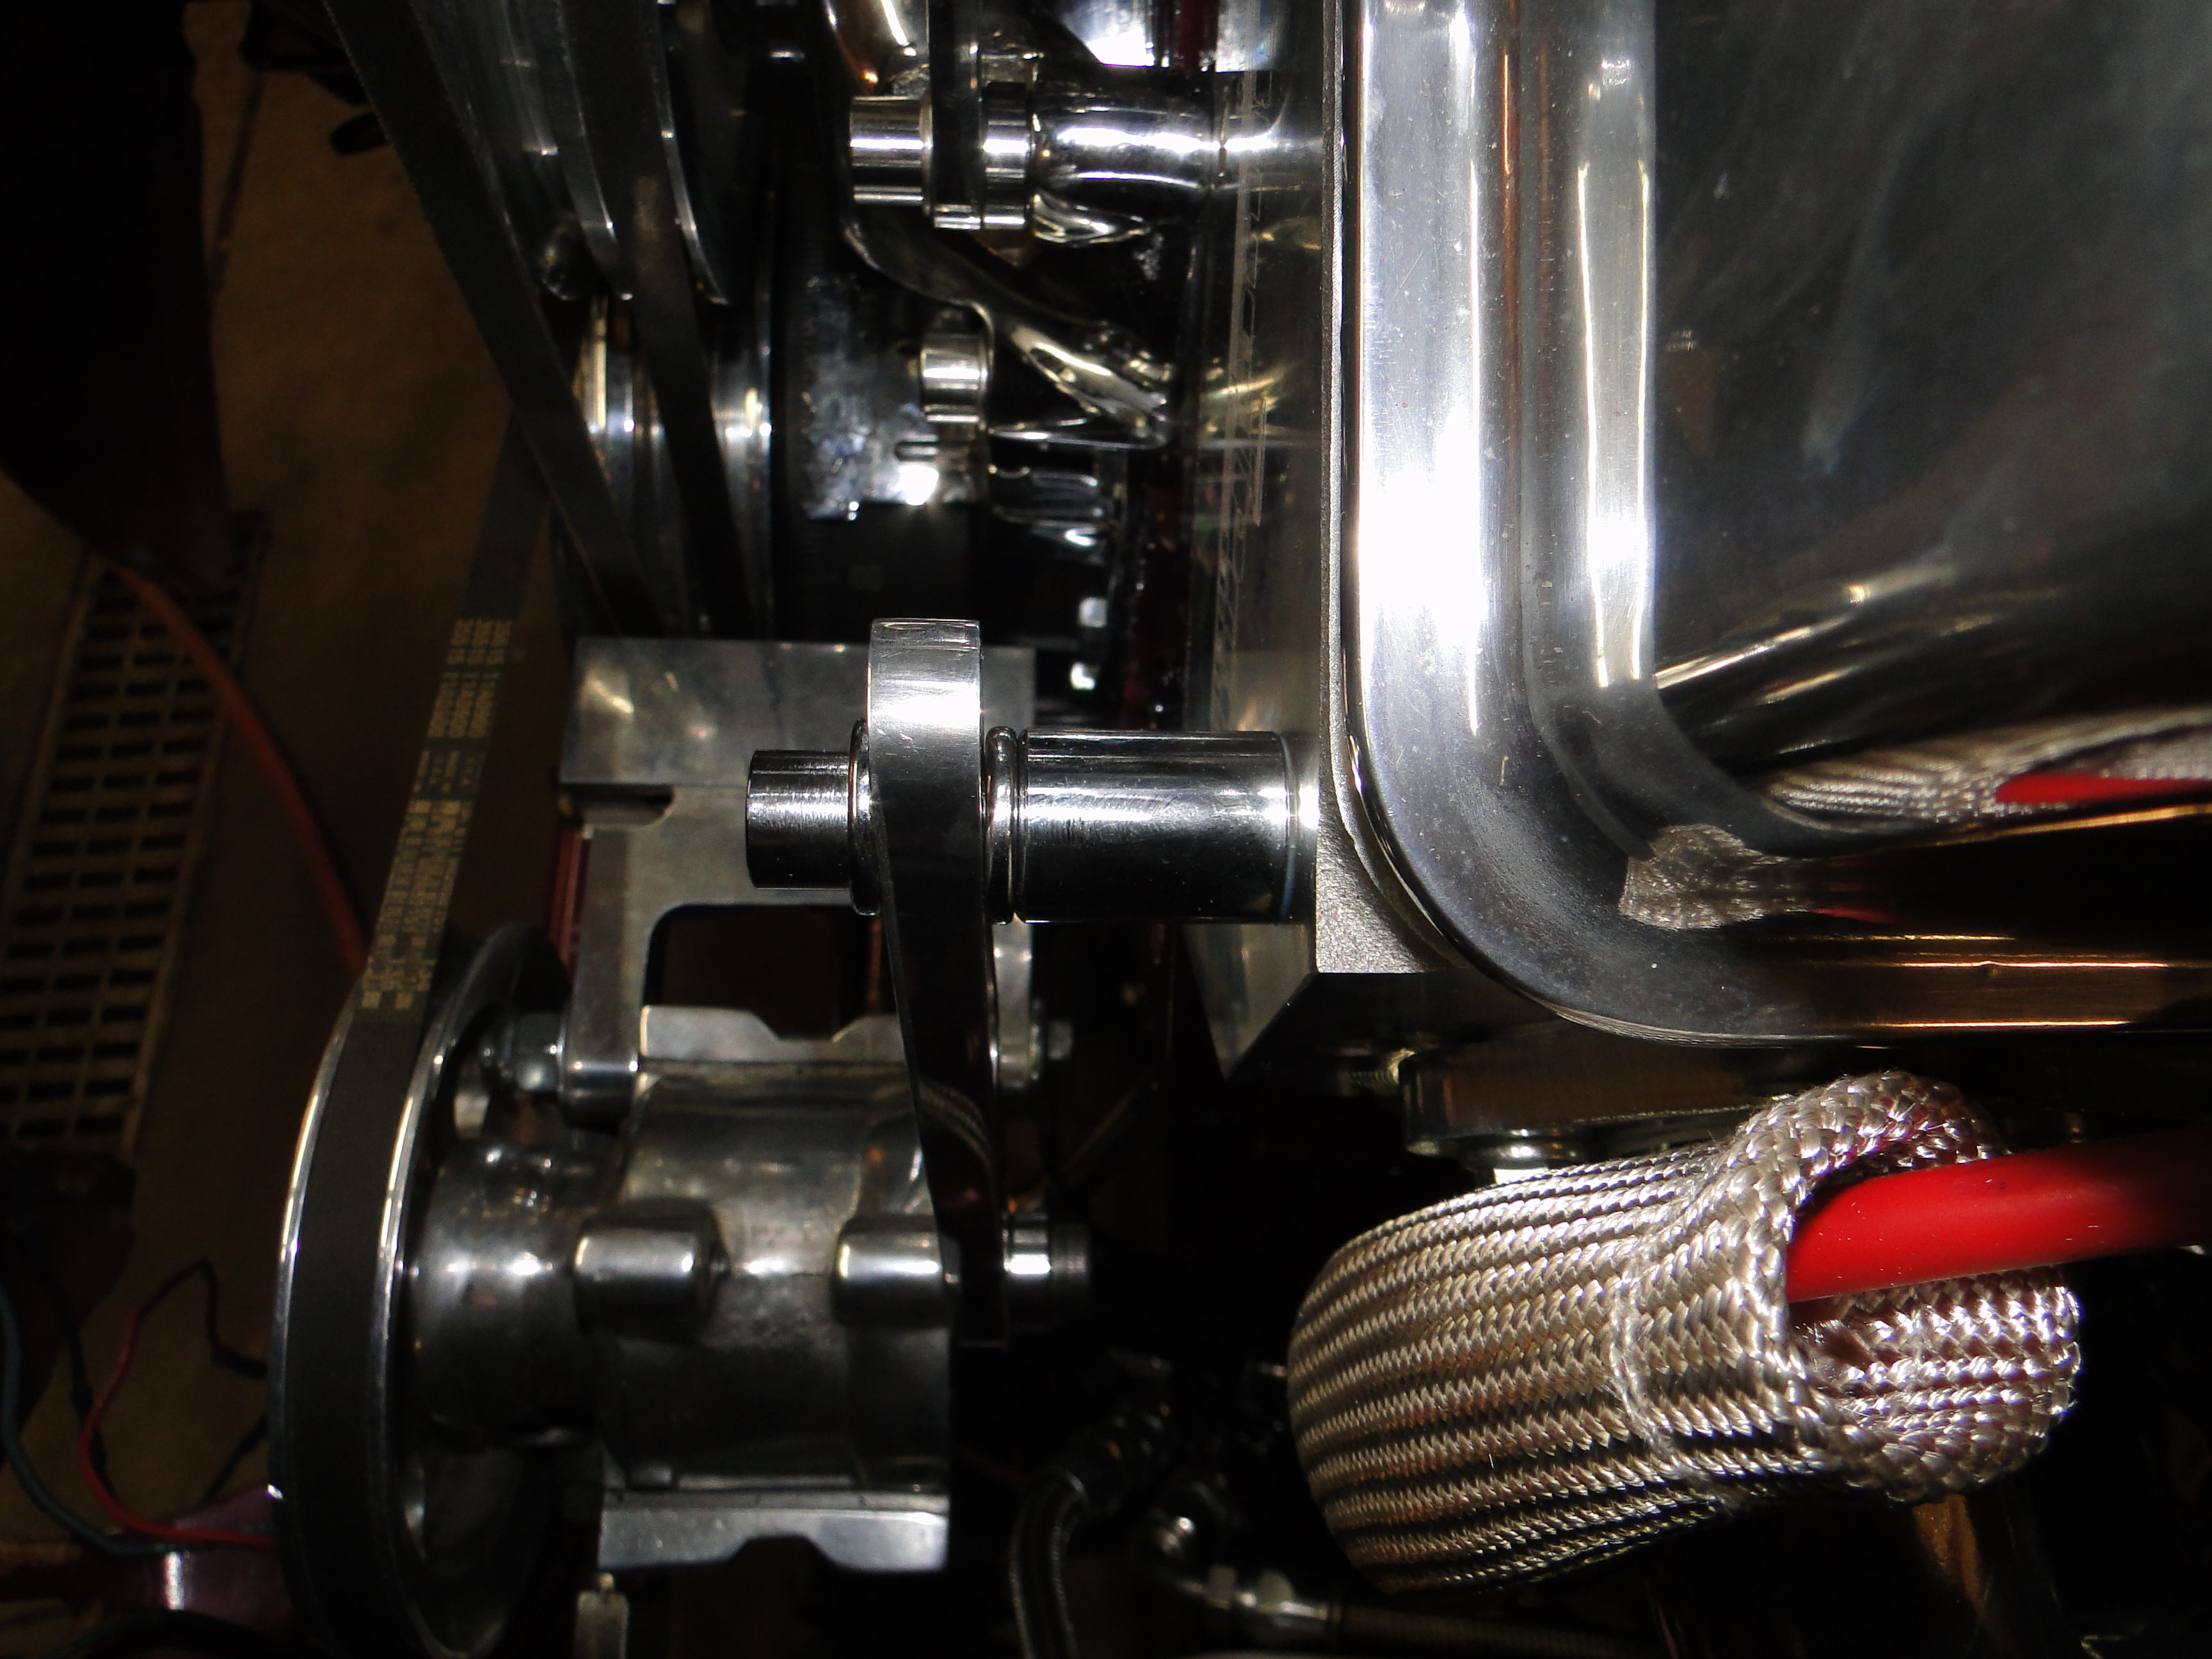
Cooling Fan Upgrade
From day one my old engine ran hot at car cruses especially when I was moving a parade speed for any period of time.
In fact I would have to leave the cruse and drive anywhere at highway speeds, just to cool the engine down so then I could return to the cruse.
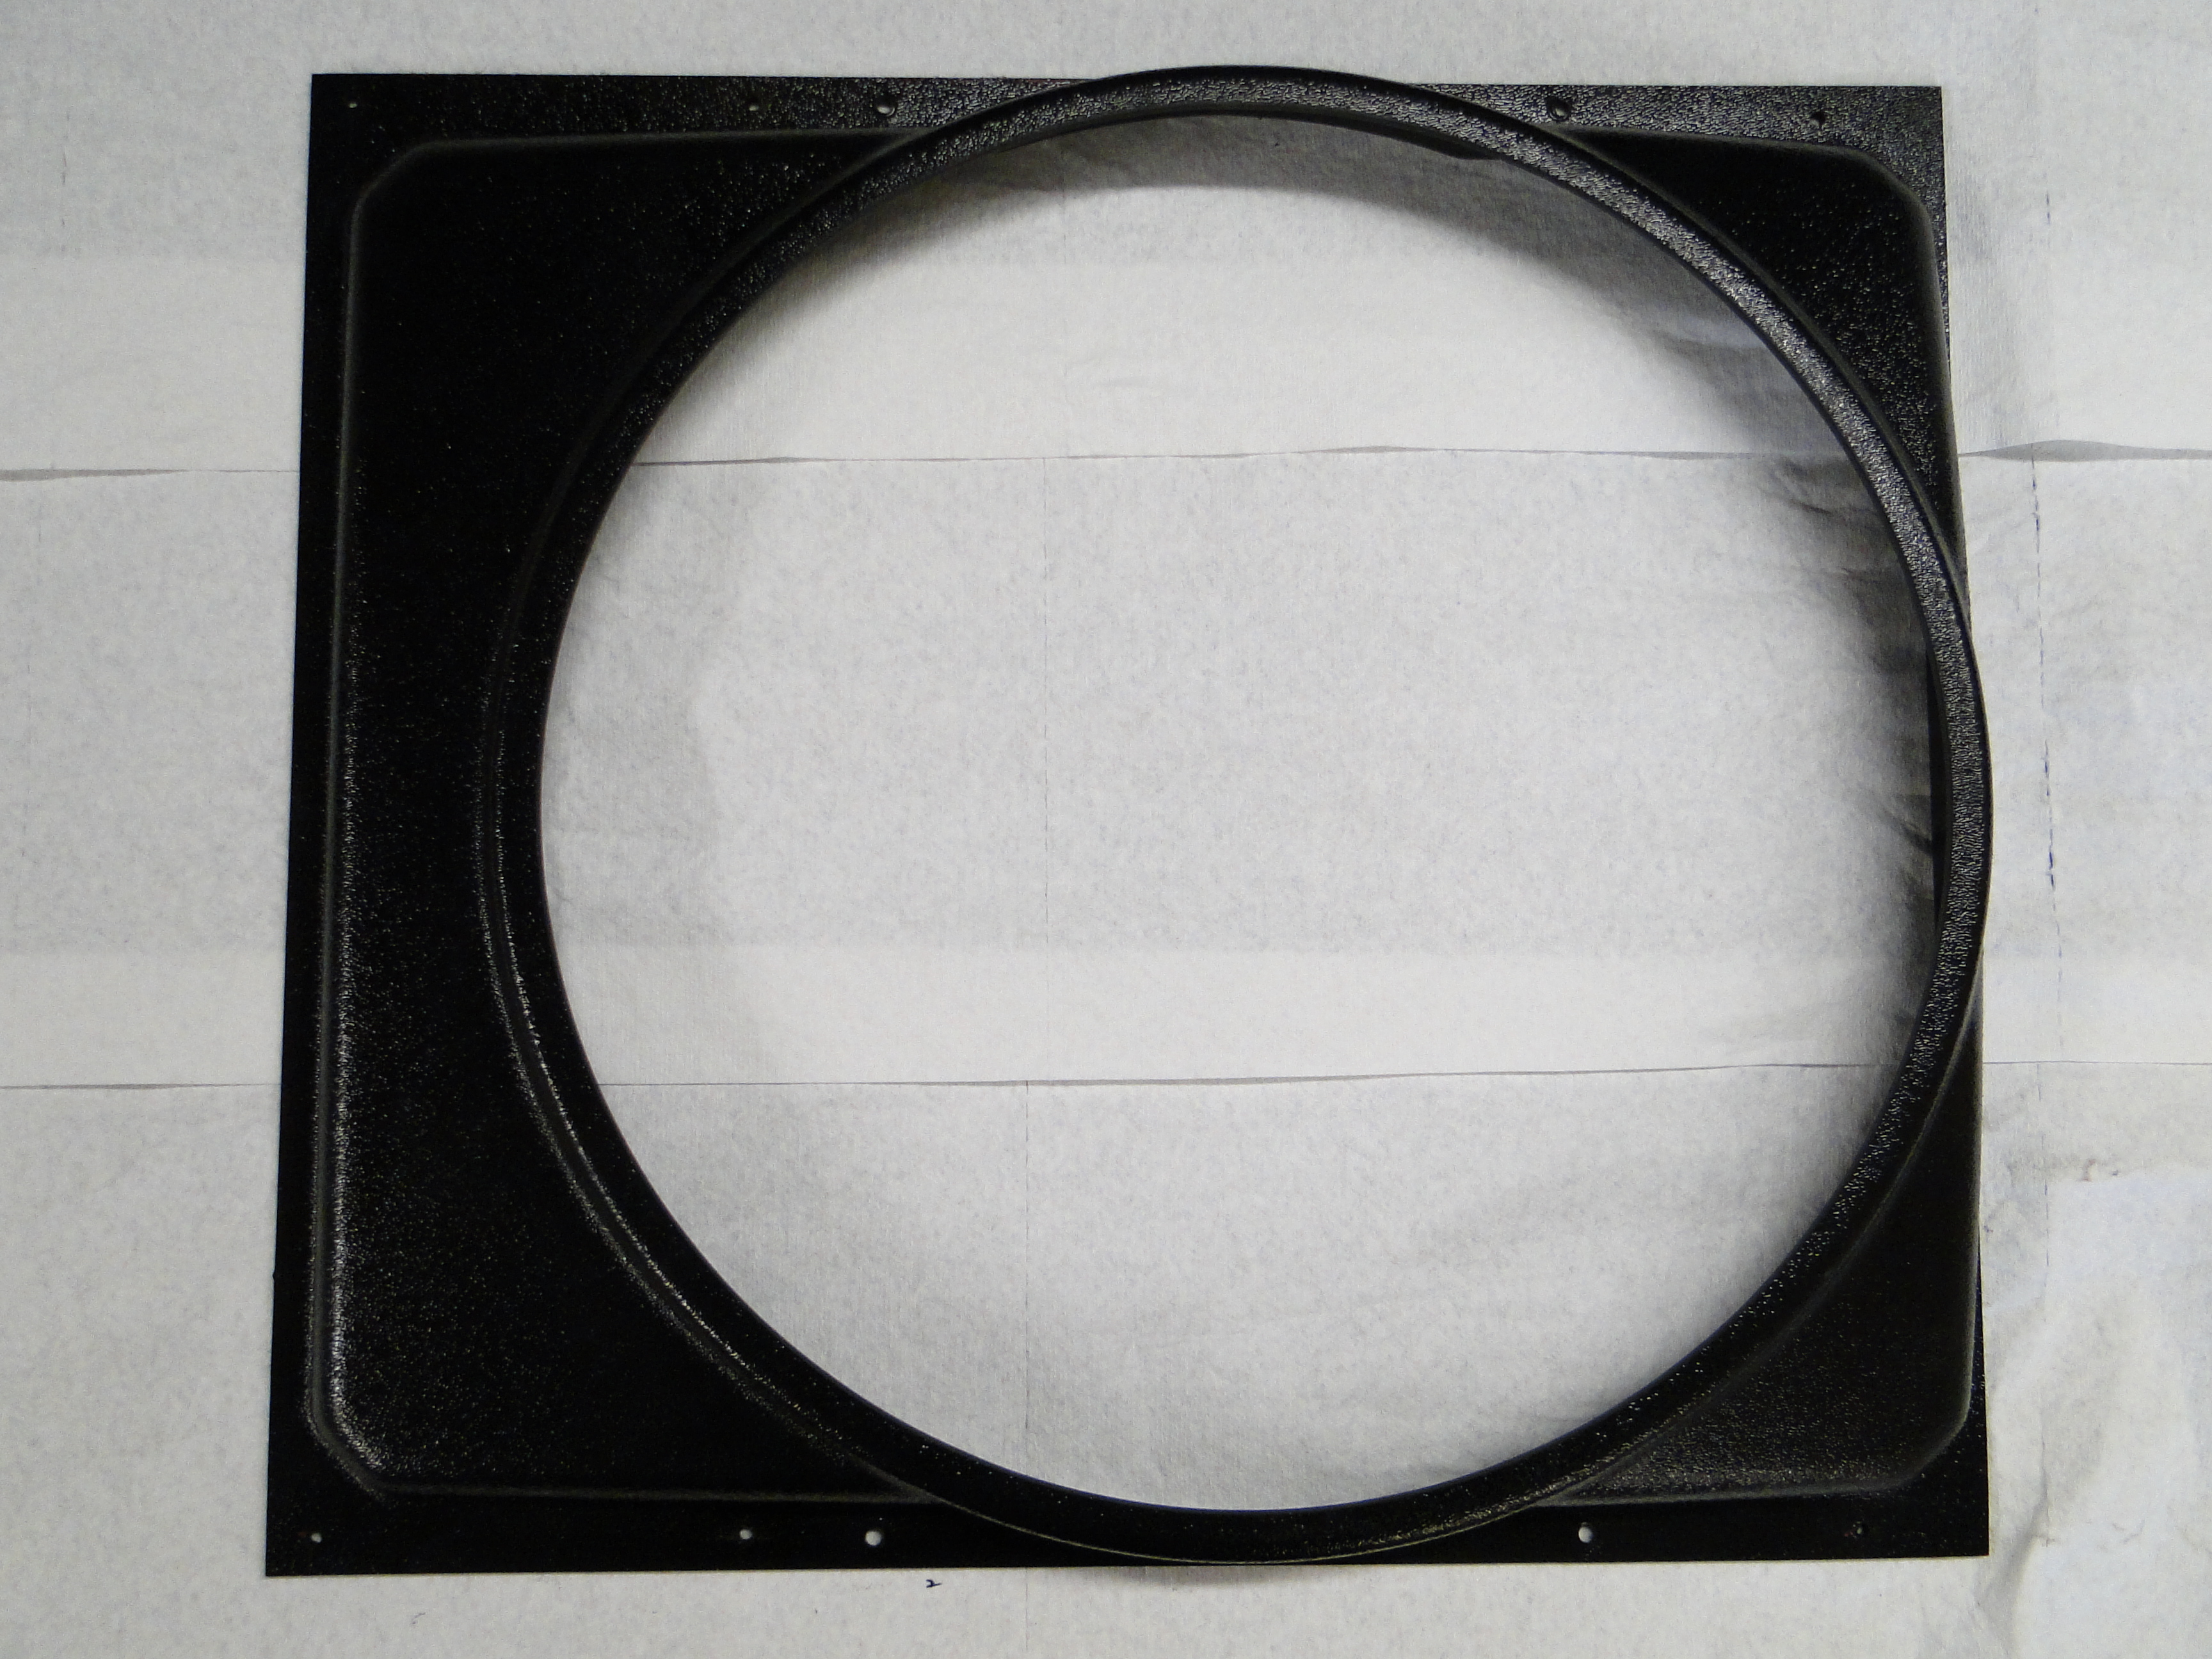
So I am back to the web for more research, and I found Cooling Component's, they make an electric fan and shroud that should fit on my radiator.
The big problem was I had less then two inches between the water pump pulley and the radiator.
This fan was rated at 3000 cfm Cubic Feet per Minute which I am told is more than I will ever need for cooling.
Well remember how I was told that this cooling fan would fit my car, well it sorta, kinda, maybe, no it did not fit, but that was to be expected.
My first step was to disassemble the unit so I could cut the excess off the shroud face. Then drill holes in the radiator and shroad to mount the fan.
Click picture to enlarge
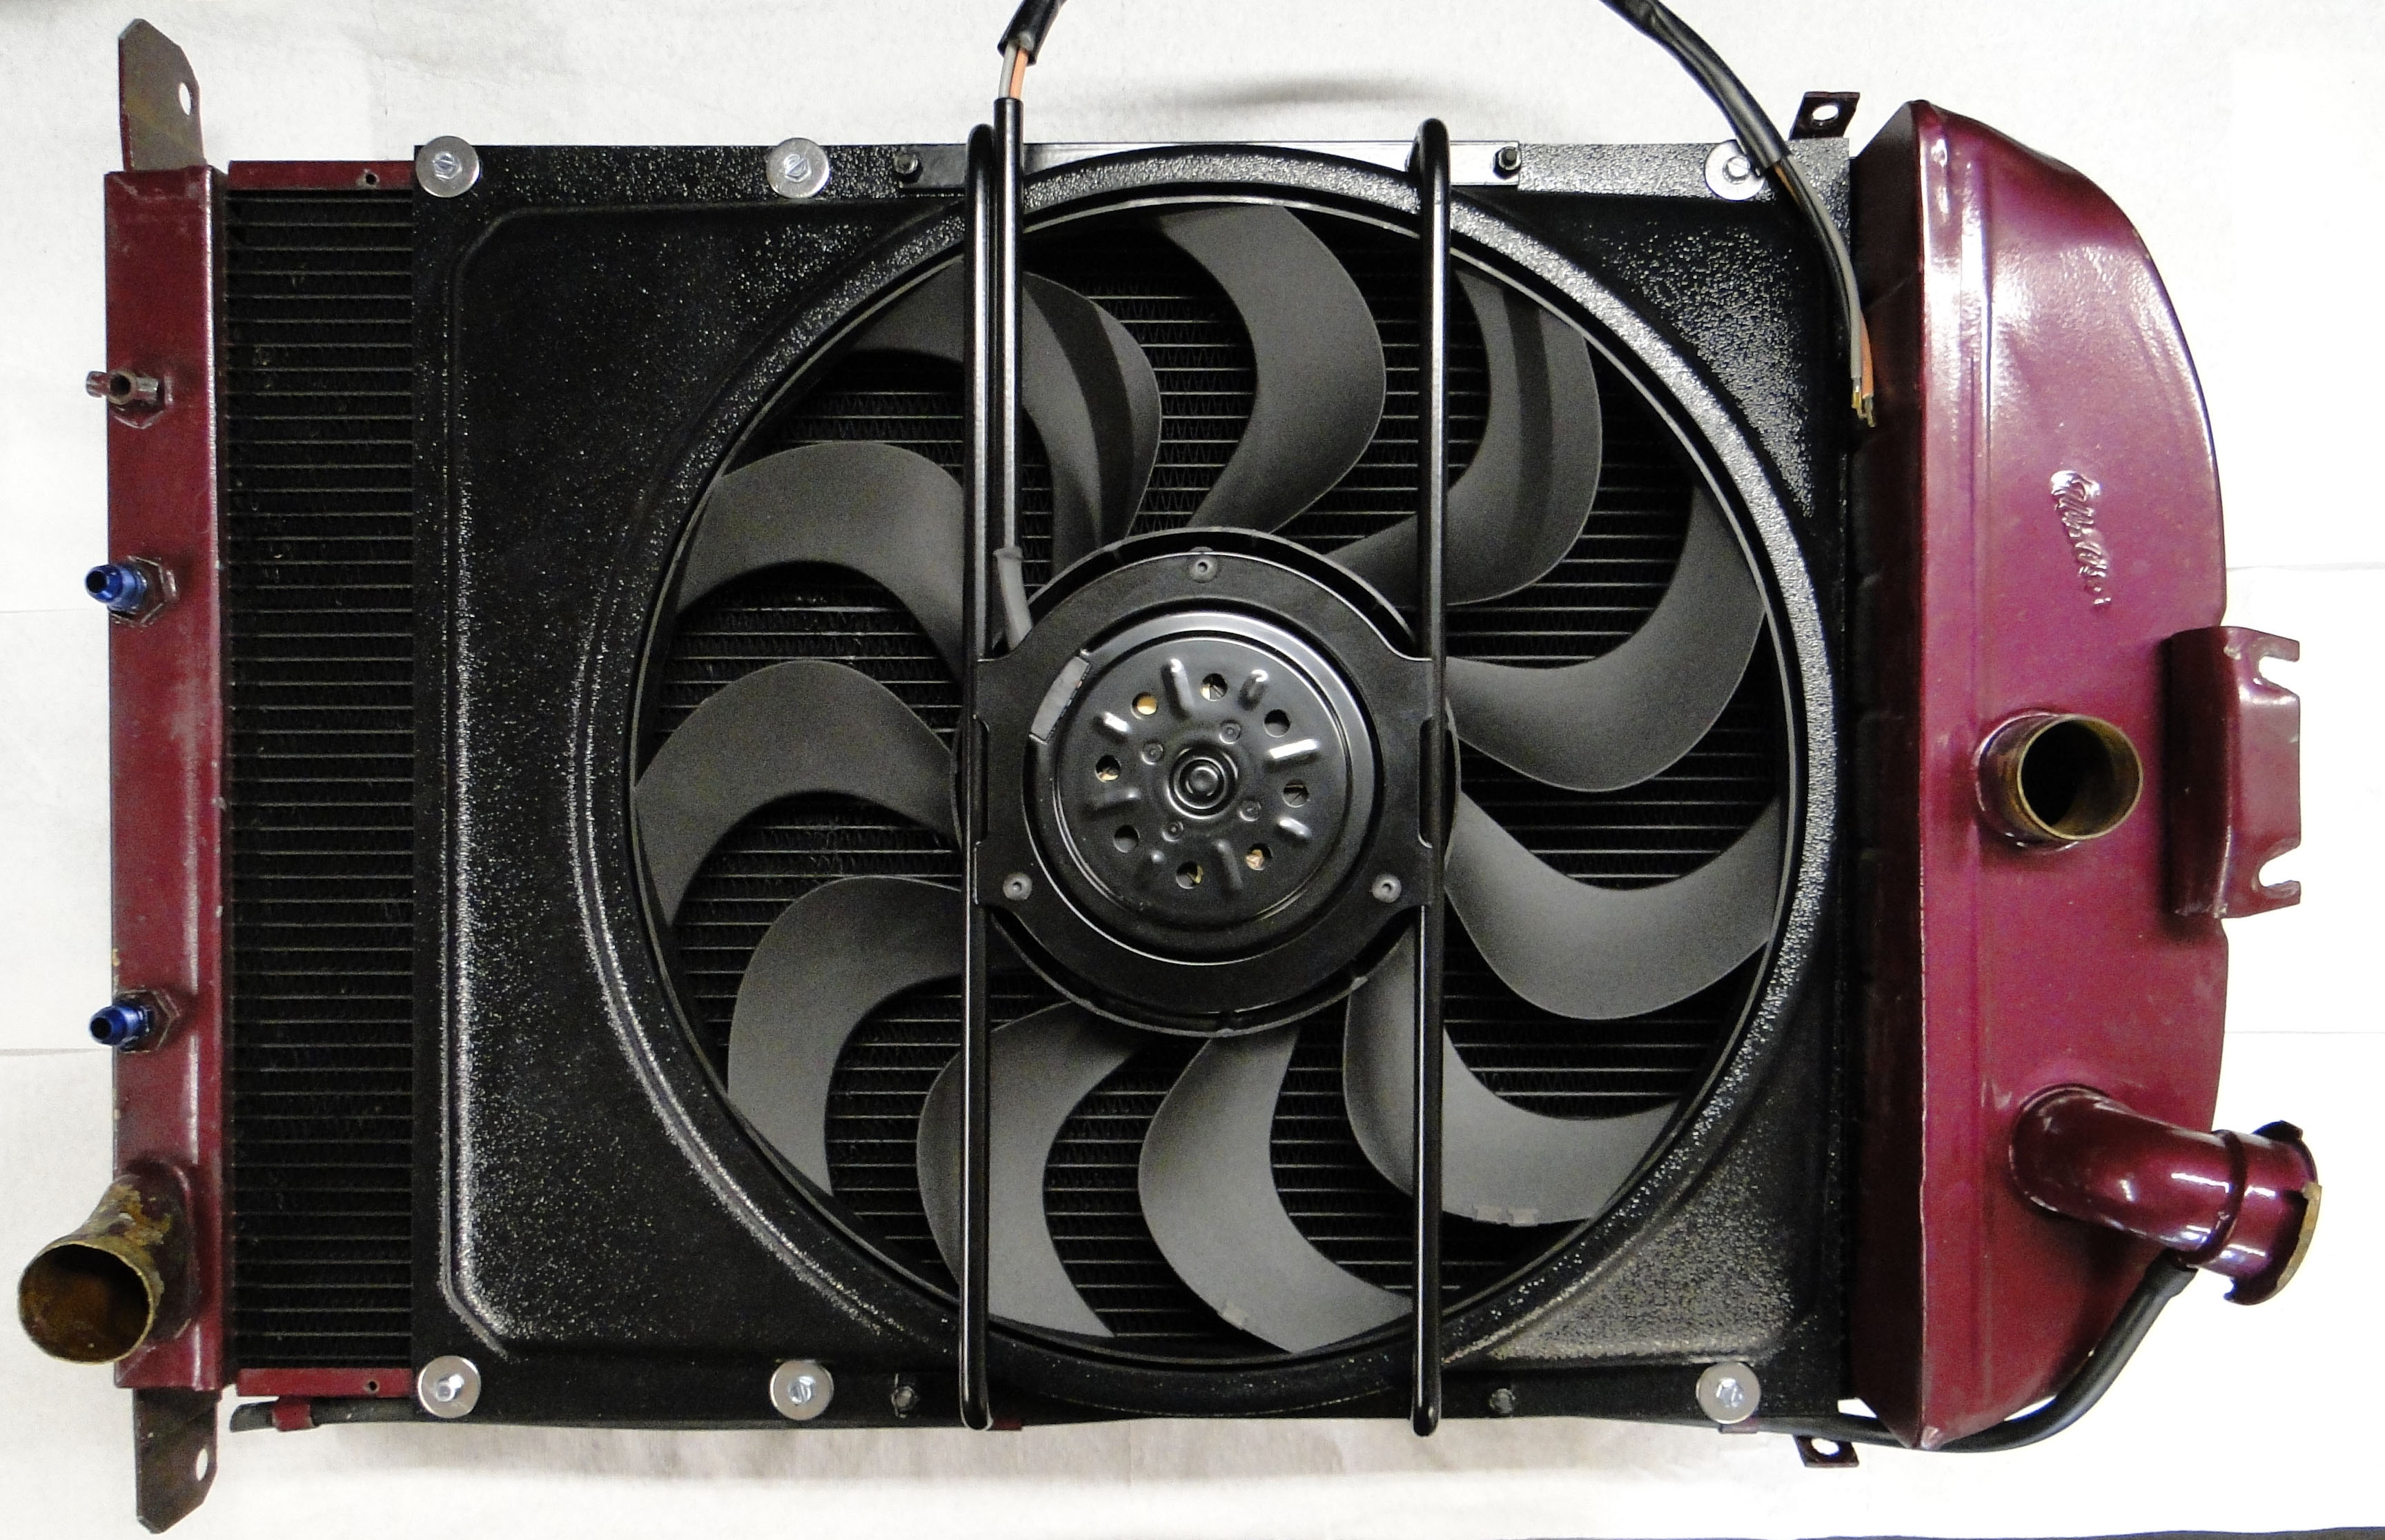
After all that I had to reassemble the unit and mount it to the radiator.
Click picture to enlarge
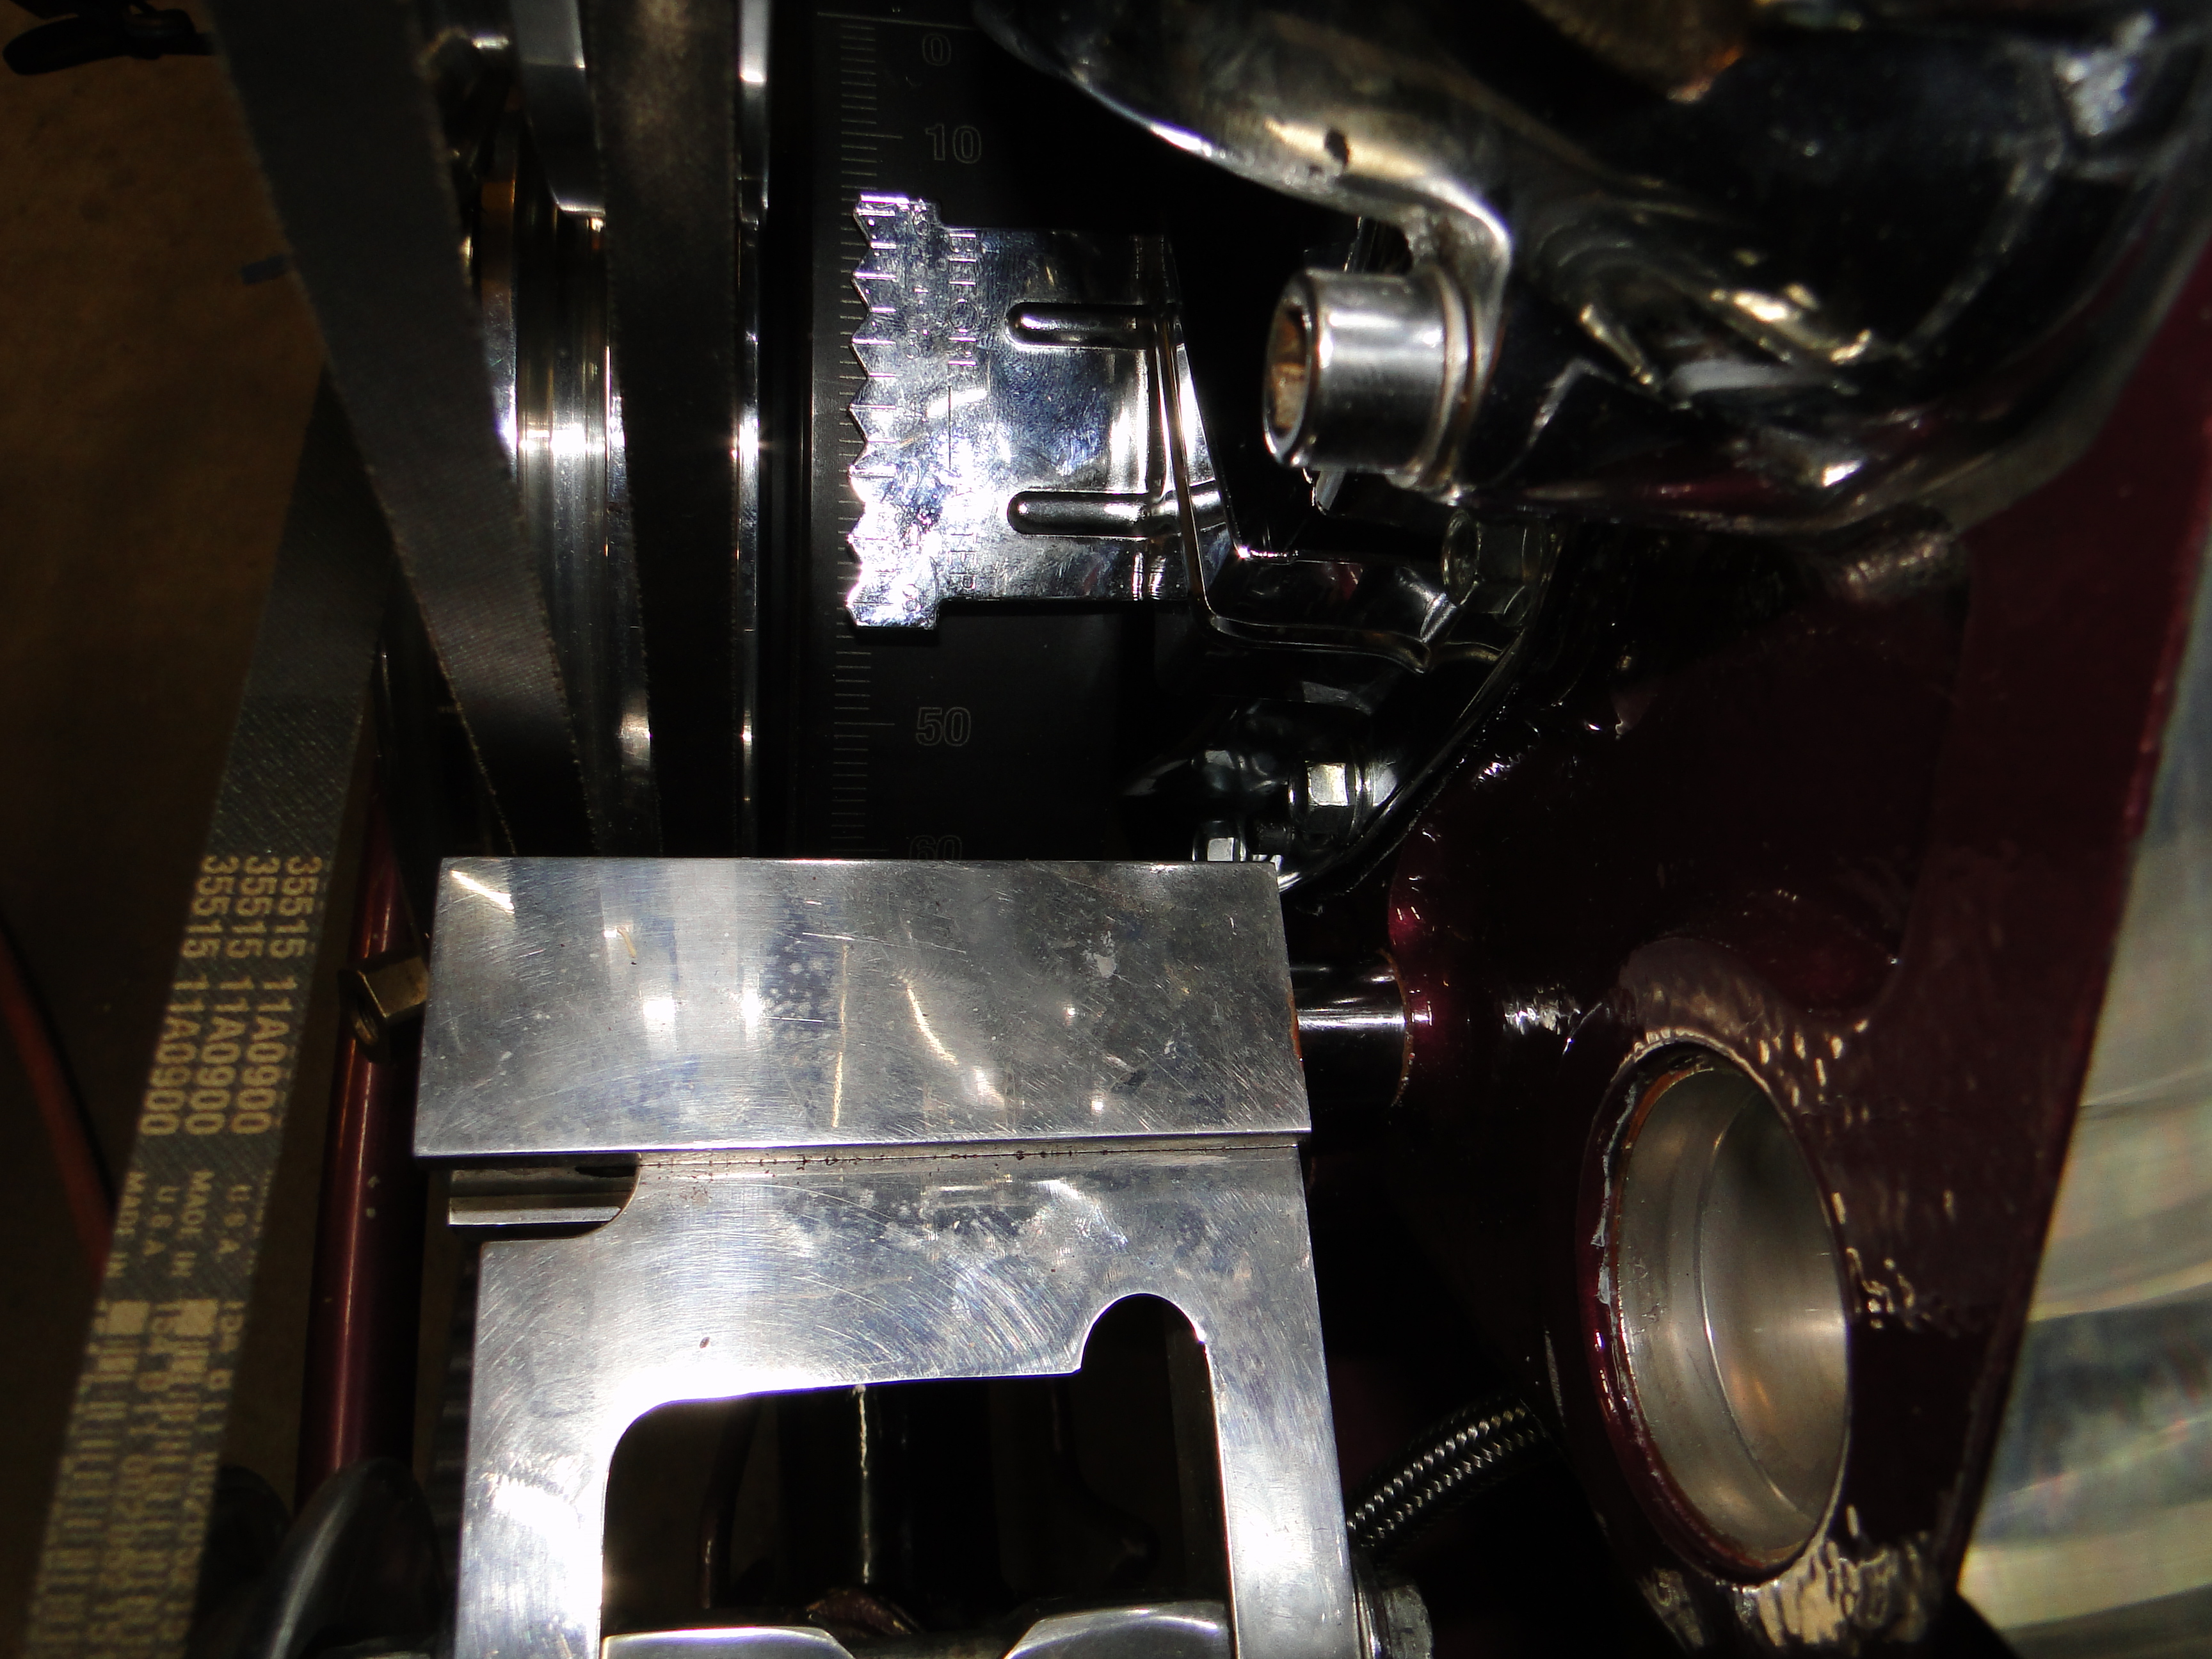
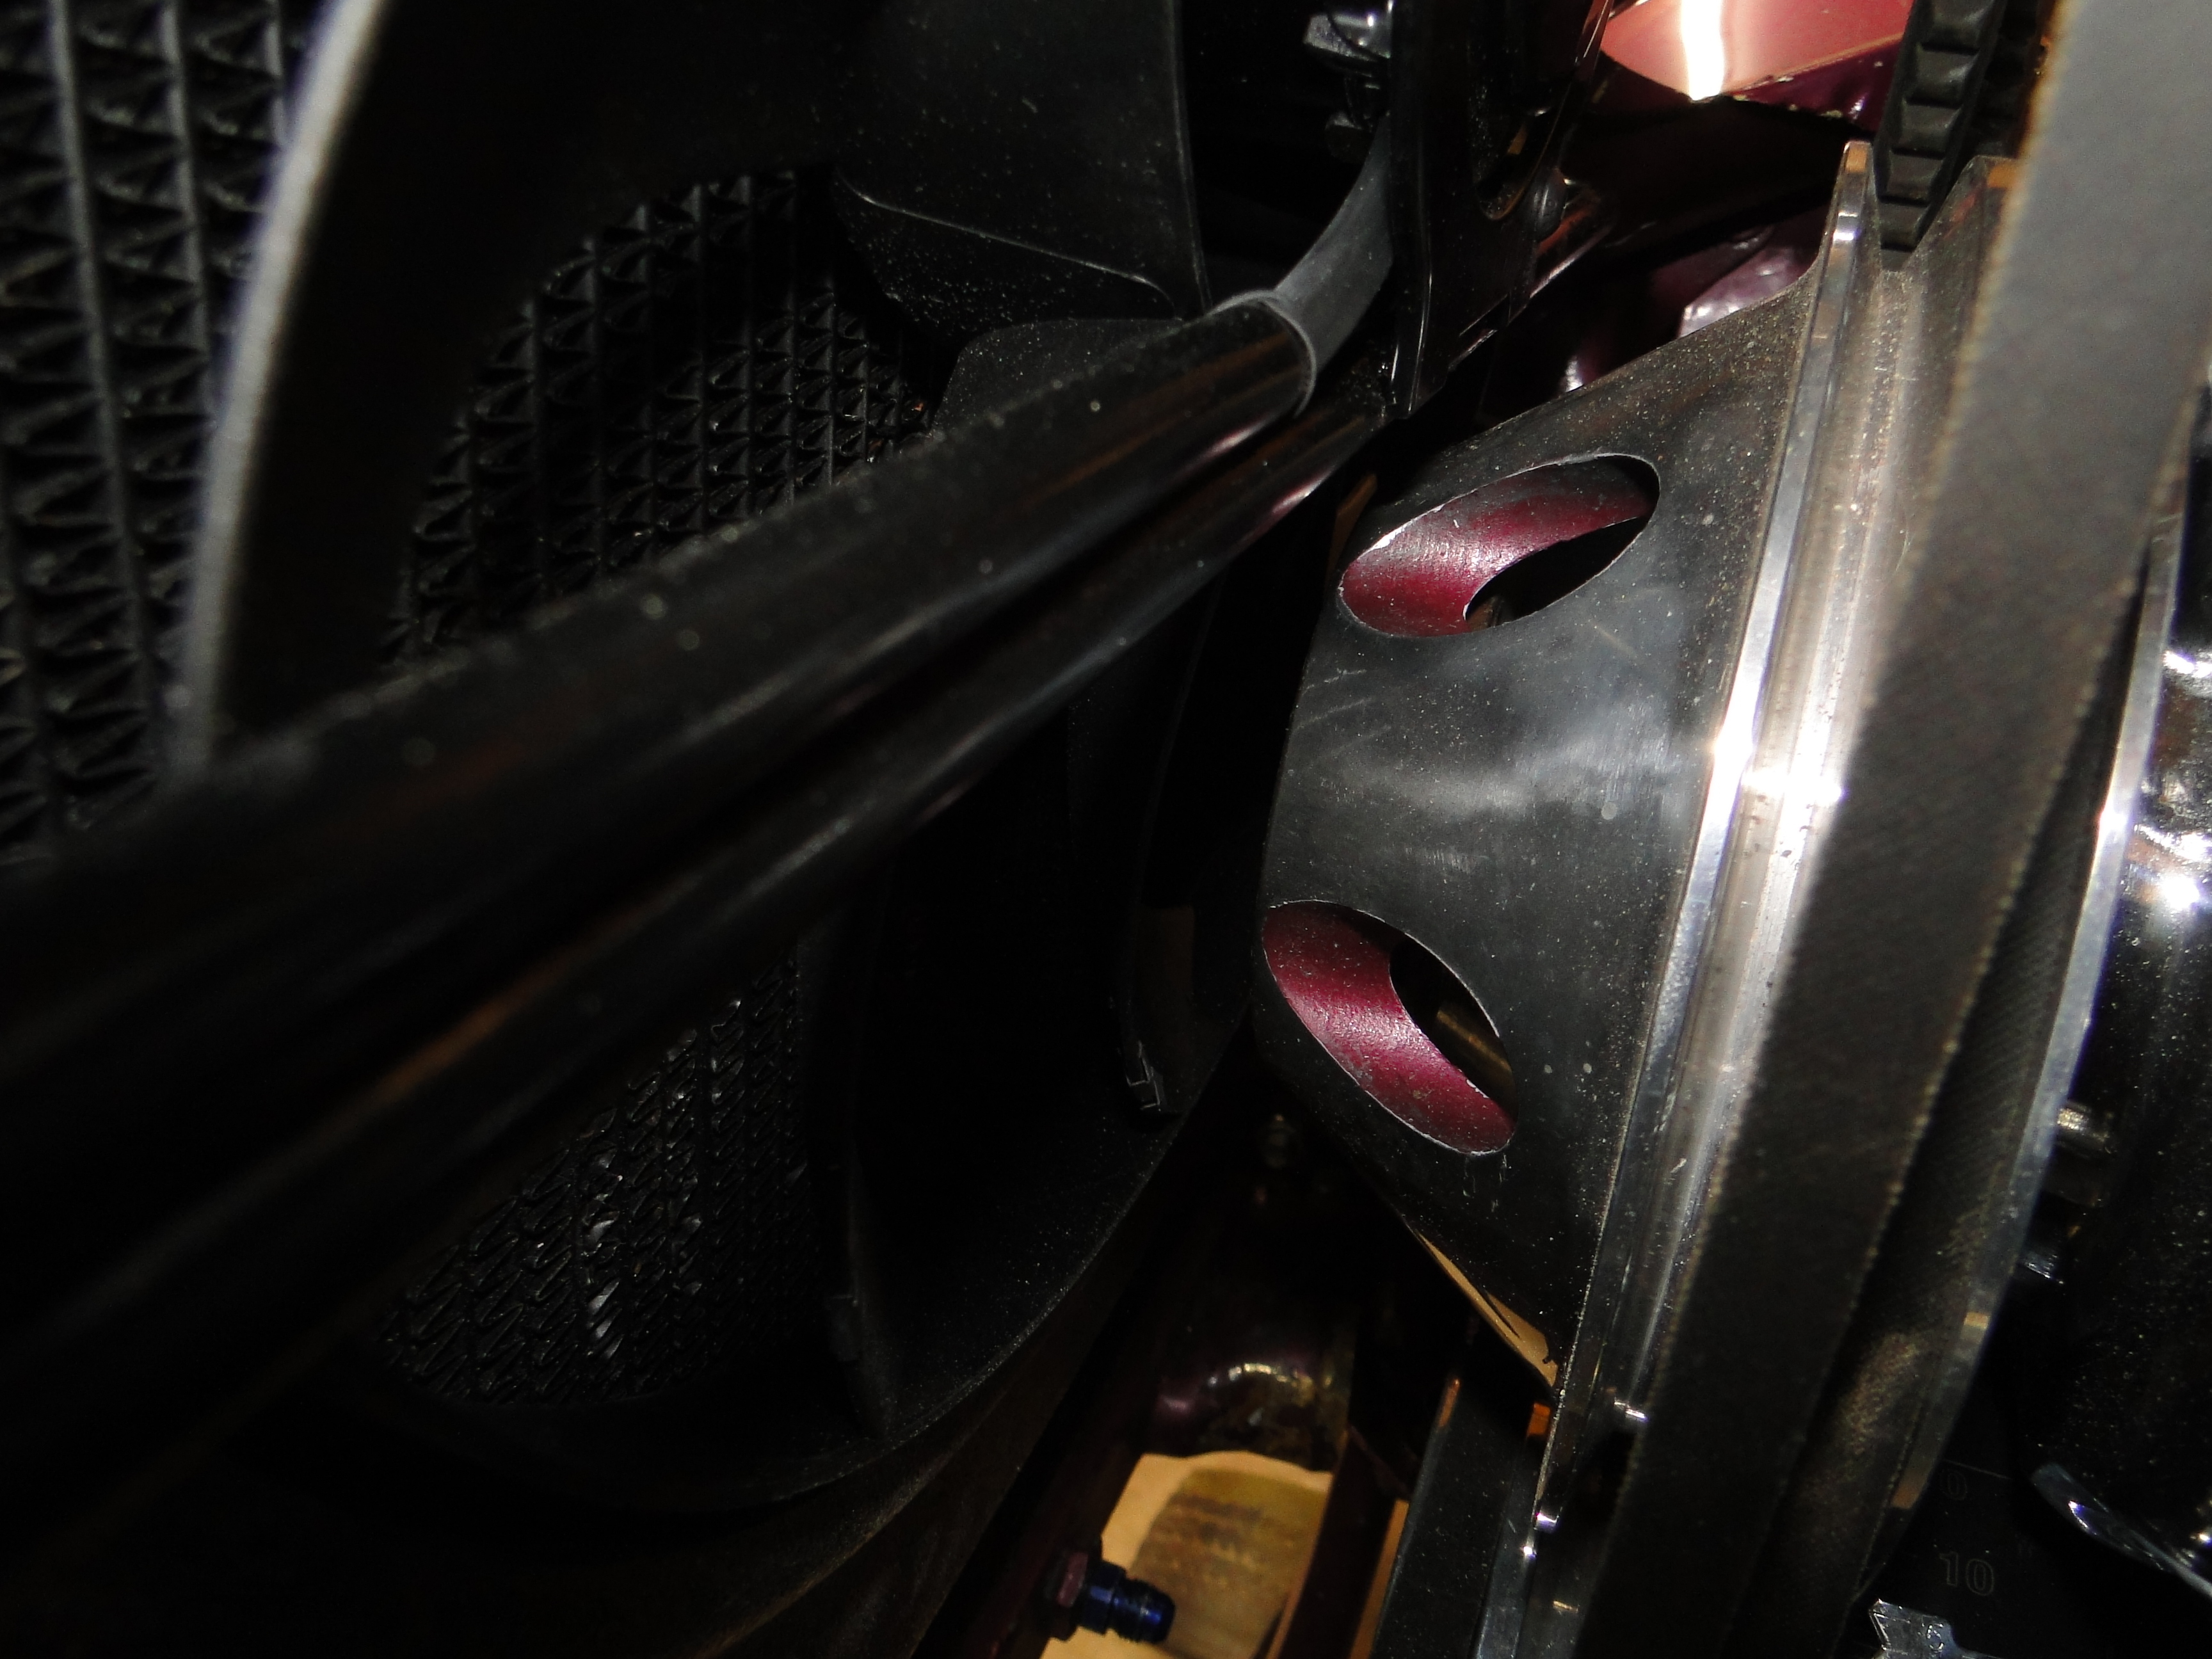
As the installation went forward, I had clearance issues with the water pump pulley and the fan support bar so I trimmed all of the extra fan shroud material off the top and that gave me about 5/16 clearance to the support bar. Now 5/16 is not optimal but it will have to do.
Click picture to enlarge
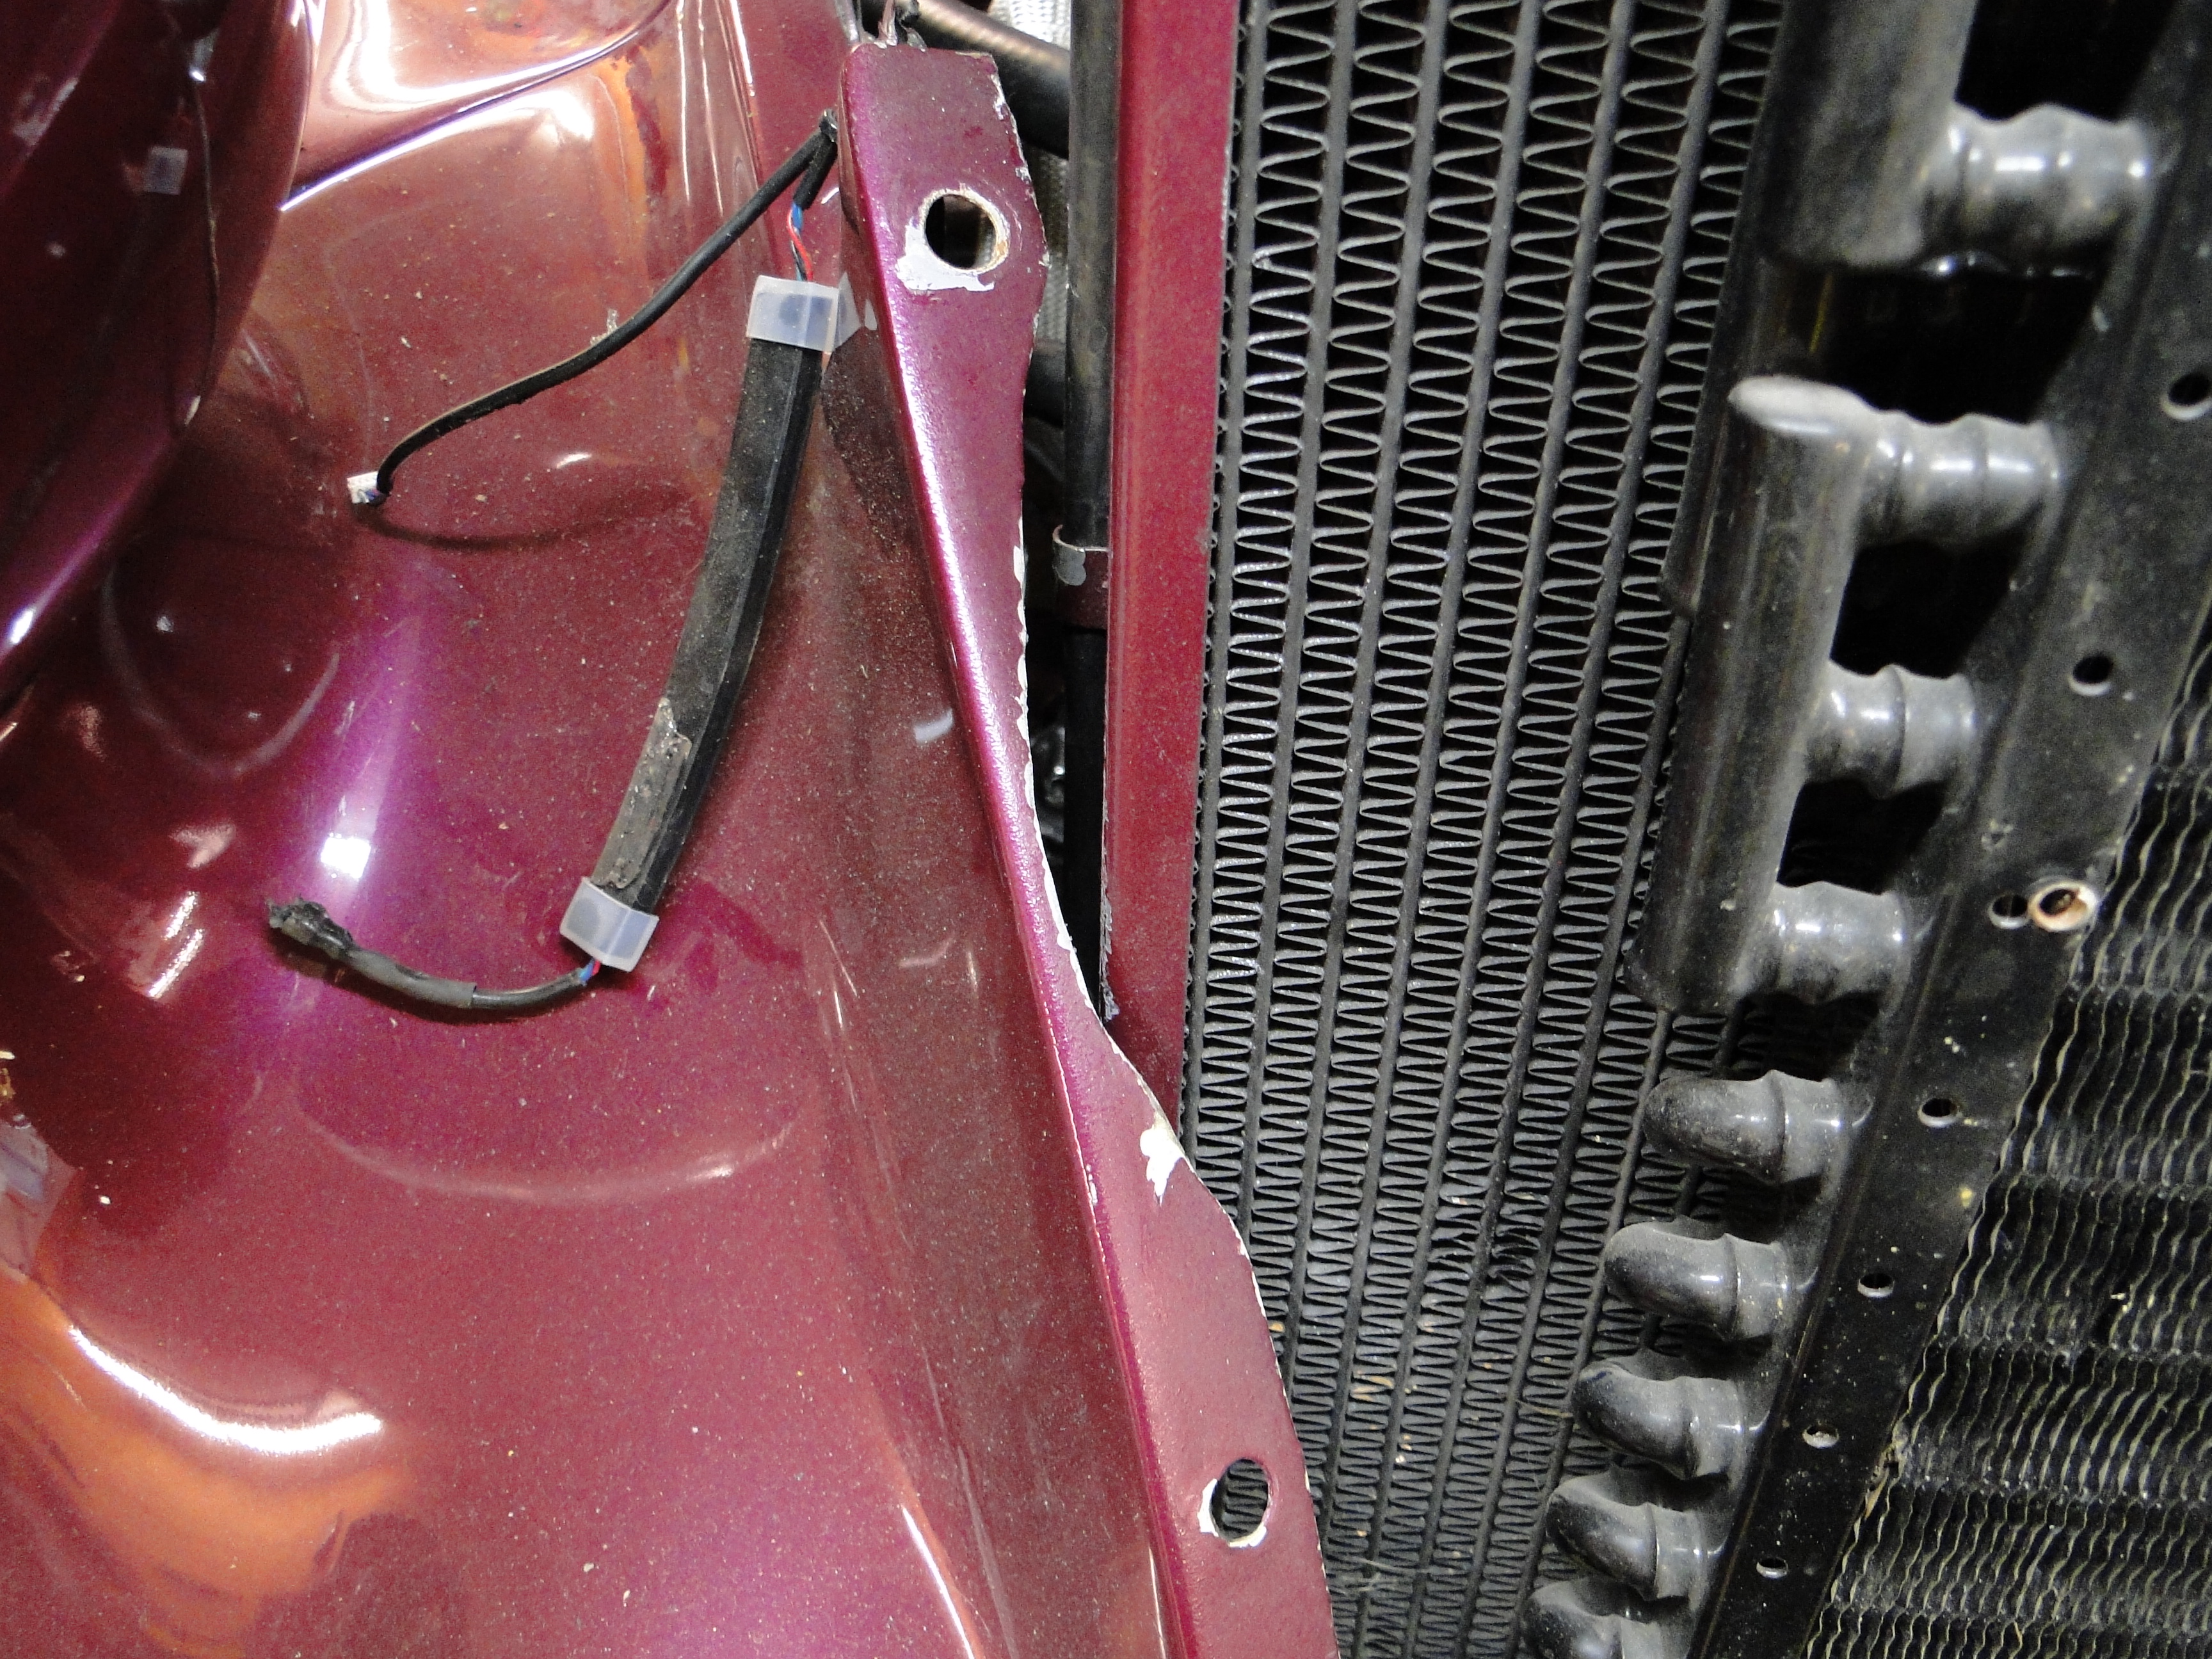
Now for the front gap needed between the cooling fan blades and the water pump pulley. I had a real problem, ya I had none, nothing zip nada, not even a hair. I started carving out the fender bolt flares way more then I was comfortable with to alow the whole radiator to move forward 1/2 inch which was just enough for the fan blades to clear the water pump.
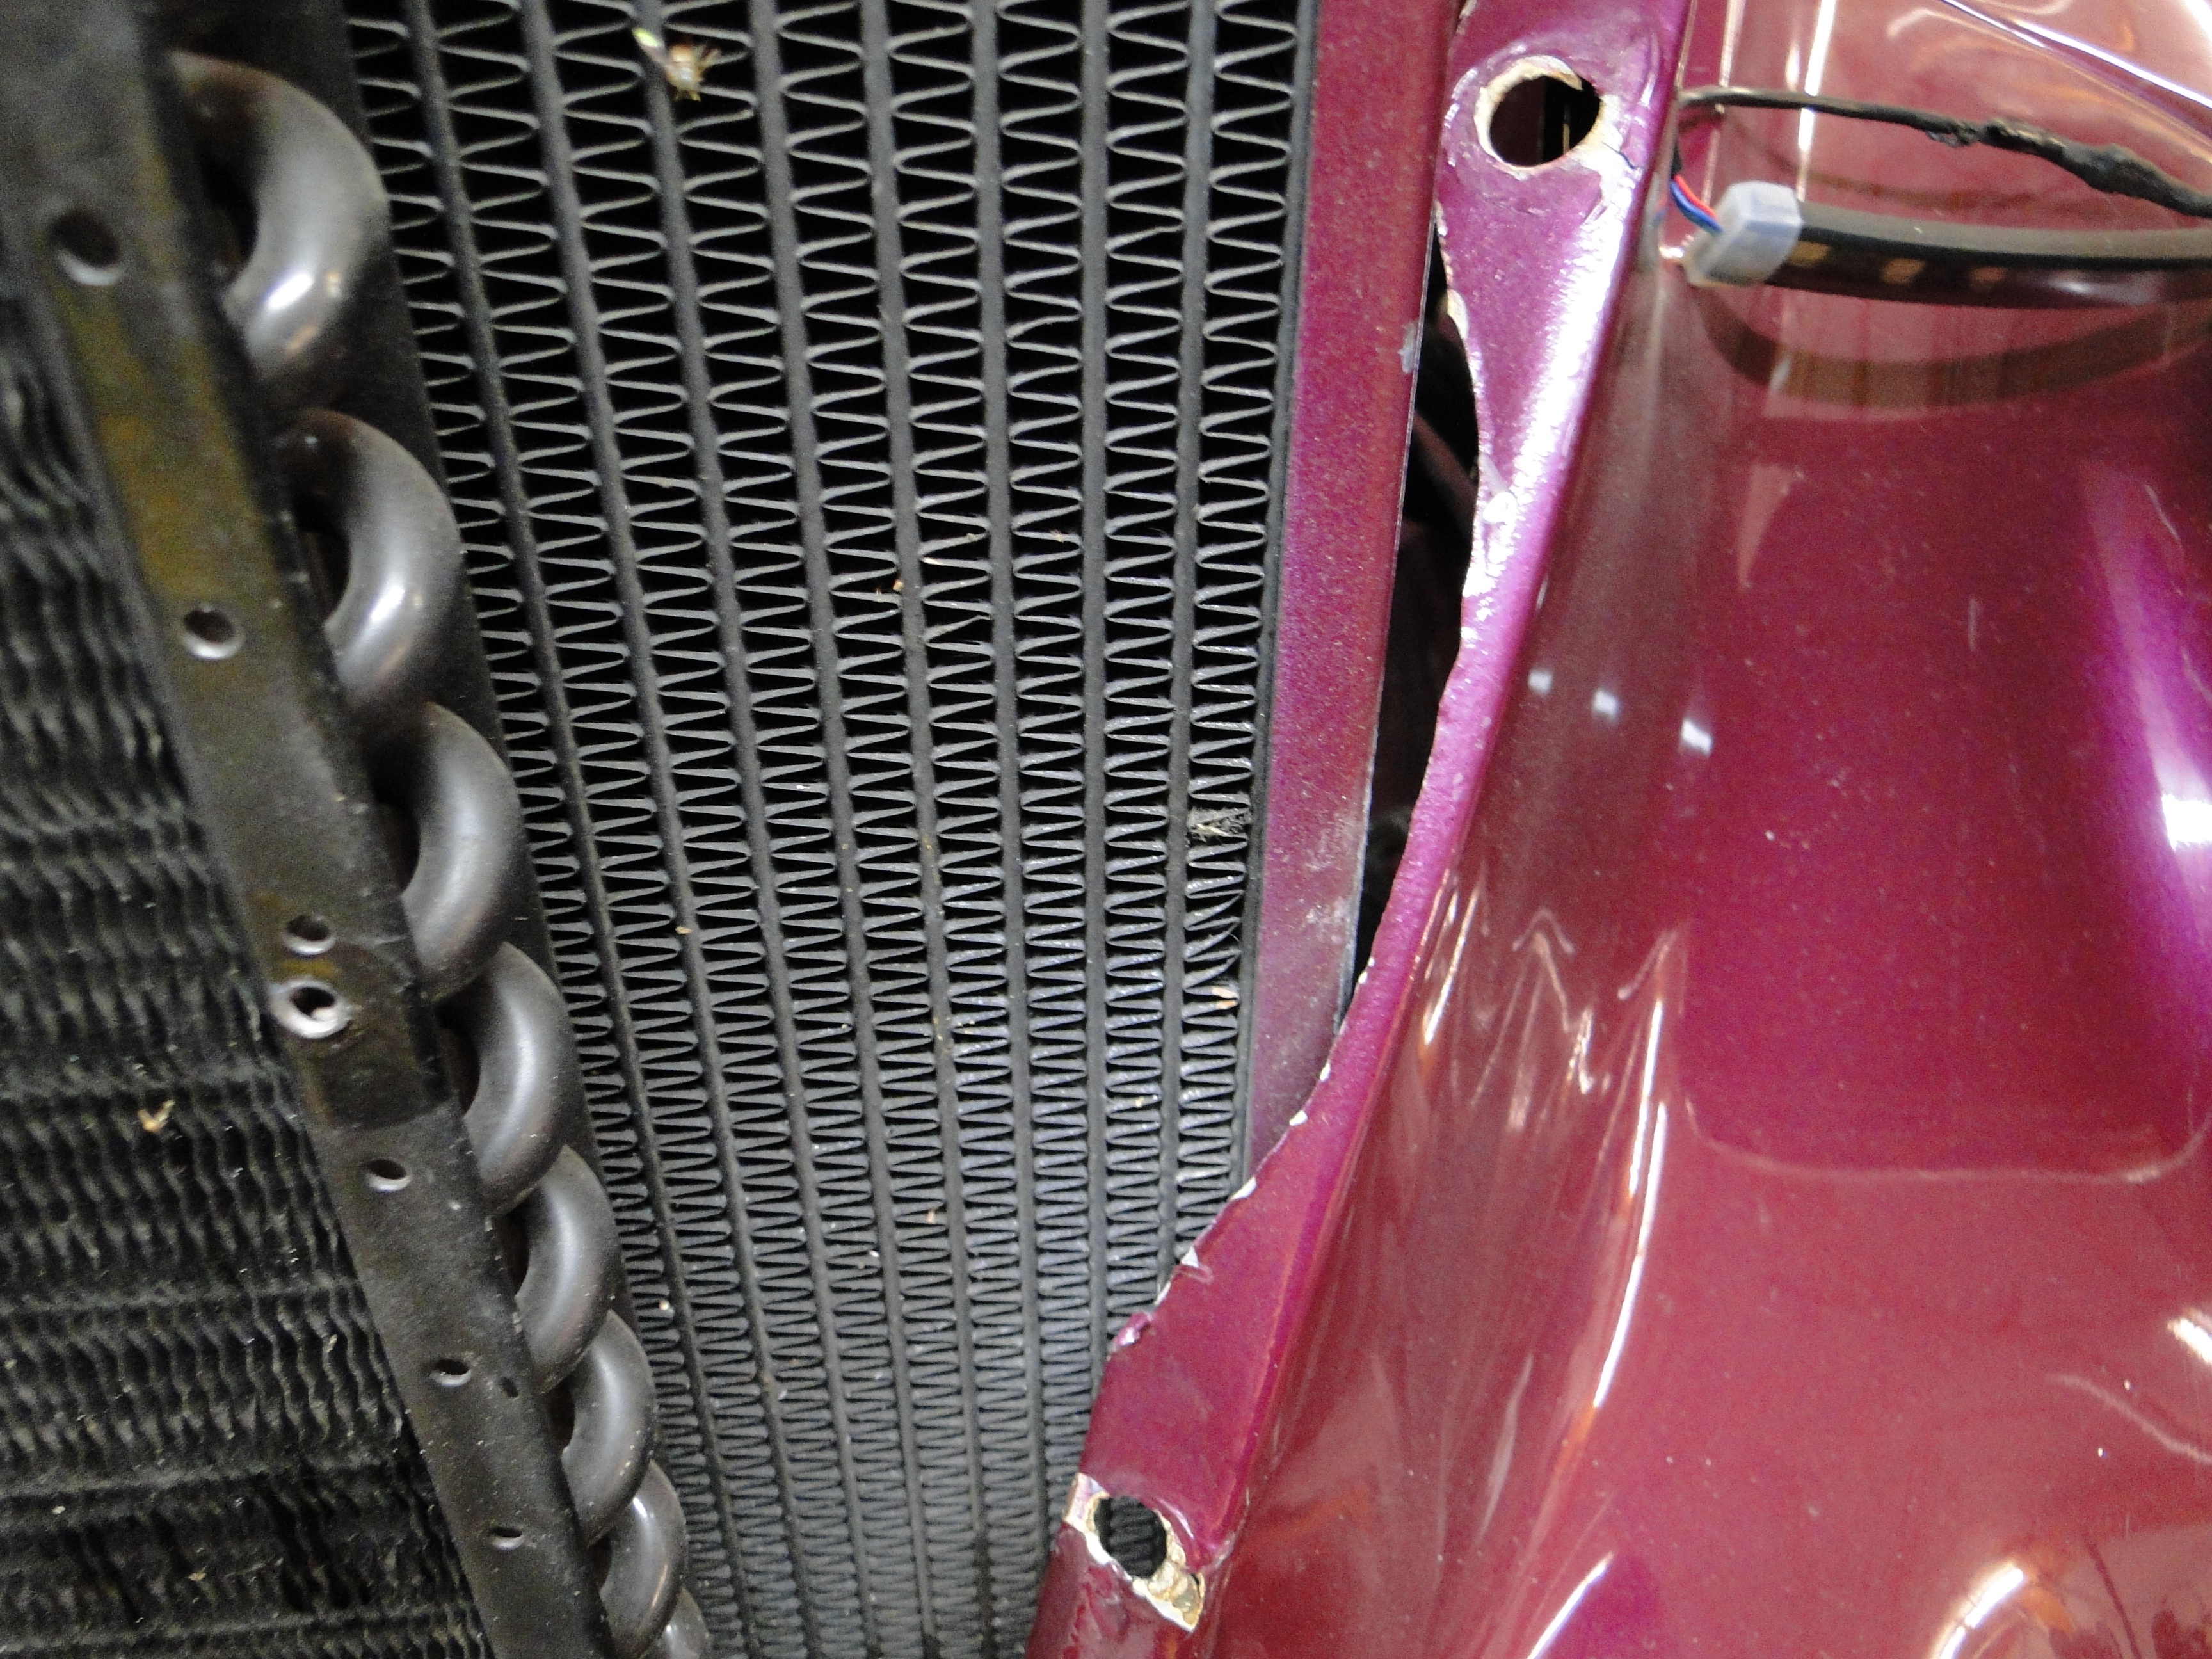
Click any picture to enlarge
The new fan controller has nine wires, really nine wires
for a radiator fan, holy cow.
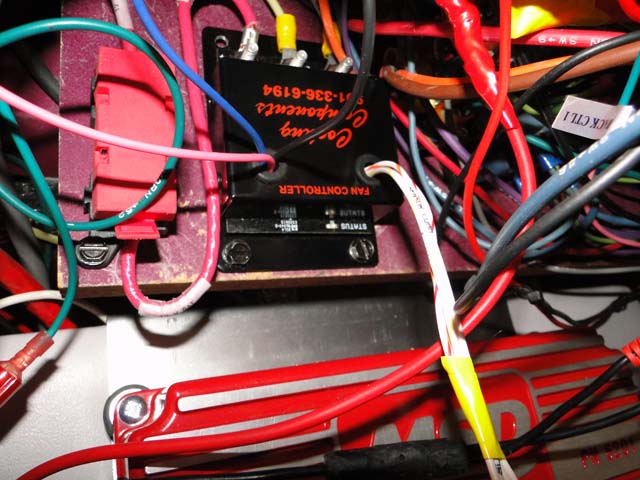
Click picture to enlarge
First Engine Test Start

First Engine Test Start
Now after weeks of installing all the engine parts and connecting everything up, Jim and I was ready for the first engine test start. I went to turn the key to the start position and you guessed it, nothing, I mean nothing, not even a click.
I have said it before and I will say it again nothing is easy with this car.
So naturally we were thinking it was something that I did, you know something not hooked up right, and then we went to its not wired correctly. We came to the point that lets just start over and trace every wire associated with the starter to see if we could find the problem.
Step 1 check under the dash which means removing the ignition switch and air conditioner vents. No problem found.
Click picture to enlarge
Step 2 get wire schematic from Ron Francis the fuse box manufacture, and confirm the wires are connect to the fuse box correctly. No problem Found.
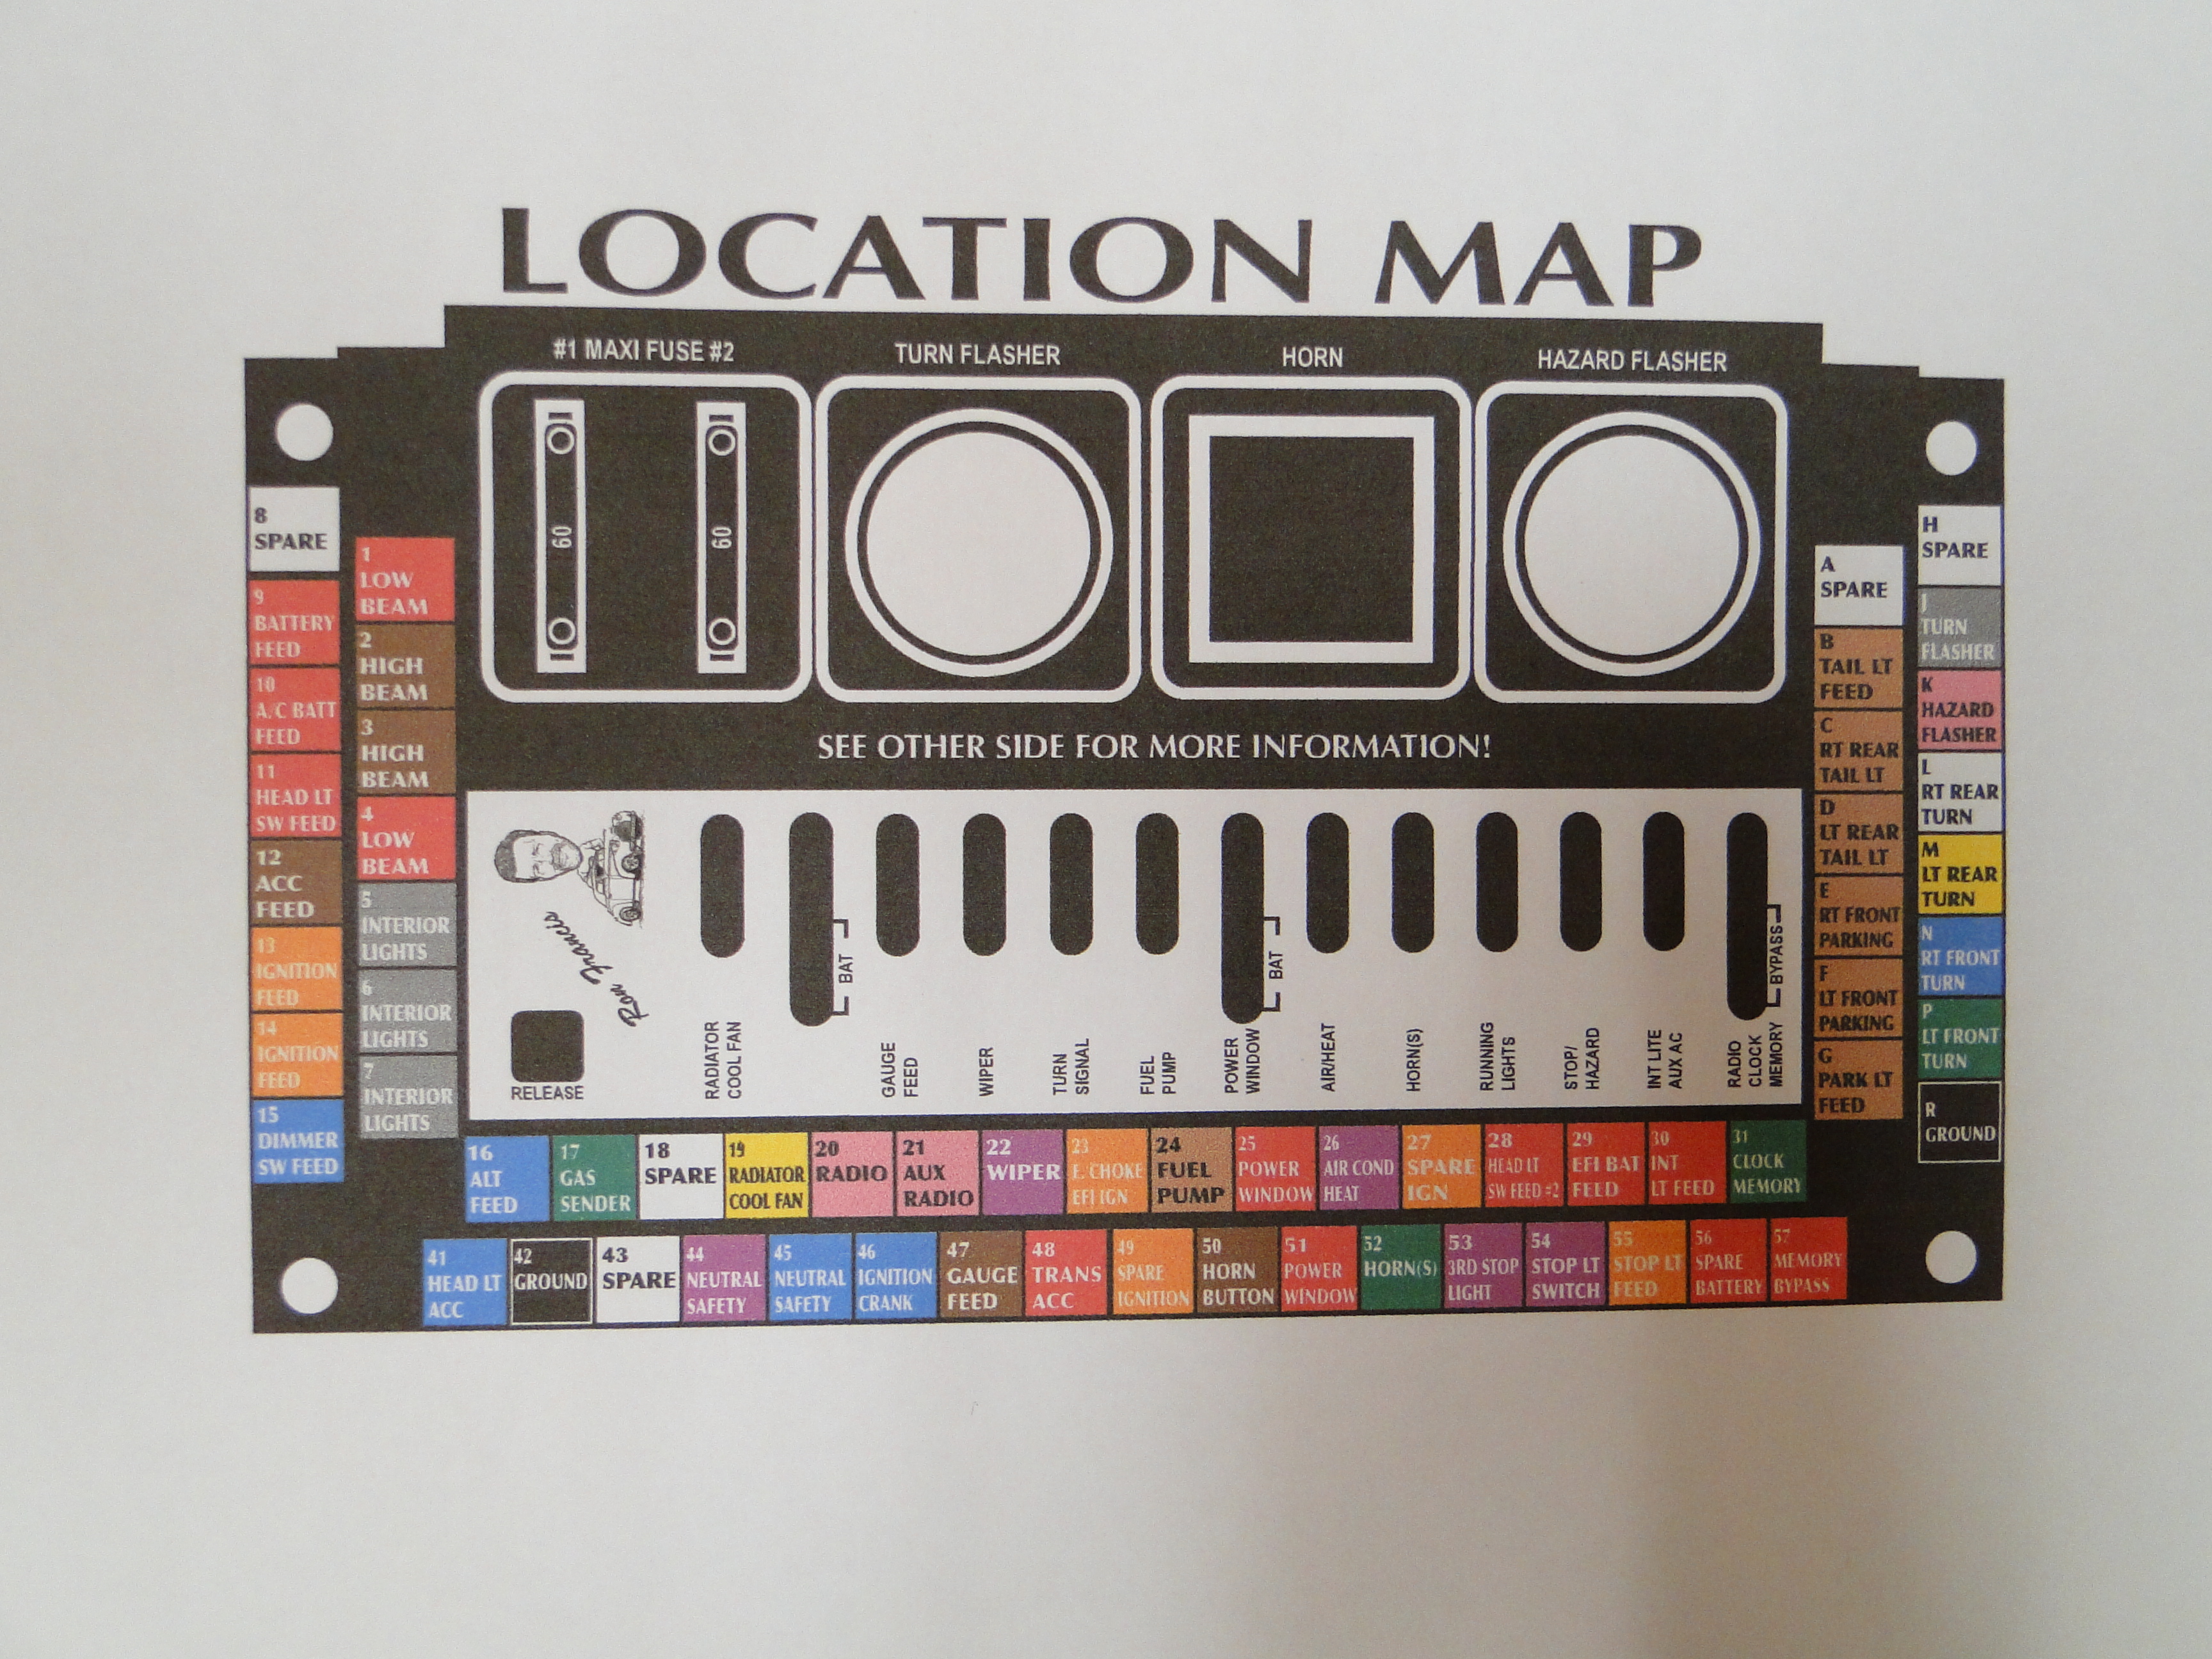
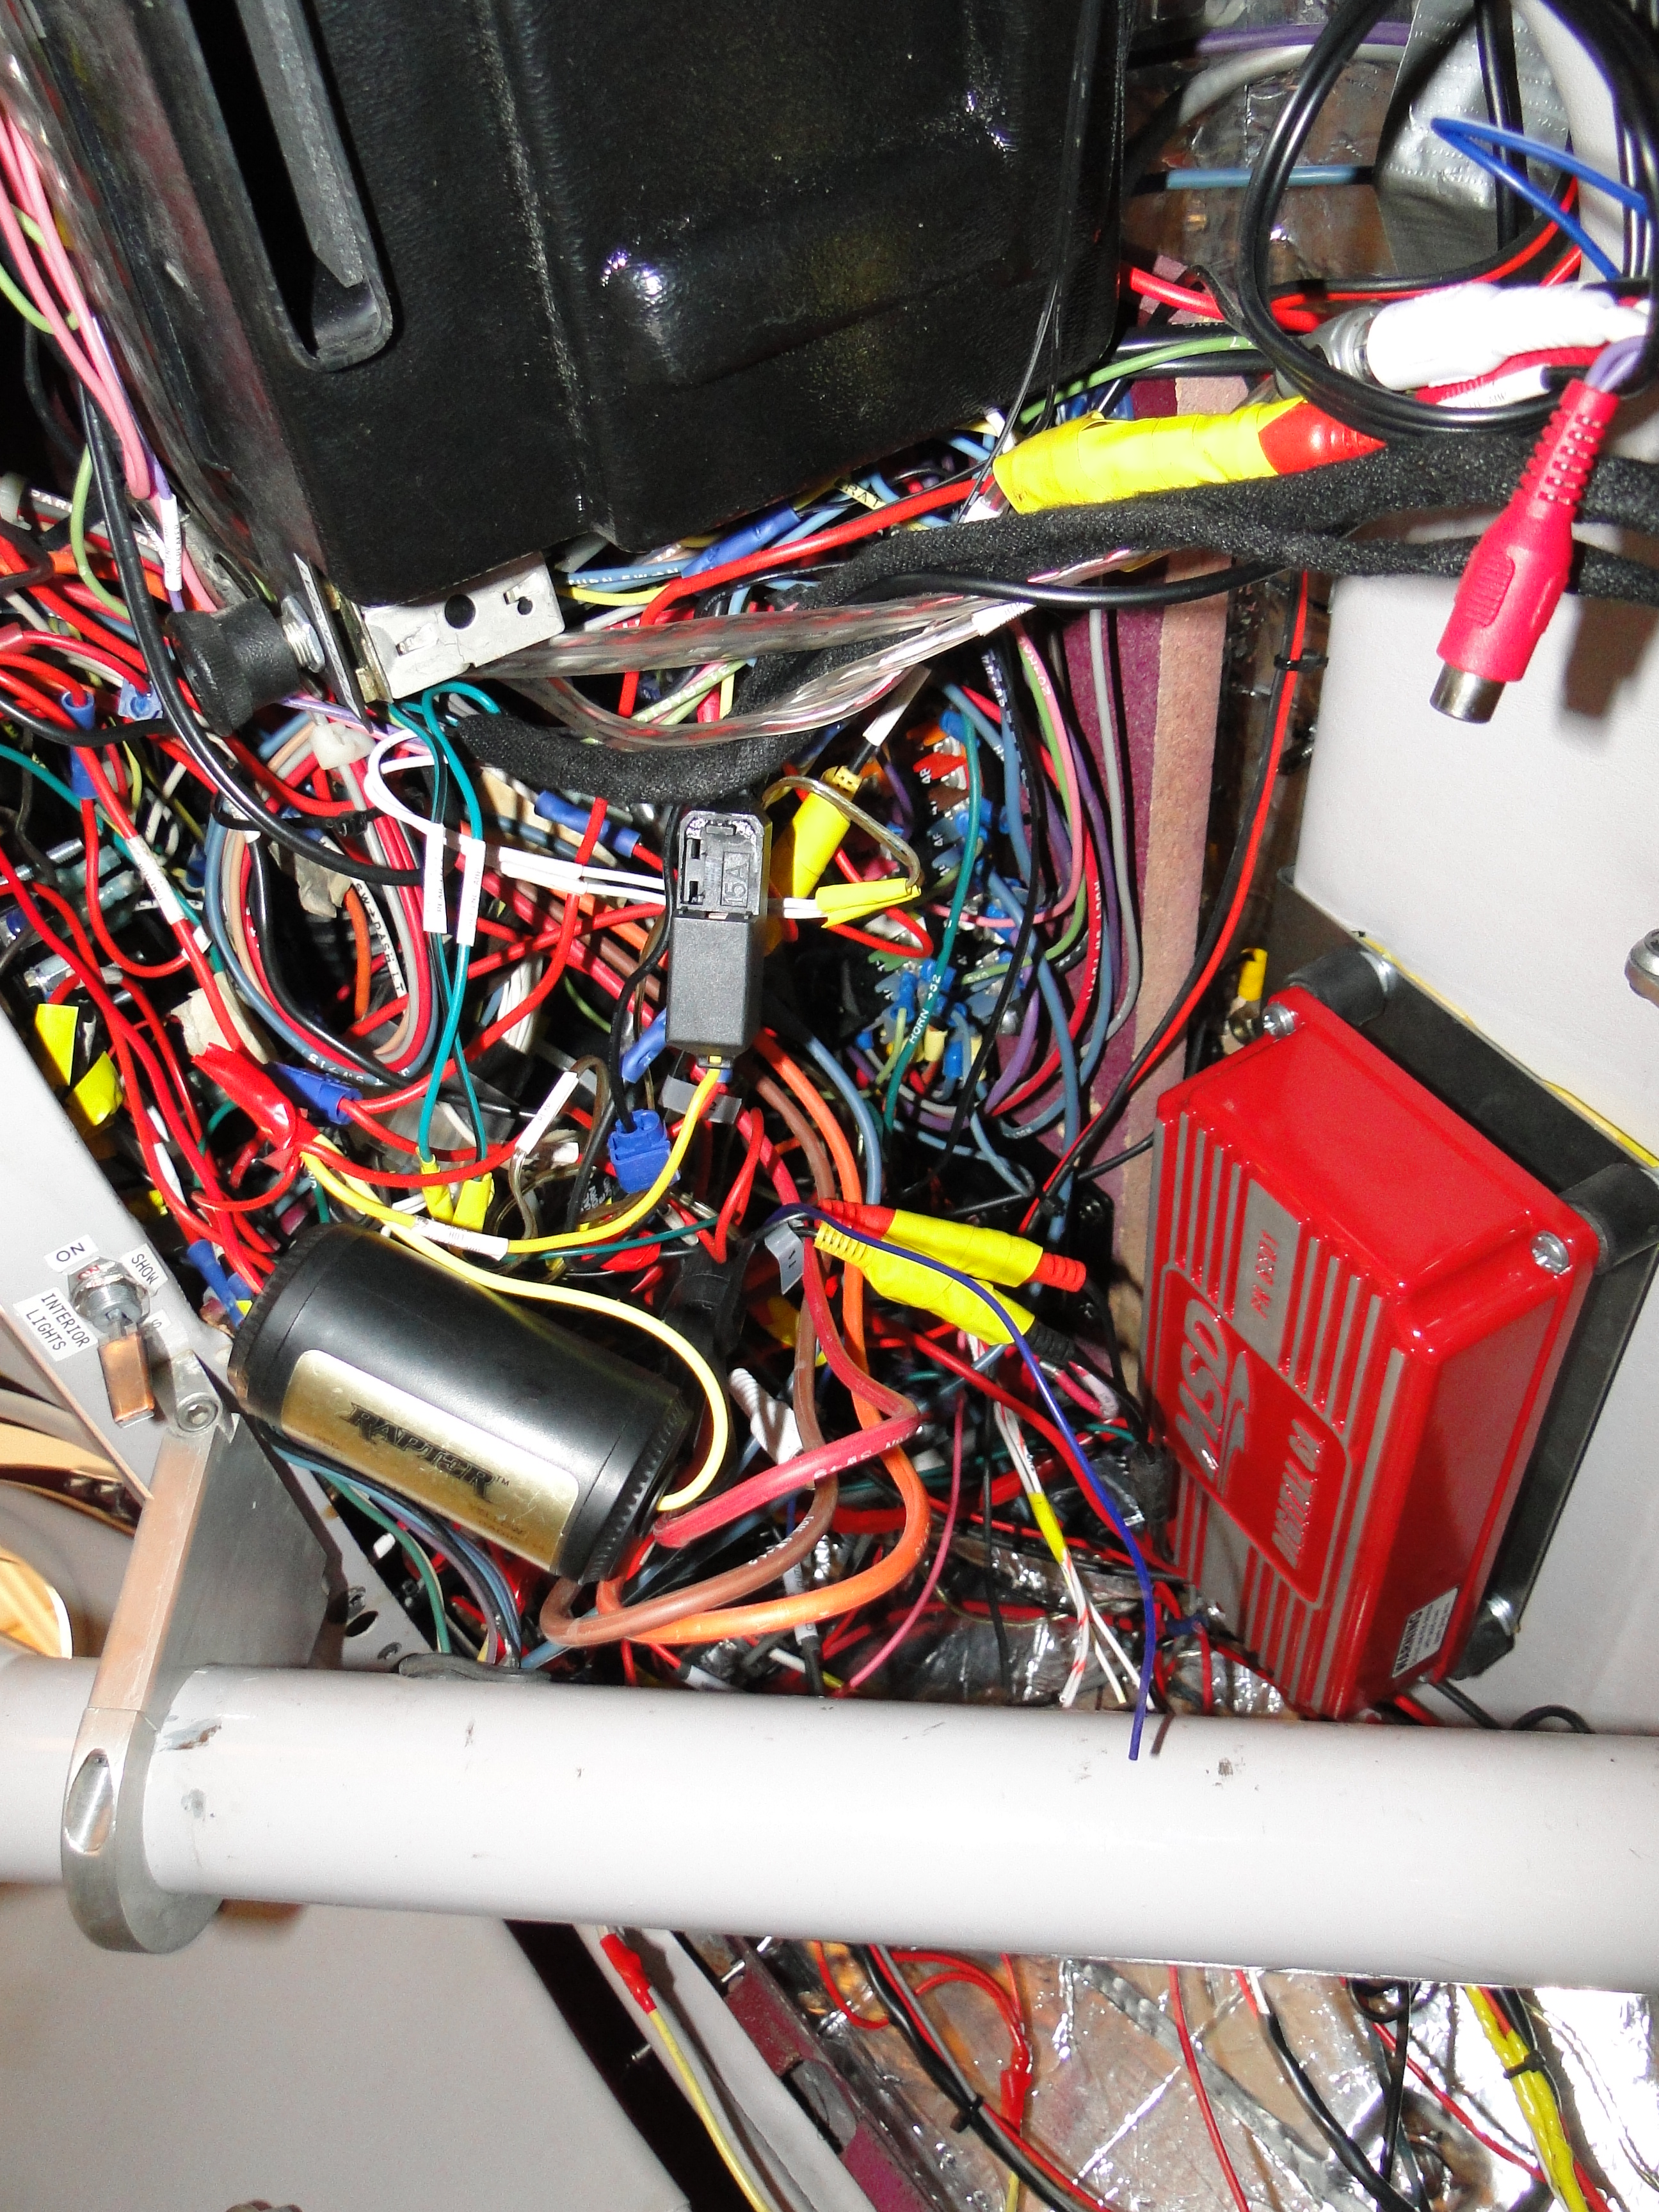
Click picture to enlarge
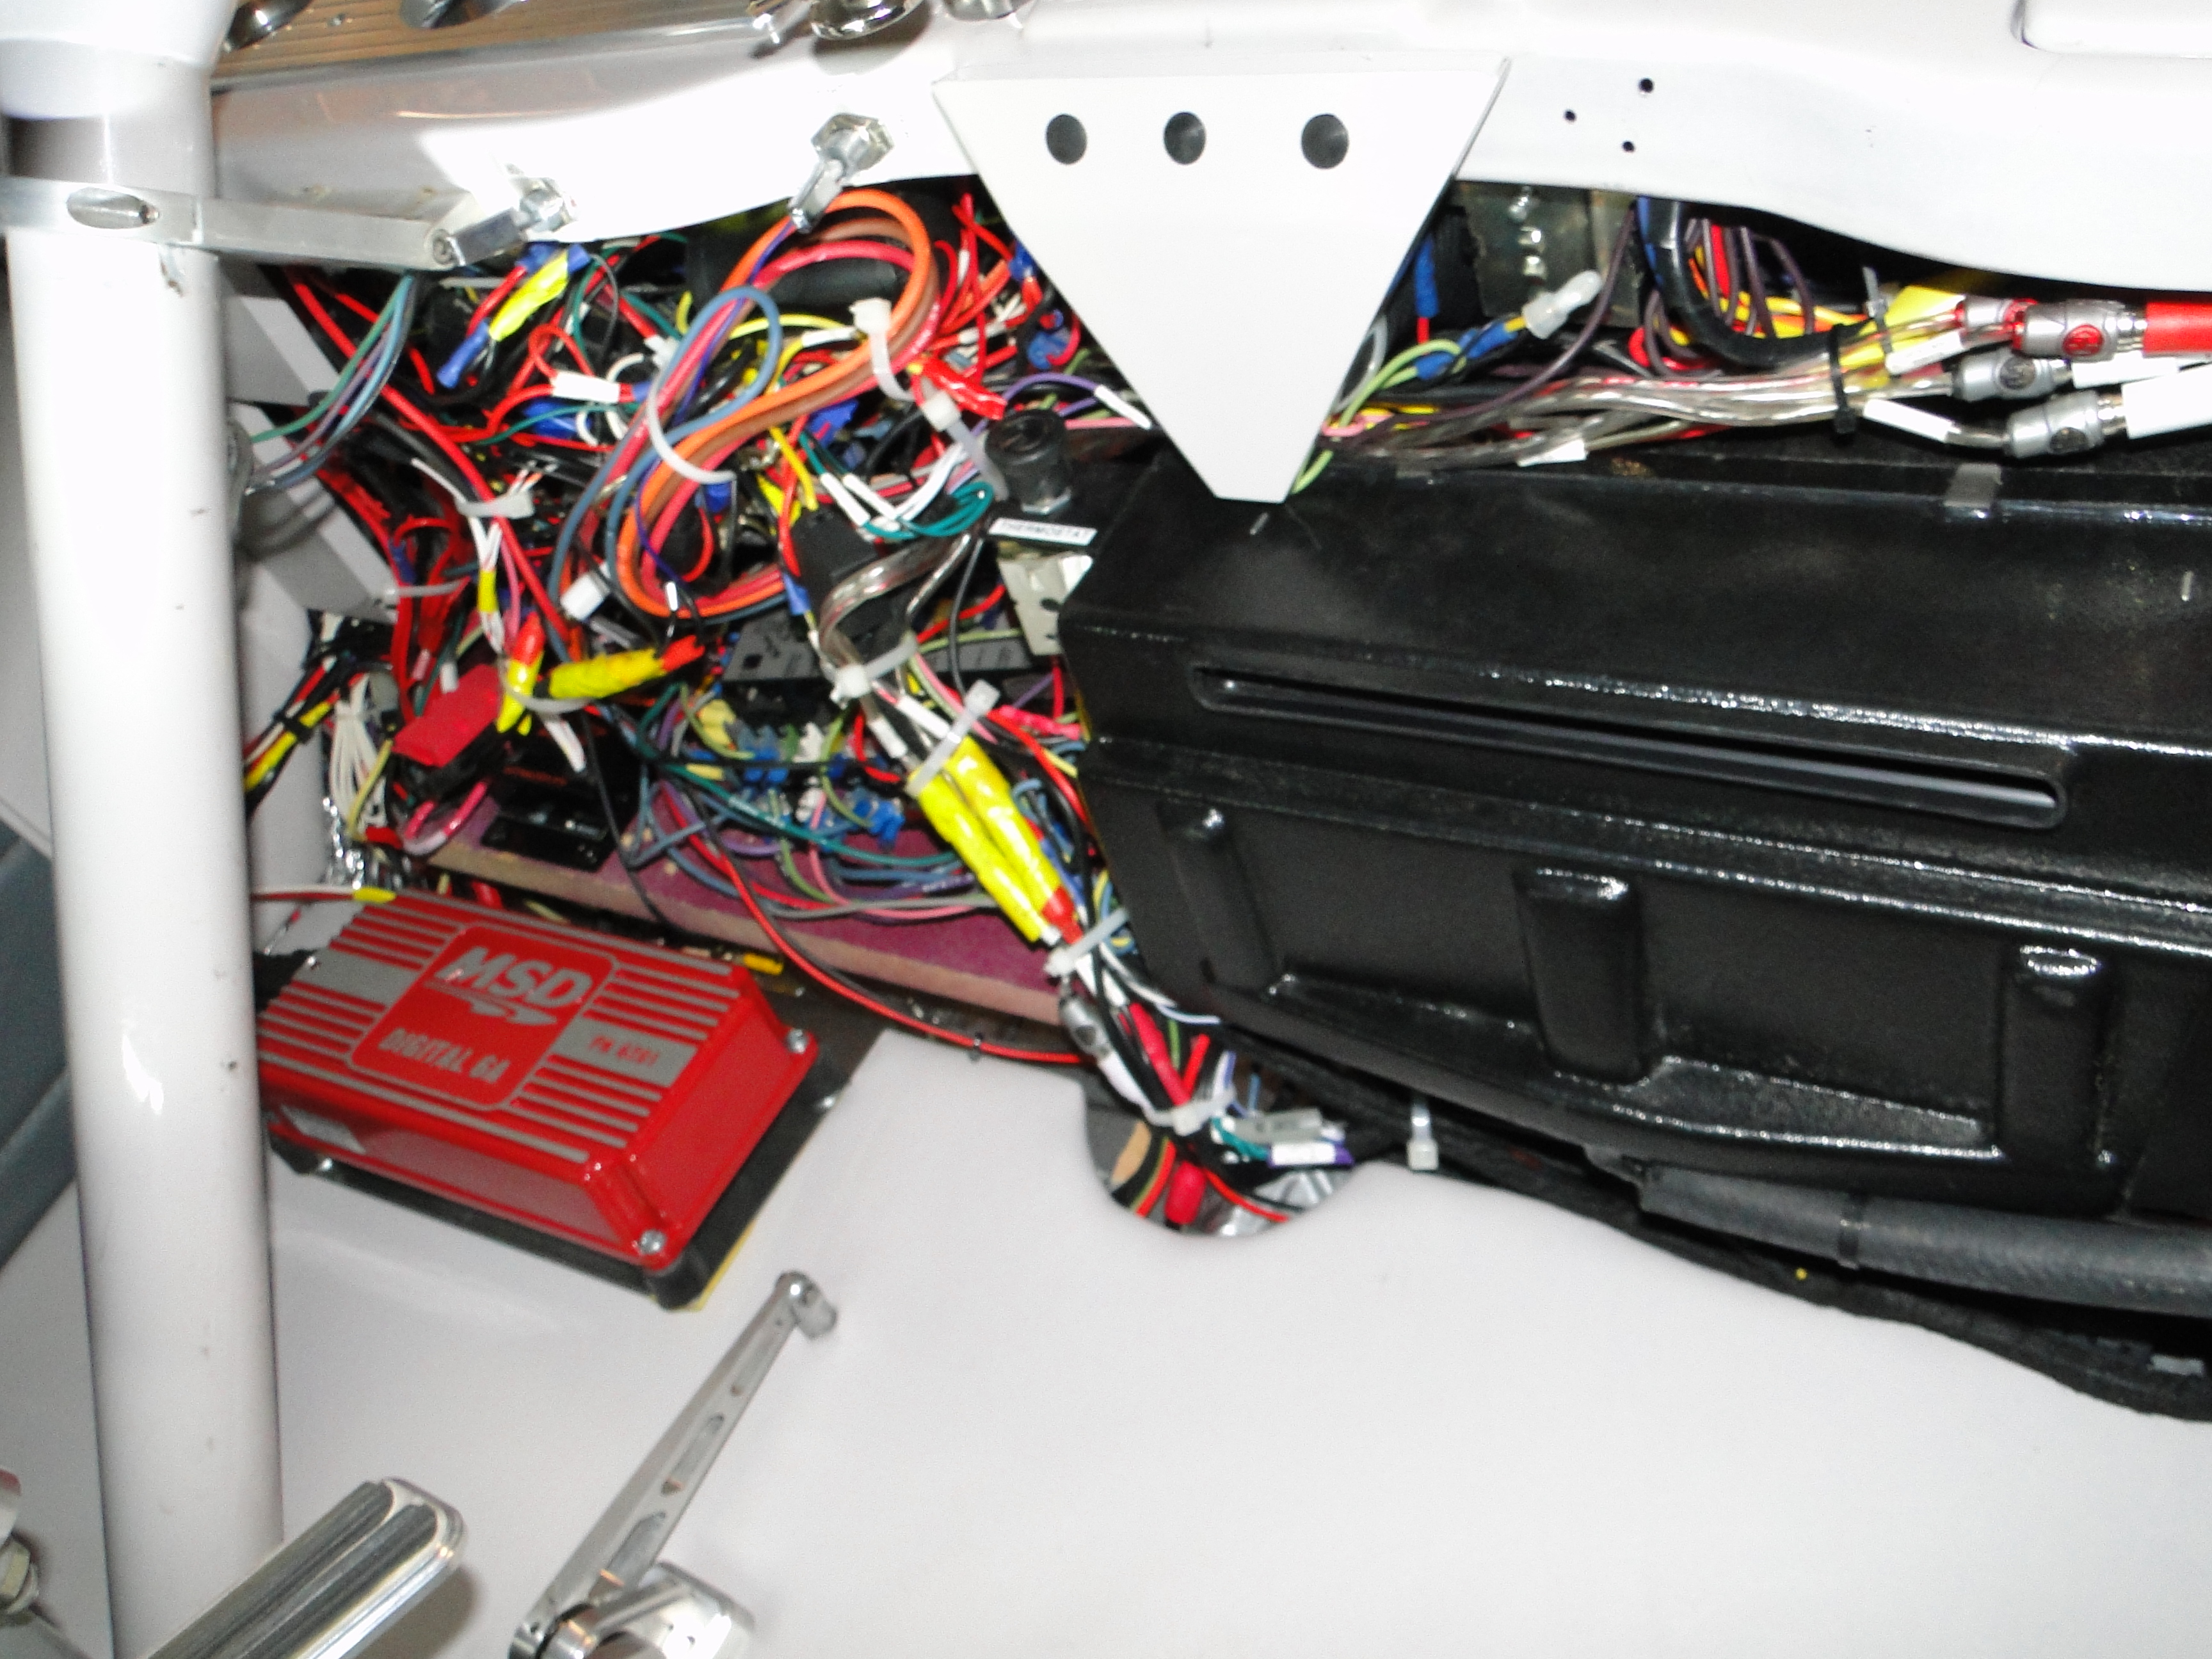
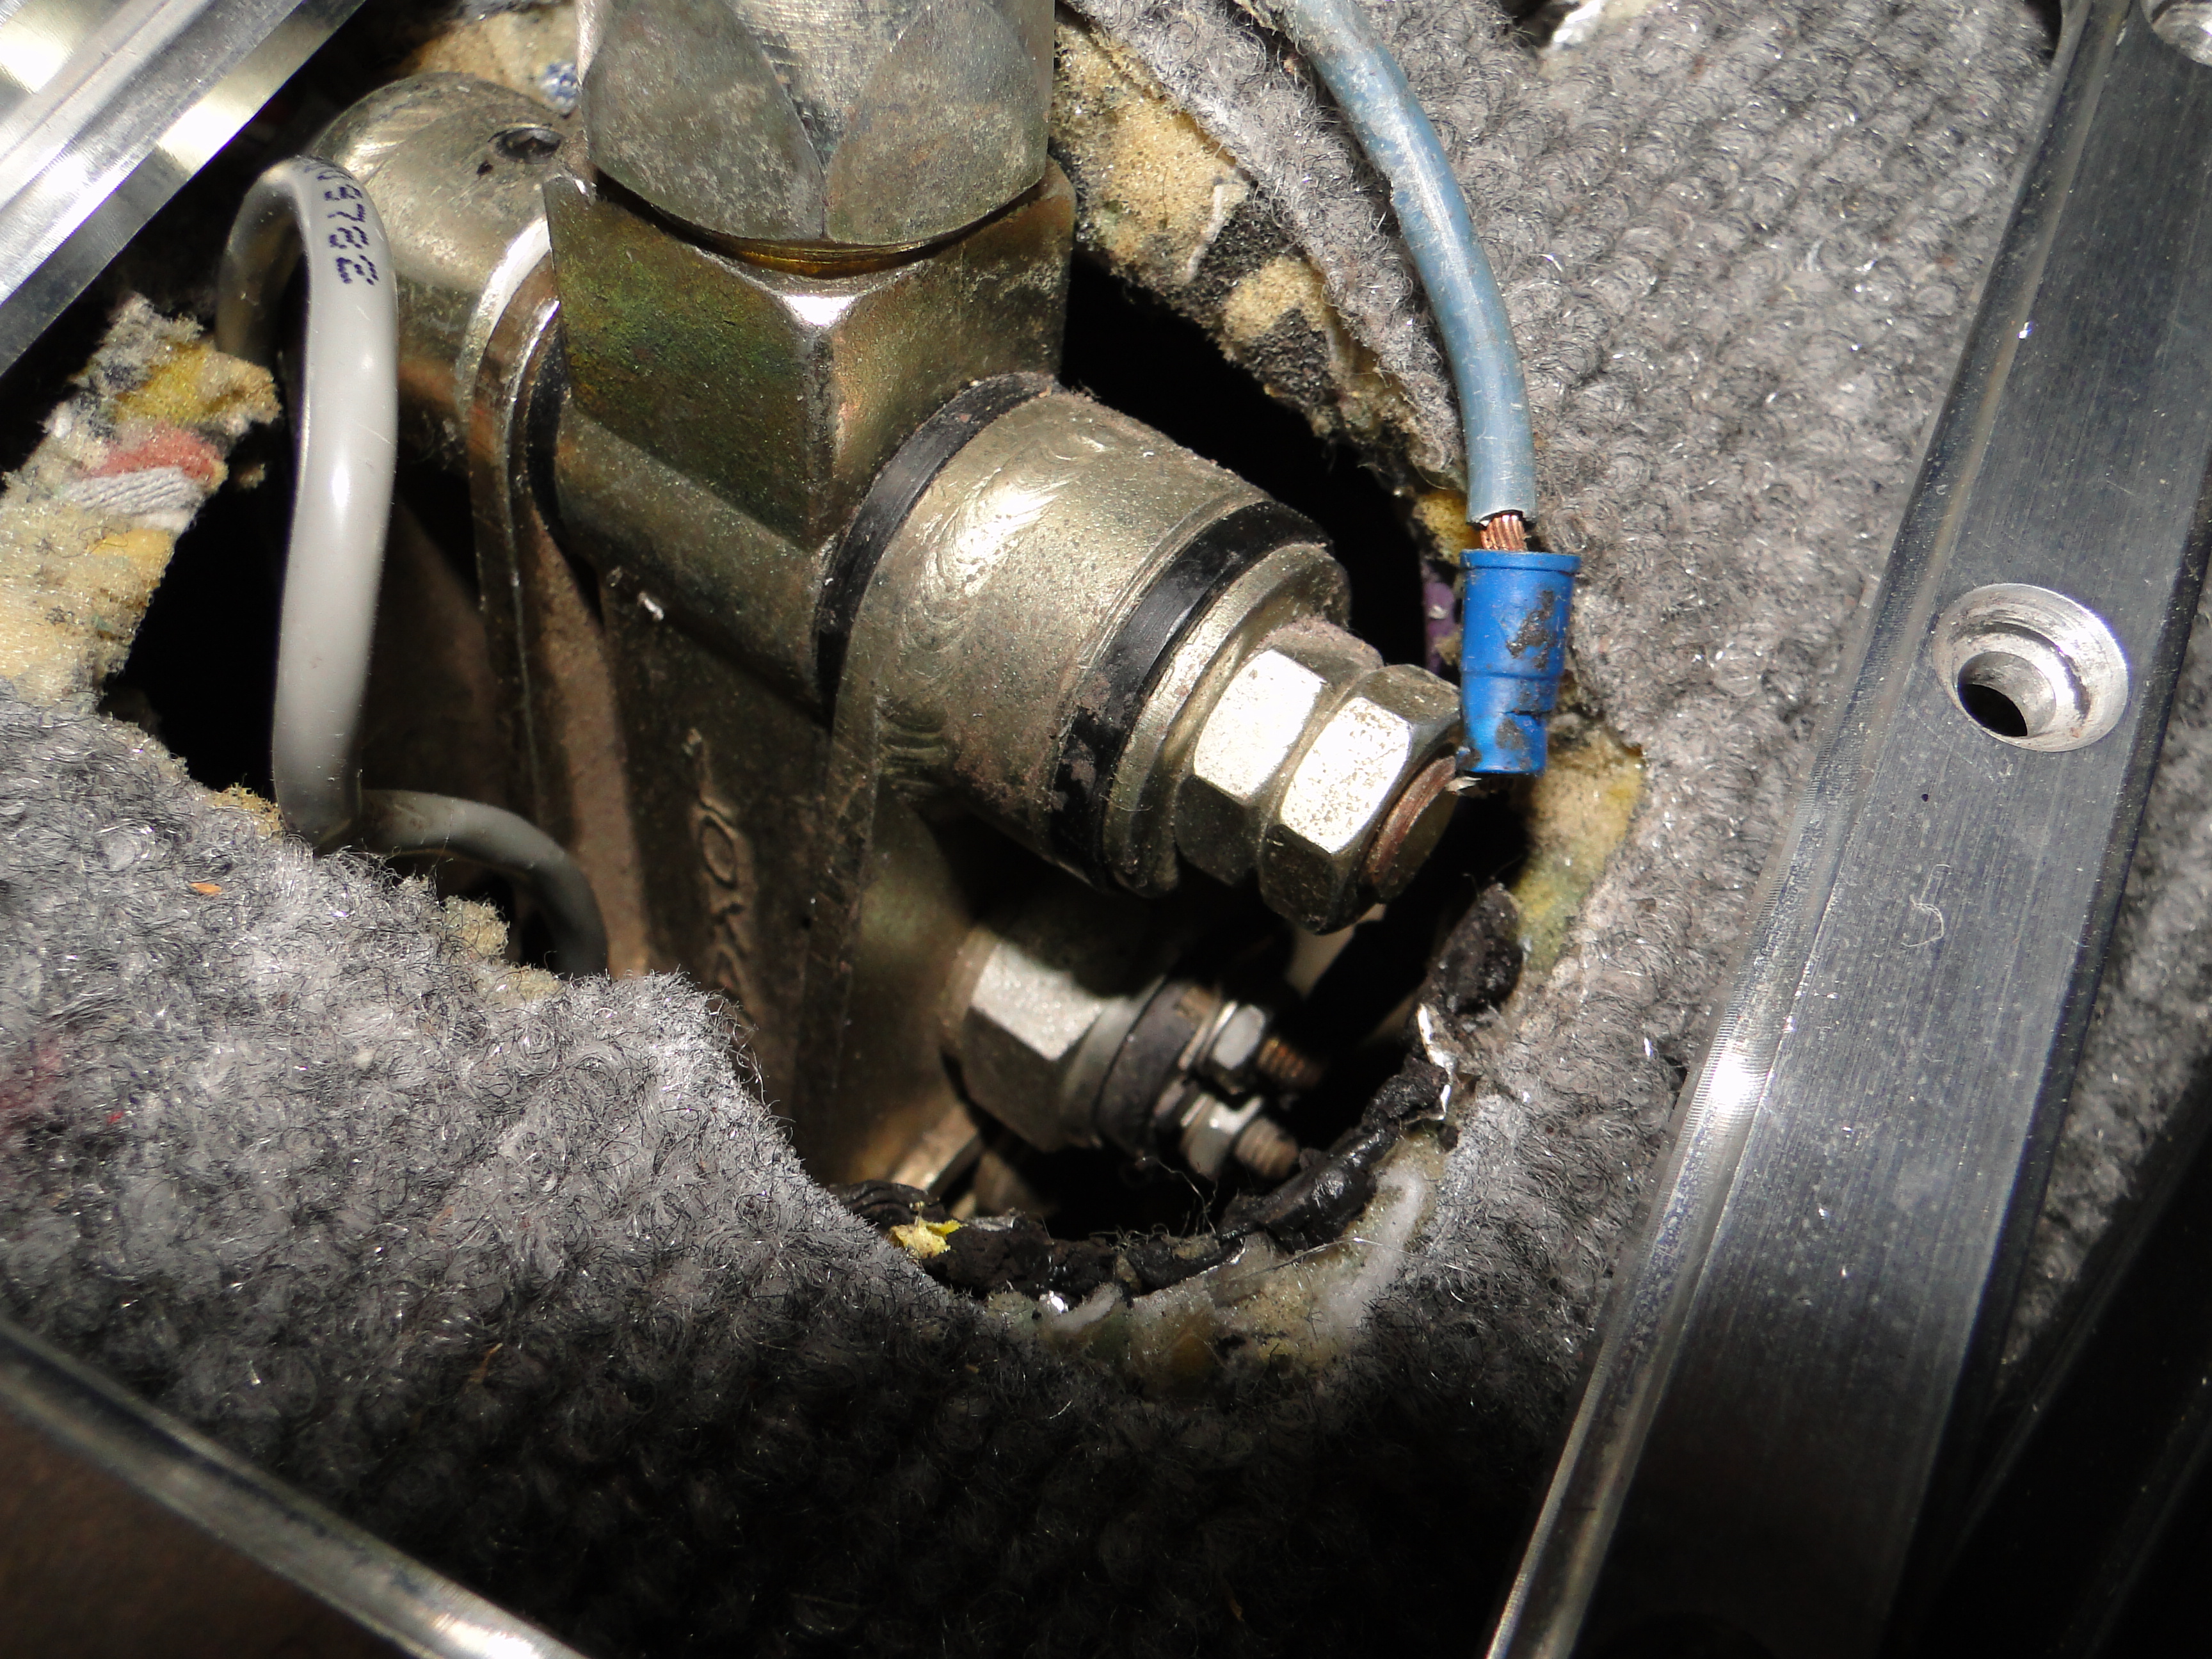
Step 3 trace all wires compair them to schematic and verify each
connection. Found it! It would seem that when I
removed the old engine, the transmission may have dropped a few inches and
the starter safety switch wire broke off under the gear shifter.
This switch disables the starter so the engine cant be started in gear.
When the connection is broken the starter will not start.
More update's coming.
Click picture to enlarge
Contact Bob Capo at
bob@bobcapo.com
for further information
on any of our restorations.Thank You.