1936 Ford Five Window Coupe Street Rod Restoration 2019
January - February
Windshield Trim/Frame Part 1
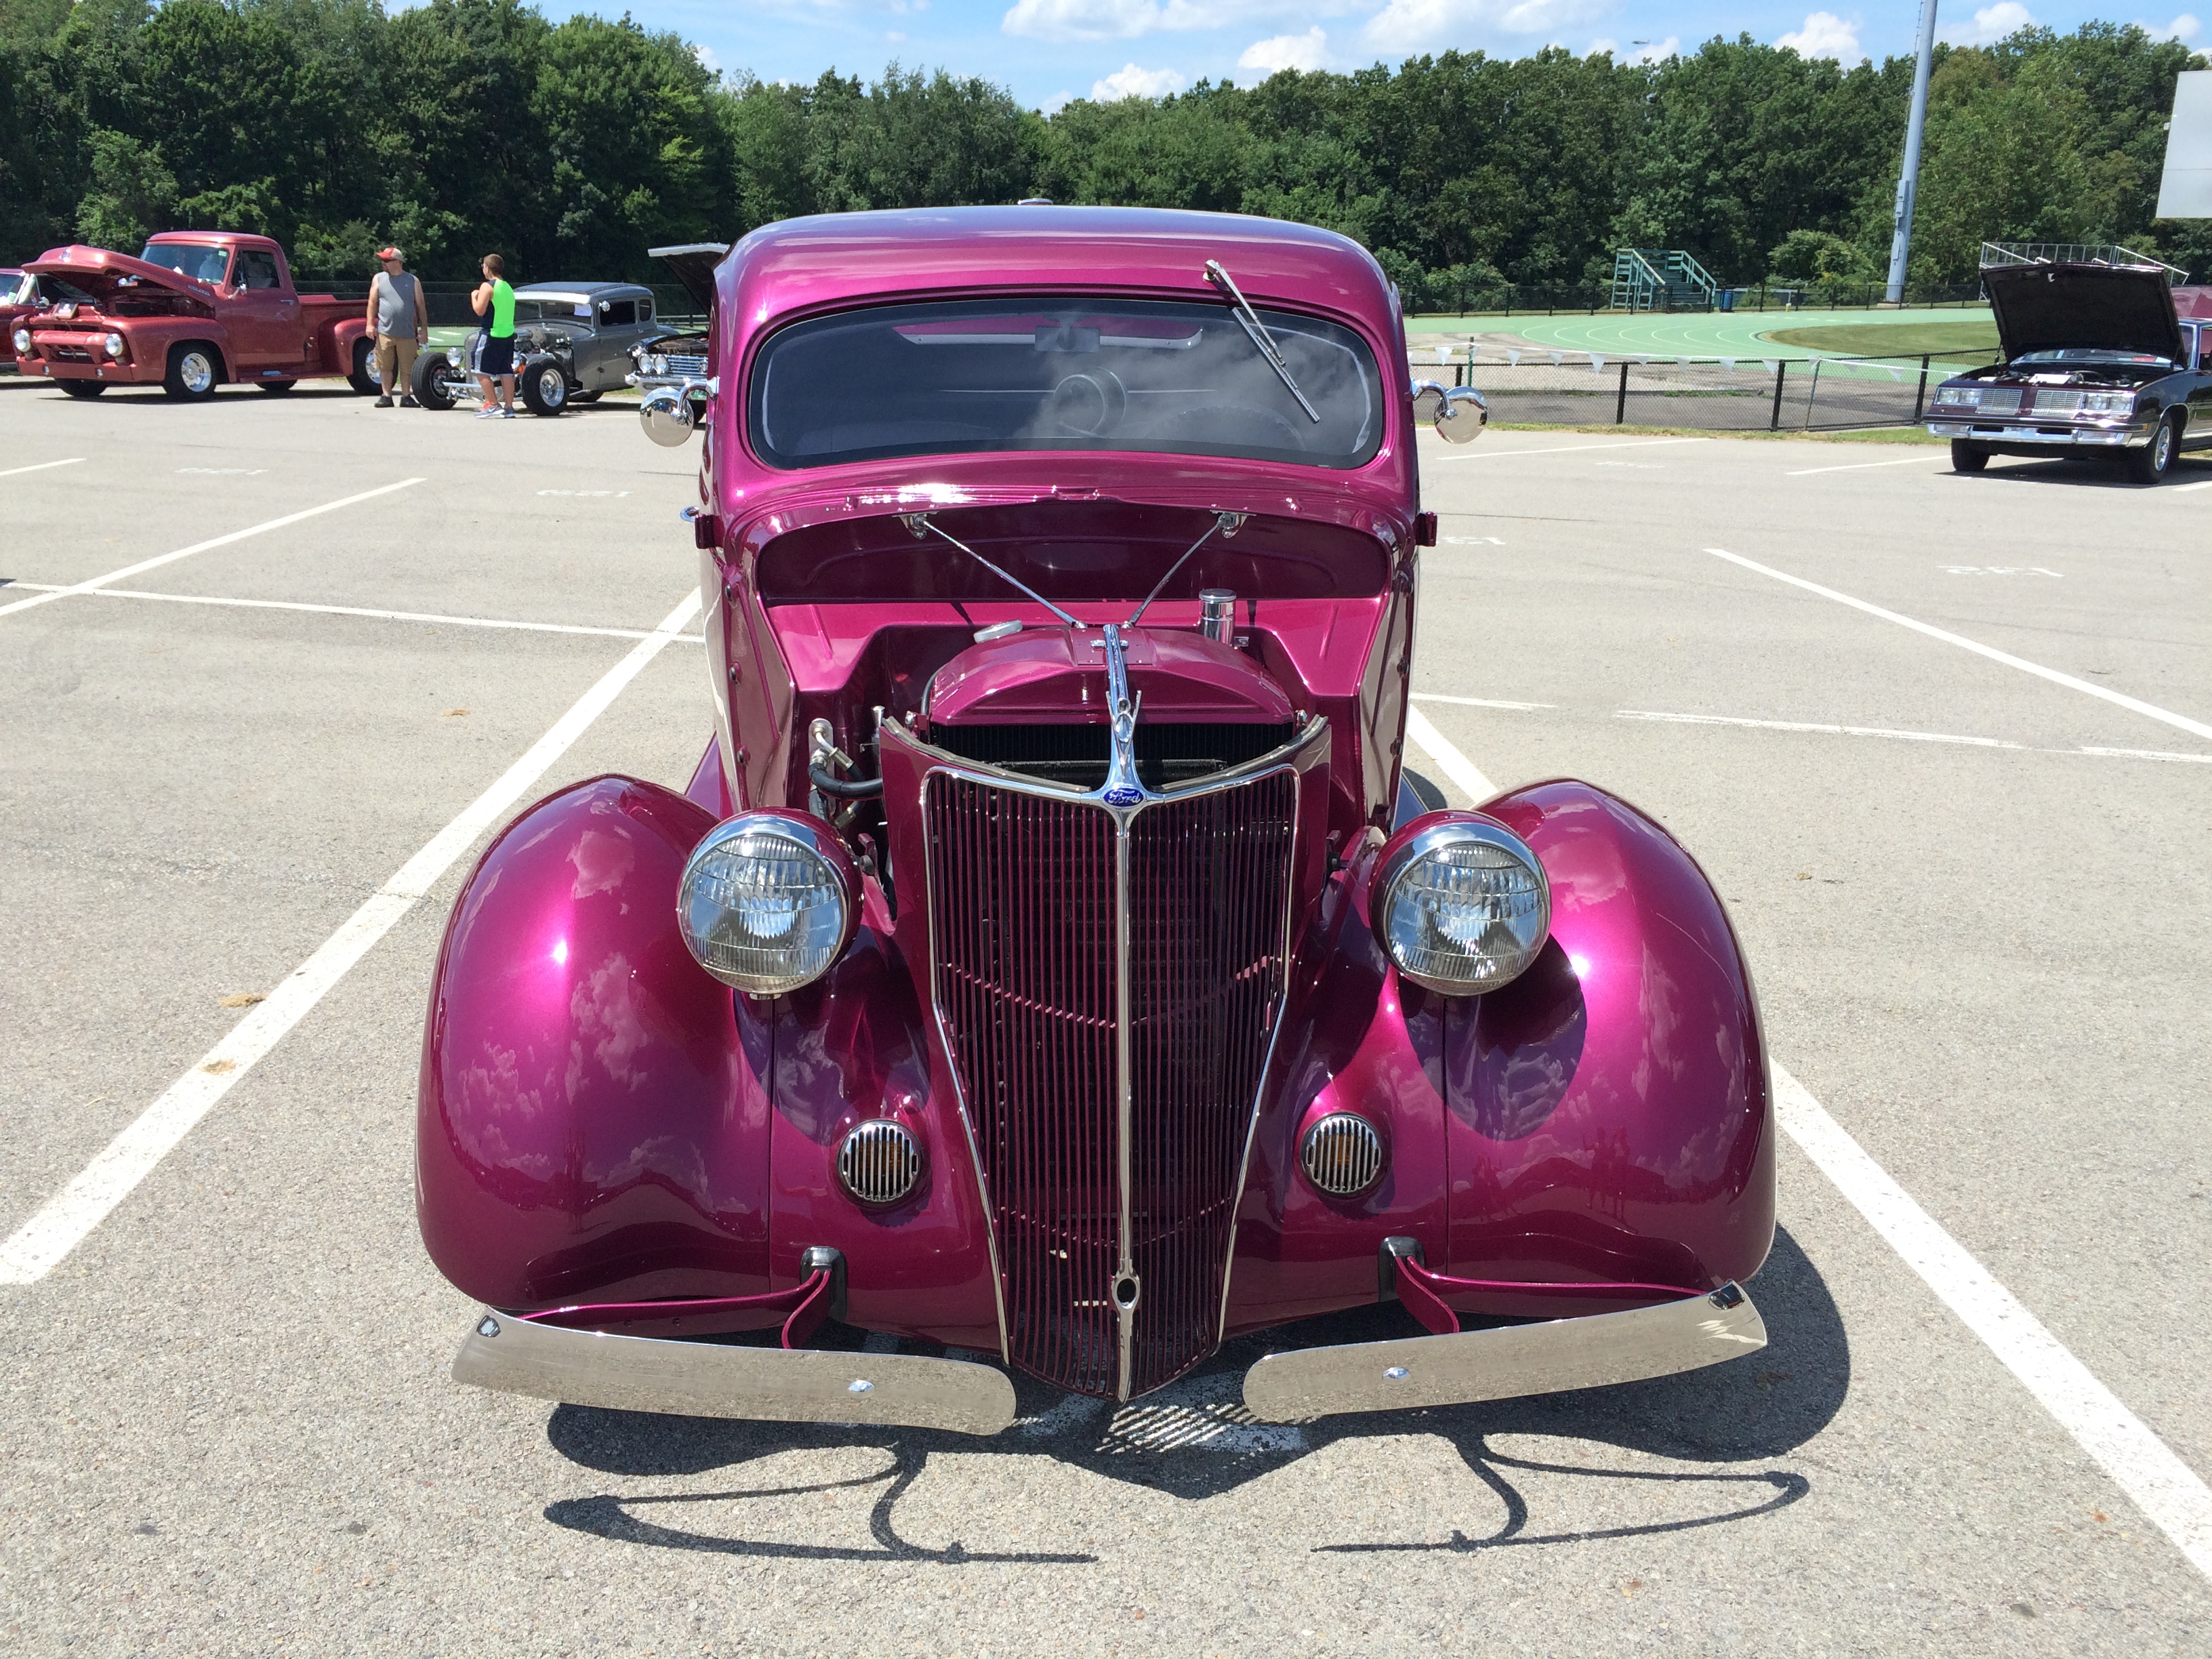
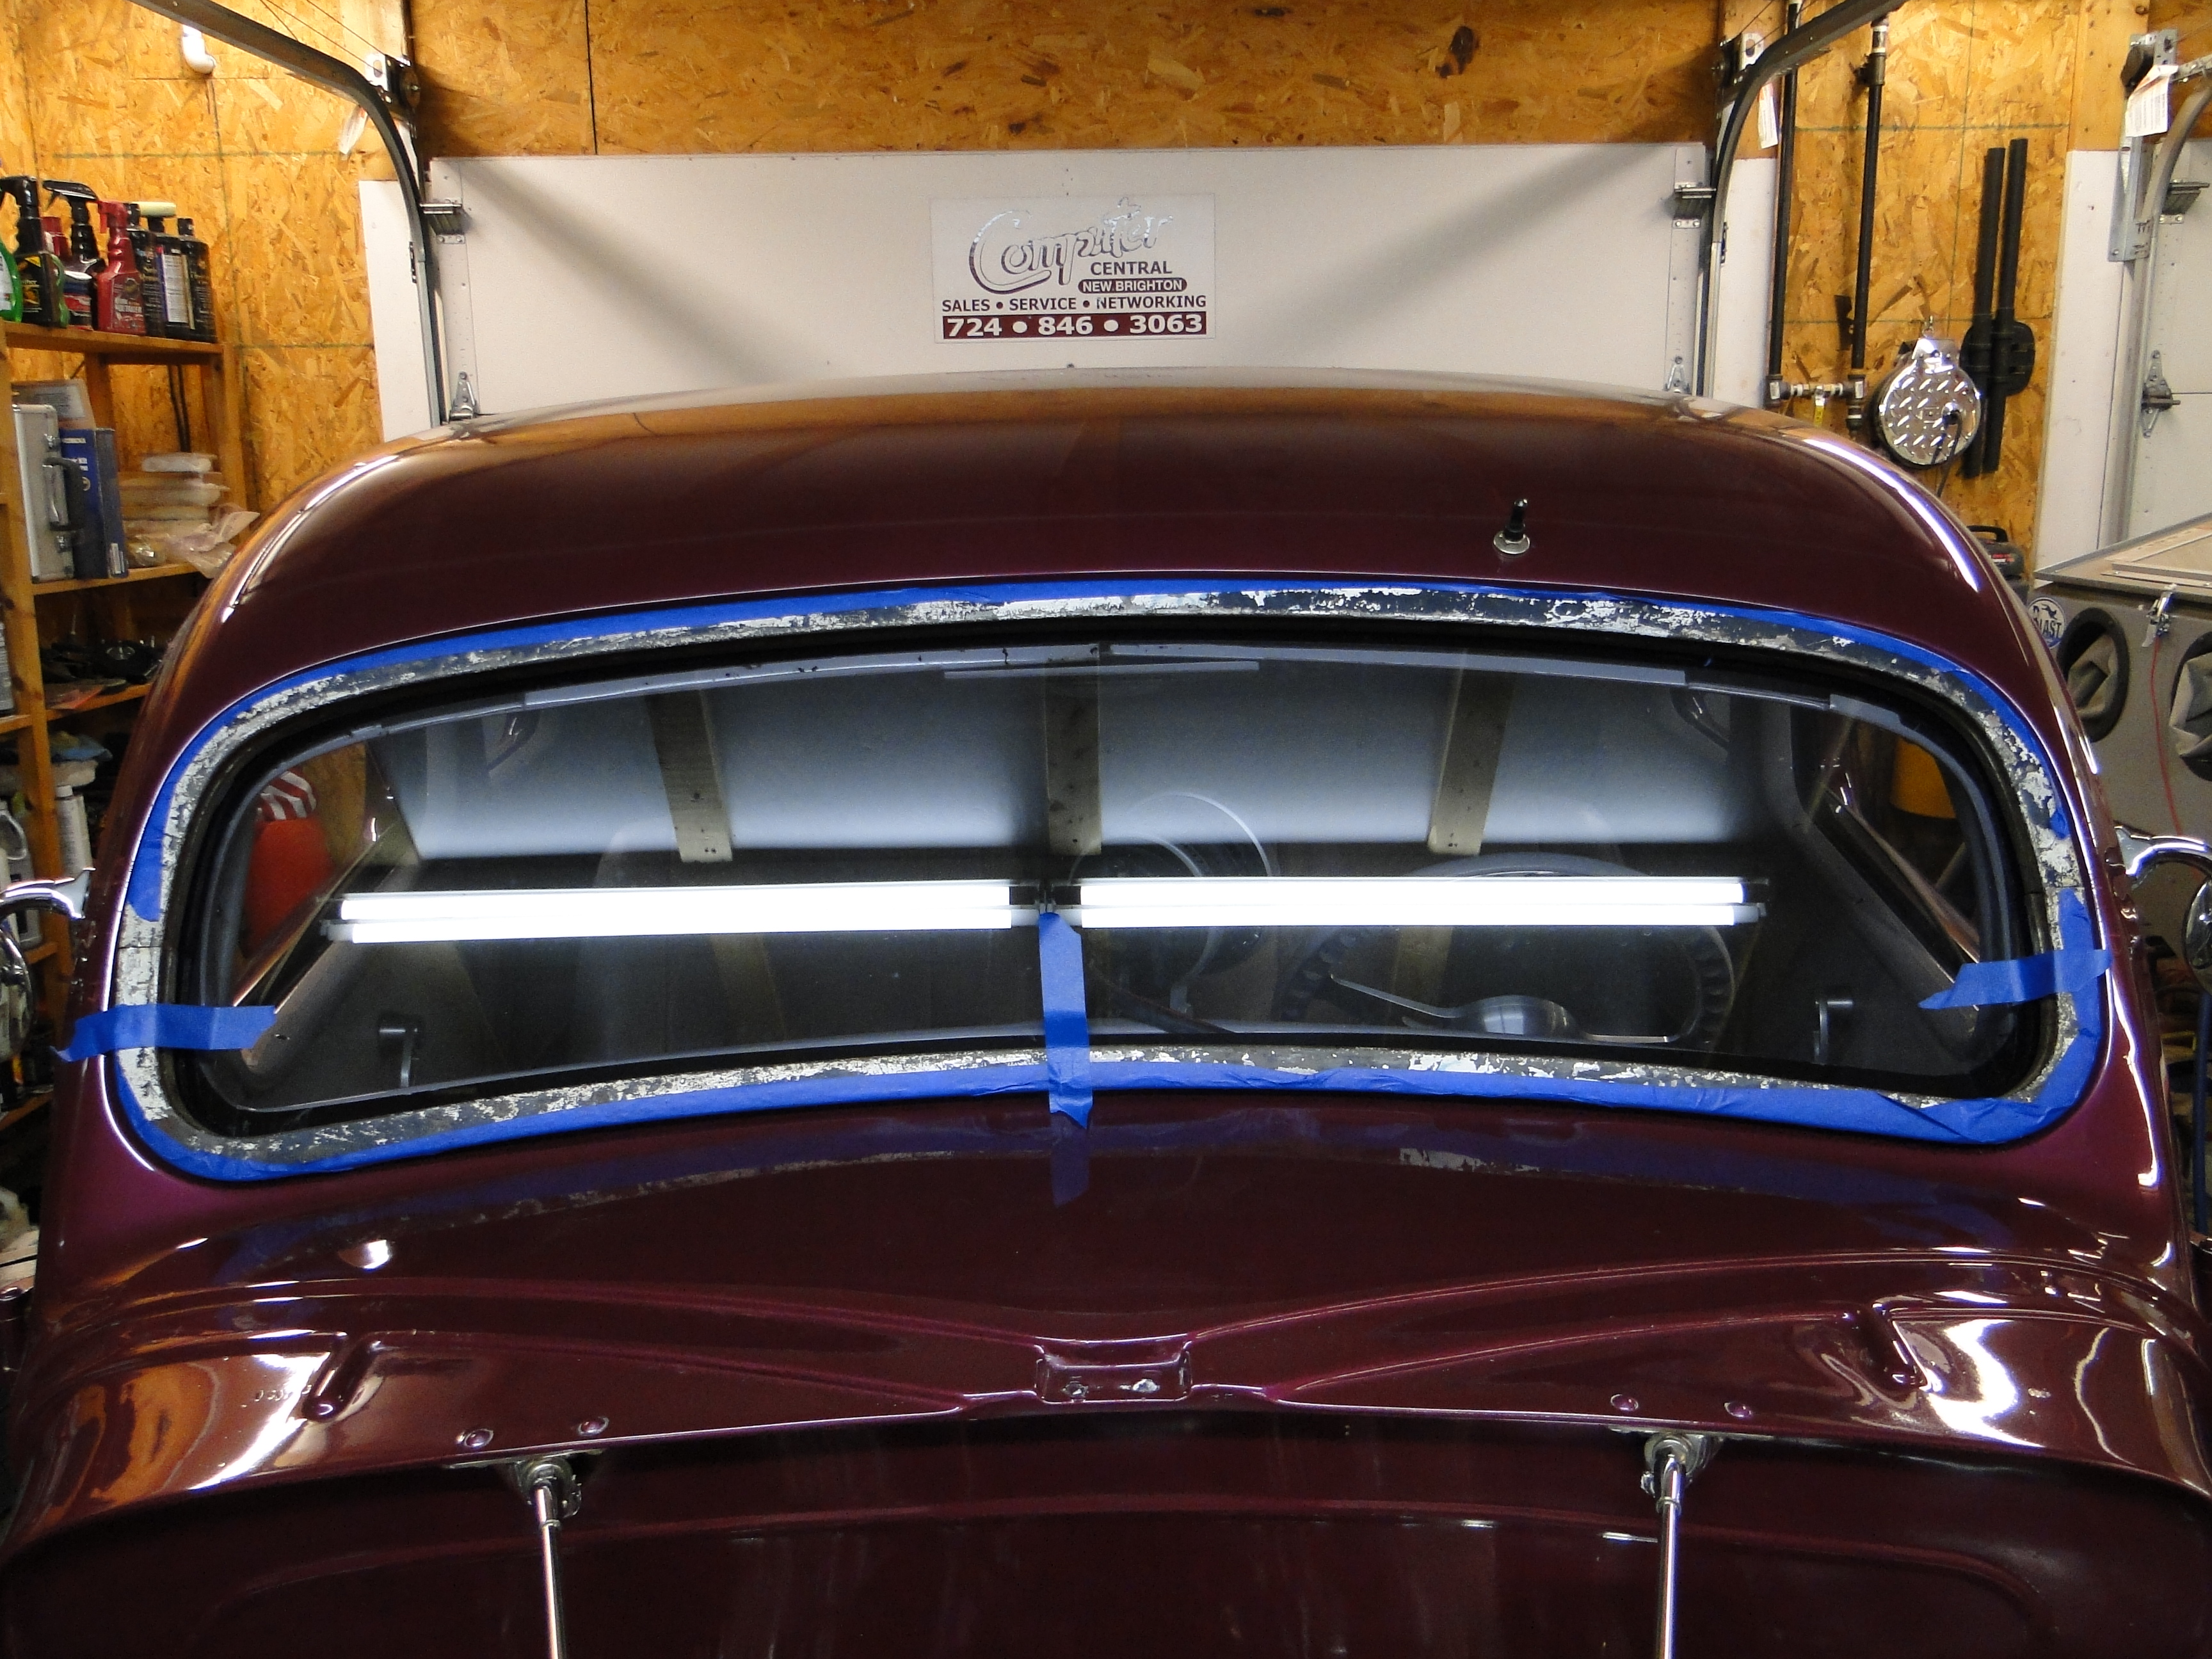
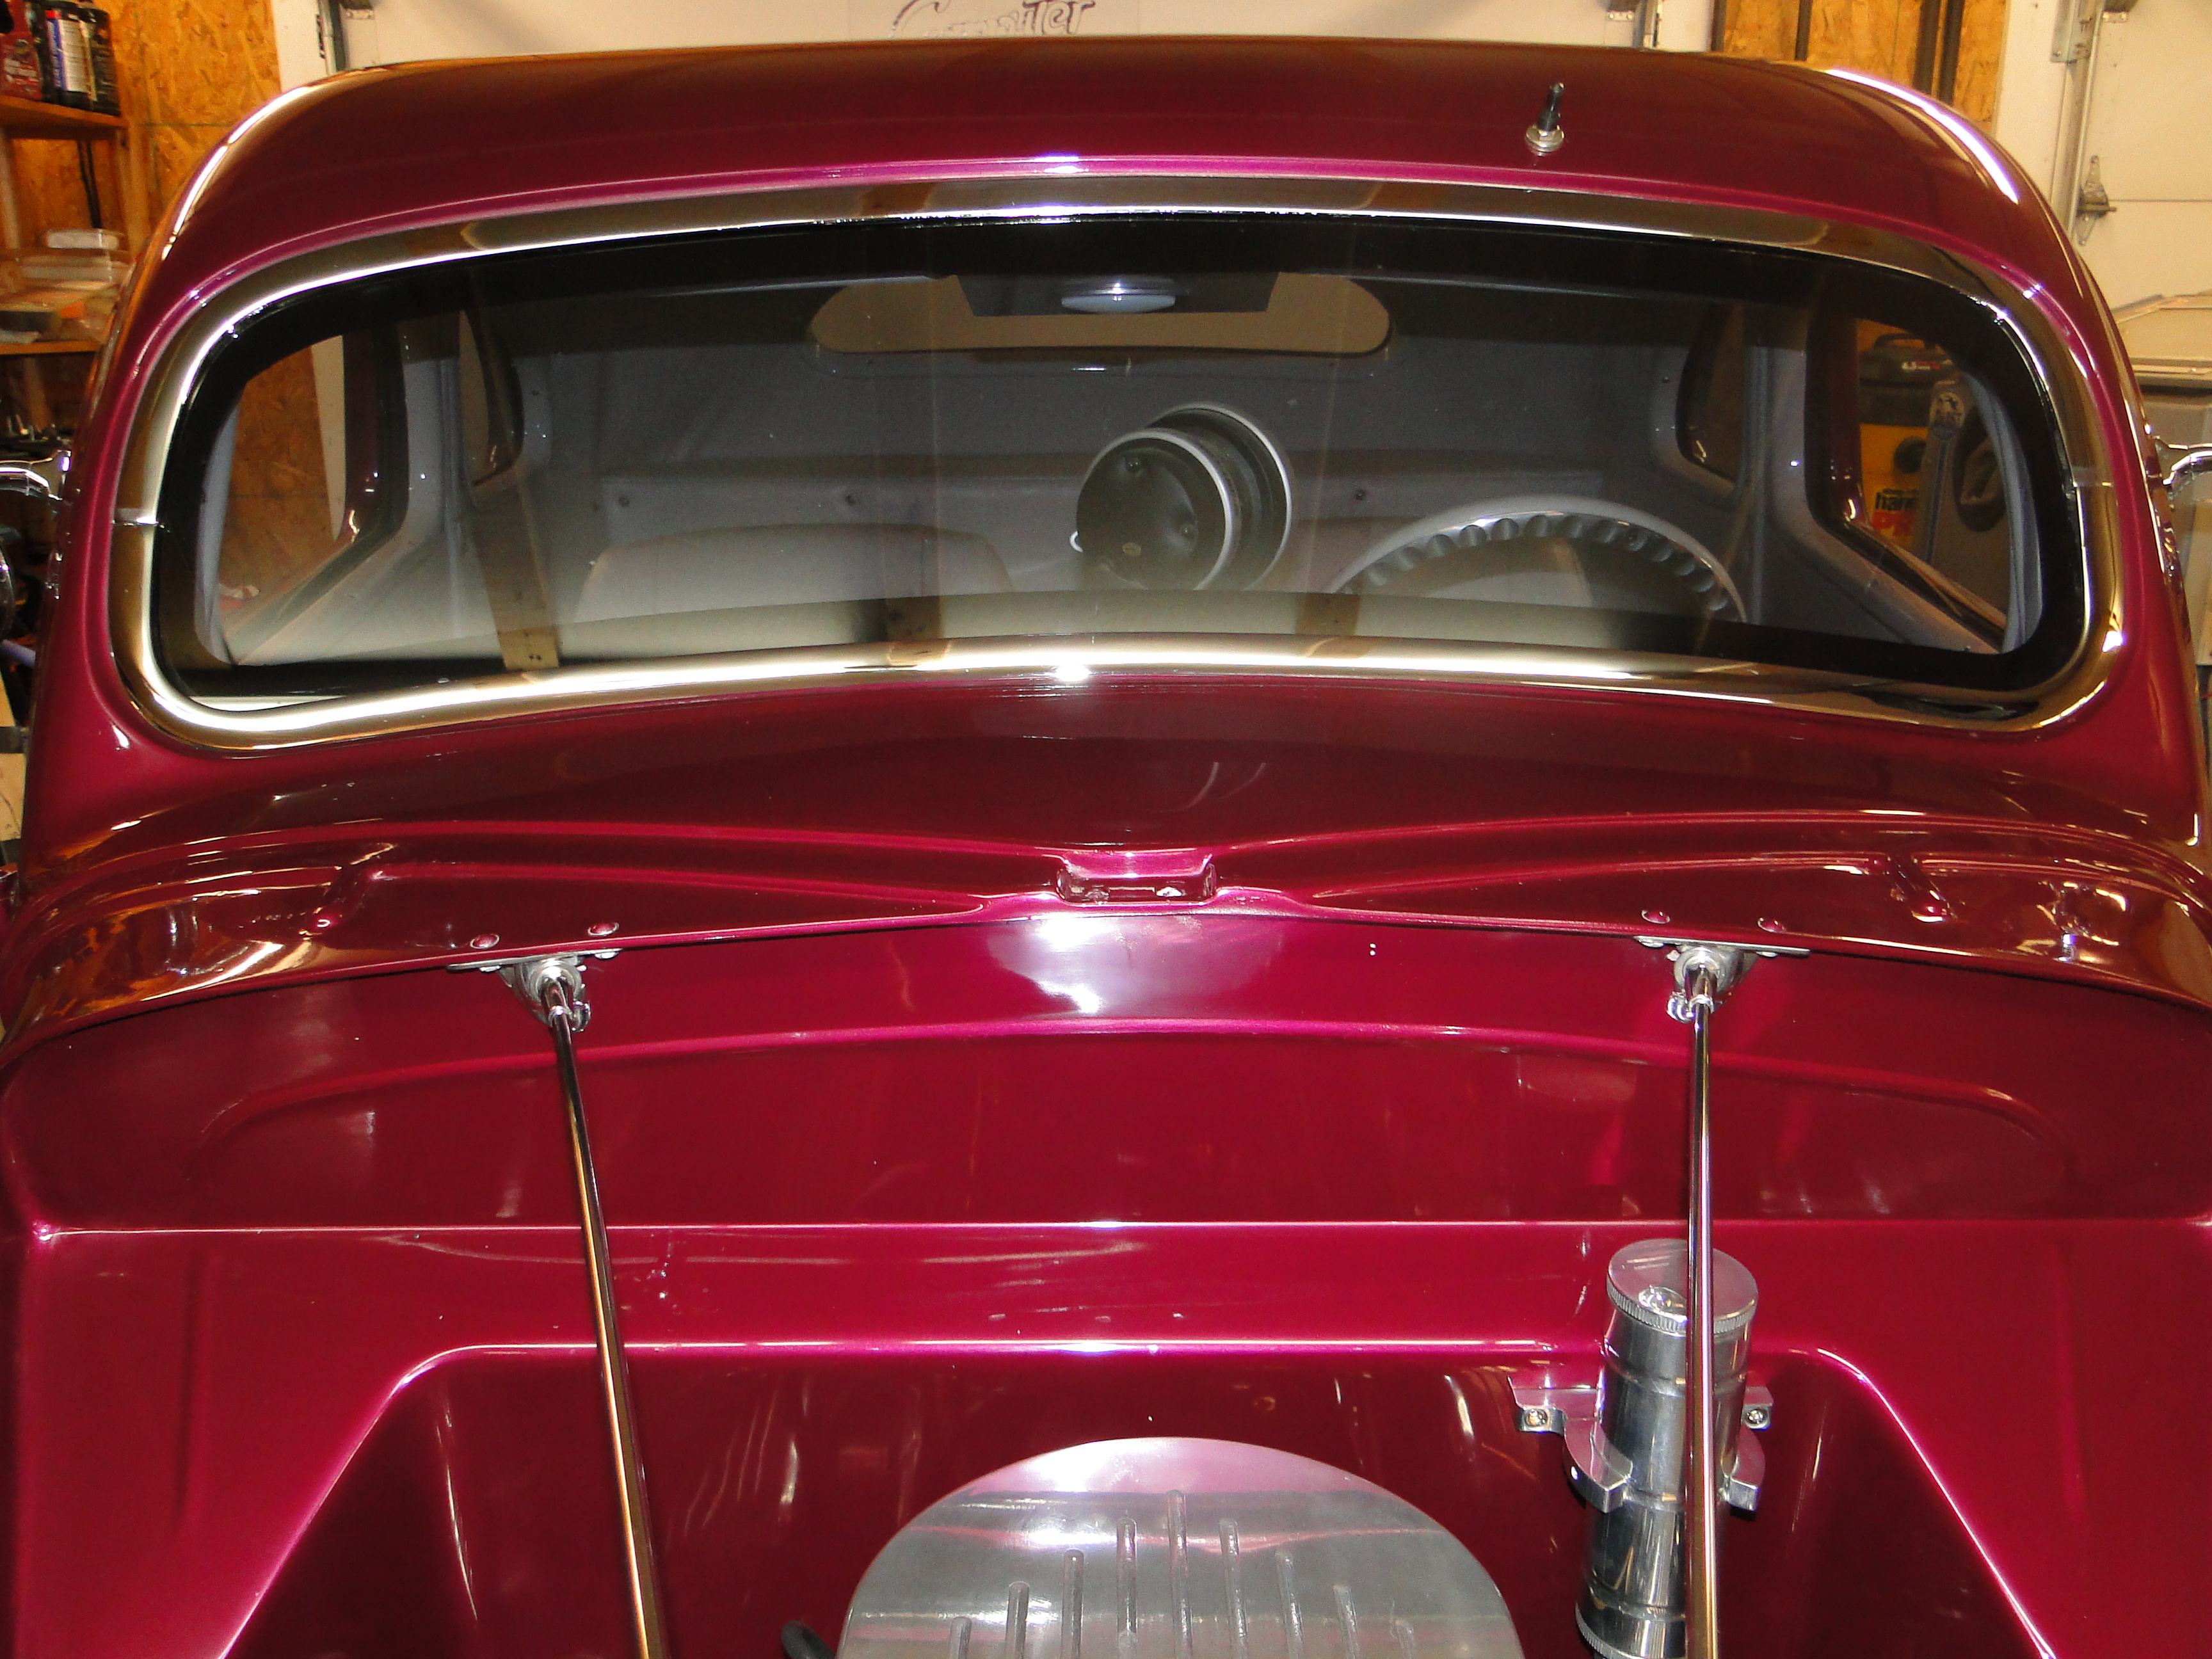
As you can see in the photo below, the windshield chrome trim has been missing on my Ford from the day I purchased her.
It was not easy, but I found an original 36 windshield trim that was in good shape online.

Click picture to enlarge.
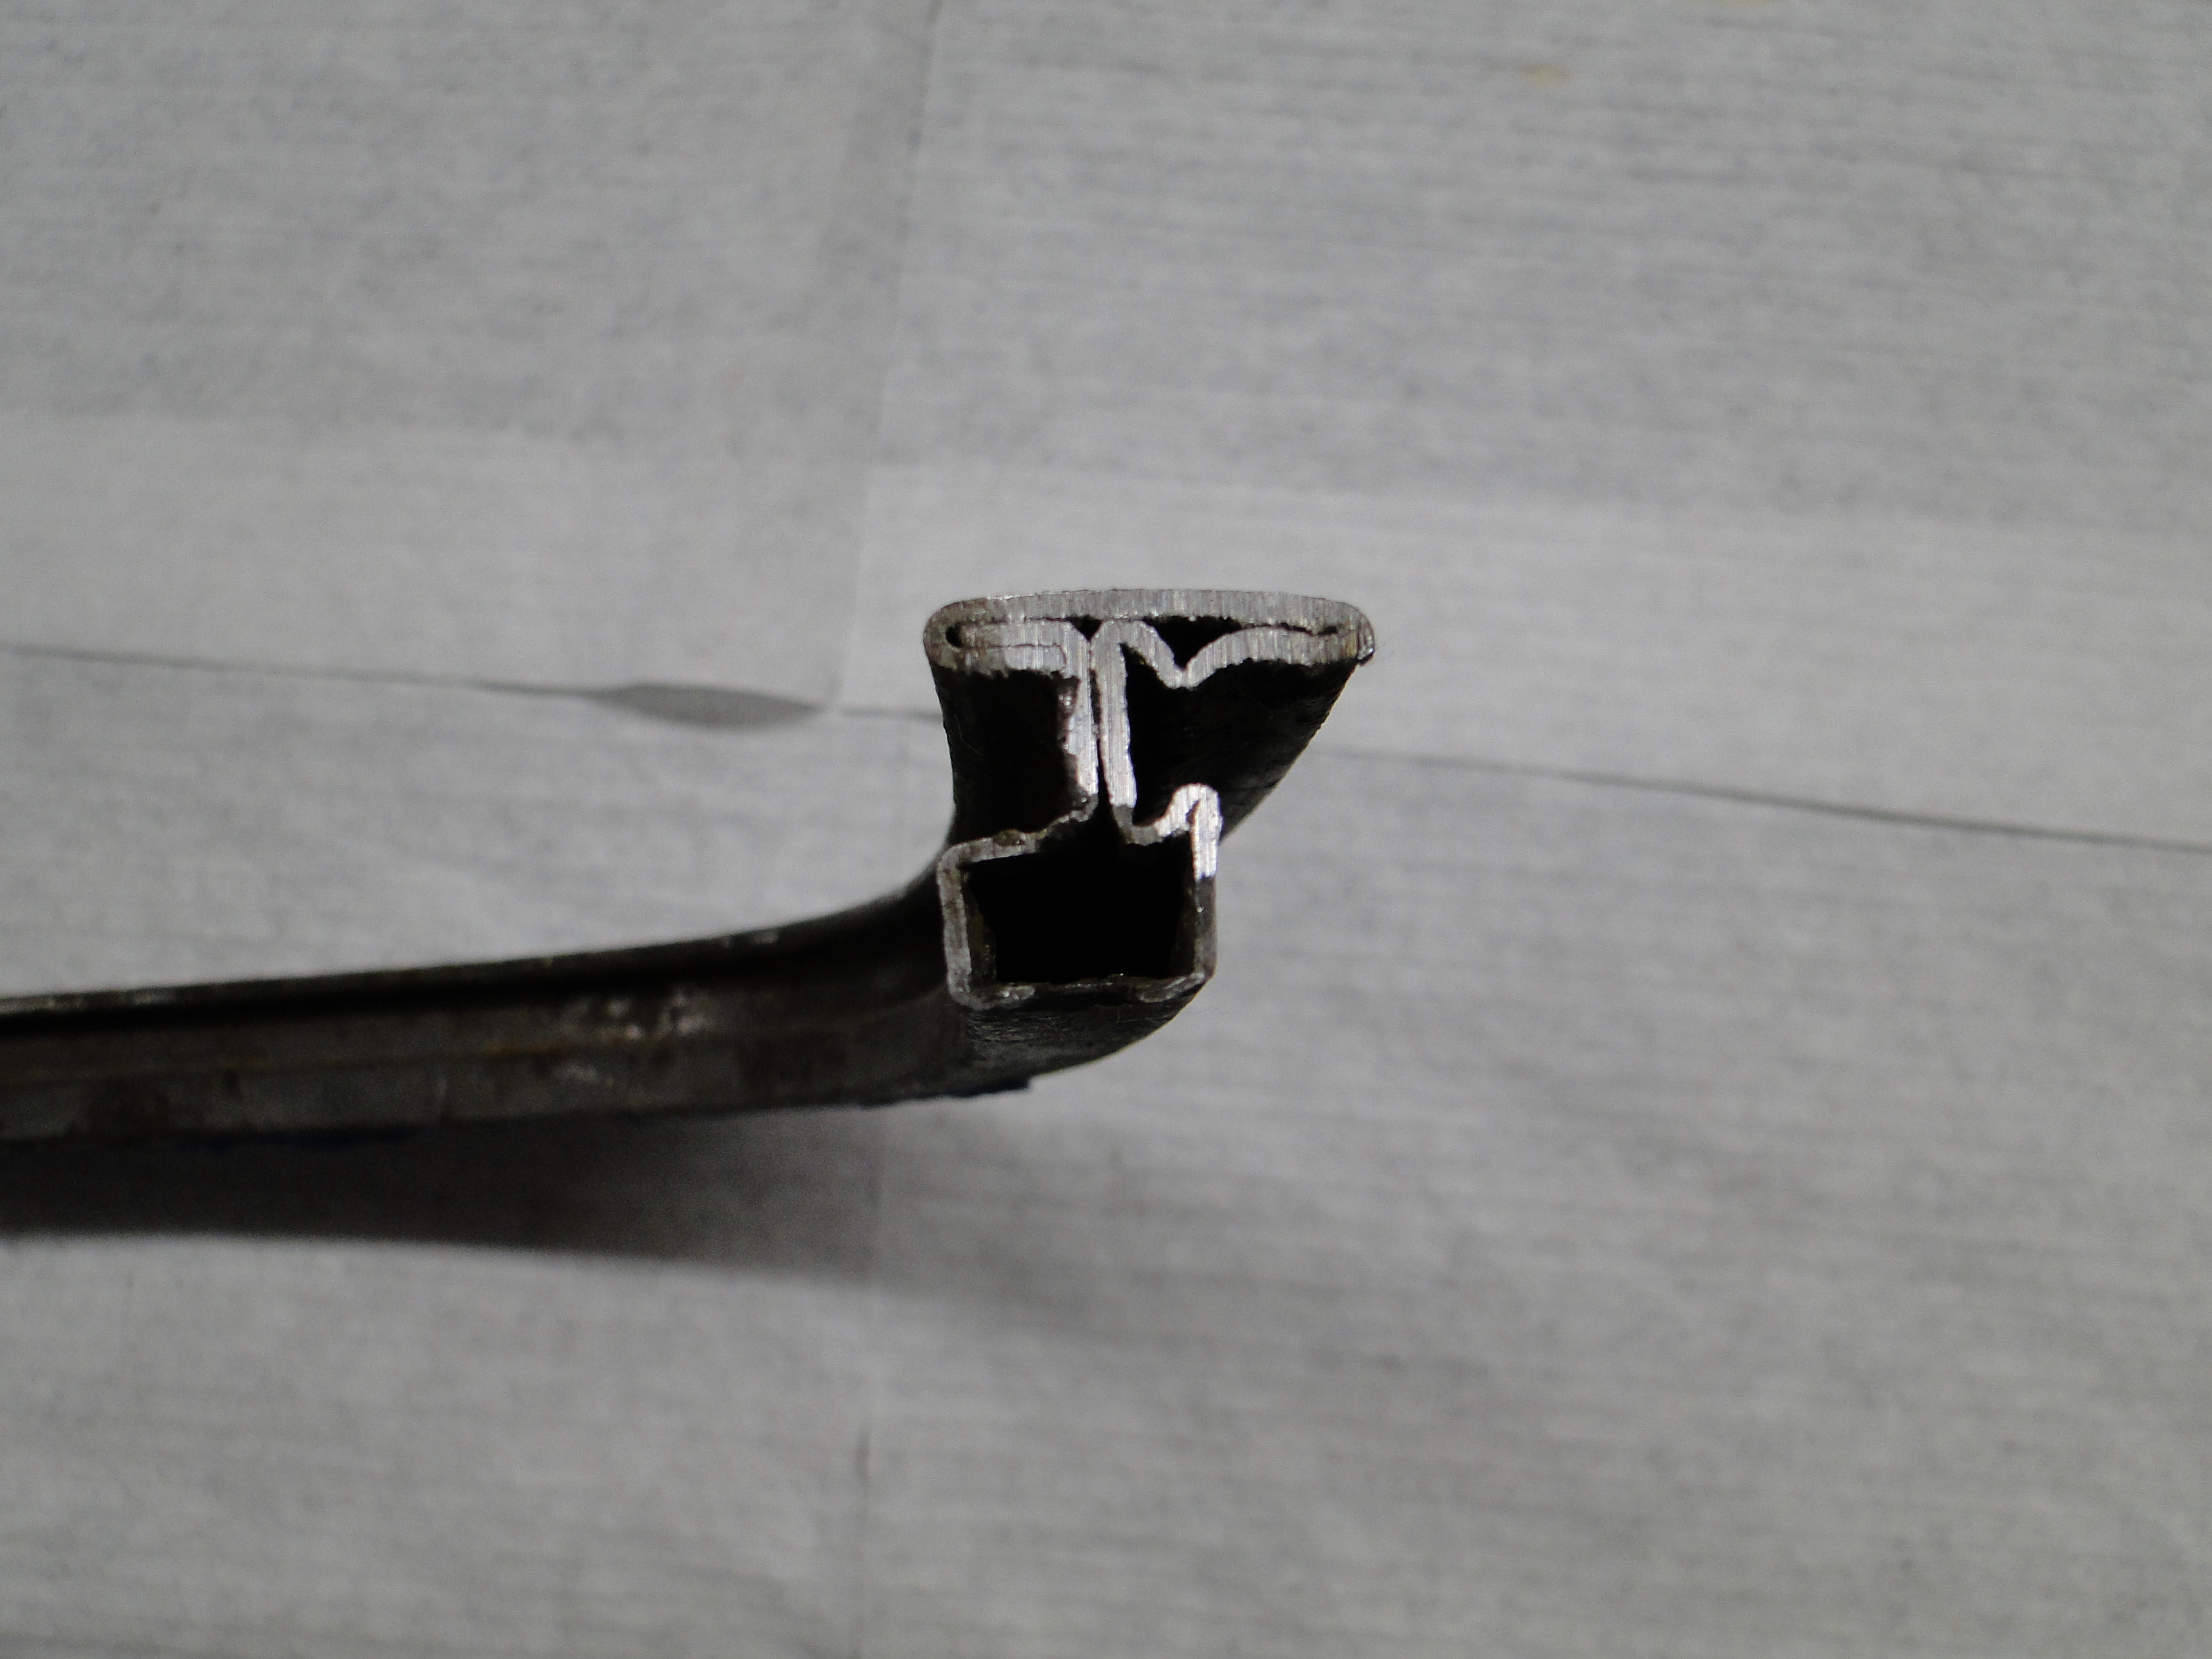
Now you have to understand I thought I was just purchasing a thin piece of window trim to cover my windshield glass installation. So when the windshield part arrived I was surprised at how heavy the box was. After further examination I discovered that what I had purchased was a complete window frame and trim molded together in one piece.
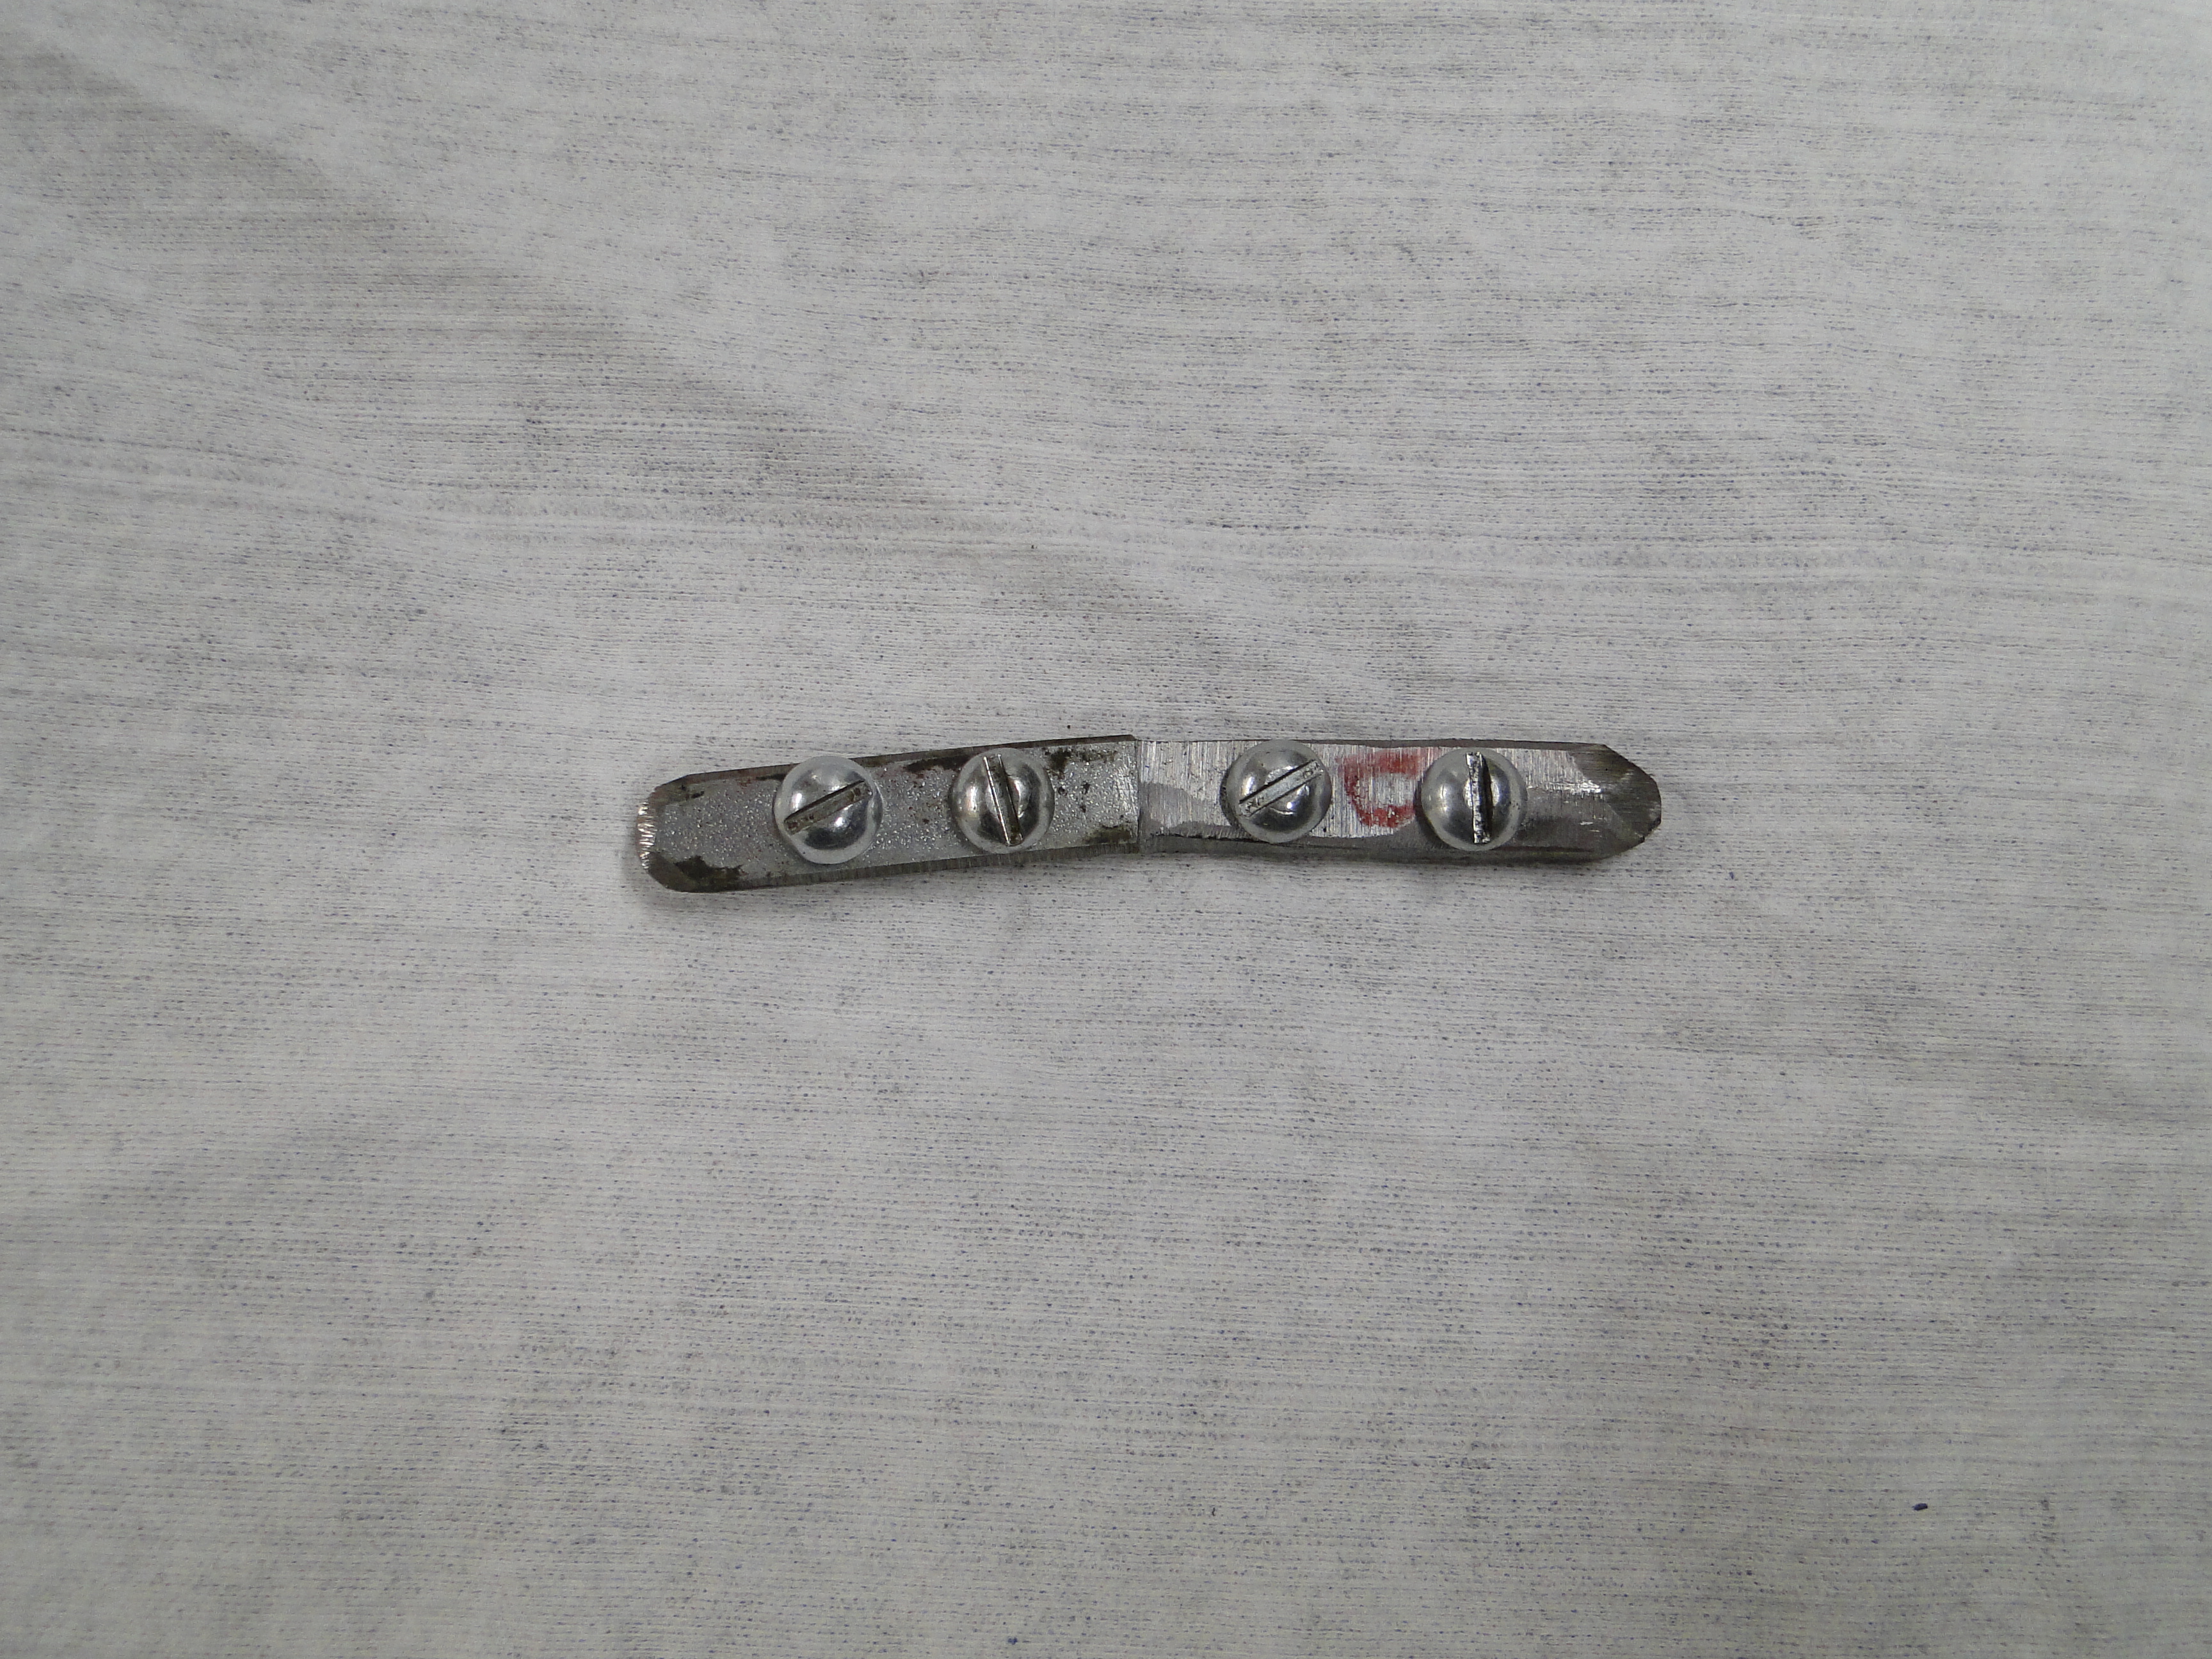
There were two small six inch long metal bars that slide inside both top and bottom of the frame ends, that secured the frames to each other, and then four bolts on each end locked the glass in place. Both trim pieces were designed to surround the glass and then it was to be installed on the body of the car.
Click picture to enlarge.
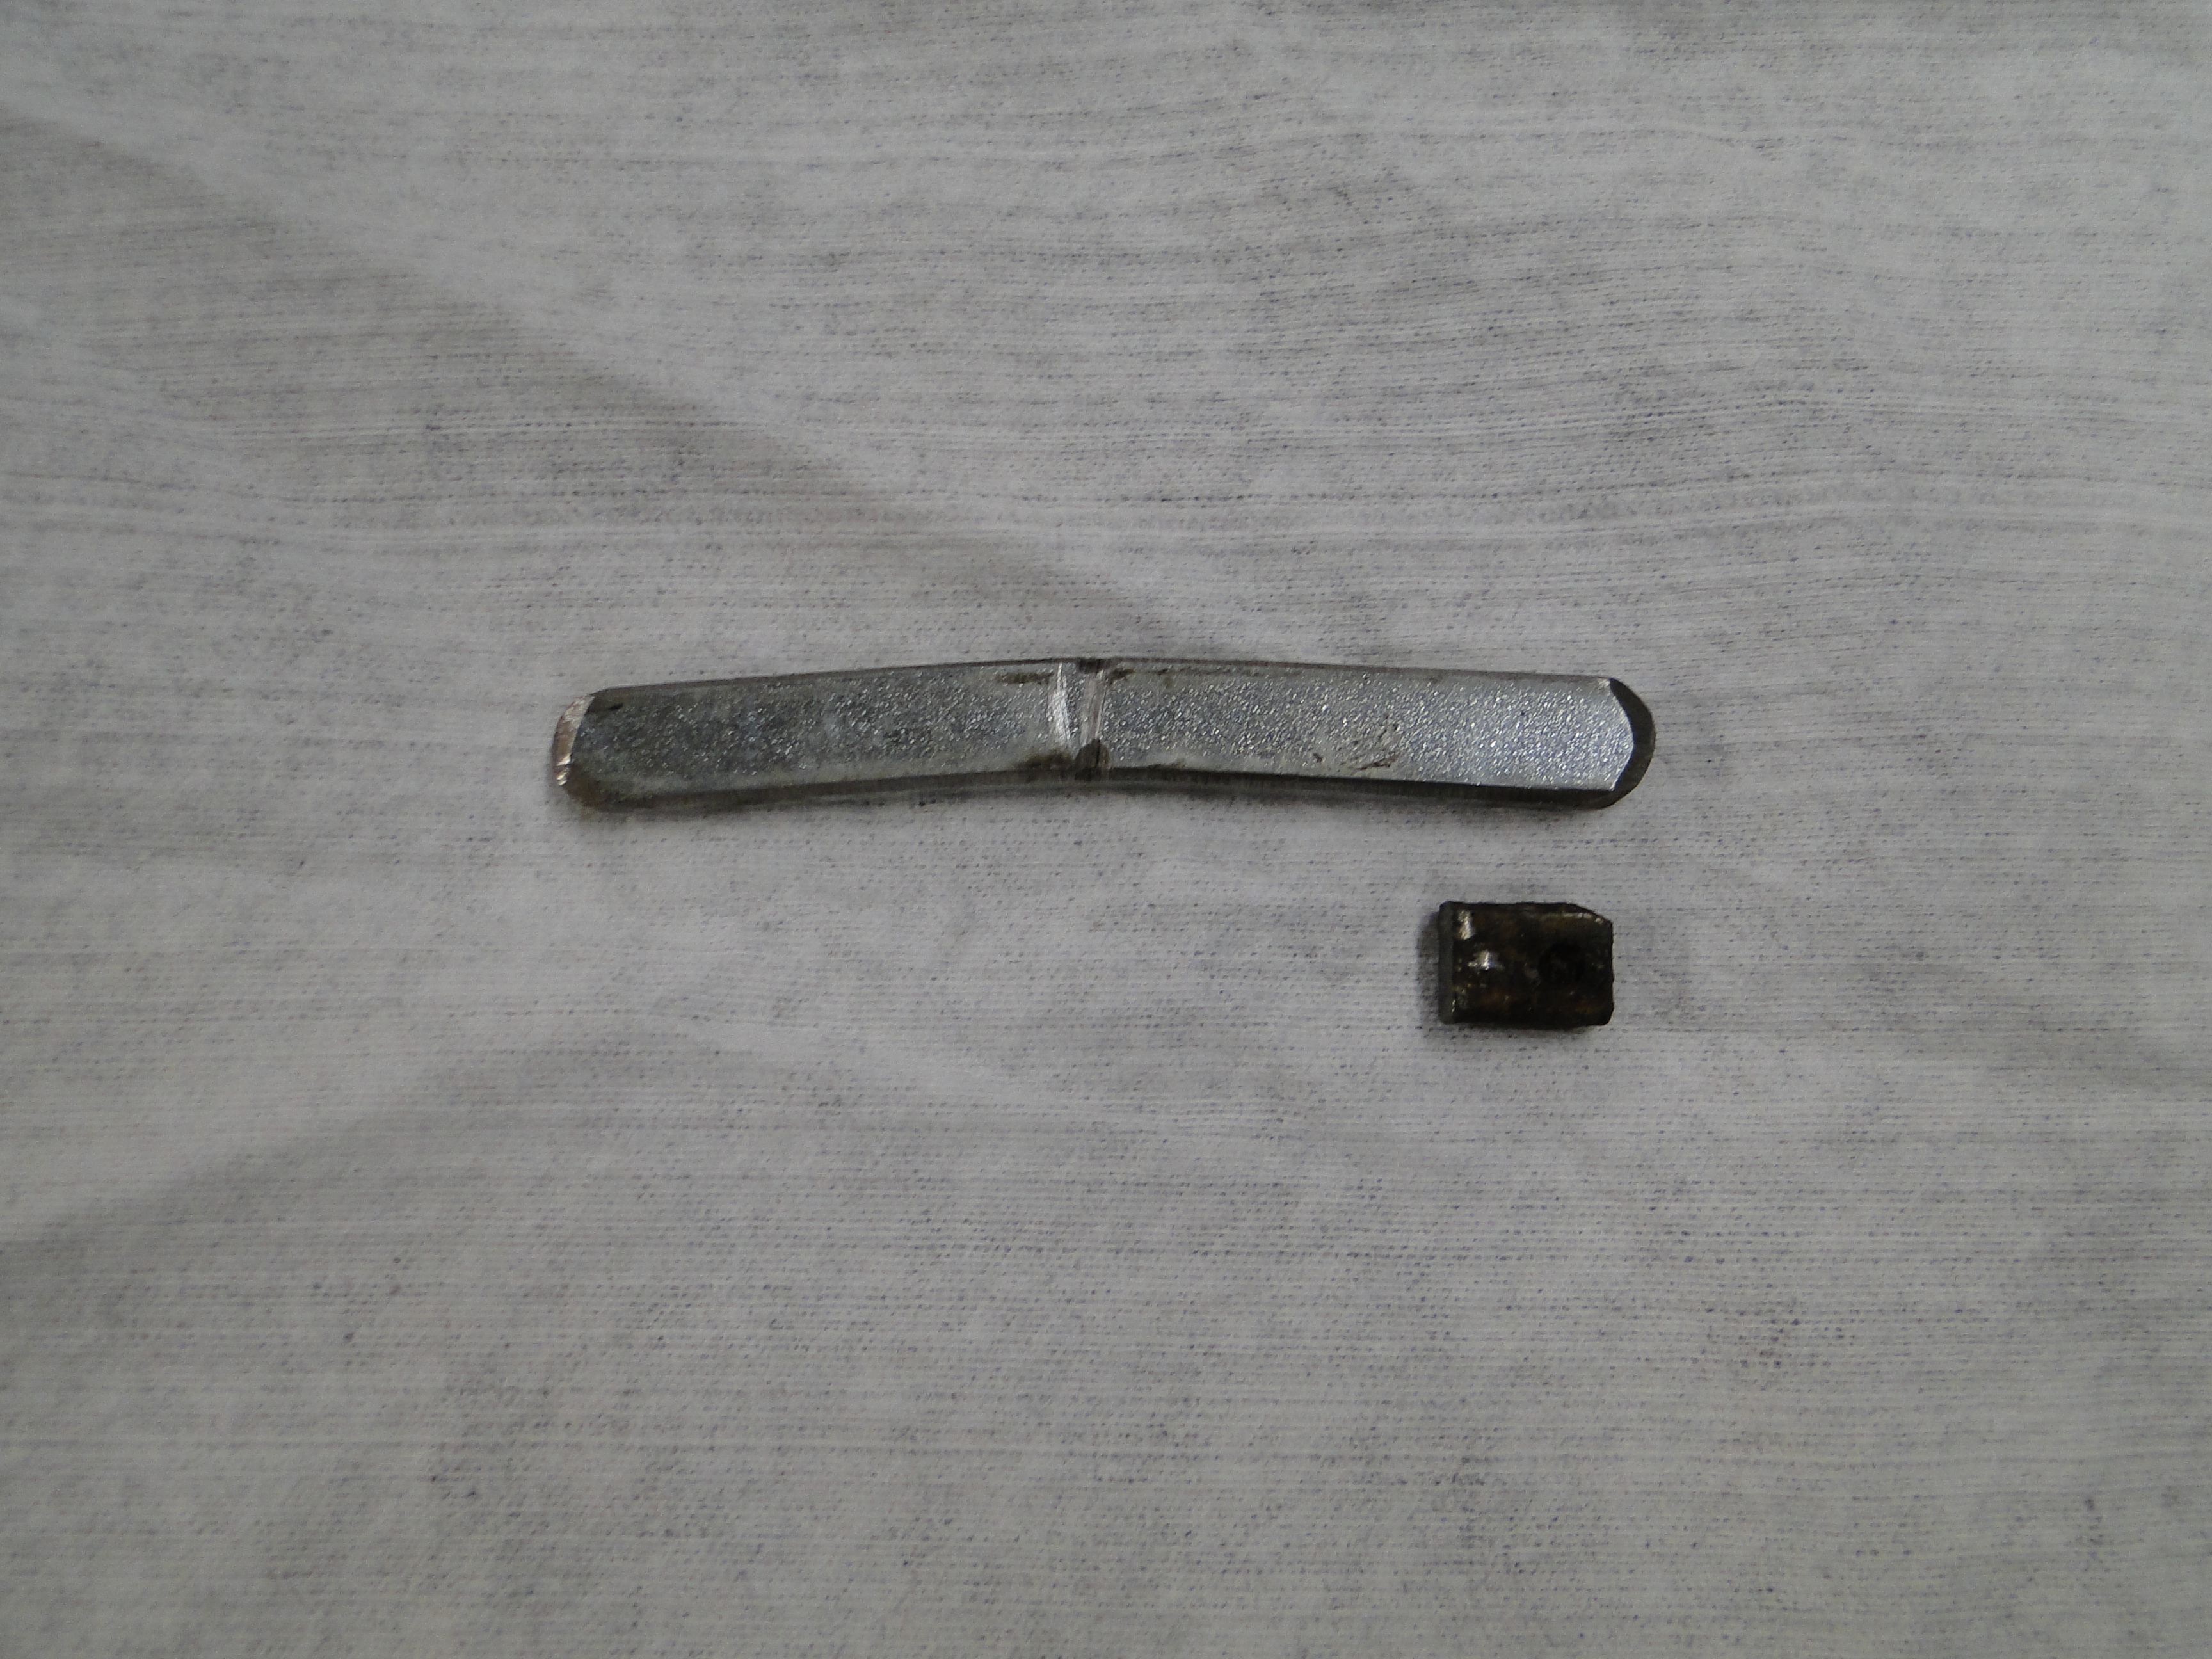
I could not get both of the small connecting bars removed from the inside of windshield frame intact. In fact, all I was able to salvage was a small end piece, of one of the existing slide metal bars. No big deal I thought, I will just purchase new reproduction slide bars later. The lower section of the metal windshield frame had to be bent in on the sides so it would fit in the car body opening, and I had to do the same thing to upper windshield frame section as well.
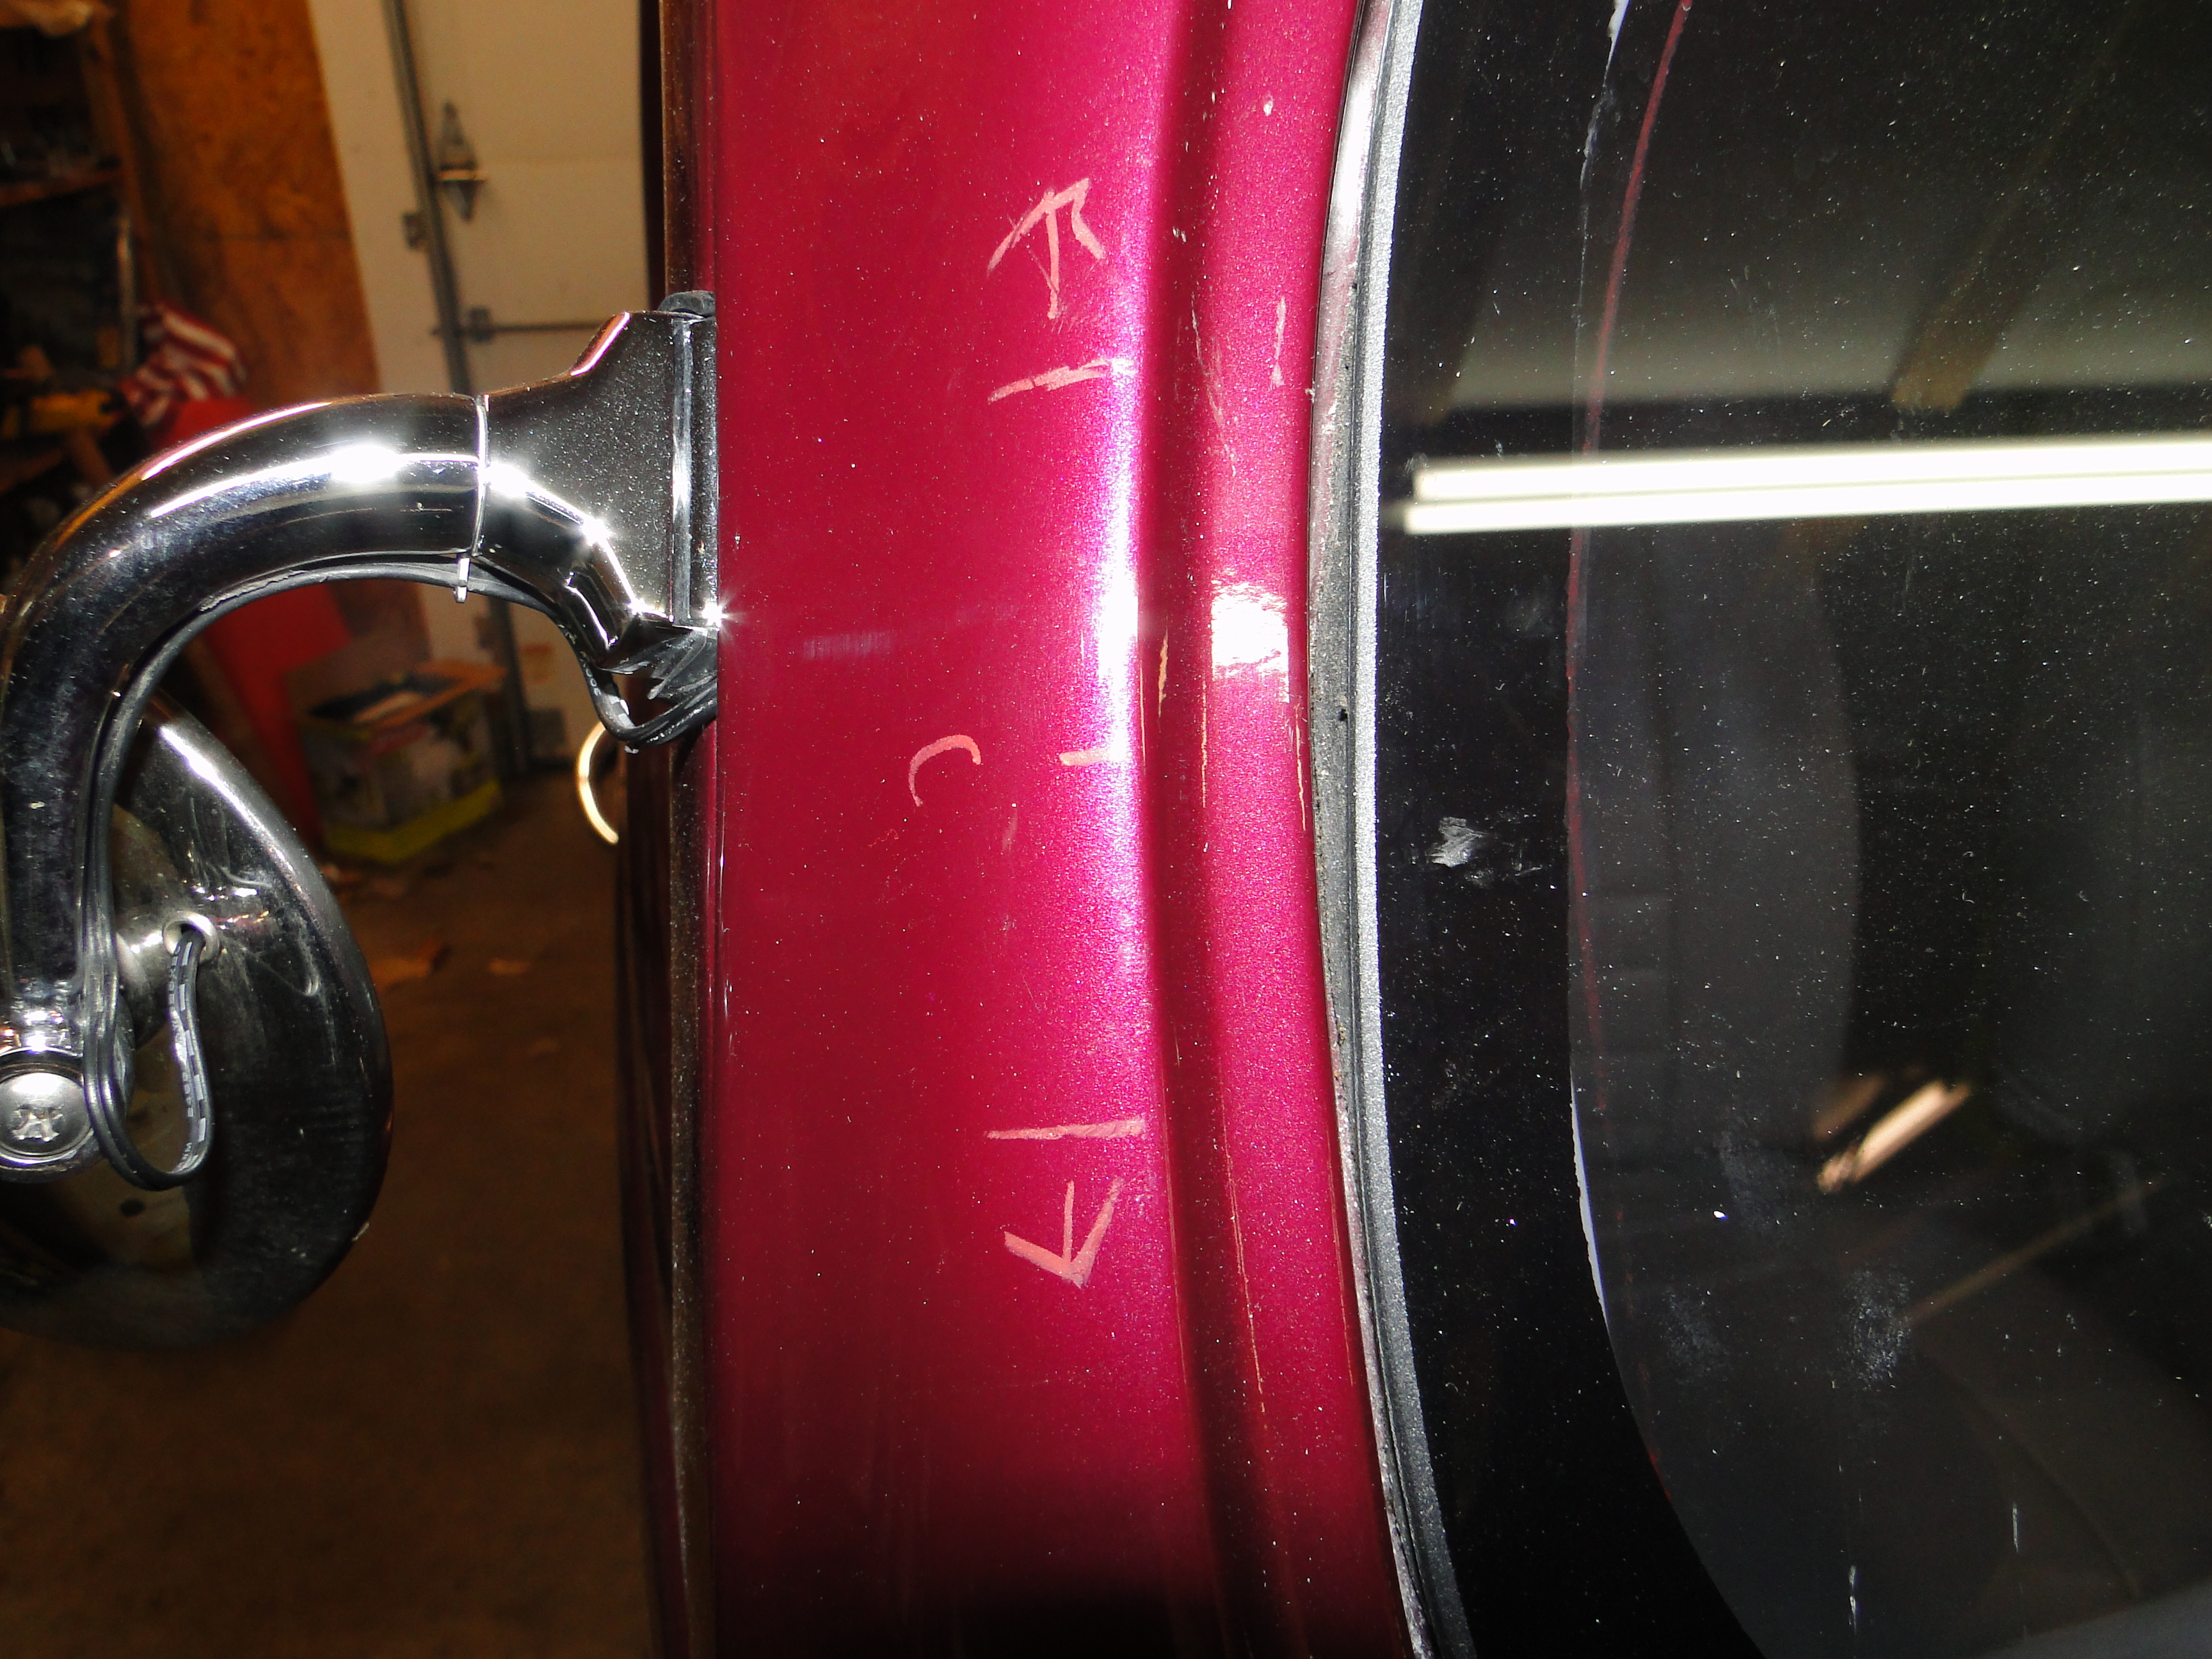
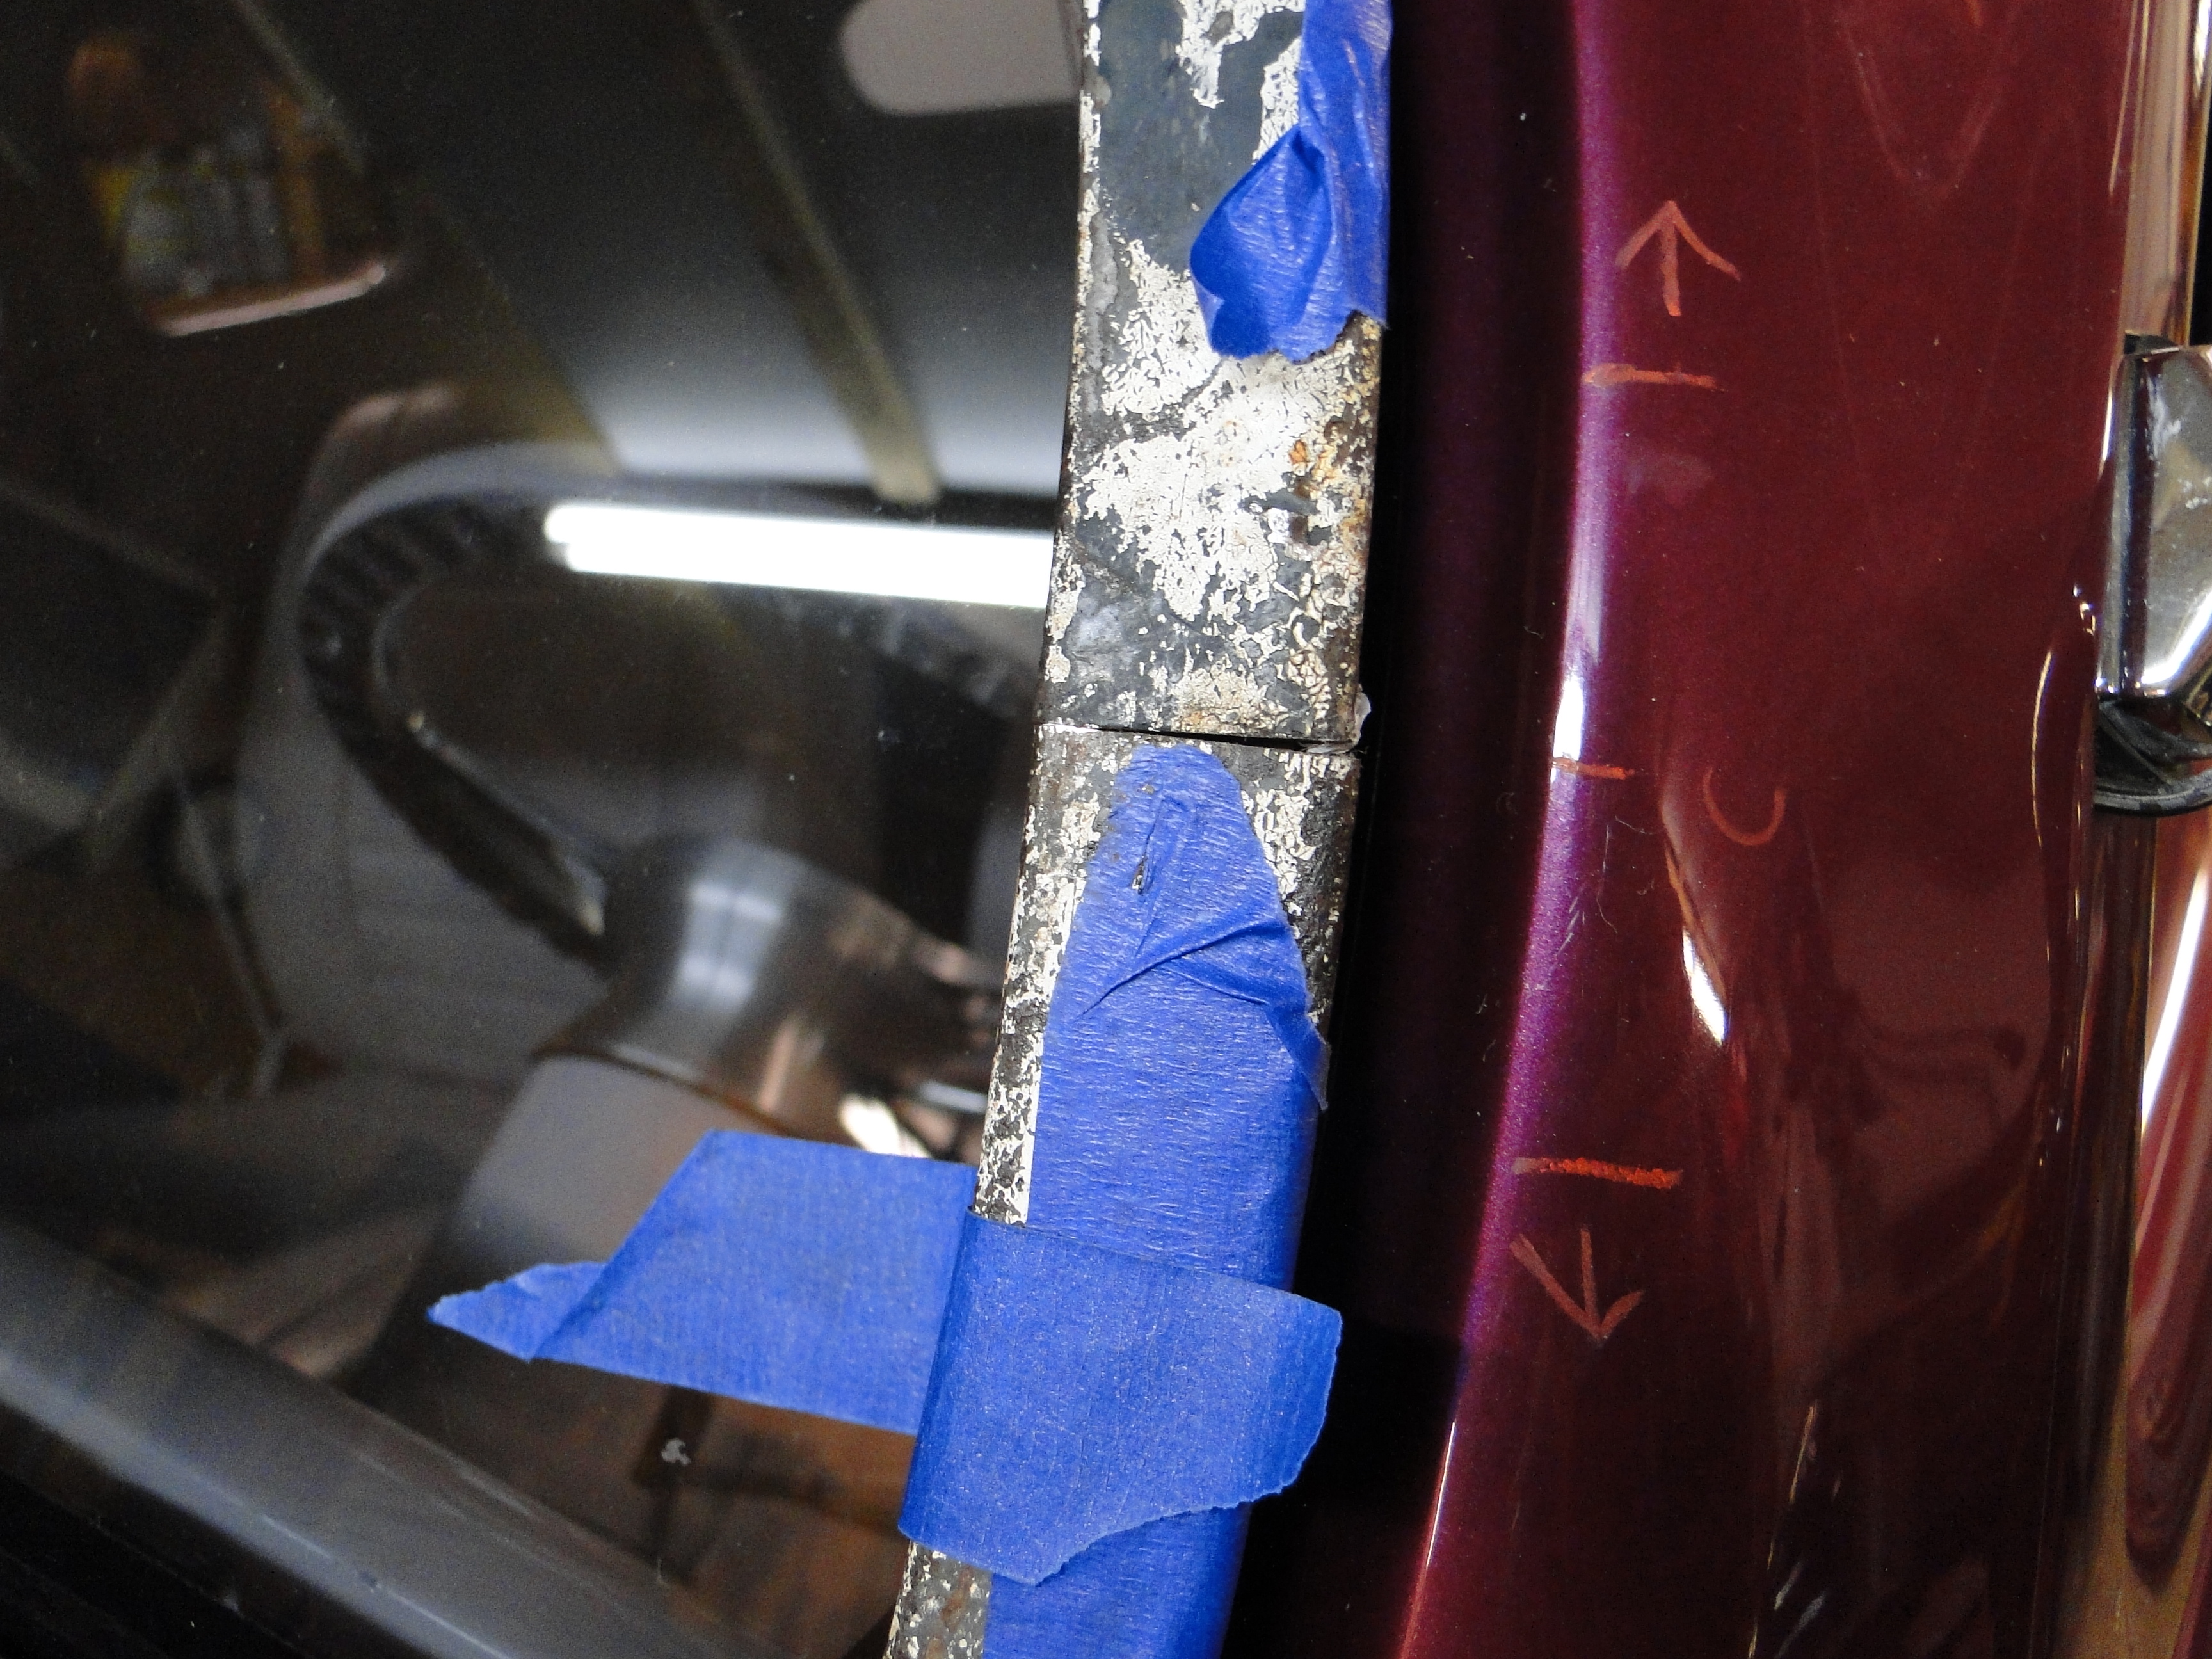
Then I made marks on the body where both frame pieces ended. I measured the total distance between the top and bottom, and then divided it by two. This gave me my theoretical center, see photo below, notice how I said theoretical center we will come back to that later.
Now because my cars roof was lowered/chopped by the previous owner, I will have to cut approximately 2 1/2 inches off the total windshield frame height in order to have it fit in to the windshield cavity properly.
Click picture to enlarge.
I made the first cuts on both sides of the frame a little long just in case I needed the extra material. To make a long story short the drivers side came out perfect, but the passenger side not so much. It would seem that one of two things are not correct, the windshield body opening in the car, or the windshield frame is not the same size at both ends. I said it before, I will say it again, nothing is easy with this car. I had to cut the frame shorter on the passengers side to get it to fit inside the body opening. After the cuts were all good, I then needed to grind the ends to fit properly.
As I said earlier the windshield Frame is held together with two small metal bars that slide inside both the top and the bottom of the windshield frames, and then they are
held by two bolts on top and bottom to secure the glass inside the frame. After a exhaustive search with no success, to my surprise I discovered replacement connecting bars are not produced anywhere.
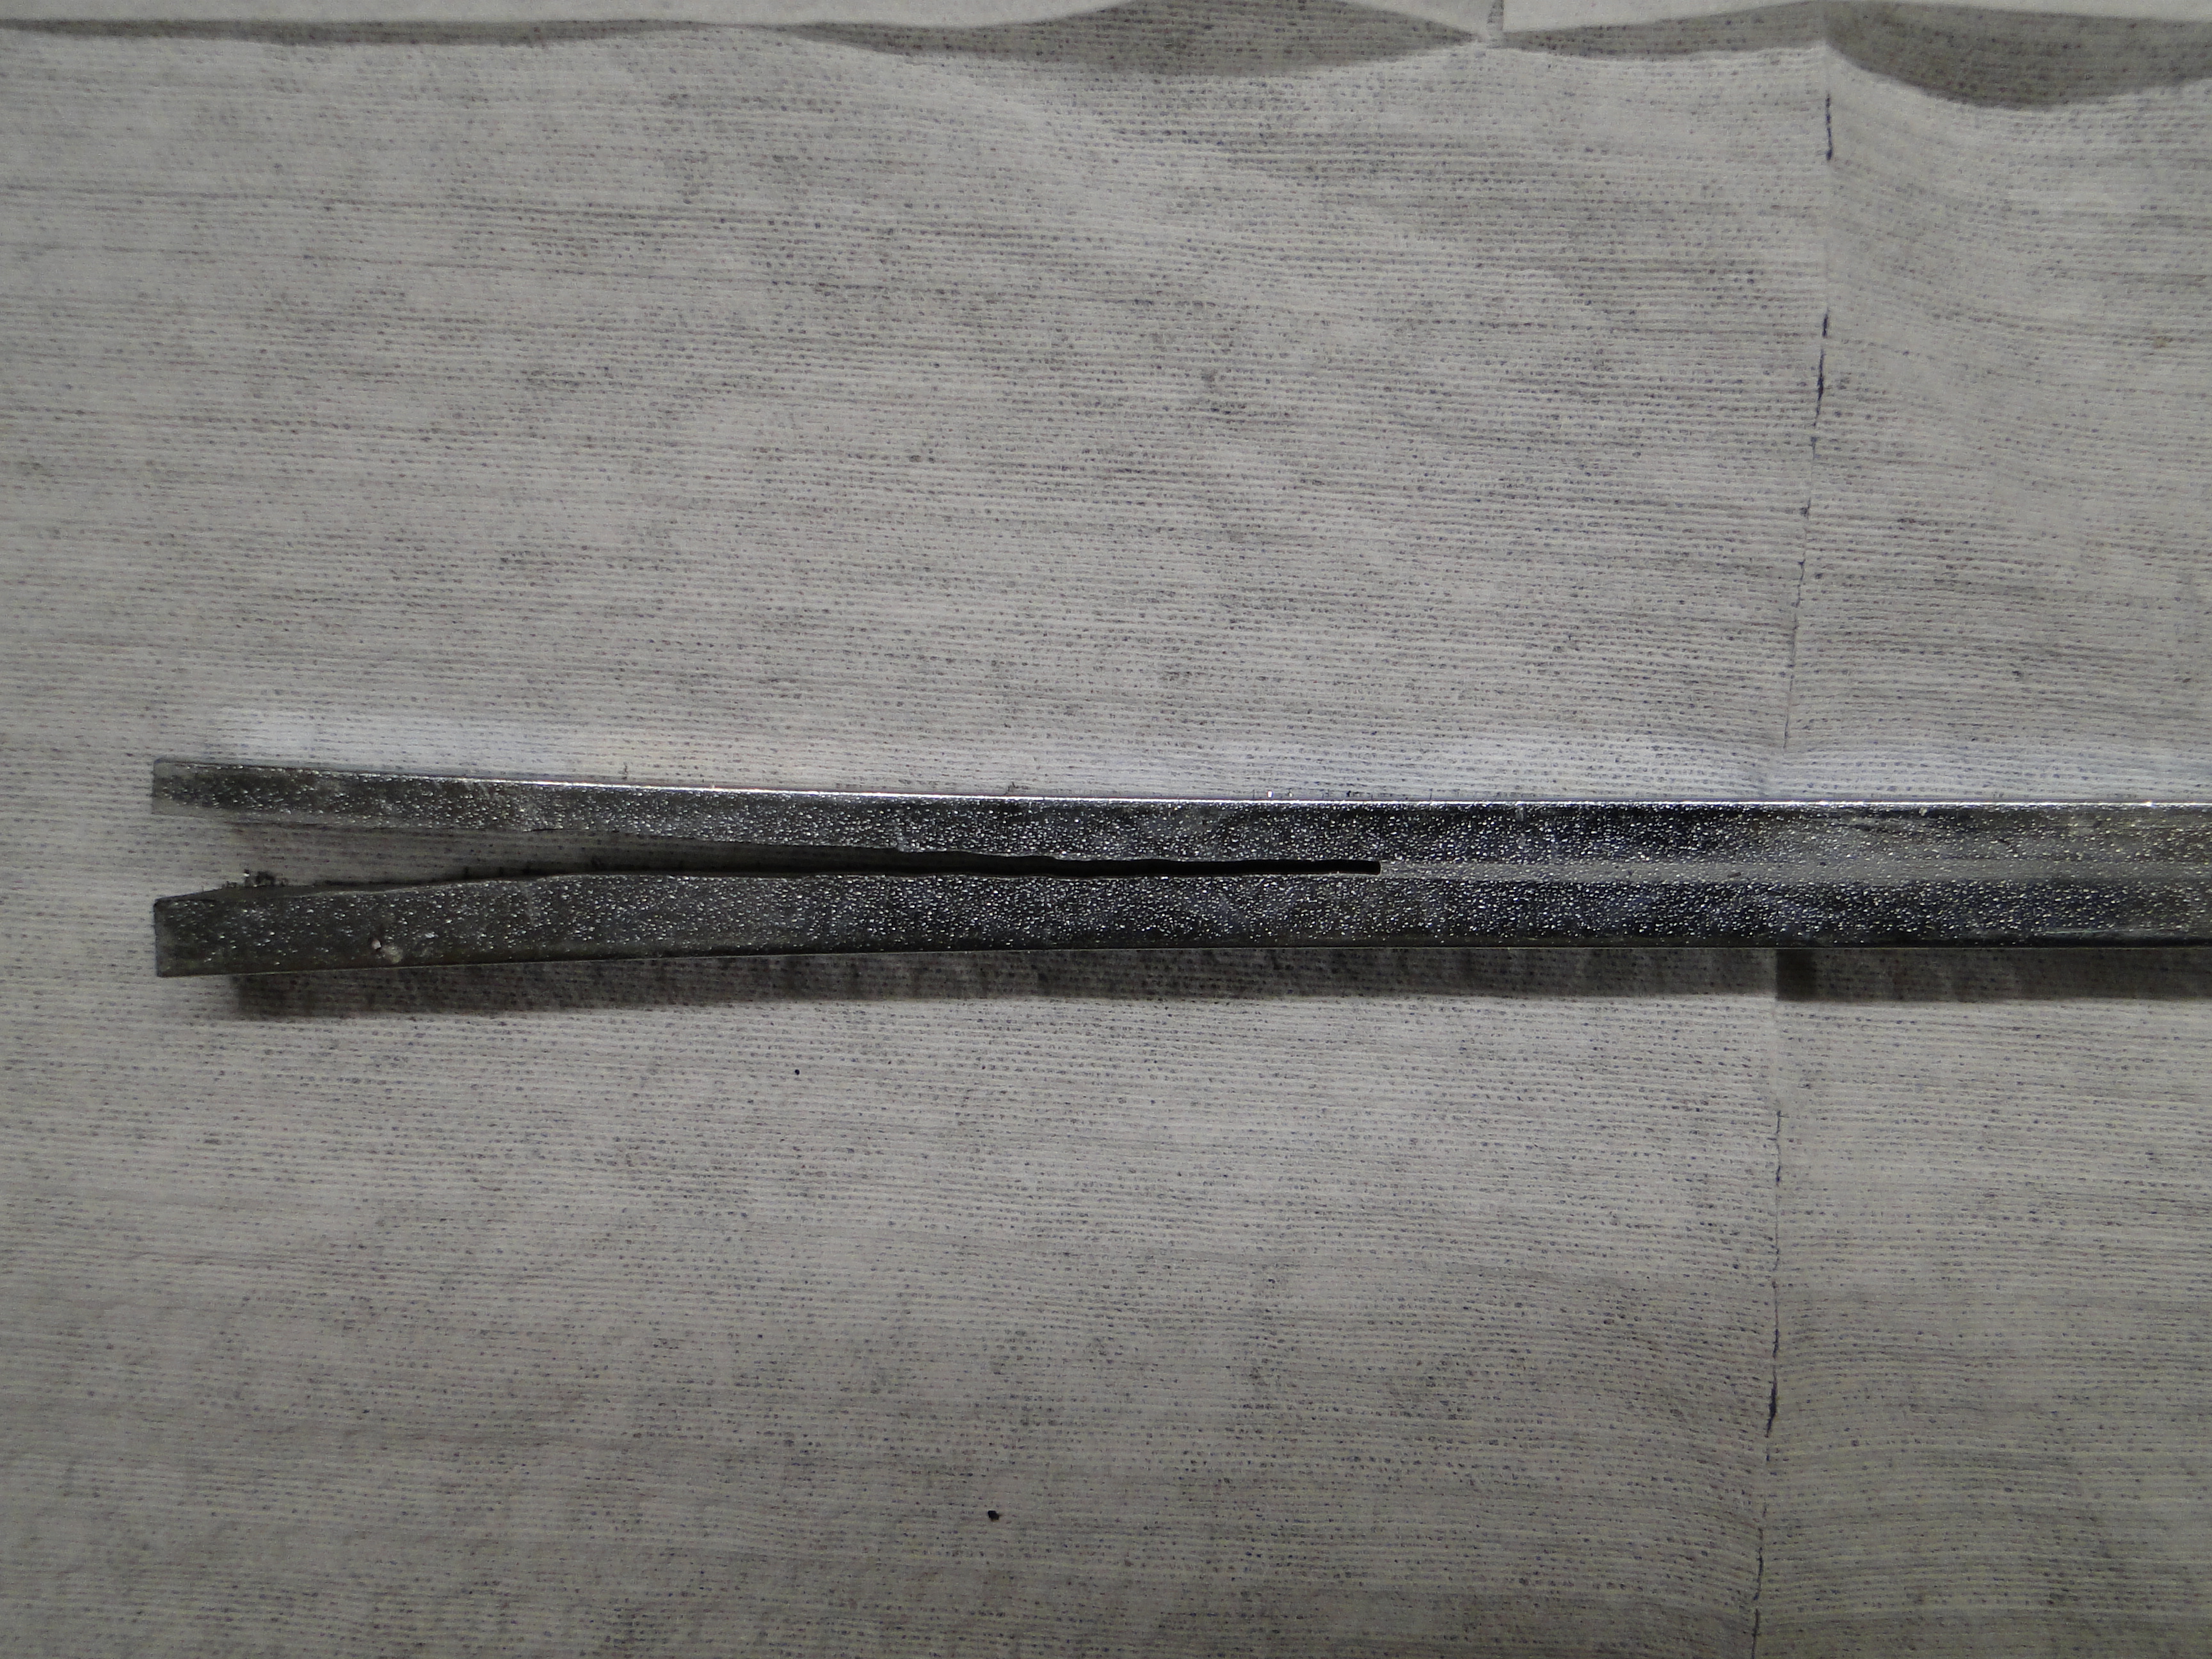
That's not good, now I will have to fabricate my own windshield connecting bars. I purchased a bar of steel and started cutting, grinding, and shaping the steel to fit inside the windshield frame. Using the little piece if steel I salvaged earlier as a guide.
Once I got the bars to fit properly inside the windshield frame, then I needed to drill and tap the bars with four bolts to secure the two frames together.
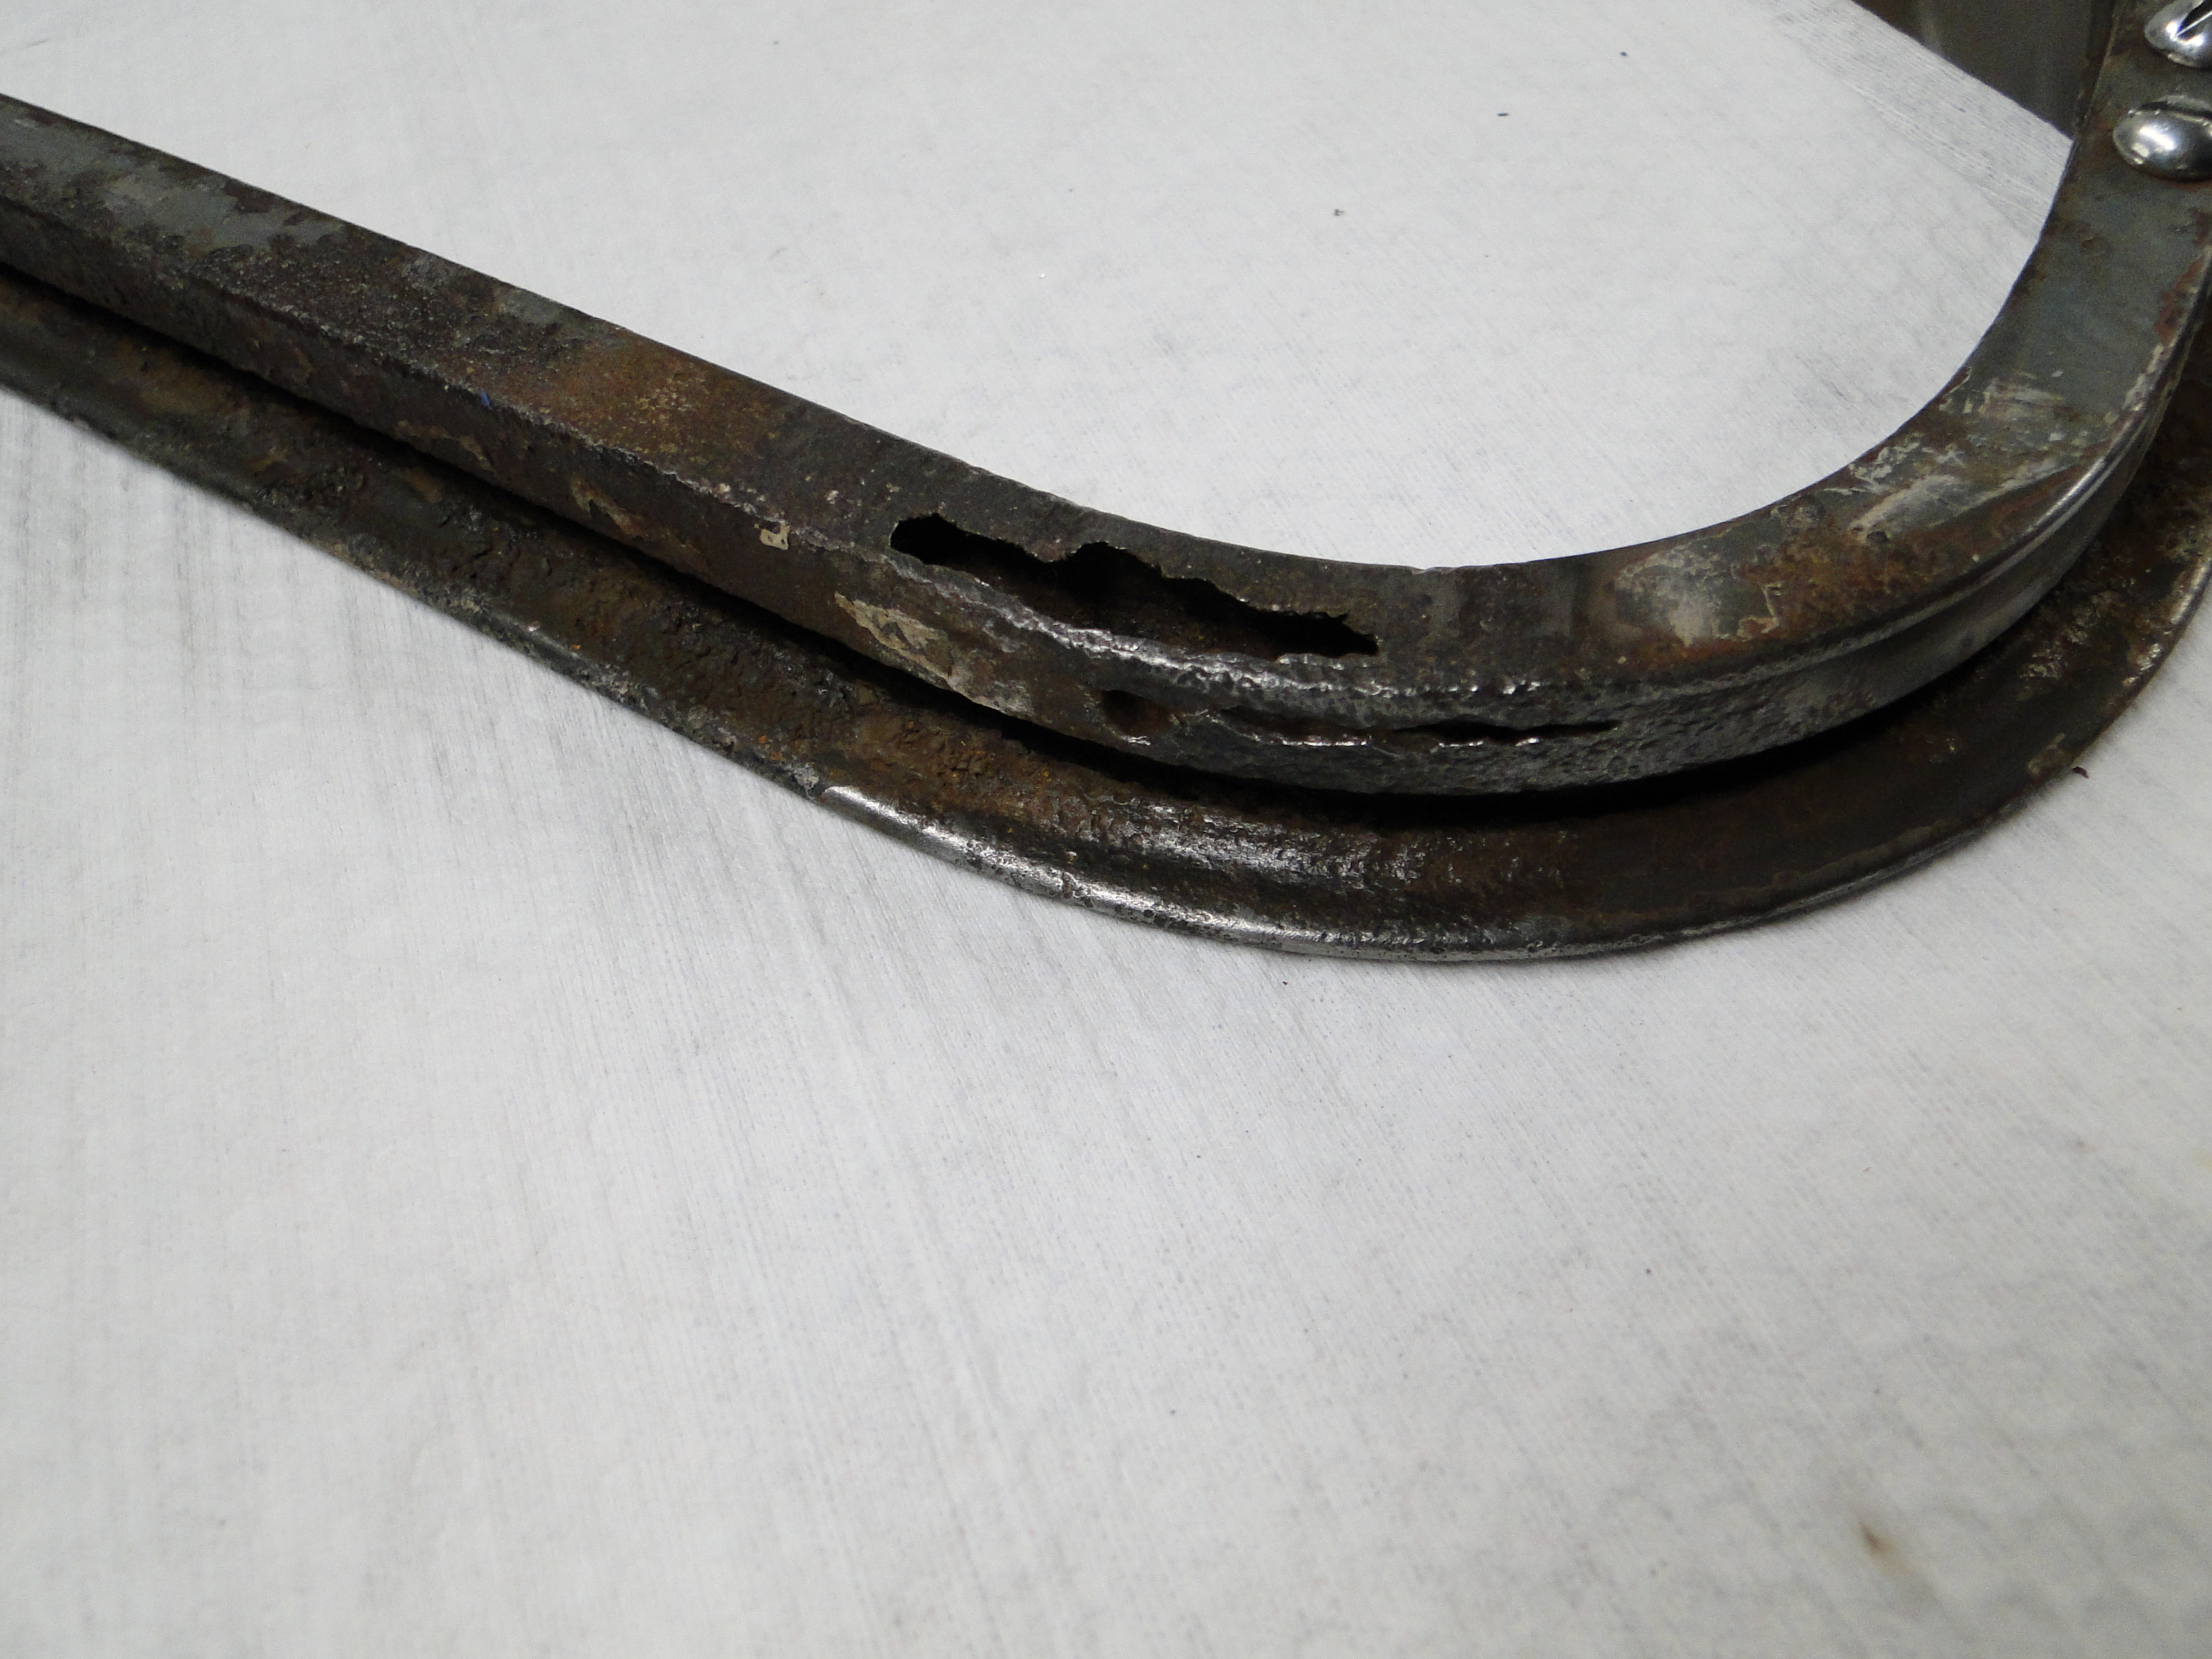
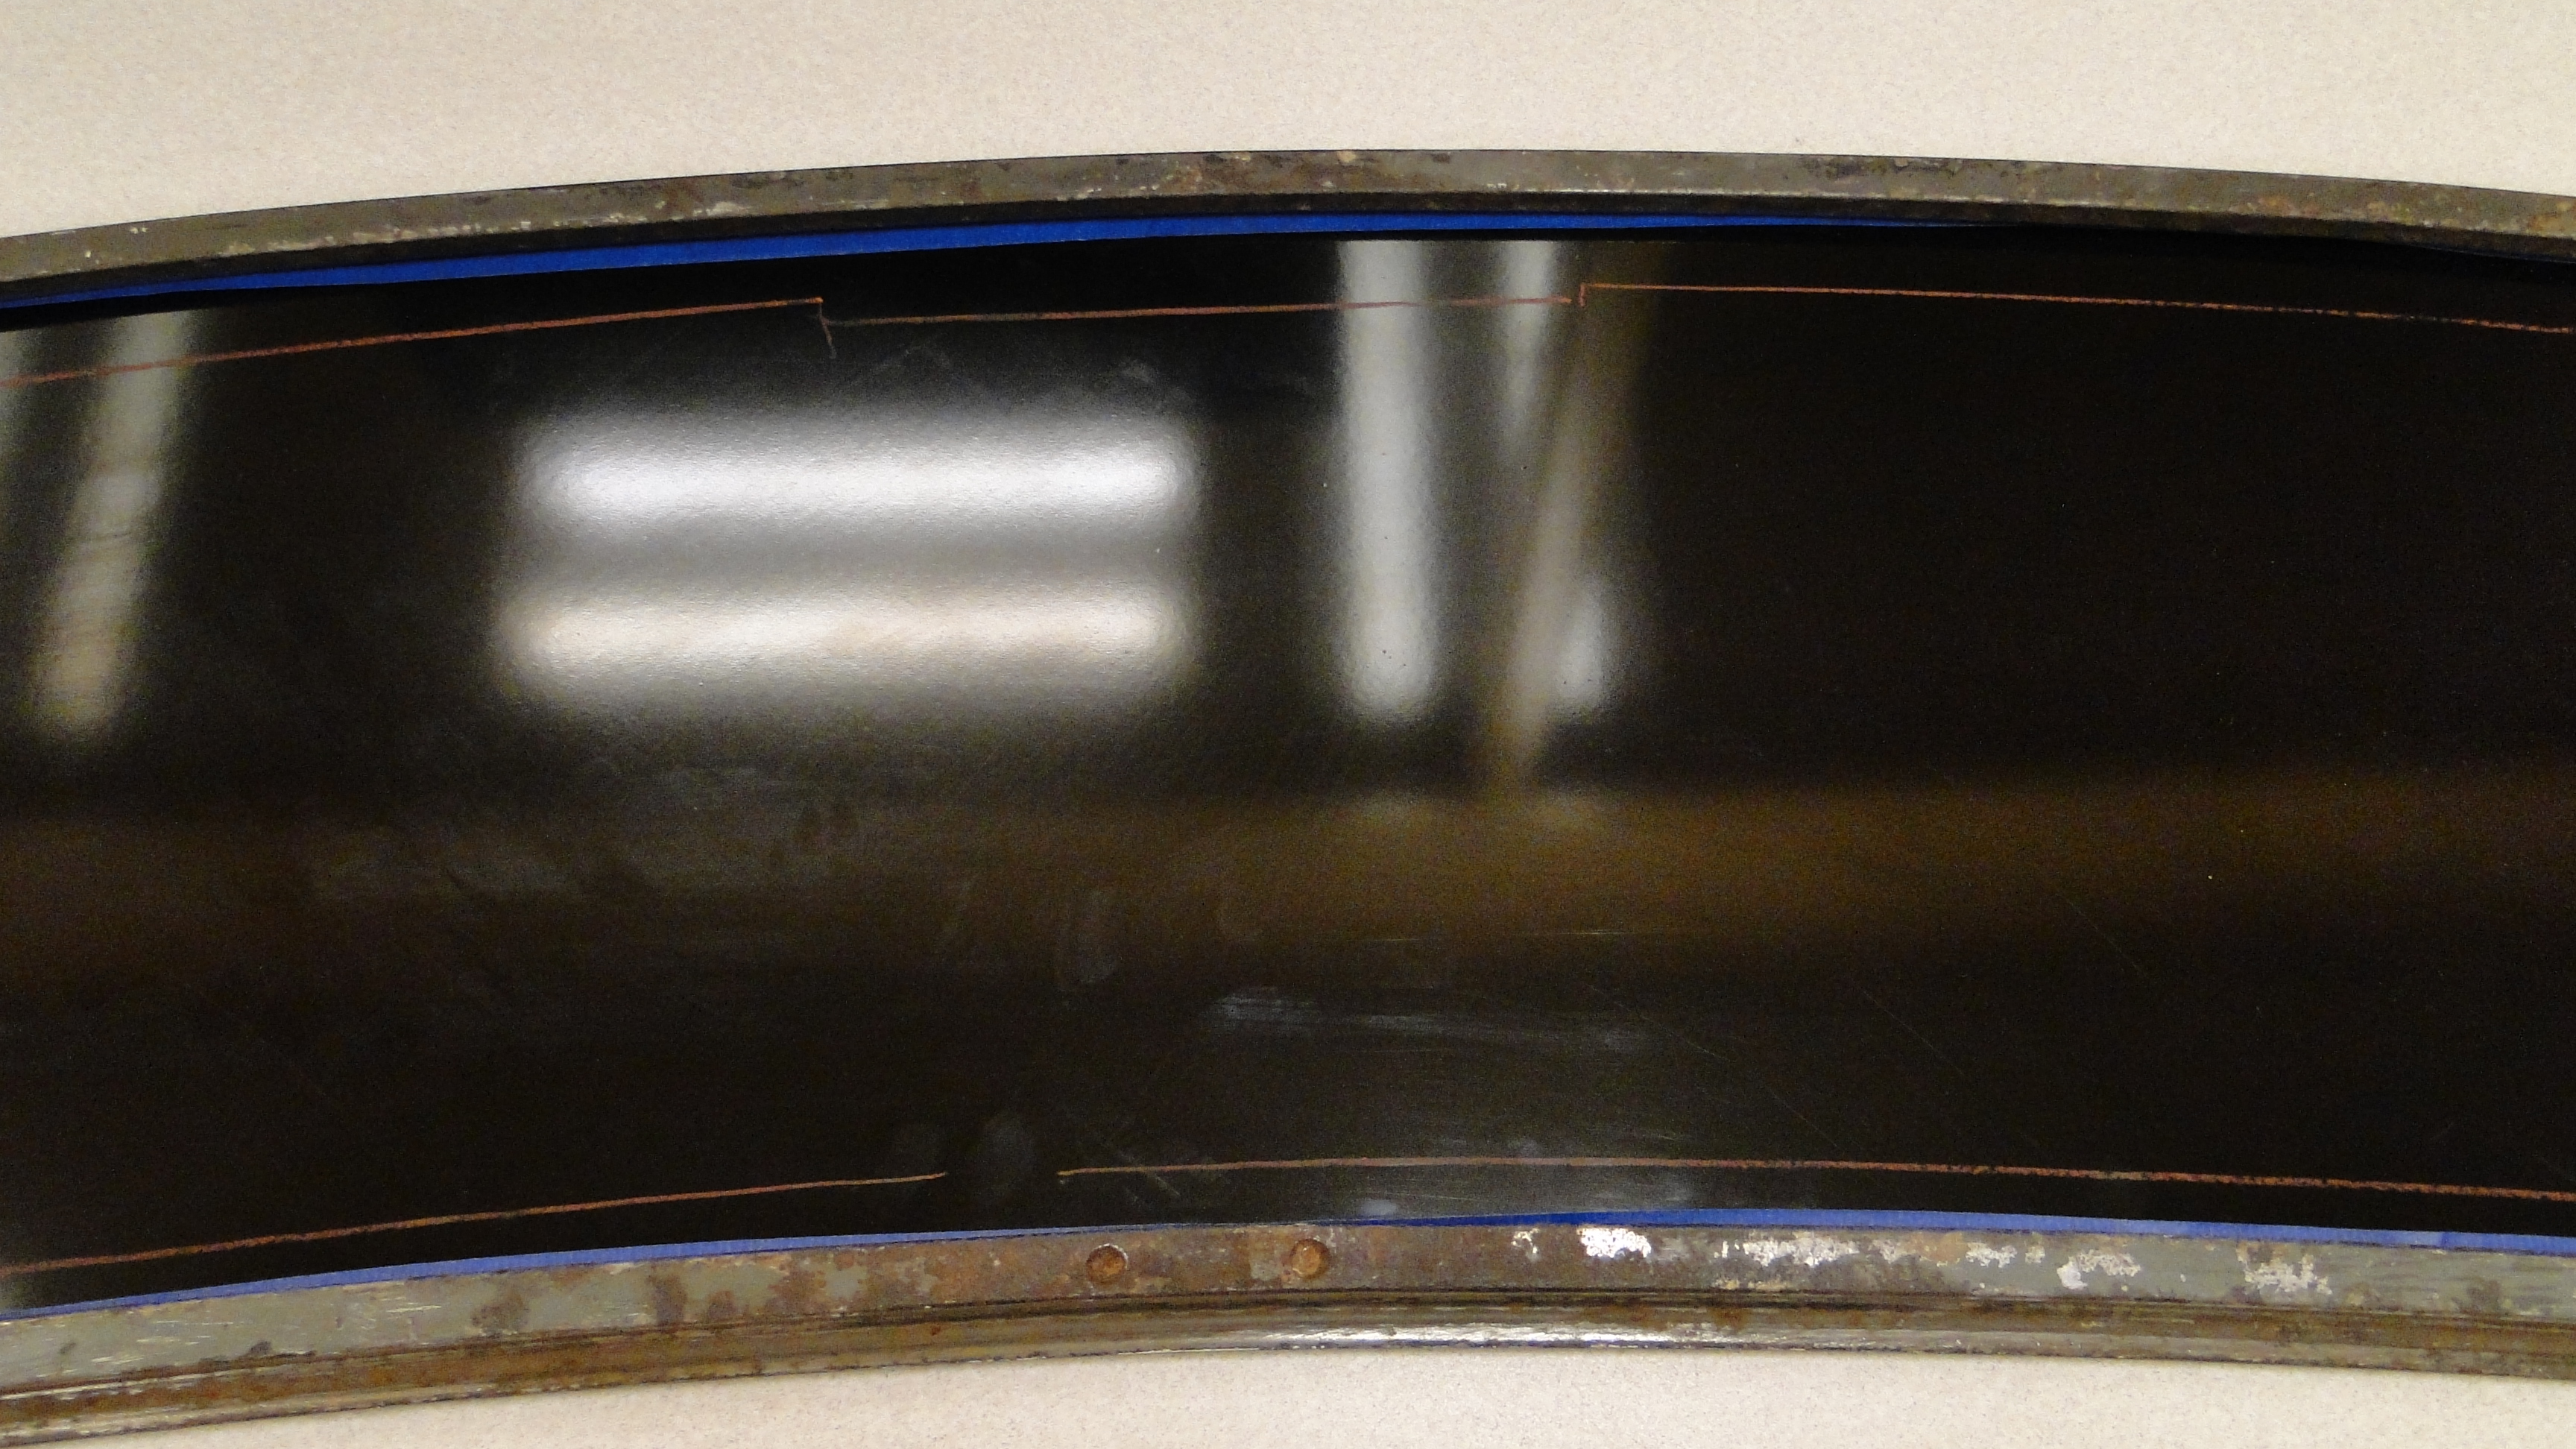
The two lower windshield corners had rusted completely through so I had to weld a patch on both ends to complete the frame restoration.

Click any picture to enlarge.
Last but not least I had to complete a test fit of the frame on the car, before I send the frame to the glass shop, and have the glass re-cut to go the inside the now smaller windshield frame.
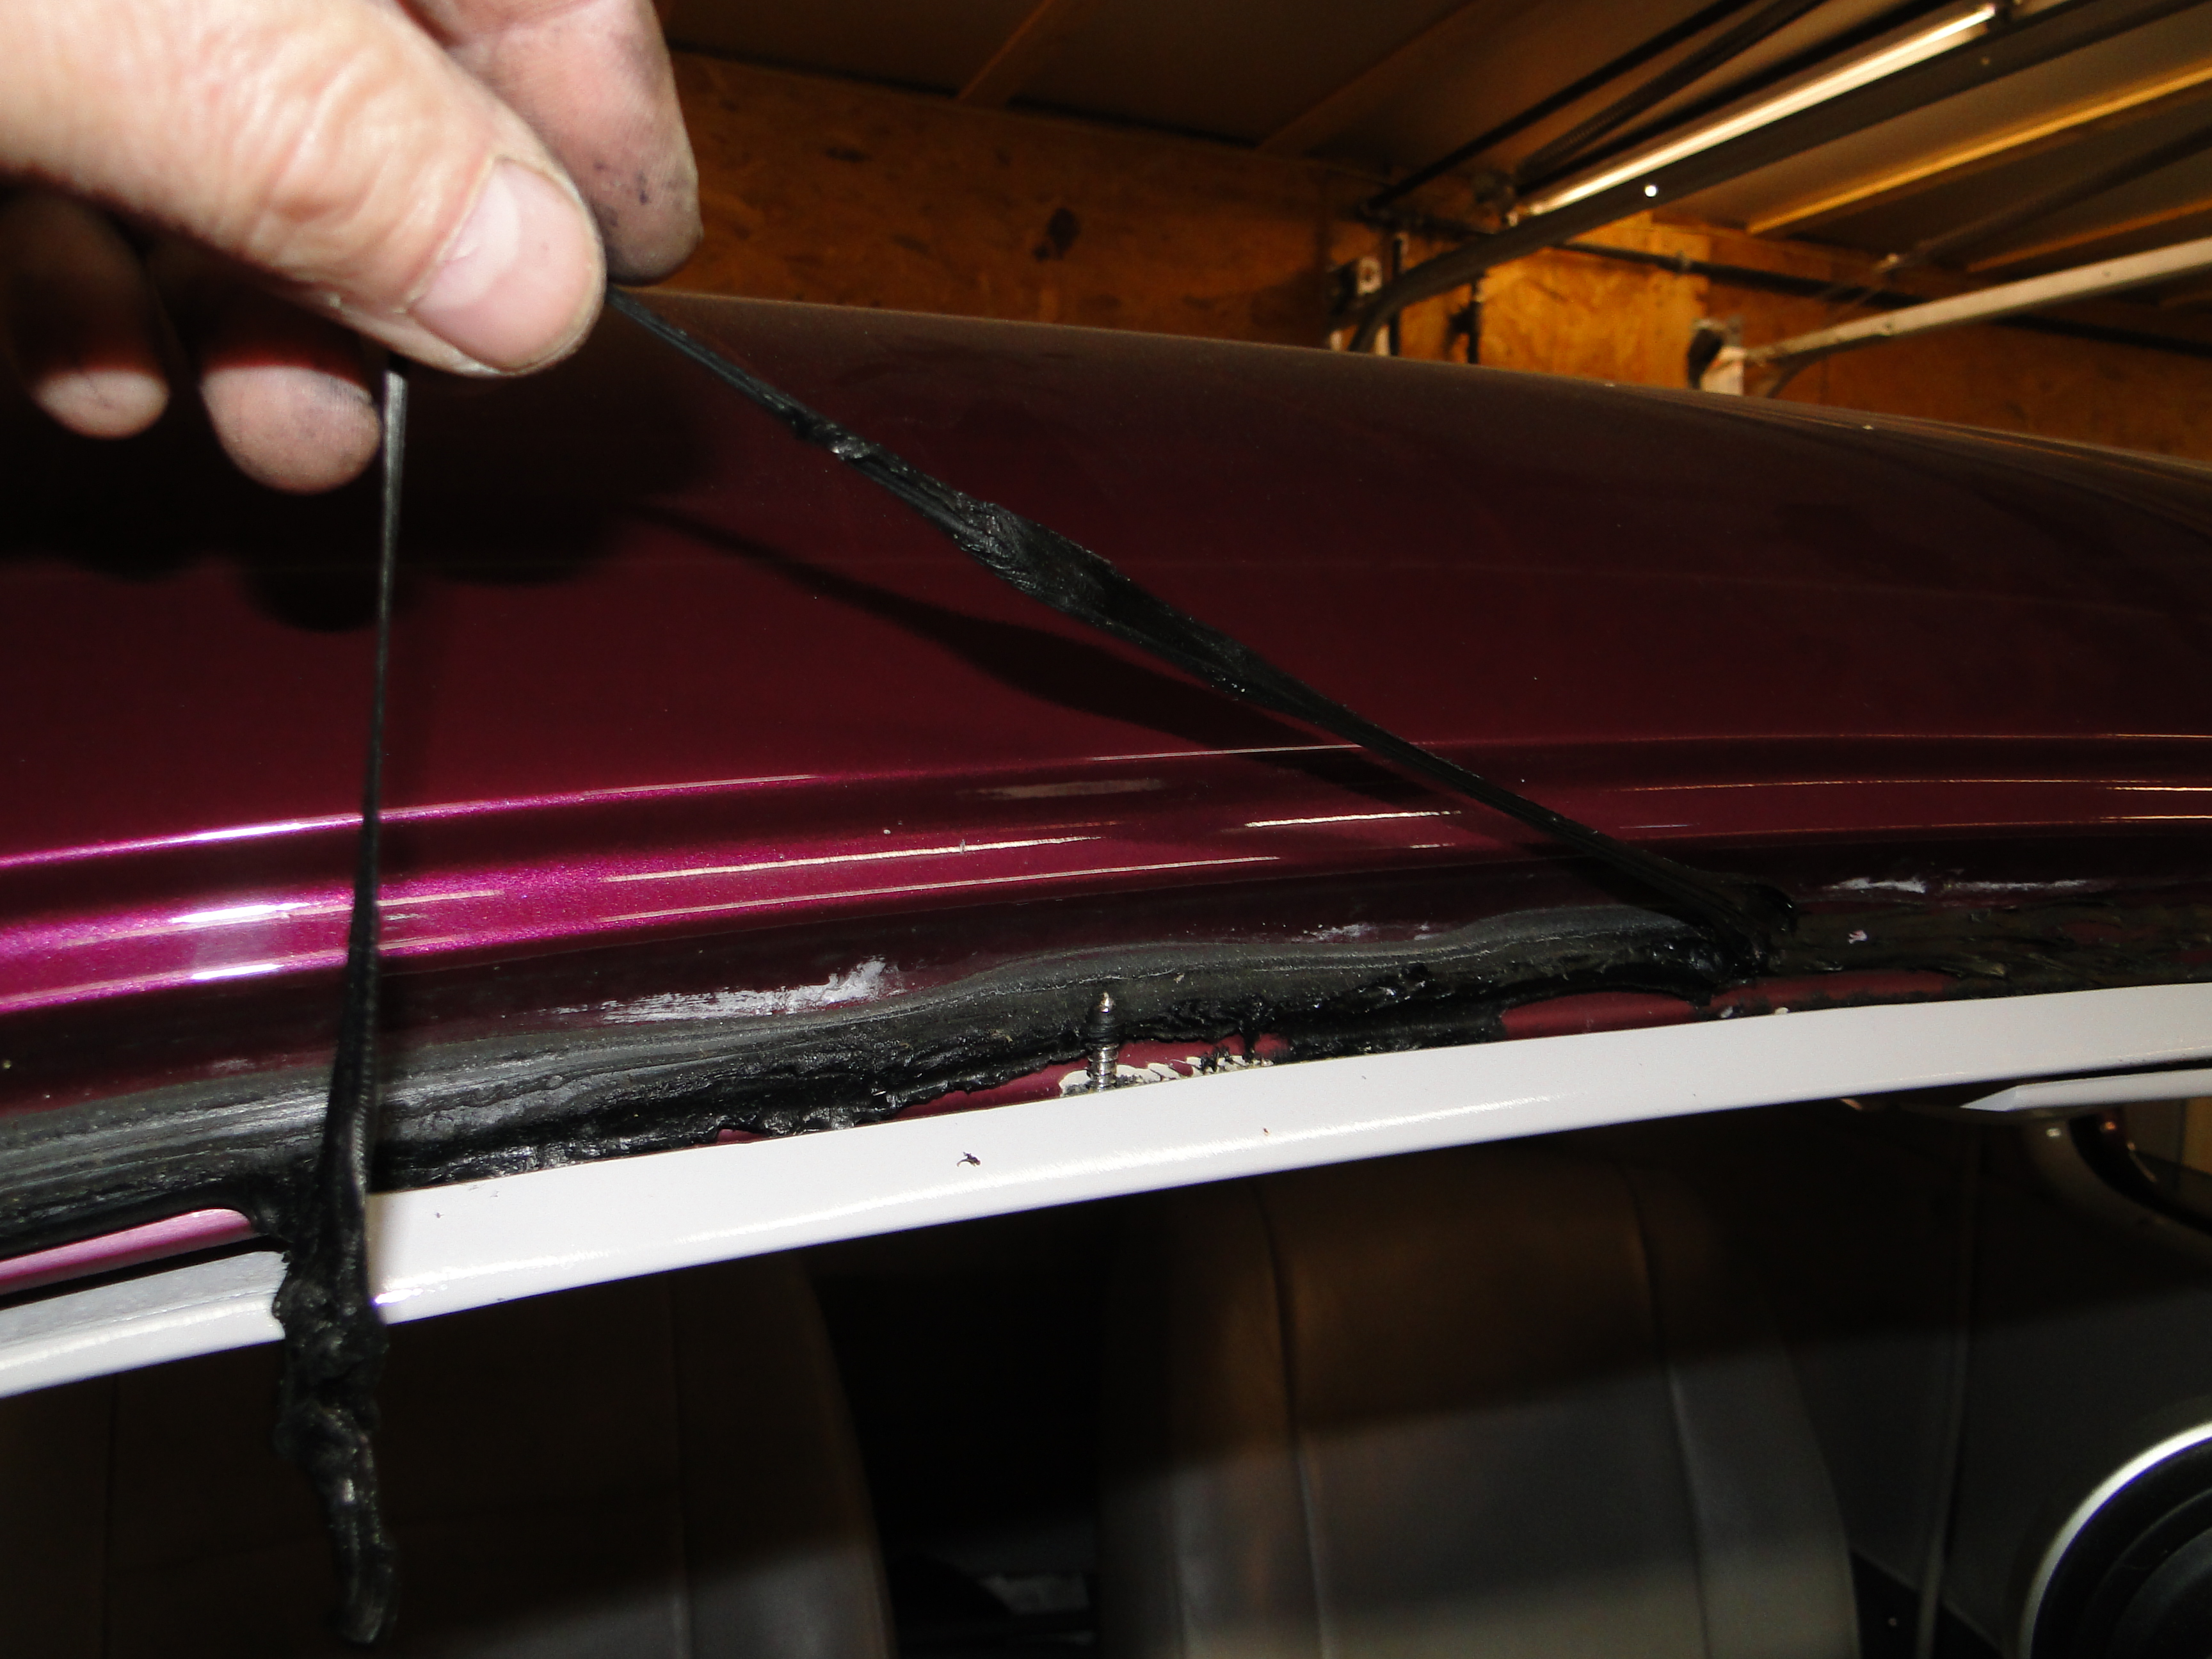
Something seemed off, the trim part of the frame would not sit flush with the body of the car. I then discovered that the previous owner put some kind of sealer that was between 1/4 and 3/8 inch thick between the frame and the car body. I thought this just wont do, so when I went to remove it, and to my surprise the black sealer was stringy like thick Pizza cheese, and not to mention it was as sticky as fresh duck tape. See forth photo. Once I got the black goo off the car, all window frame fit problems disappeared.

Click any picture to enlarge.
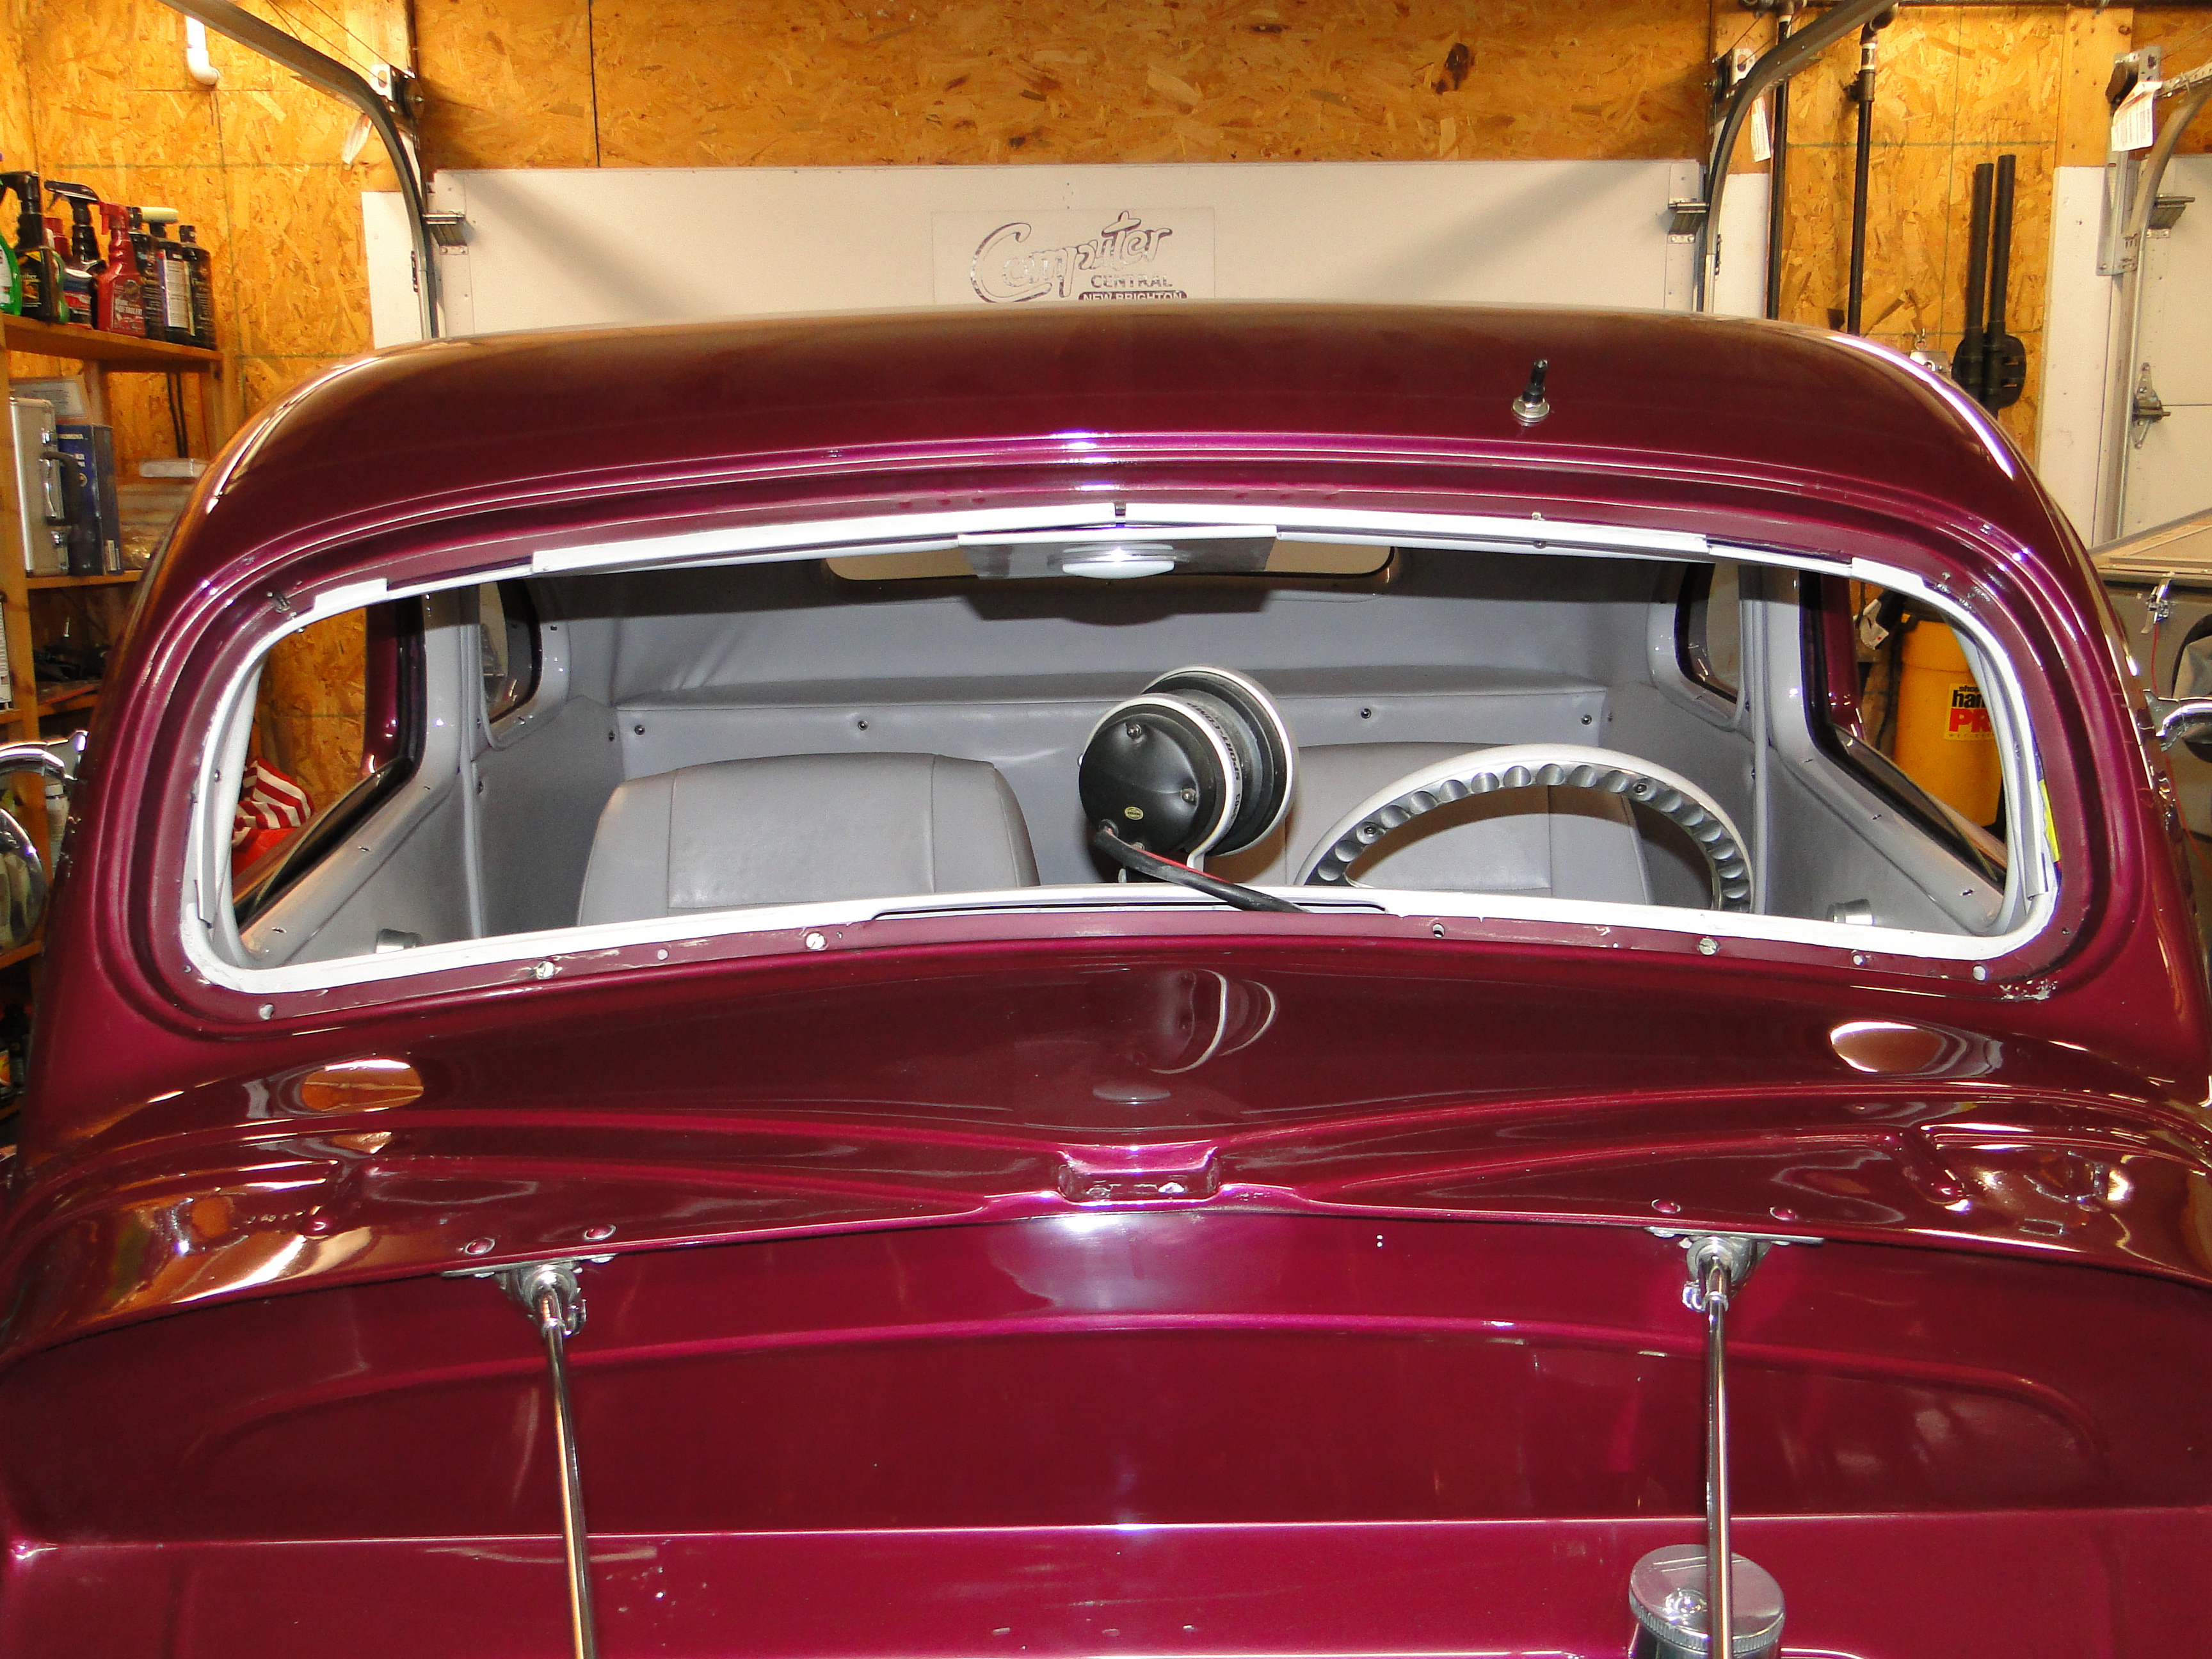
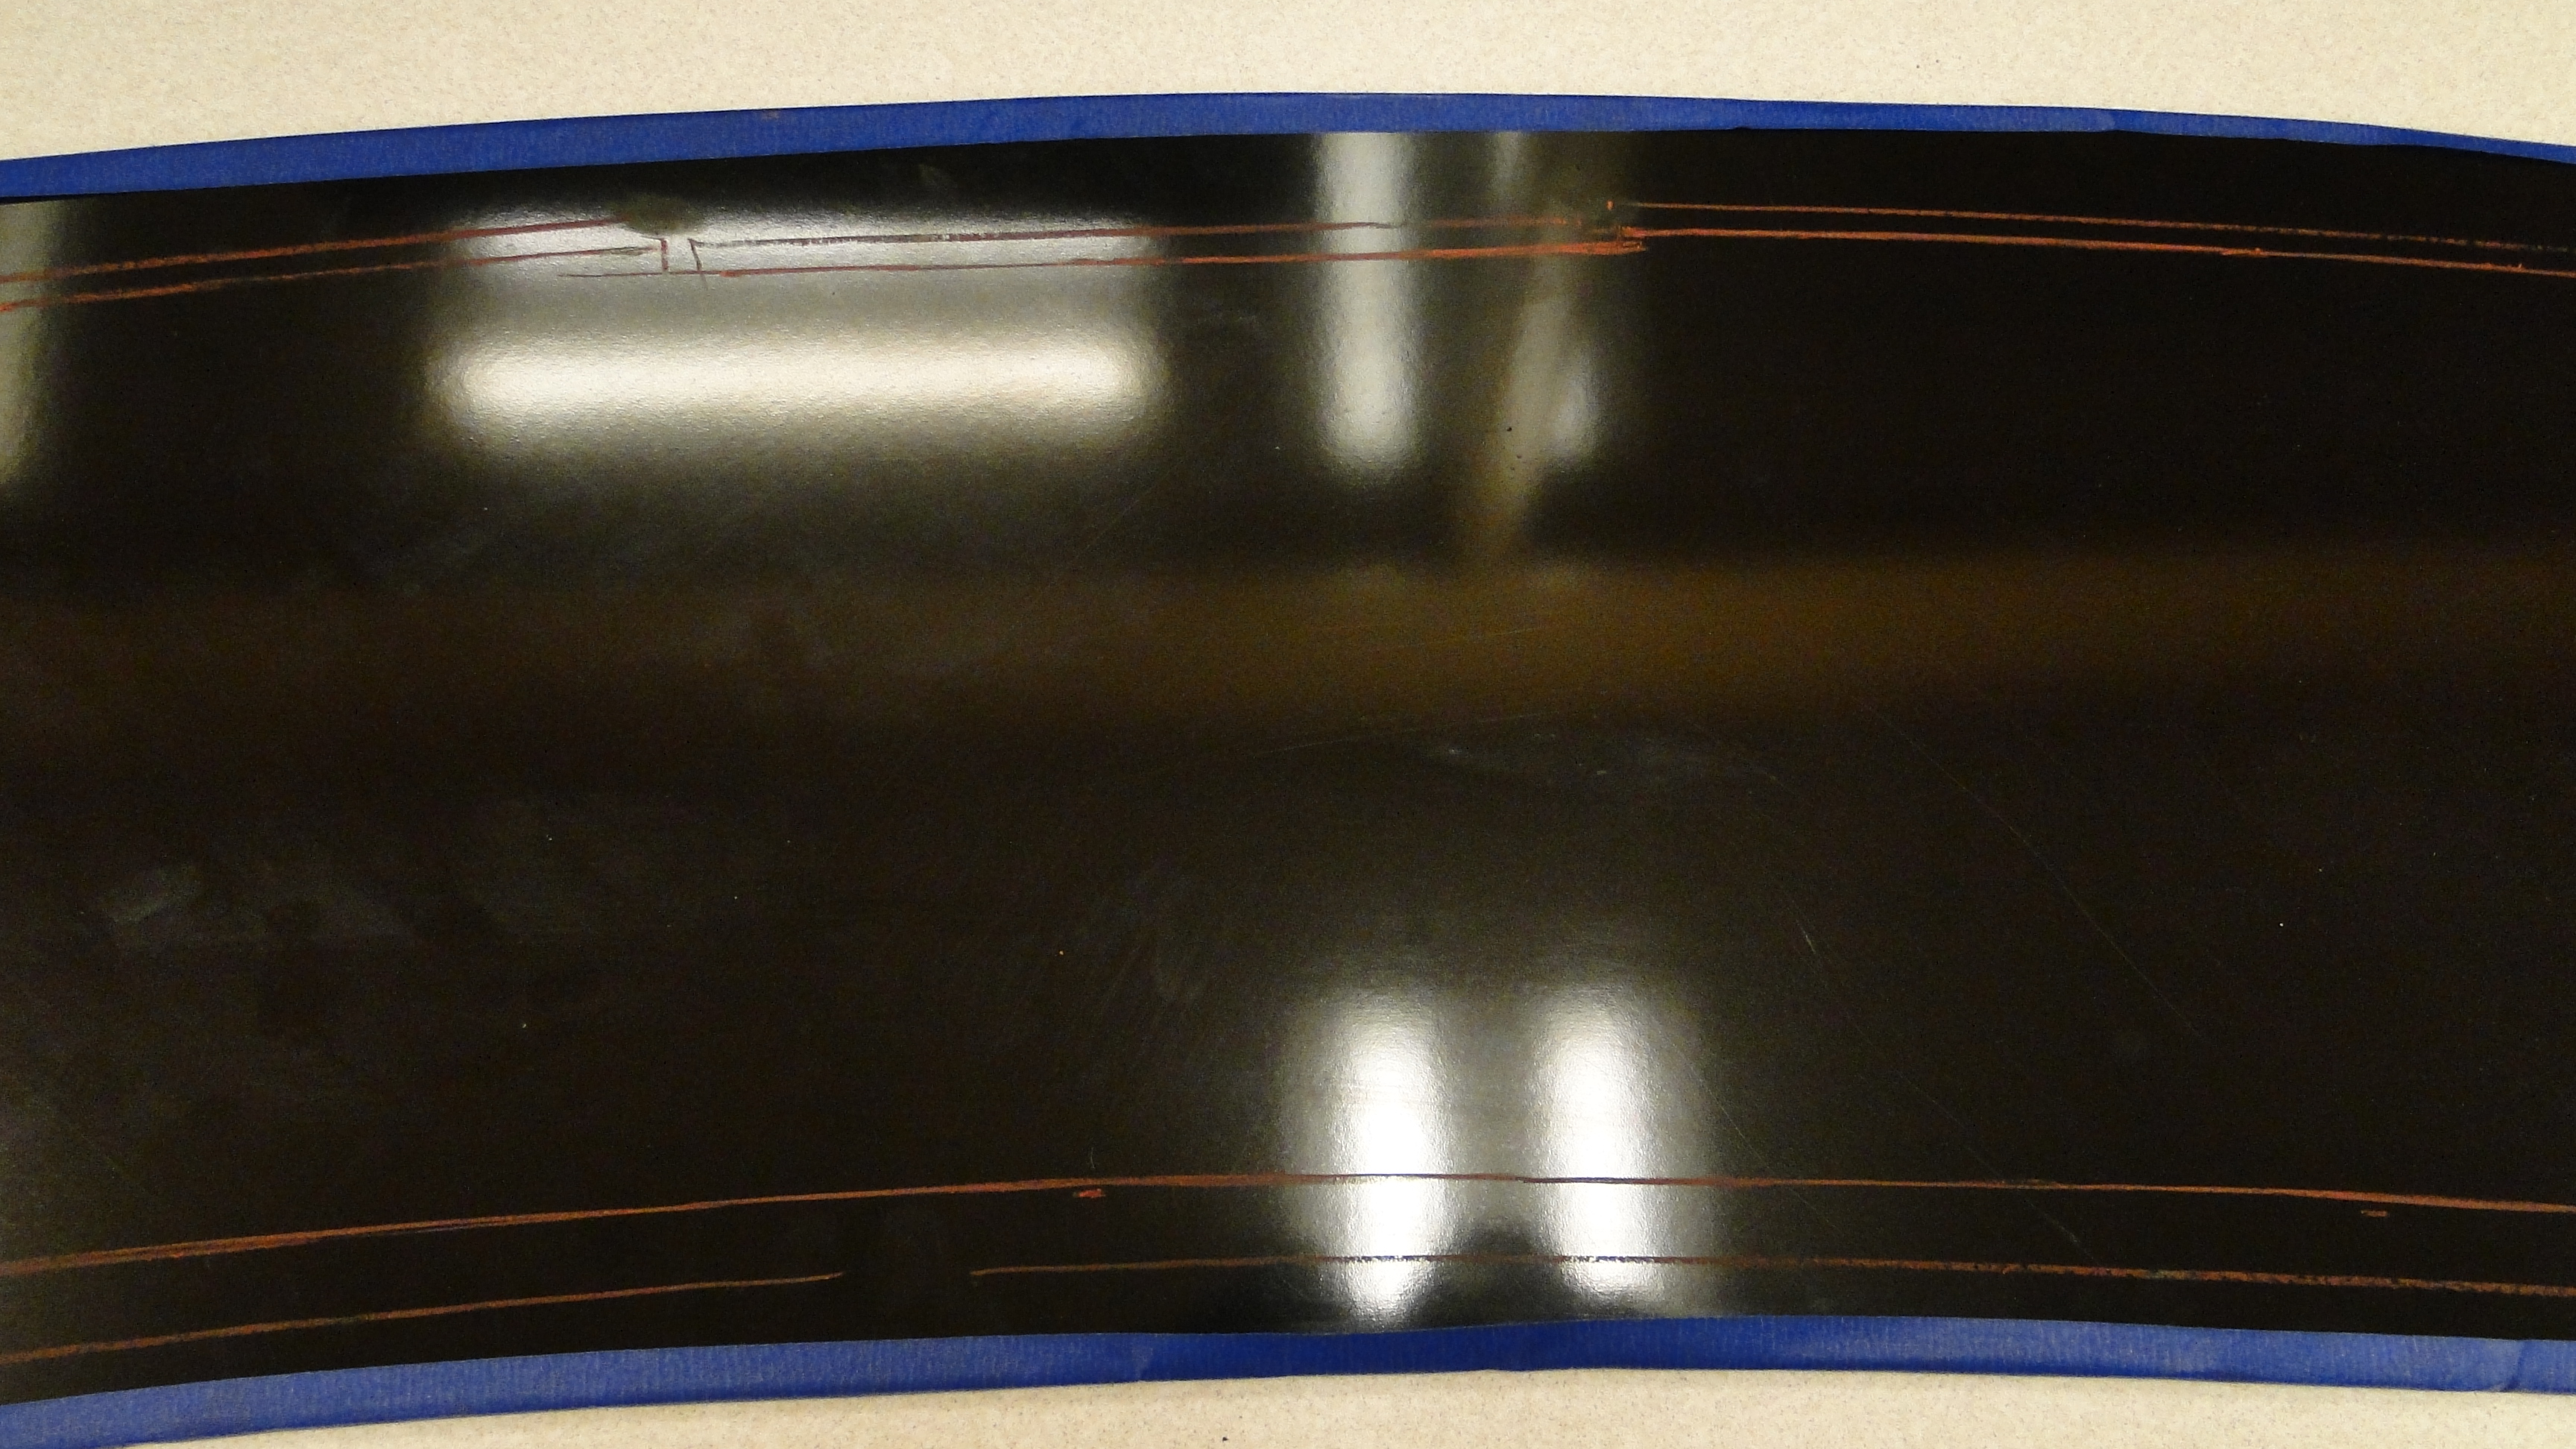
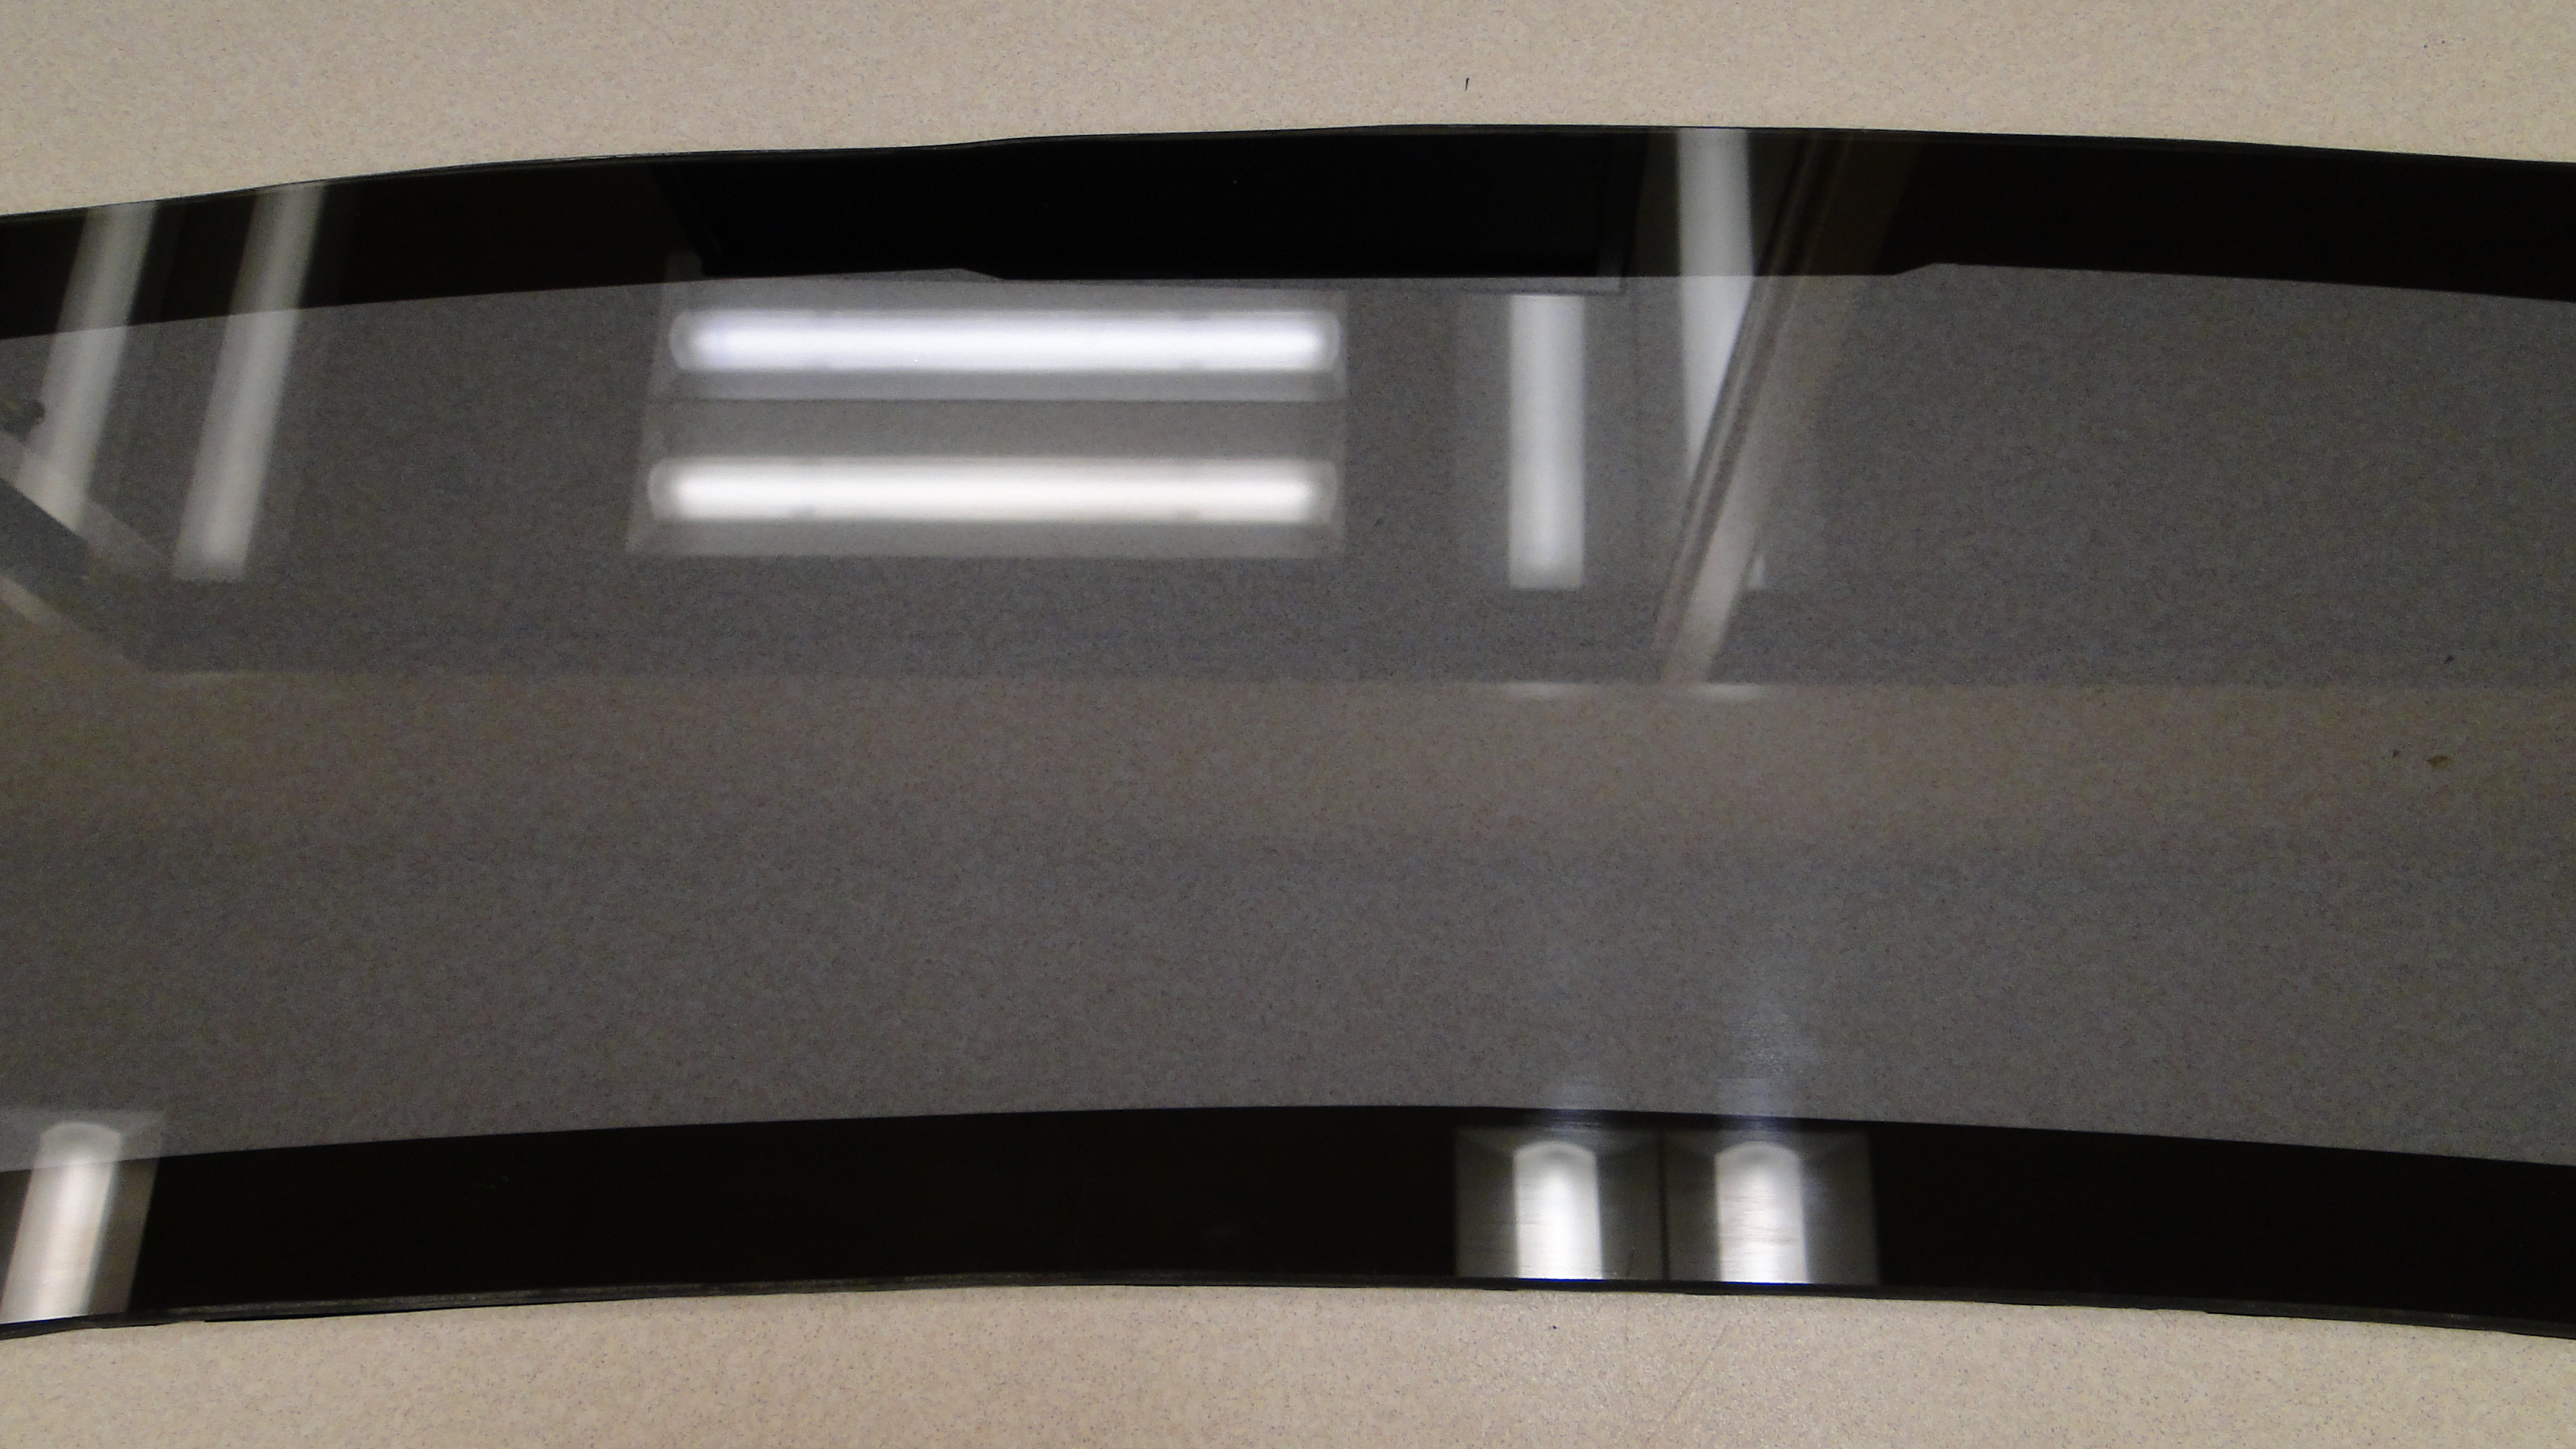
The next problem was that when you look through the windshield from the front of the car, you can see interior upper, lower, and side moldings inside the car. I notice on modern cars the manufactures blacked out the edges of a windshield so you can't see the interior moldings. I searched auto parts stores for windshield tape, or anything that could be used to block out the inside of the window with no success.
So that's when I had an idea and went to see Bill at Design signs and purchased part of a roll of black sign material, then I covered the entire inside of the windshield glass, and I put the windshield back in the car and used a wax pencil to trace the trim moldings areas. I added one inch extra to the molding traced lines and I cut the material off the inside of the windshield. To be honest I had to do this twice, the first time was a learning experience, and on the second attempt, I was very happy with the results. See photos
Last but not least, I sent the windshield frame to Wally at We Are Chrome LLC to be re-chromed. He promised I would have it back in the spring, we will see.

Click any picture to enlarge.
Power Brake Booster Installation
OK, I am tired of pulling hard up on the steering wheel and standing on the
brake pedal just to stop this car at a stop sign. So its time to replace the
manual brake system with a vacuum power brake booster system.
My best
friend said "Power brakes will be easy to install on that car!", you remember
he's the one that said putting power steering in this car would be easy to do as
well, and four months later I was finally done.
So I mentally prepared my self for the worst possible situation. The first things I noticed right off the bat before installing this booster was it will required me to find a new location for the larger brake booster system, and I may have to reroute my exhaust system as well. That's just for starters.
I purchased a 7 inch brake booster kit for a
1964 to 1966 Ford Mustang II, it was small and had about the same size
dual master cylinder that what was previously installed on my car. I quickly realized that I had a big problem. Where was I going to install the new larger booster and master cylinder under my car.
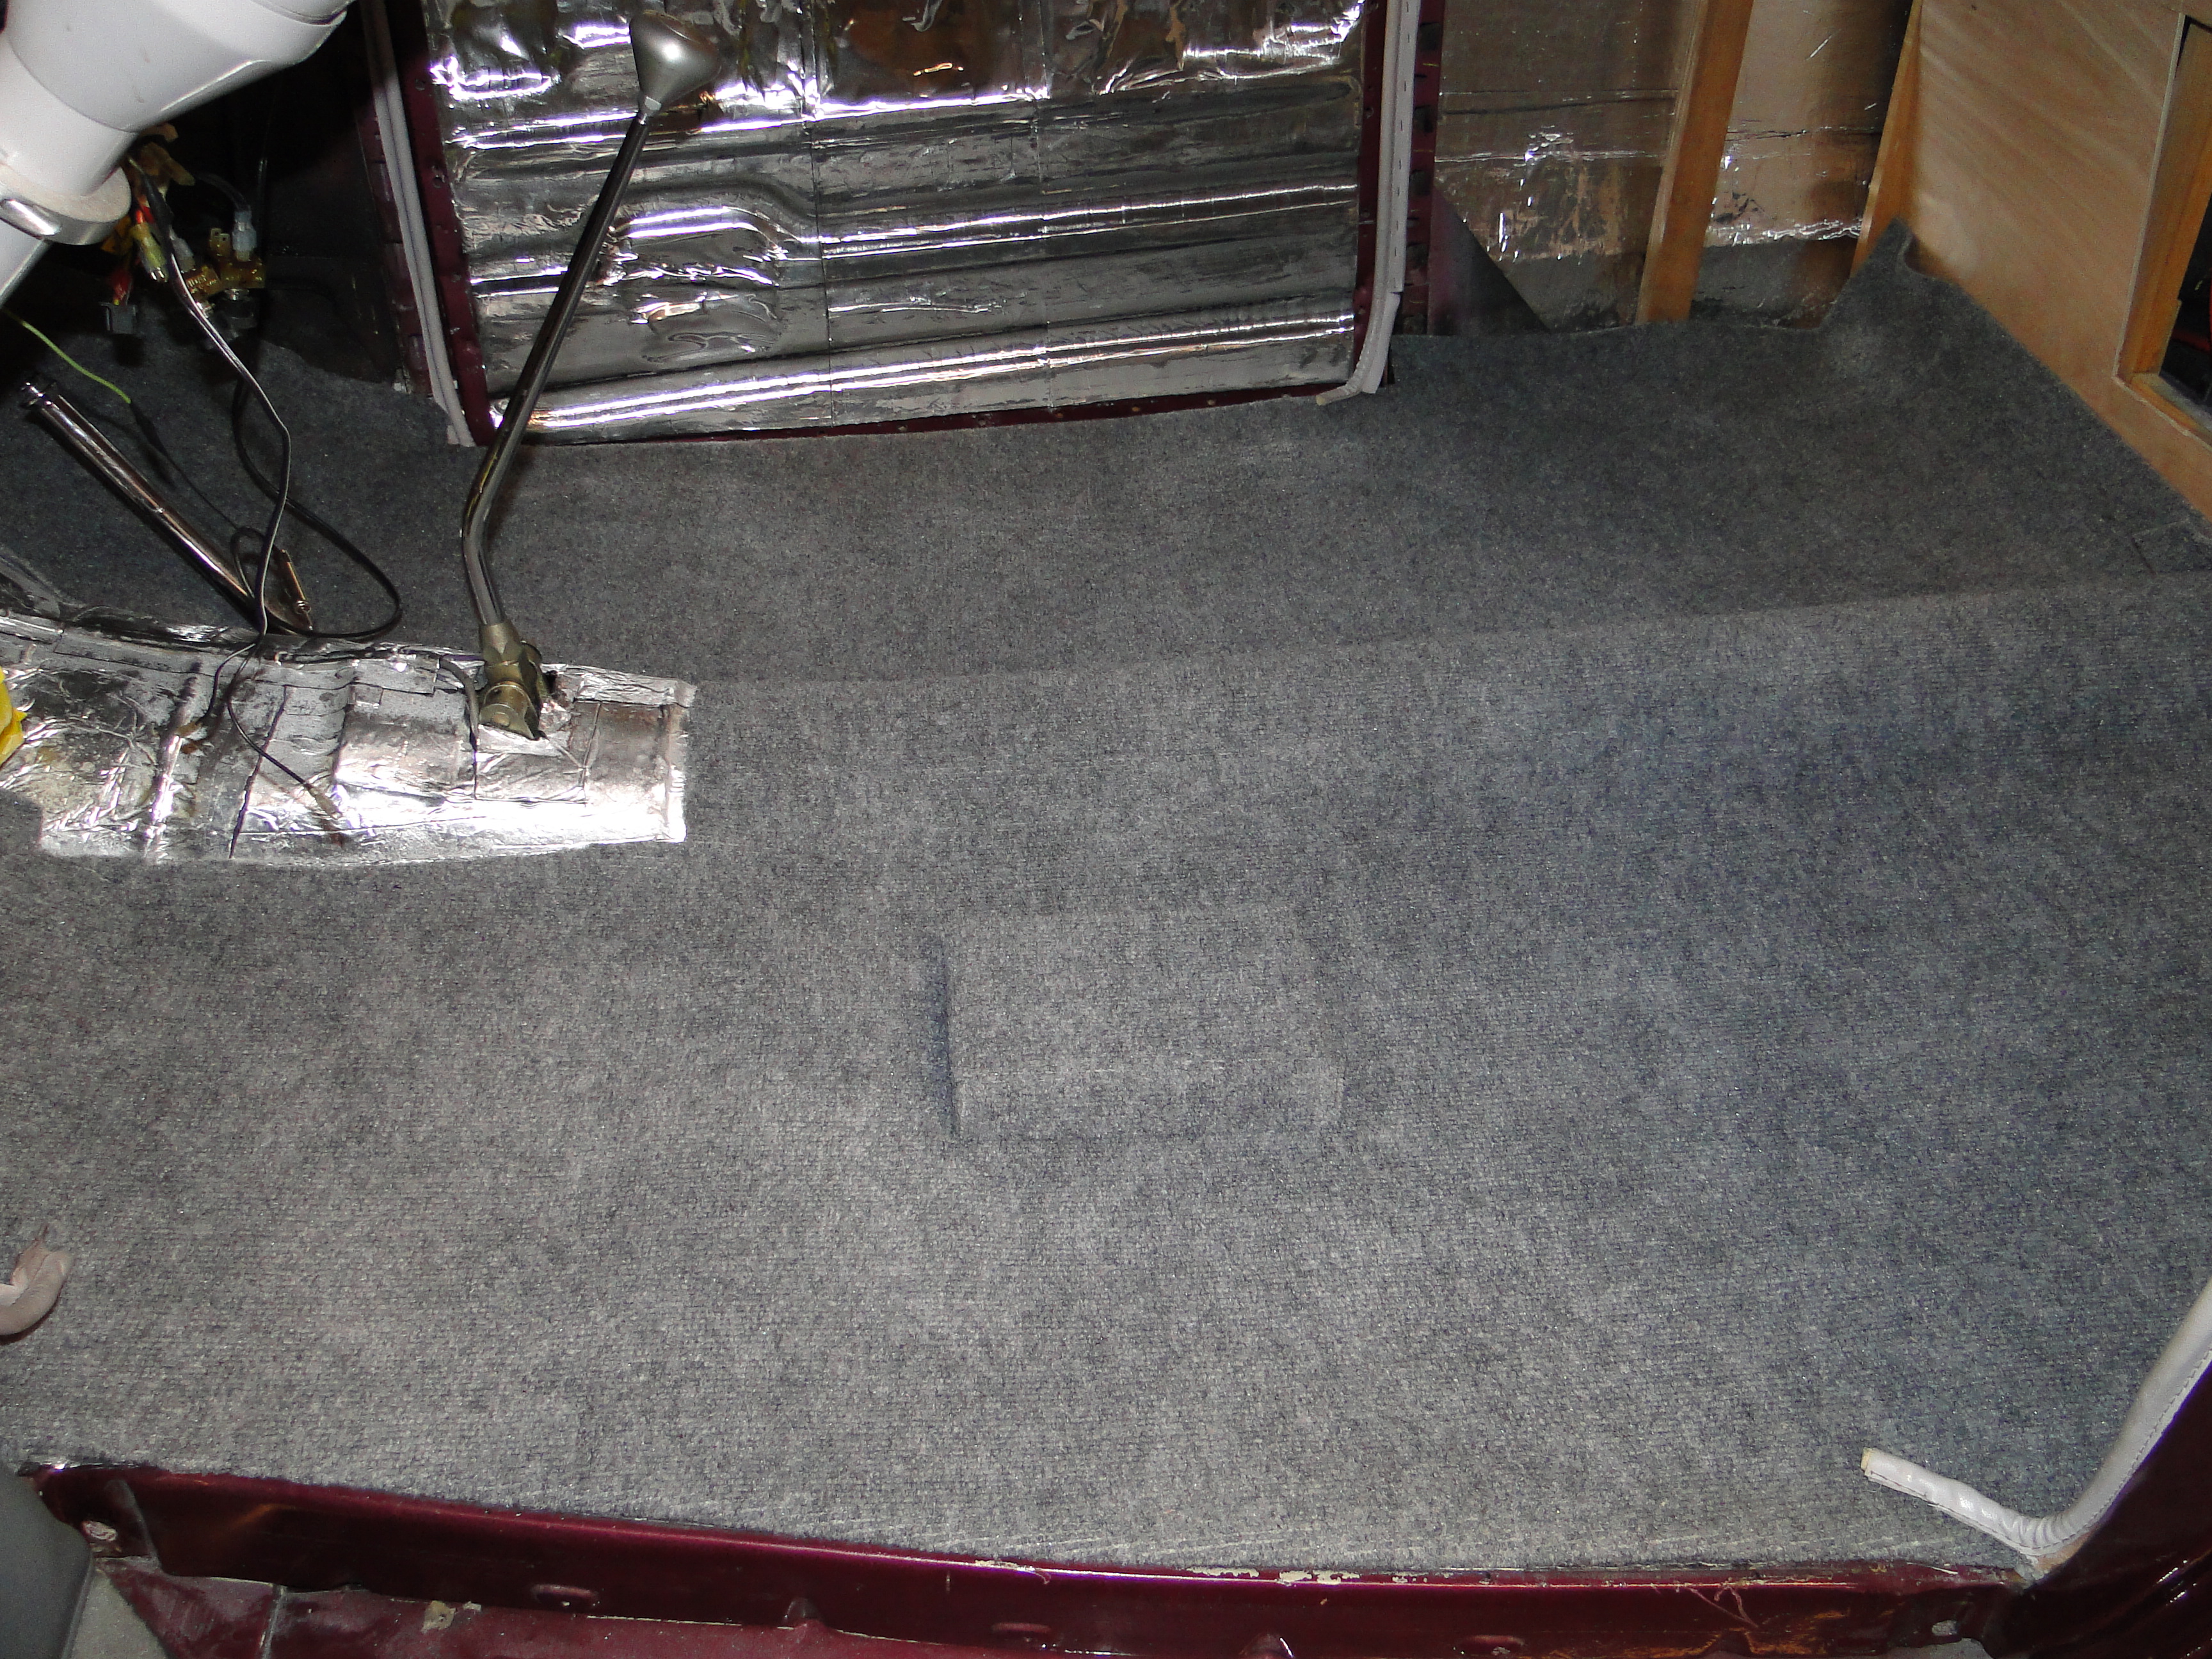
After weeks of great debates with a few mechanics, and a lot of curse words, I decided to install the new unit in the same location as the old one. This means I would have to remove the drivers seat, cut a larger hole in my floor pan and install everything under my drivers seat, which is exactly what I
did not want to do. But at this point I had no other
choice.
Click any picture to enlarge.
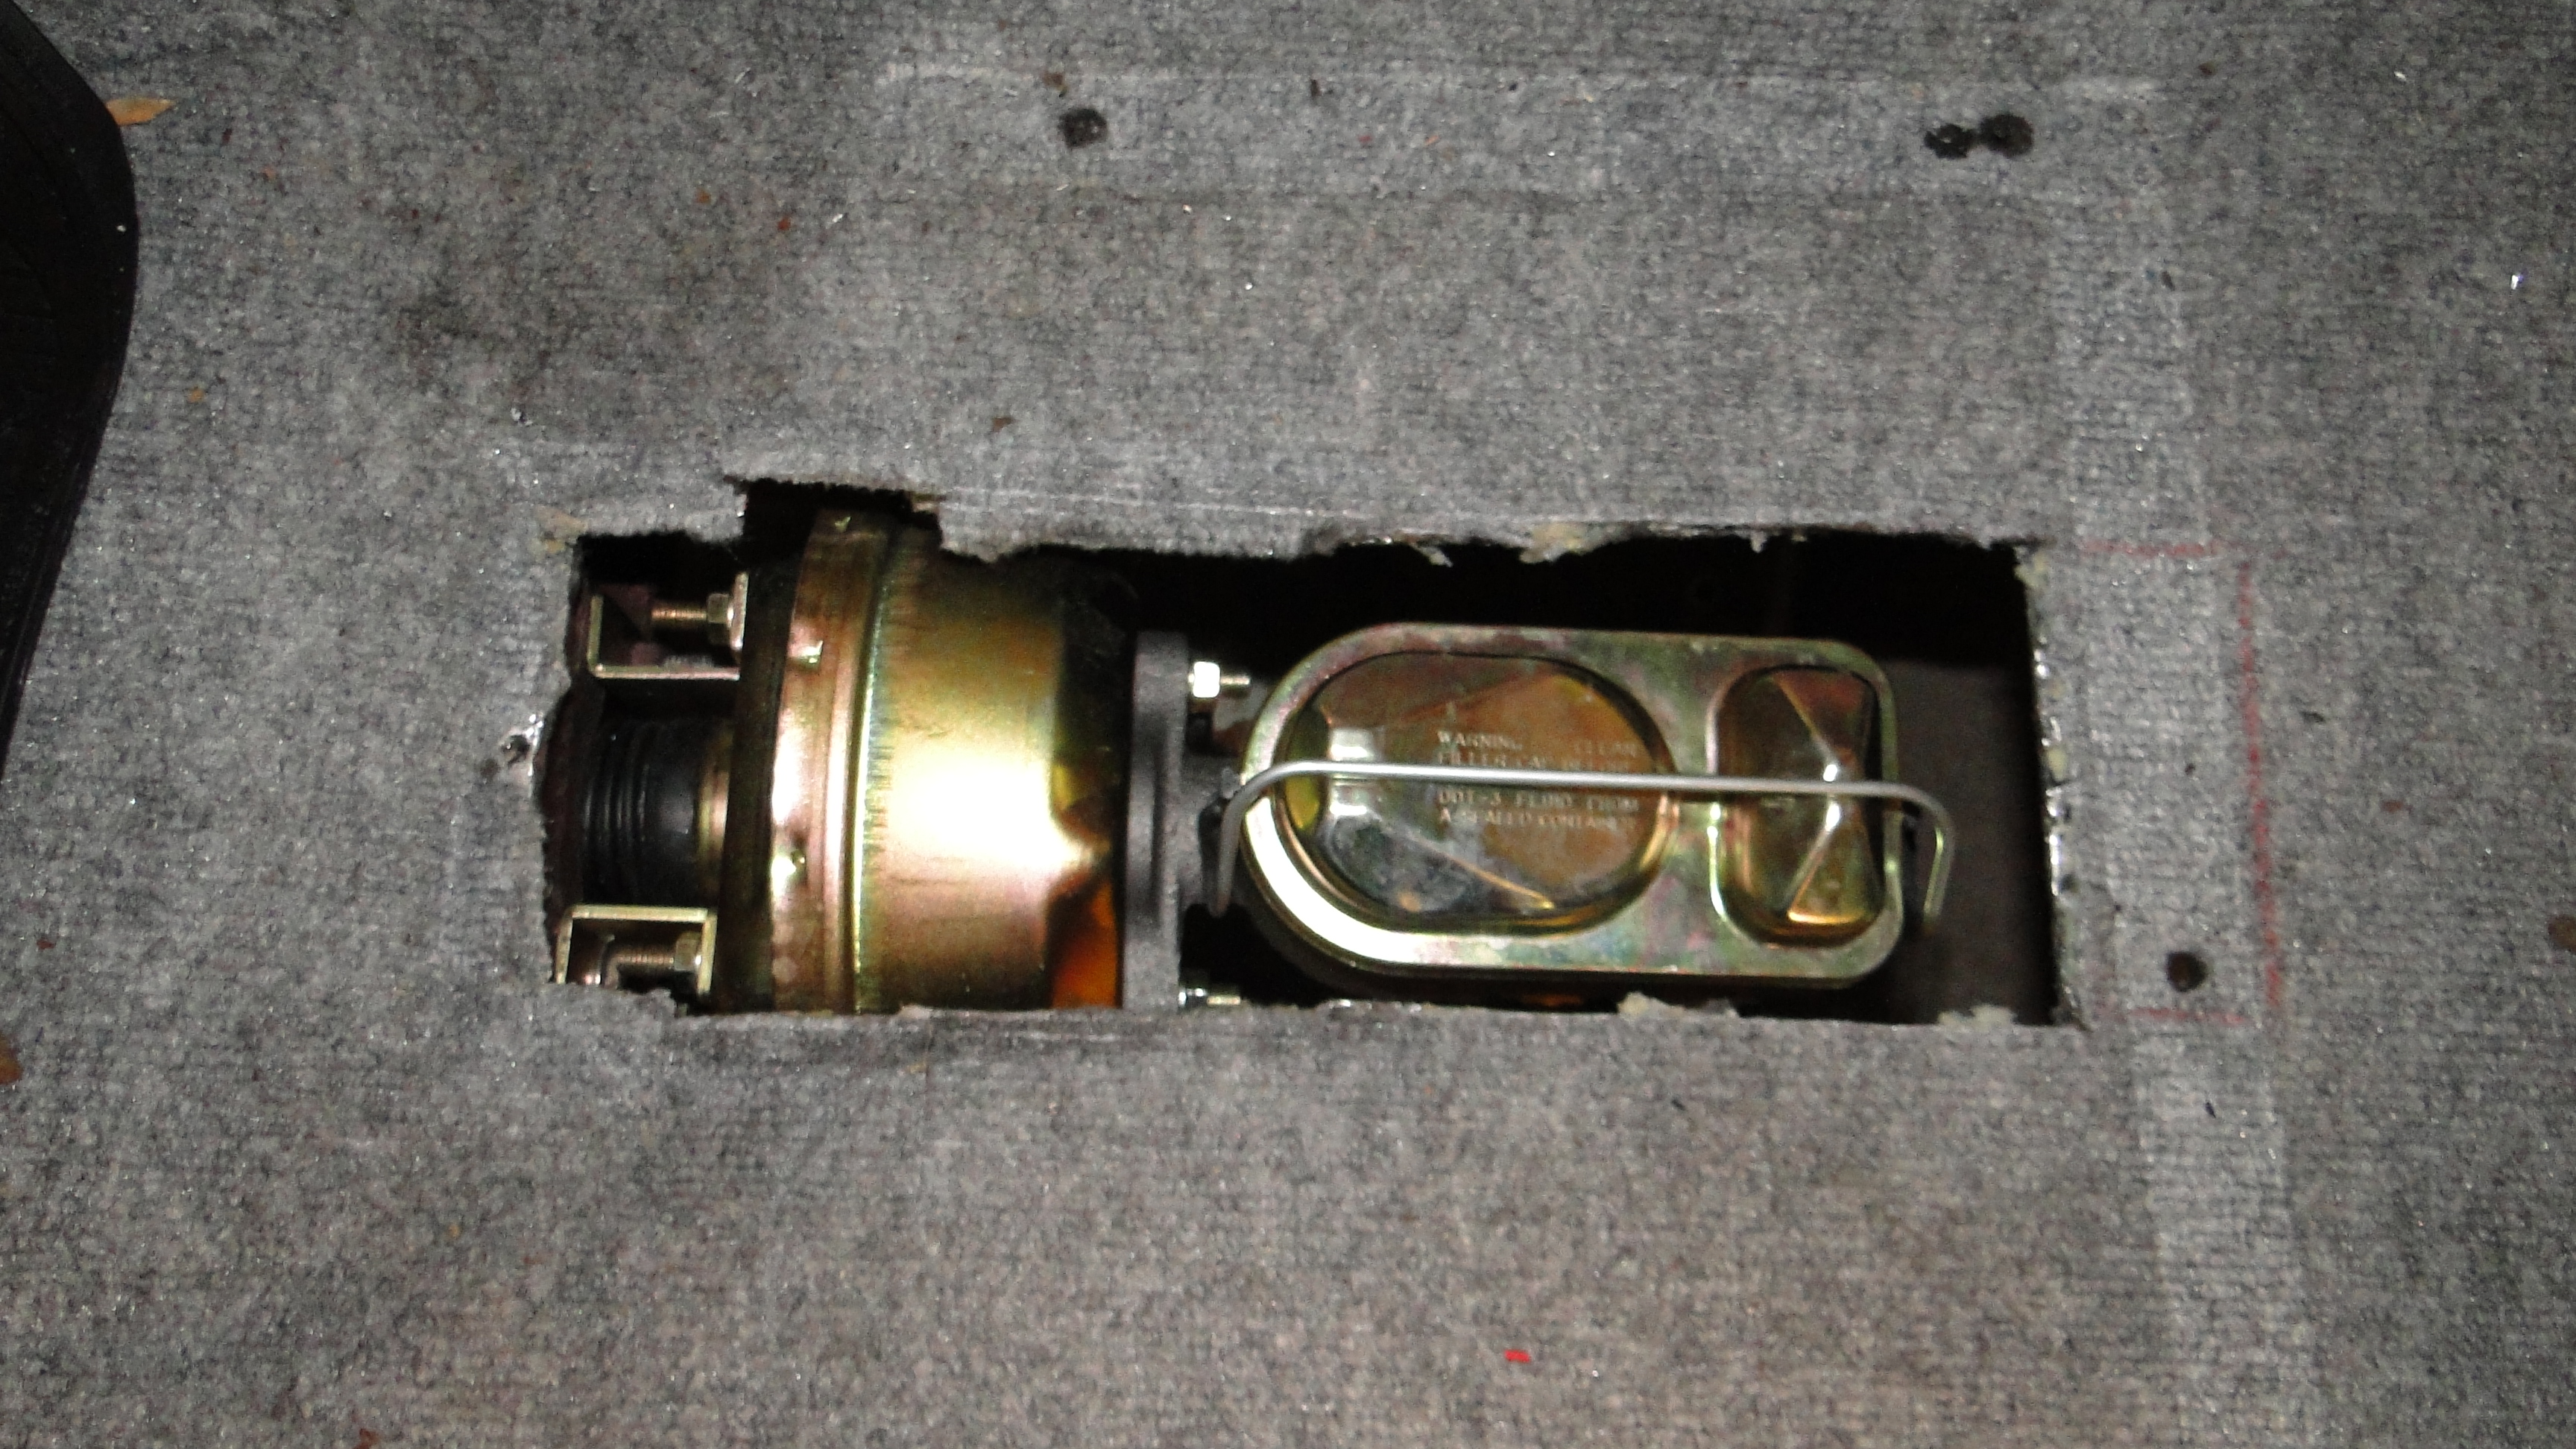
I made some ruff measurements and removed the drivers seat, cut my floor pan, drilled, and taped the mounting holes to mount the booster.
It was time to test fit everything, well the brake lines did not line up, and the push rod from the brake pedal was to long.
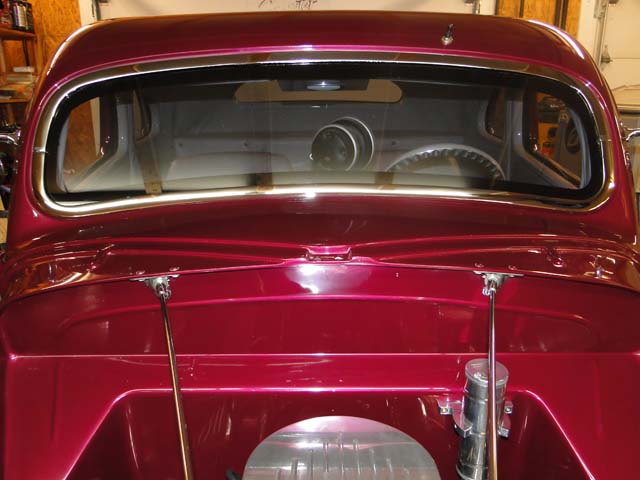
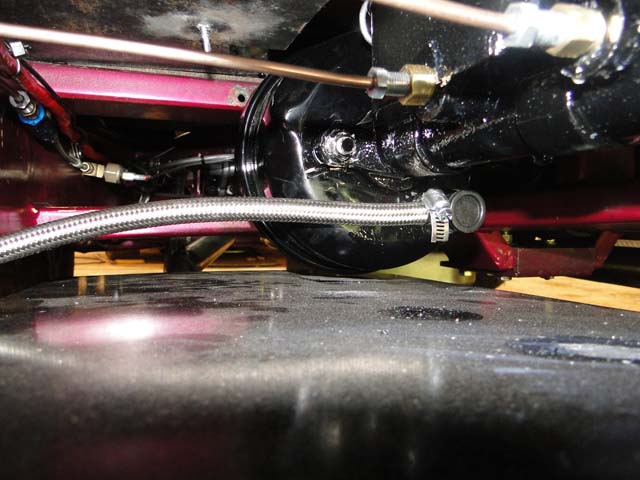
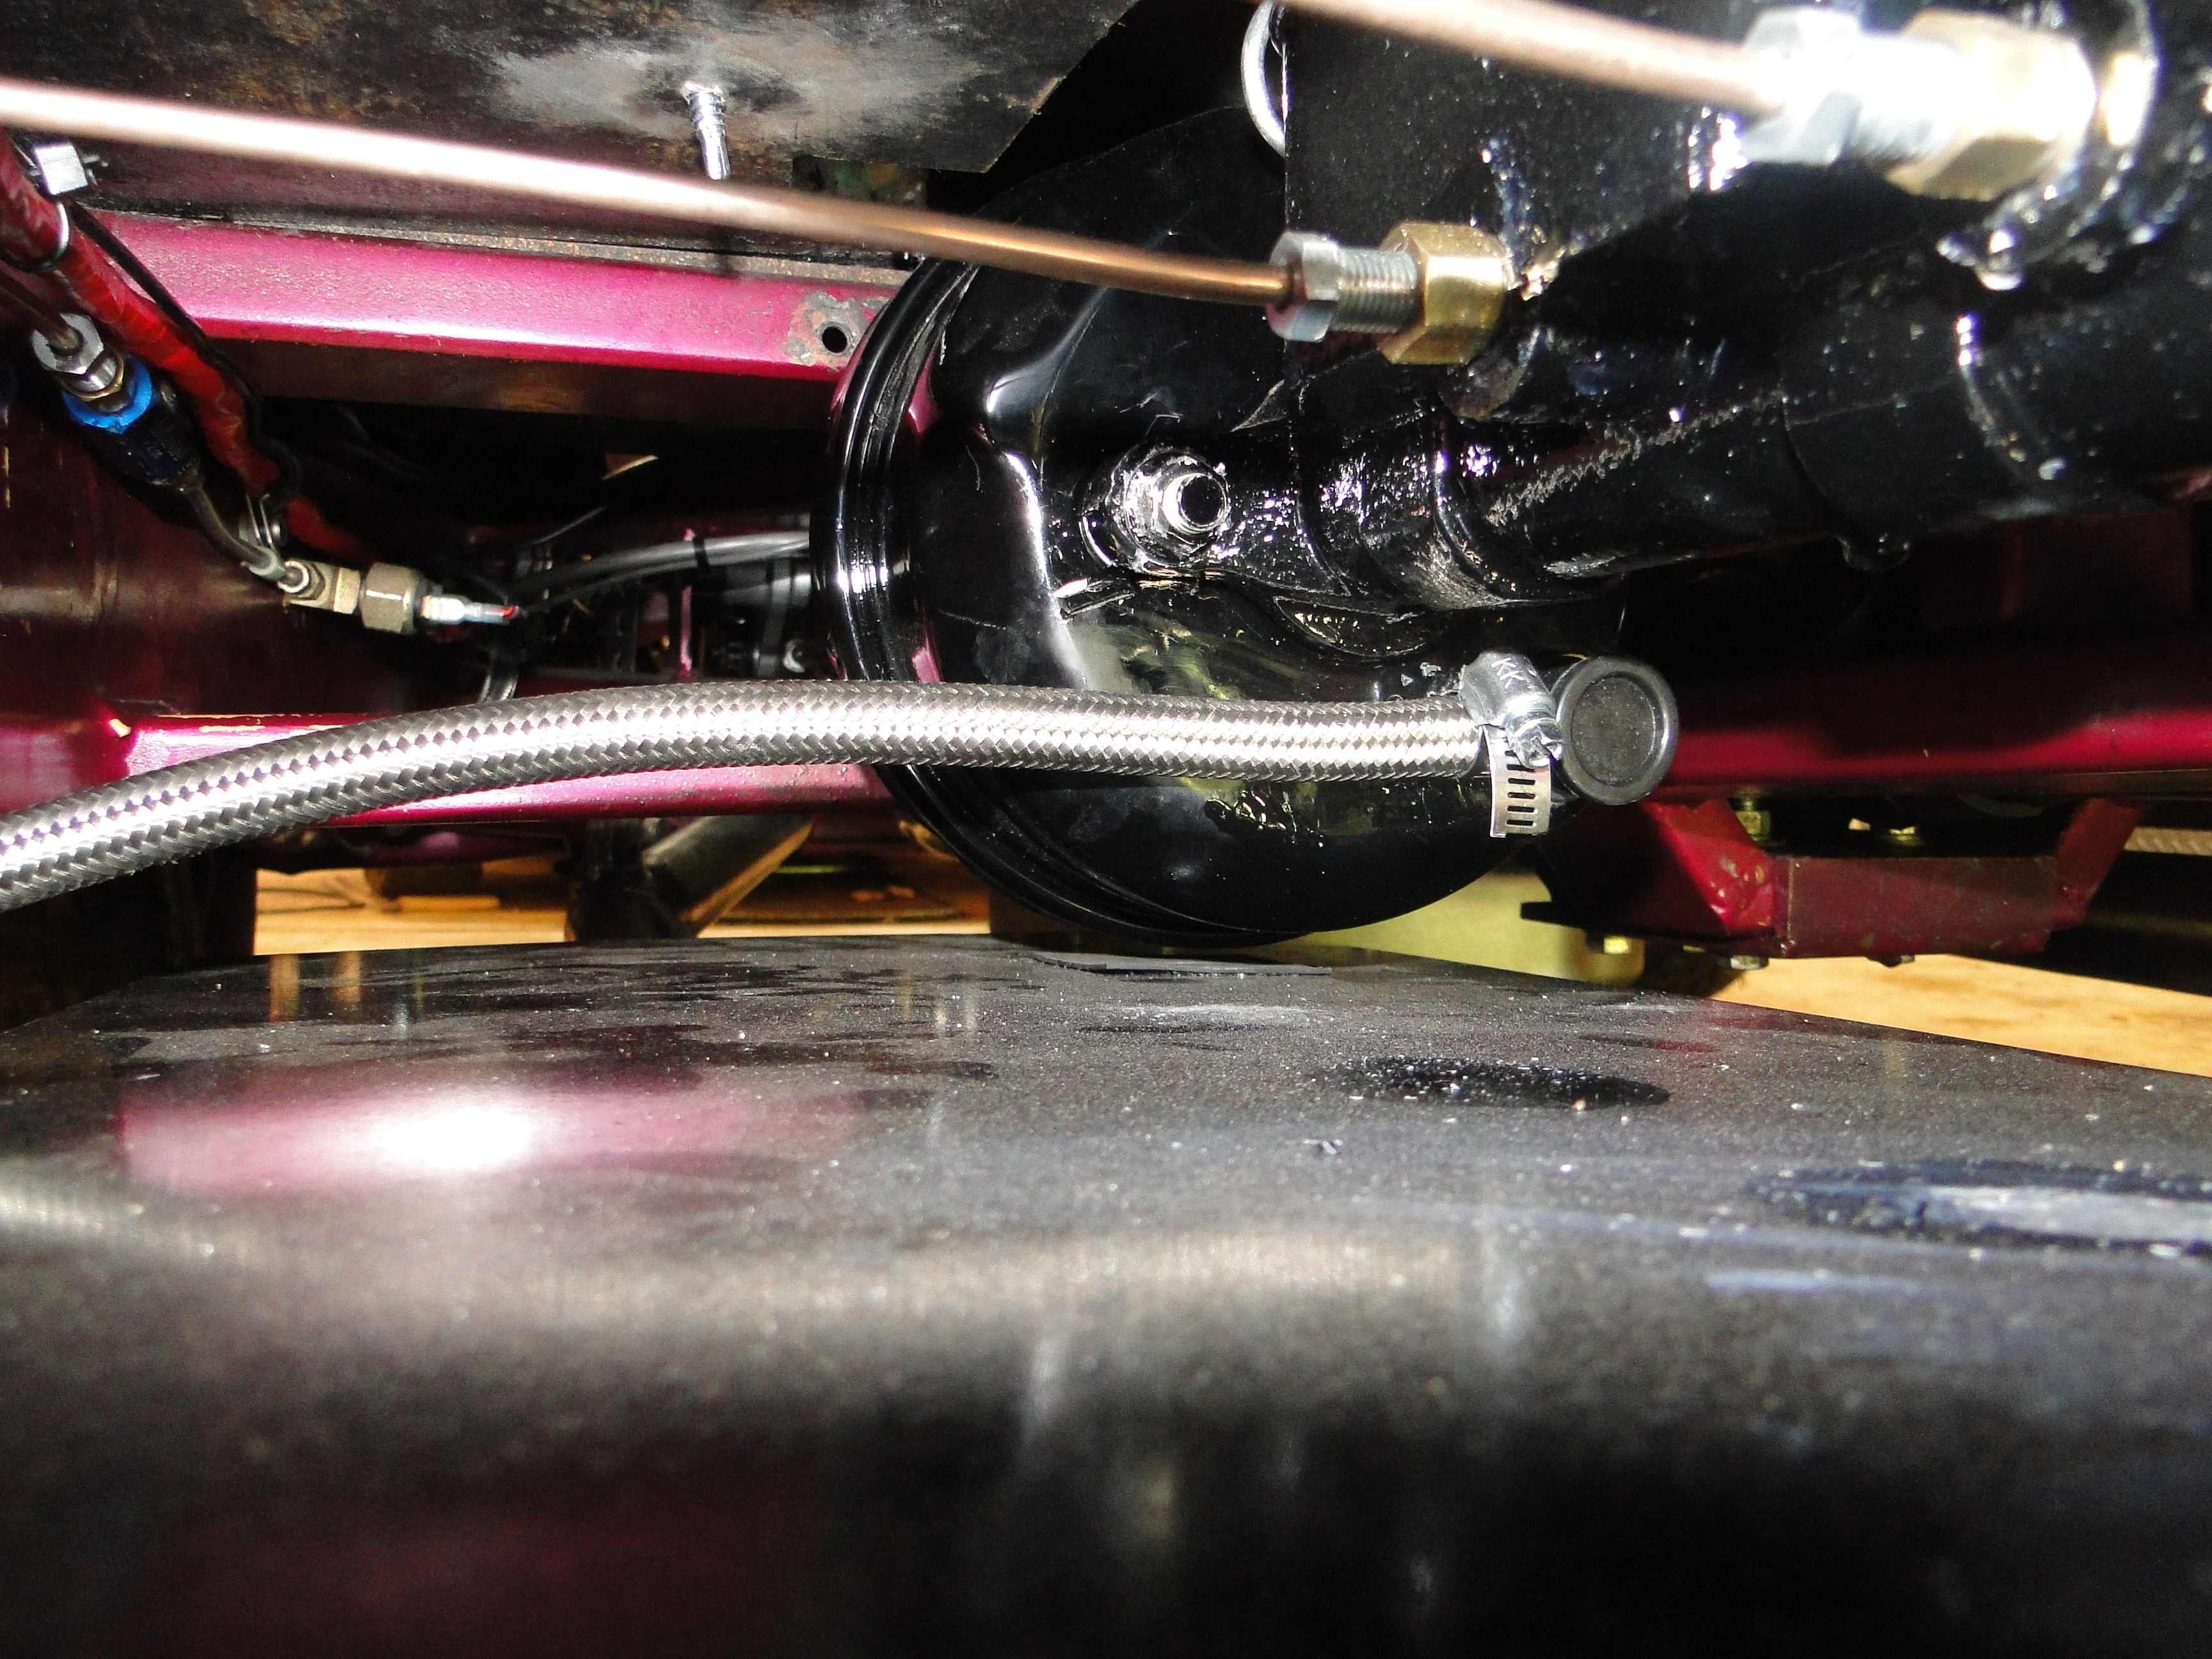
When I went to replace some of the brake lines I found a few surprises. One unknown inline brake device was installed on the rear brake line, see first photo, and two other inline brake line residual pressure reducers one front and one rear. I can understand why you would have a reducer going to the rear wheels to keep the rear brakes from locking up, but why on the front? See second photo. I removed the unknown inline brake device and replaced the brake lines.
To my surprise the pedal push rod was made of stainless steel, and I had Jim at Boffo Motors cut and tap the end of the rod to fit on the booster.
The next problem was the push rod needed to be guided because the booster connection has a lot of extra side to side play, so I had to fabricate a guide for the push rod and mount it to the car frame. This guide would assure the push rod did not have any side to side movement or extra play, we will come back to this part later. See third photo
Click any picture to enlarge.
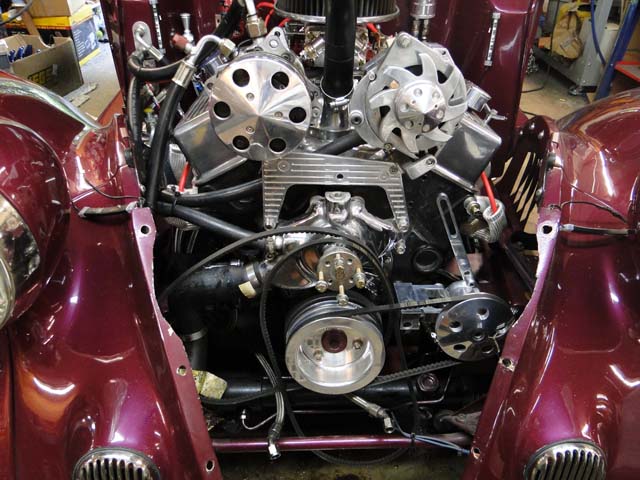
Well now for the easy part, I just have to run the vacuum line to the engine intake manifold and connect it right? Wait not so fast after running the stainless vacuum line to the engine, I notice the only extra vacuum connection on the manifold is currently located under my Holley 4 Barrel Double Pumper carburetor. Now it is true you can hookup your vacuum line to the carburetor. But for best results the booster needs to be connected to the engine intake manifold.
Click any picture to enlarge.
That means I have to lift the carburetor above the manifold to give me room for the
vacuum fitting to fit between the manifold and clear the carburetor.
We have had this conversation before when you buy
something online and its looks great in the photos, but sometimes its not as advertised.
I received the one inch
carburetor spacer and when I took it out of the box, it looked like someone had
used a stone grinder to smooth out the surface area, and they never polished it.
See first photo. I had two choices send it back and get another one,
and loose a whole
week’s time
or I could spend hours buffing and polishing the aluminum spacer, so I could use
it on my car. So I started buffing see second photo.
Now I am done right? Well not so much I was talking to Jim
at
Boffo-Motors about how happy I was to be done with the power brakes
installation, and he asked "How big of a external vacuum reservoir did you install? "
Reservoir WTF is a vacuum reservoir? You know I hate this part, this is where Jim looks at me like a father looks at his son, and sais you should know this with his eyes only. It would seem vintage cars that cruise in parades or idle down main streets in car cruises need an extra
vacuum storage tank. This is so you don't lose your power brakes from driving to slow for a long period of time, when your not creating enough
vacuum for the brake system to work properly. Then he sais and don't forget to install a second check valve. See photo. Ok now I am done, all
that's left is to test the brakes.
Click picture to enlarge.
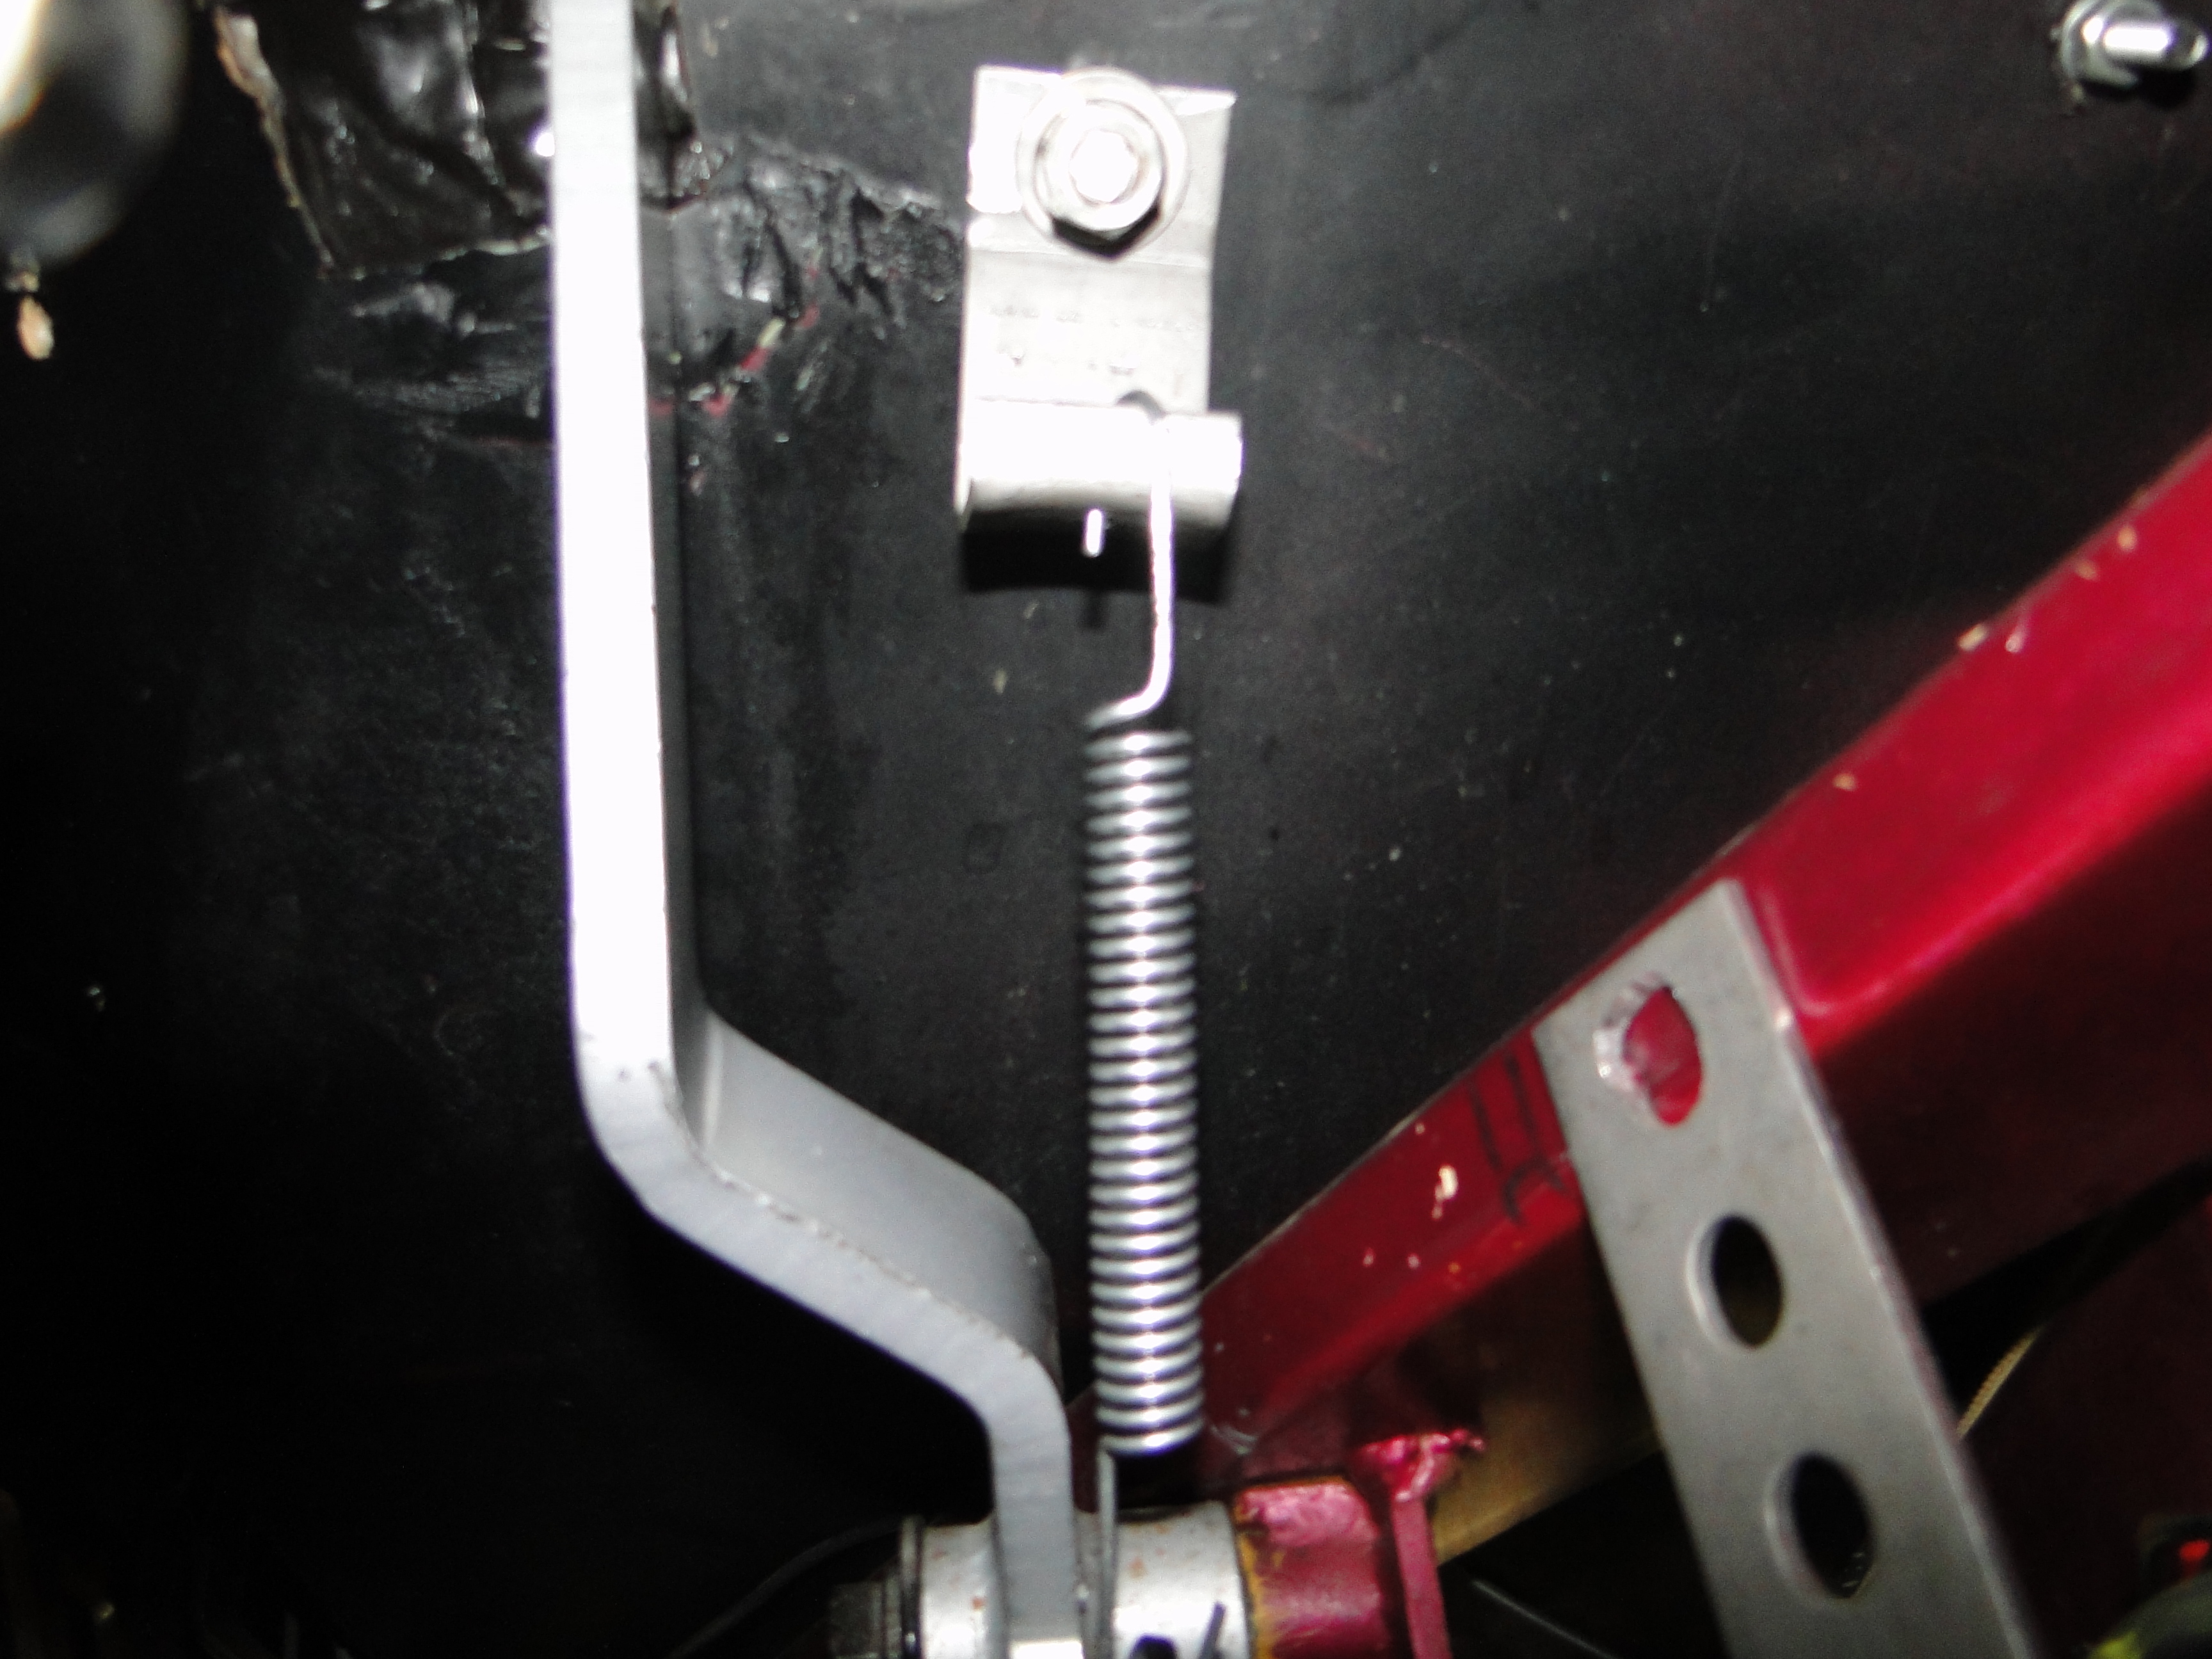
I was testing the brakes in my driveway the car did stop, and the pedal was very easy to push just like a new car.
Wait not so fast, when I got out of the car I noticed my Brake lights were on, all the time. I check the obvious stuff and then realized that the brake booster was working so well that the weight of the pedal mechanism was just enough to slightly apply the brakes all the time. I then realized I needed to add a return spring attached to the pedal to remove the pressure on the brake booster.
All that was left was a final test drive in the spring.
May
Exhaust Installation
Last but not
least I have to put the dual exhaust back on my car. With the first
ruff test fit on the drivers side the muffler was hitting the new brake booster.
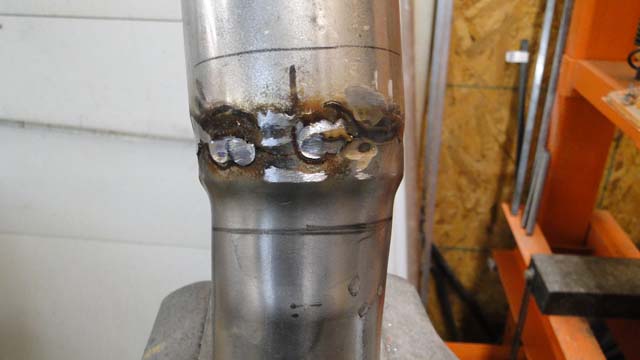
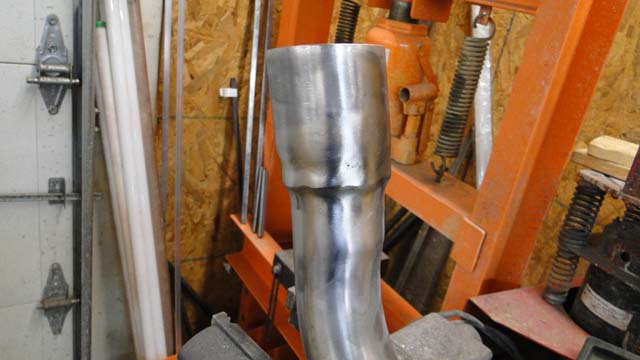
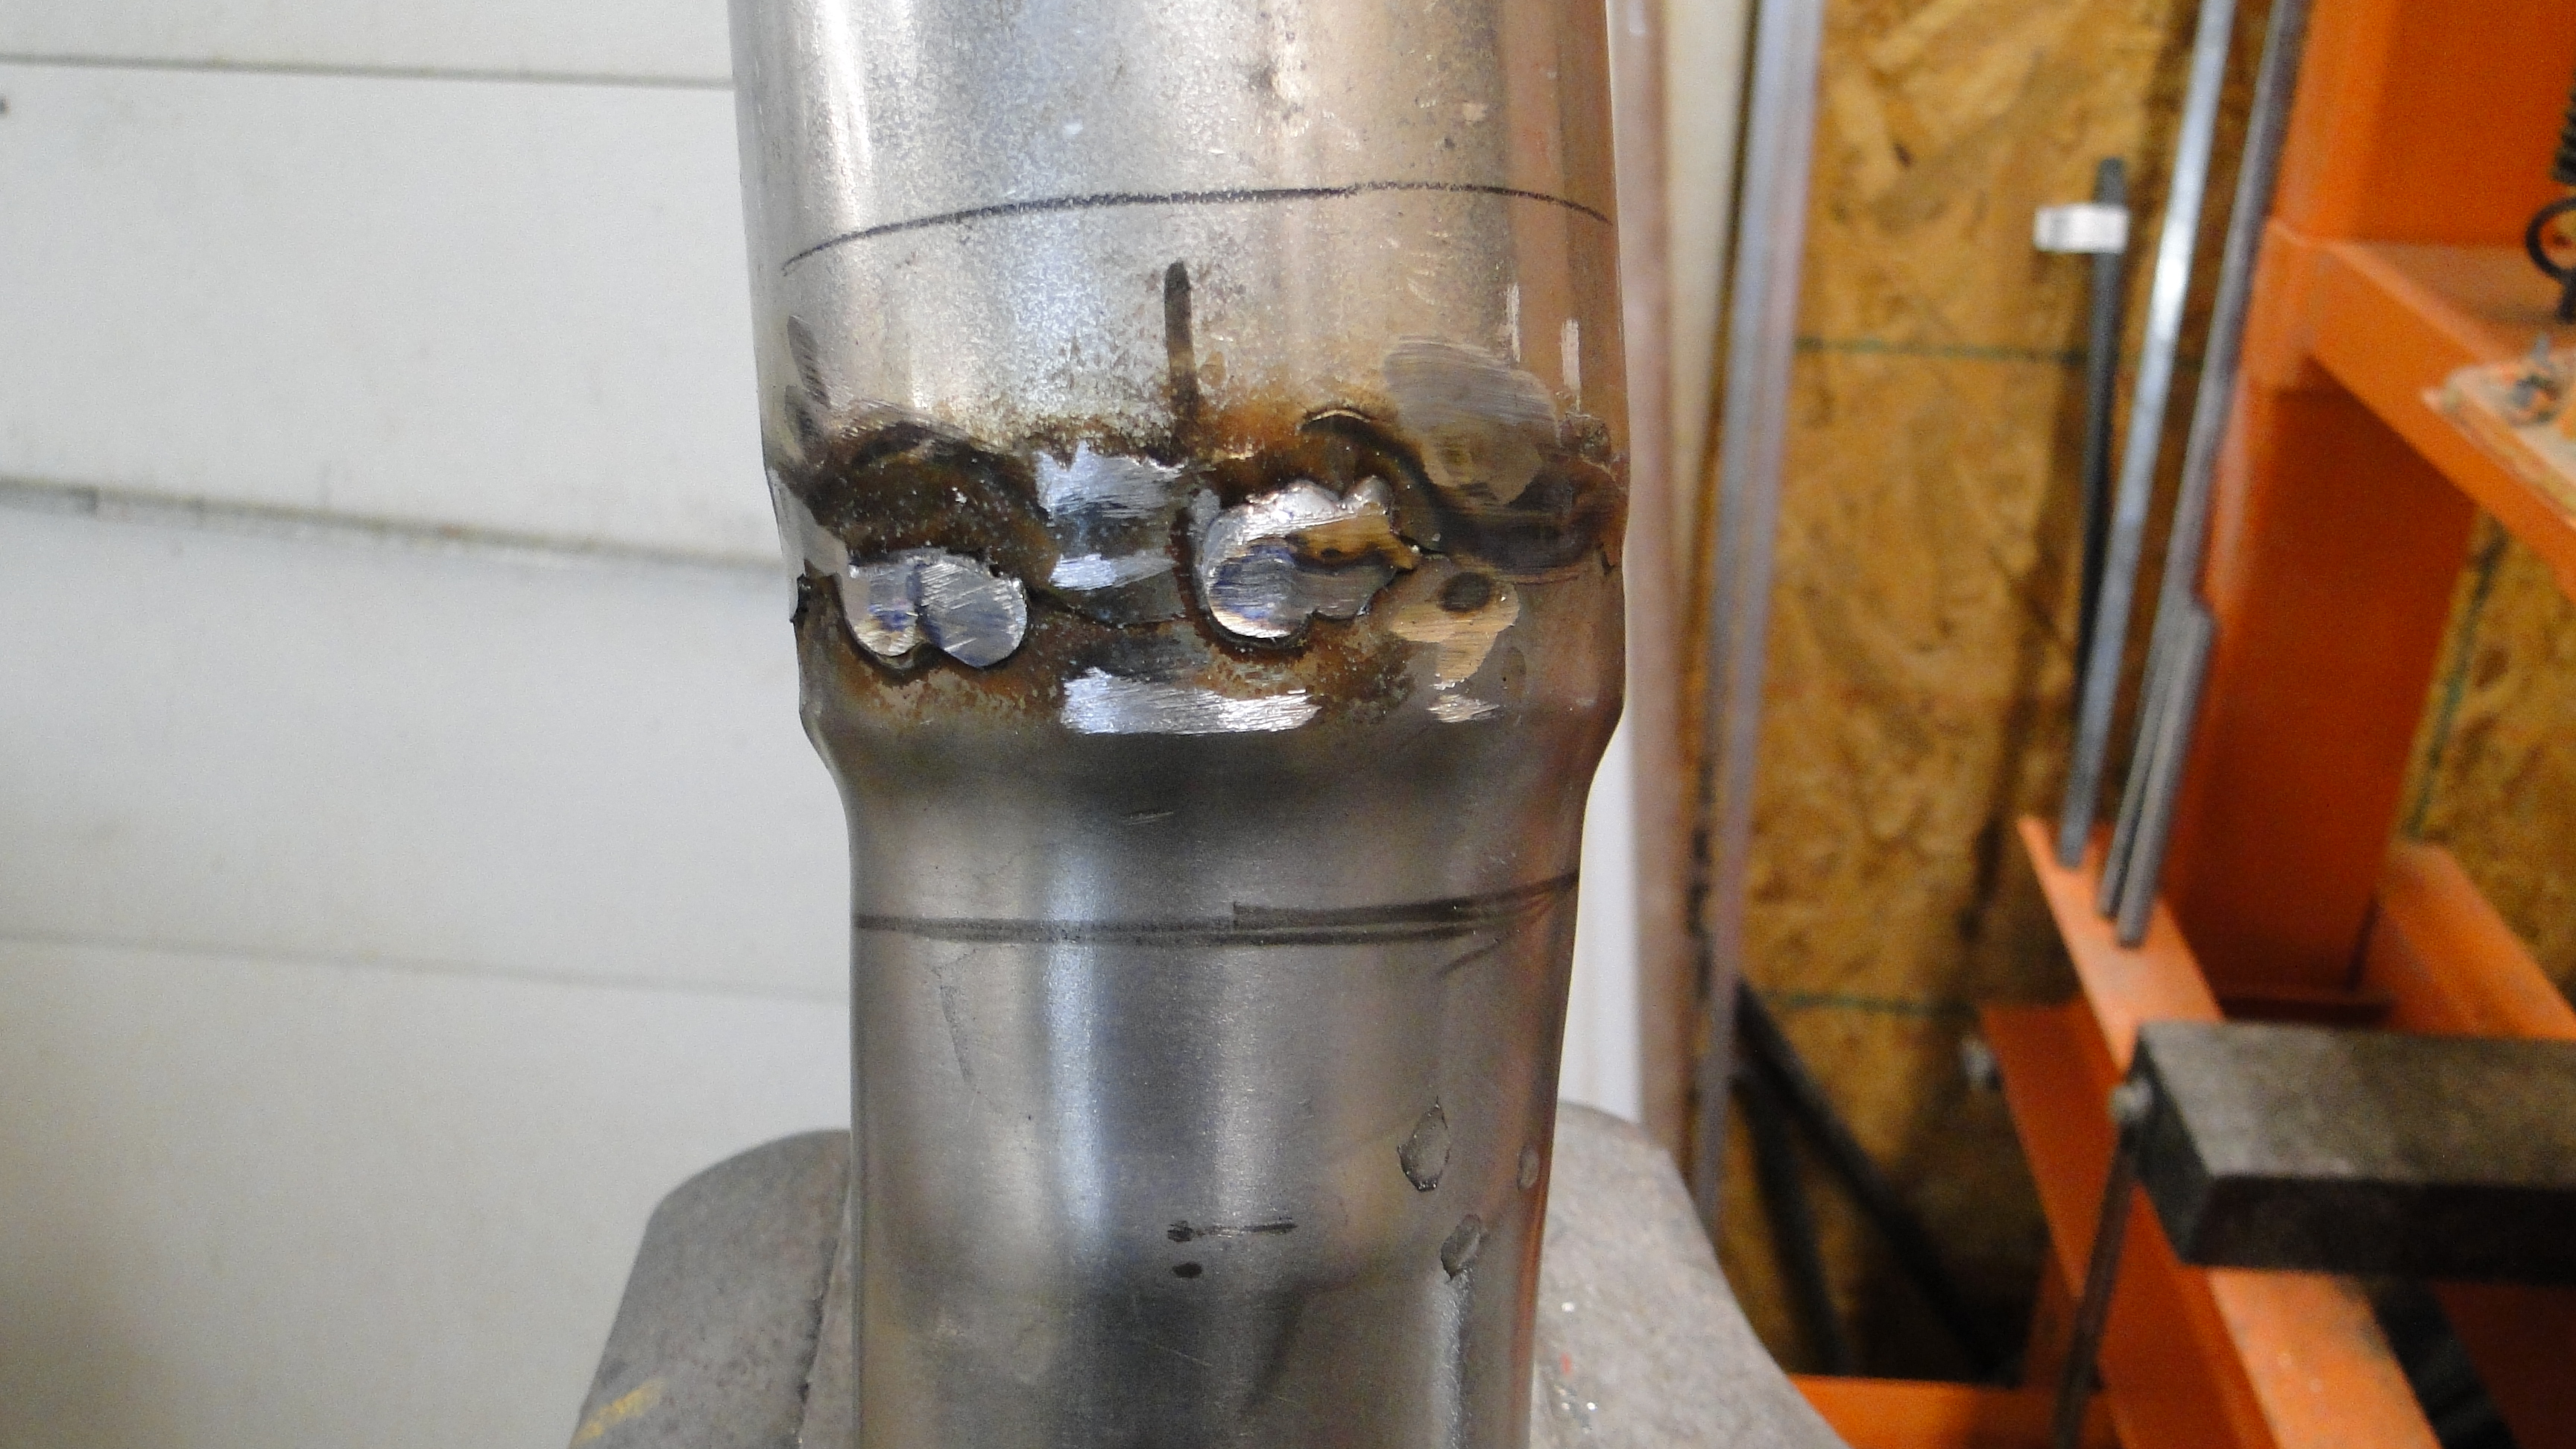
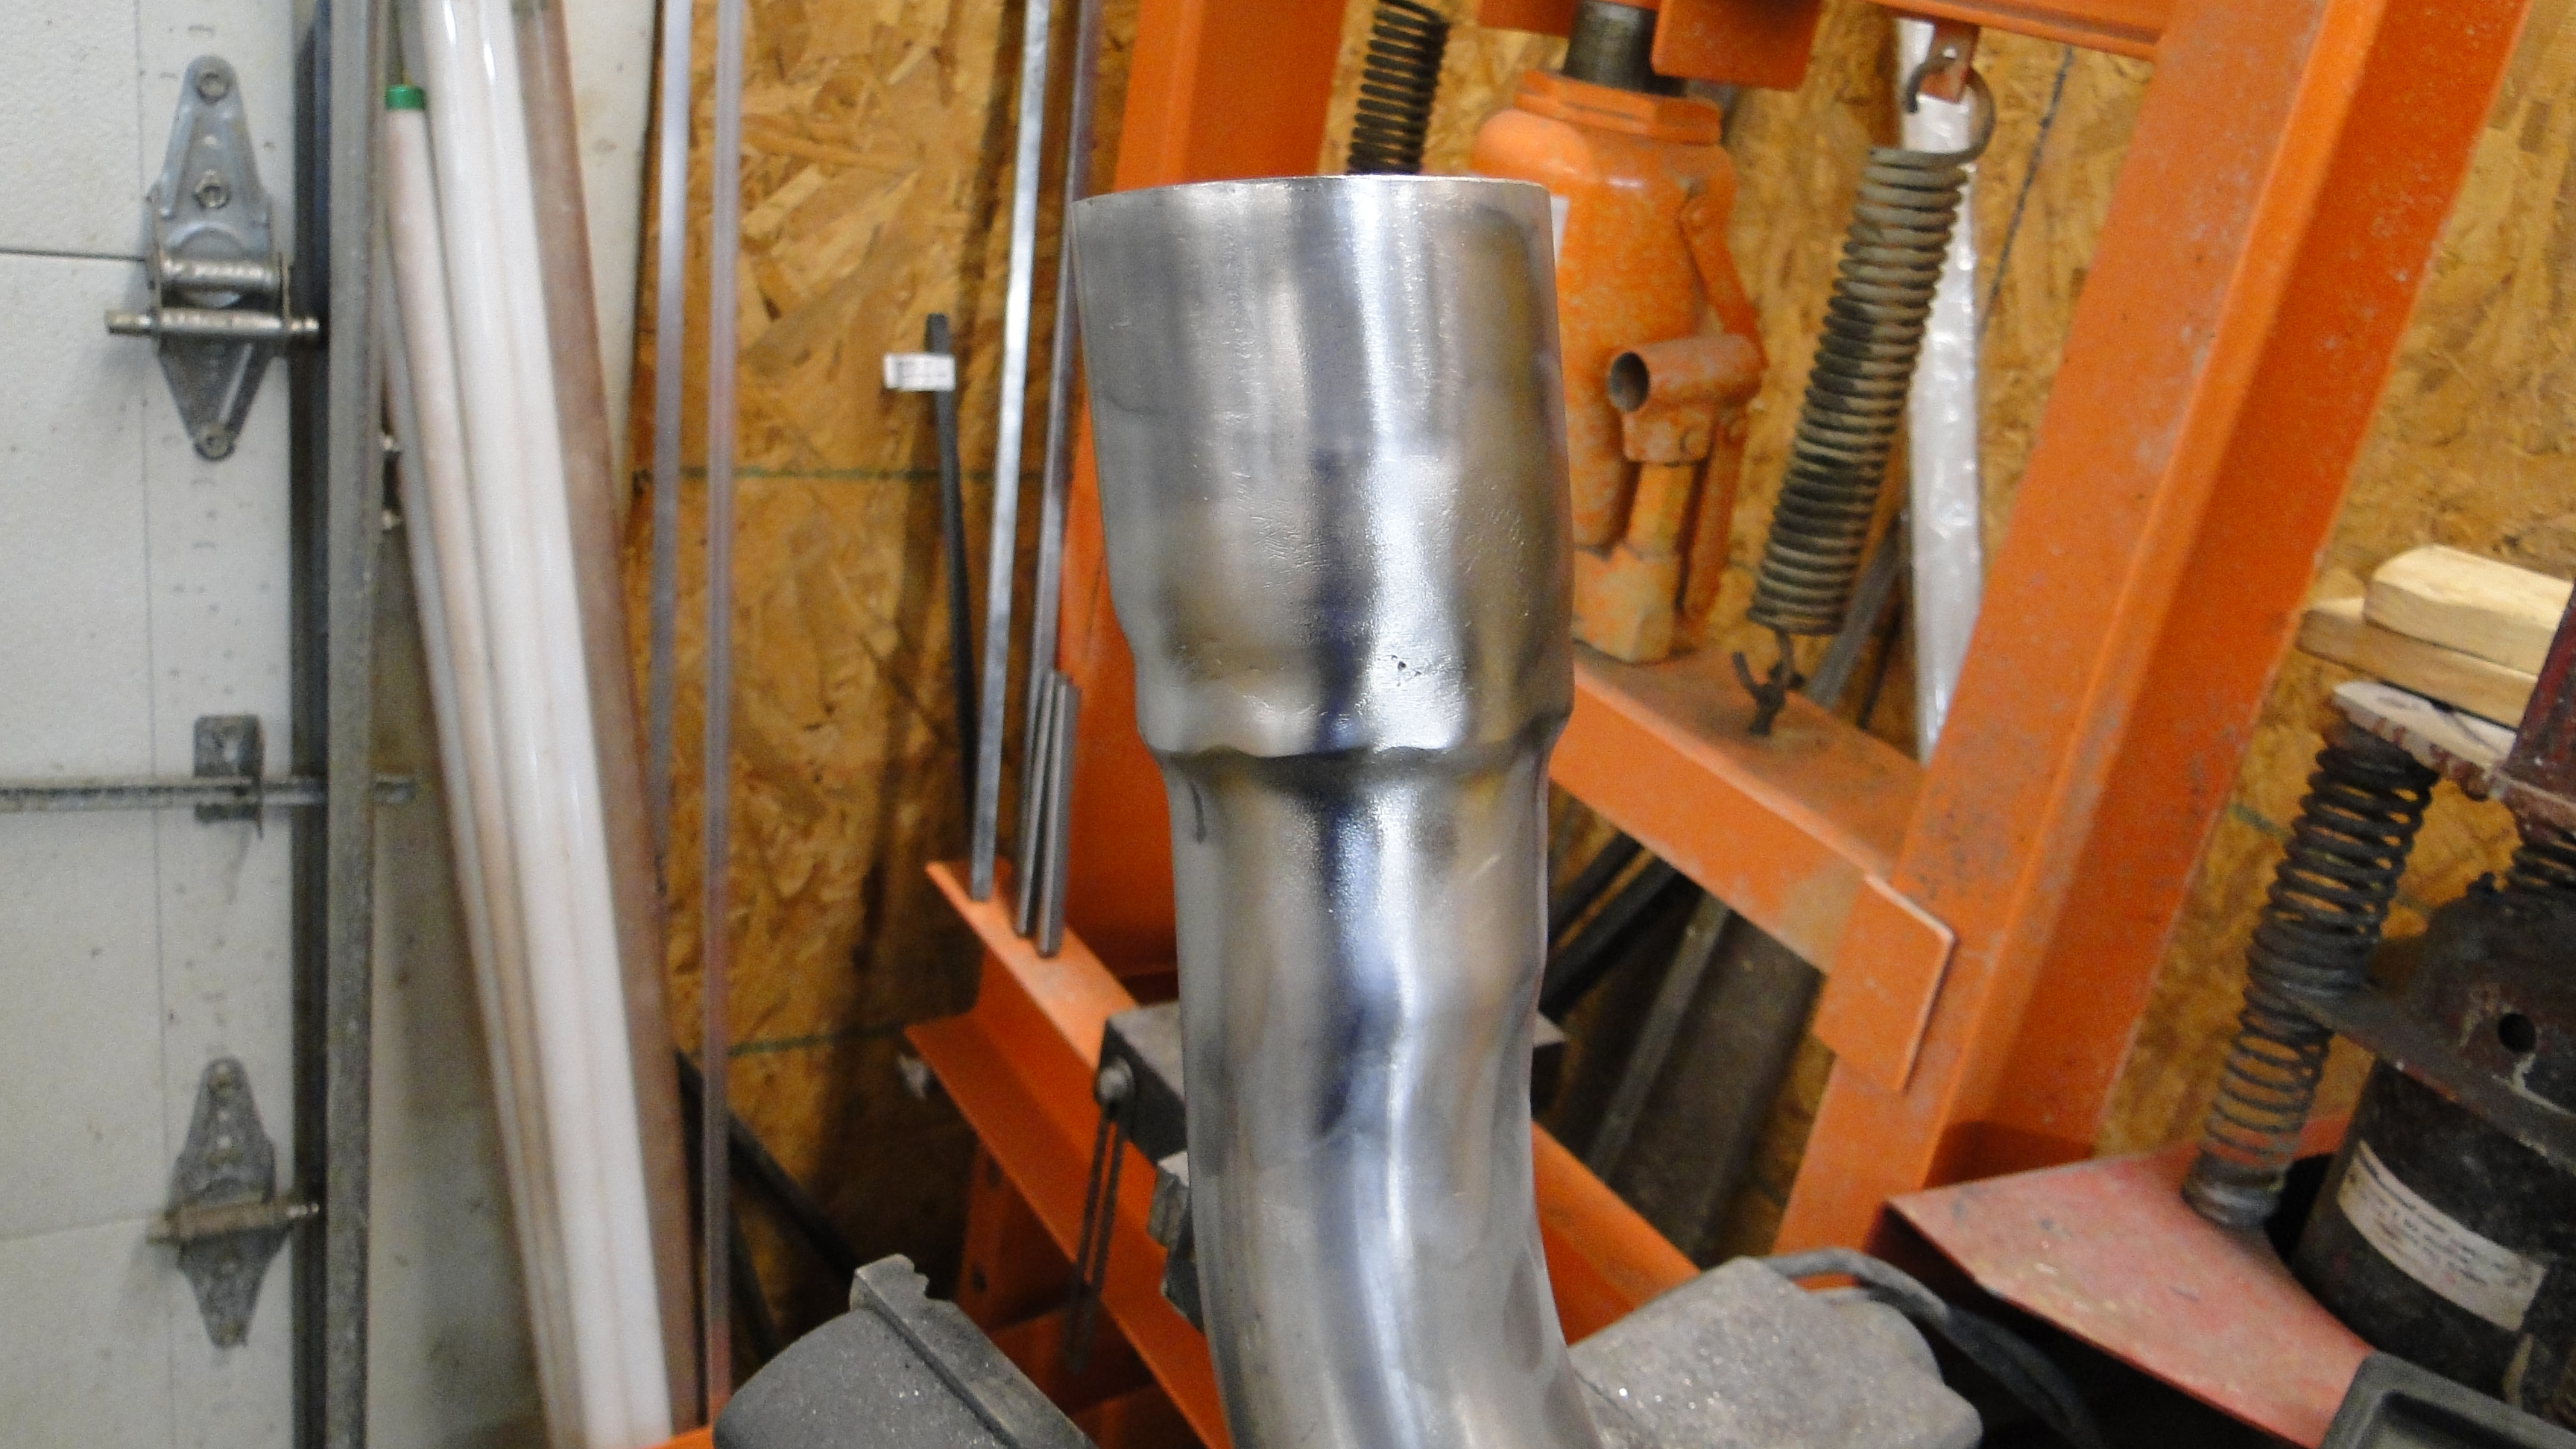
Well that not going to work, I then cut the pipe just down from the header
flange and welded one additional inch more in length to the pipe which should
drop the muffler down and hopefully clear the Booster. To be clear I can weld
steel with no problem, however my welds are just not real pretty to look at.
So after each weld I had to grind, hand file, hand sand, and power brush
the exhaust pipe seam to give the appearance that it is seamless.
Click
any picture to enlarge.
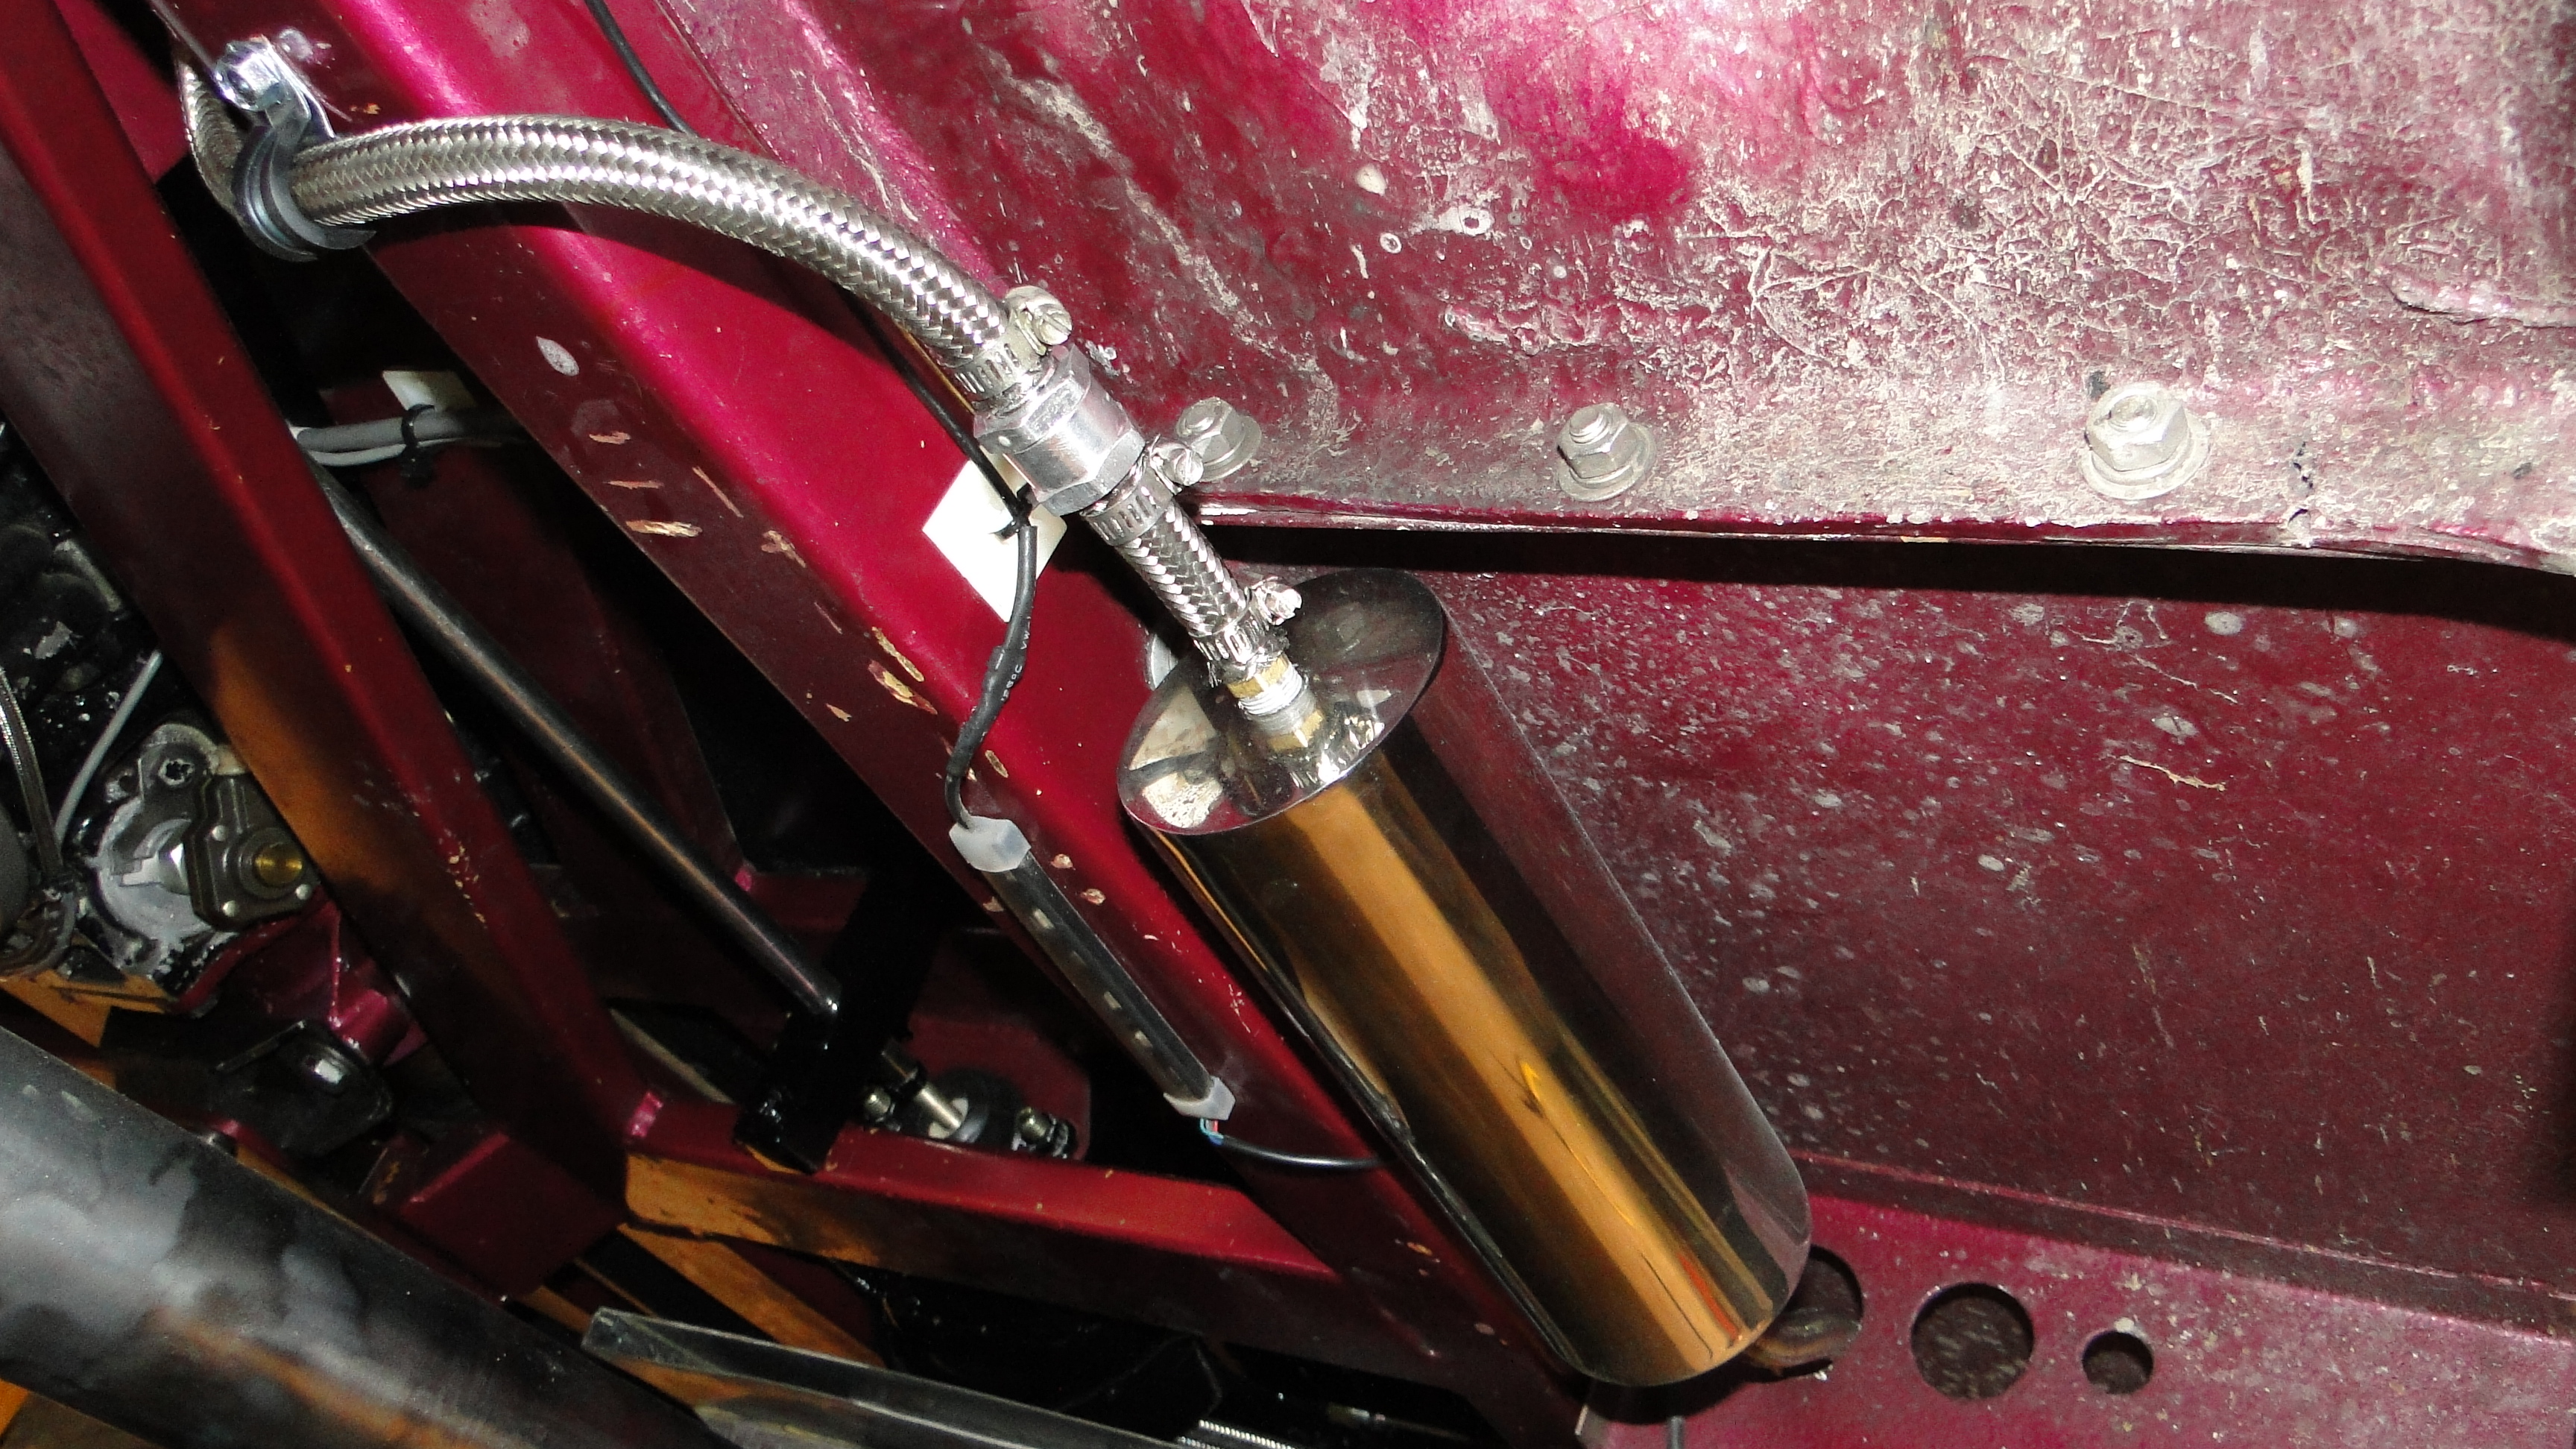
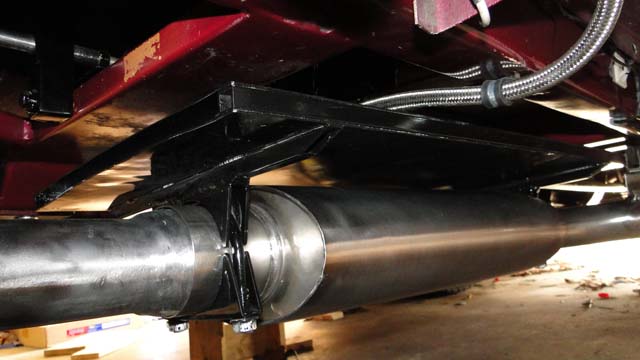
That worked just fine, however the
exhaust
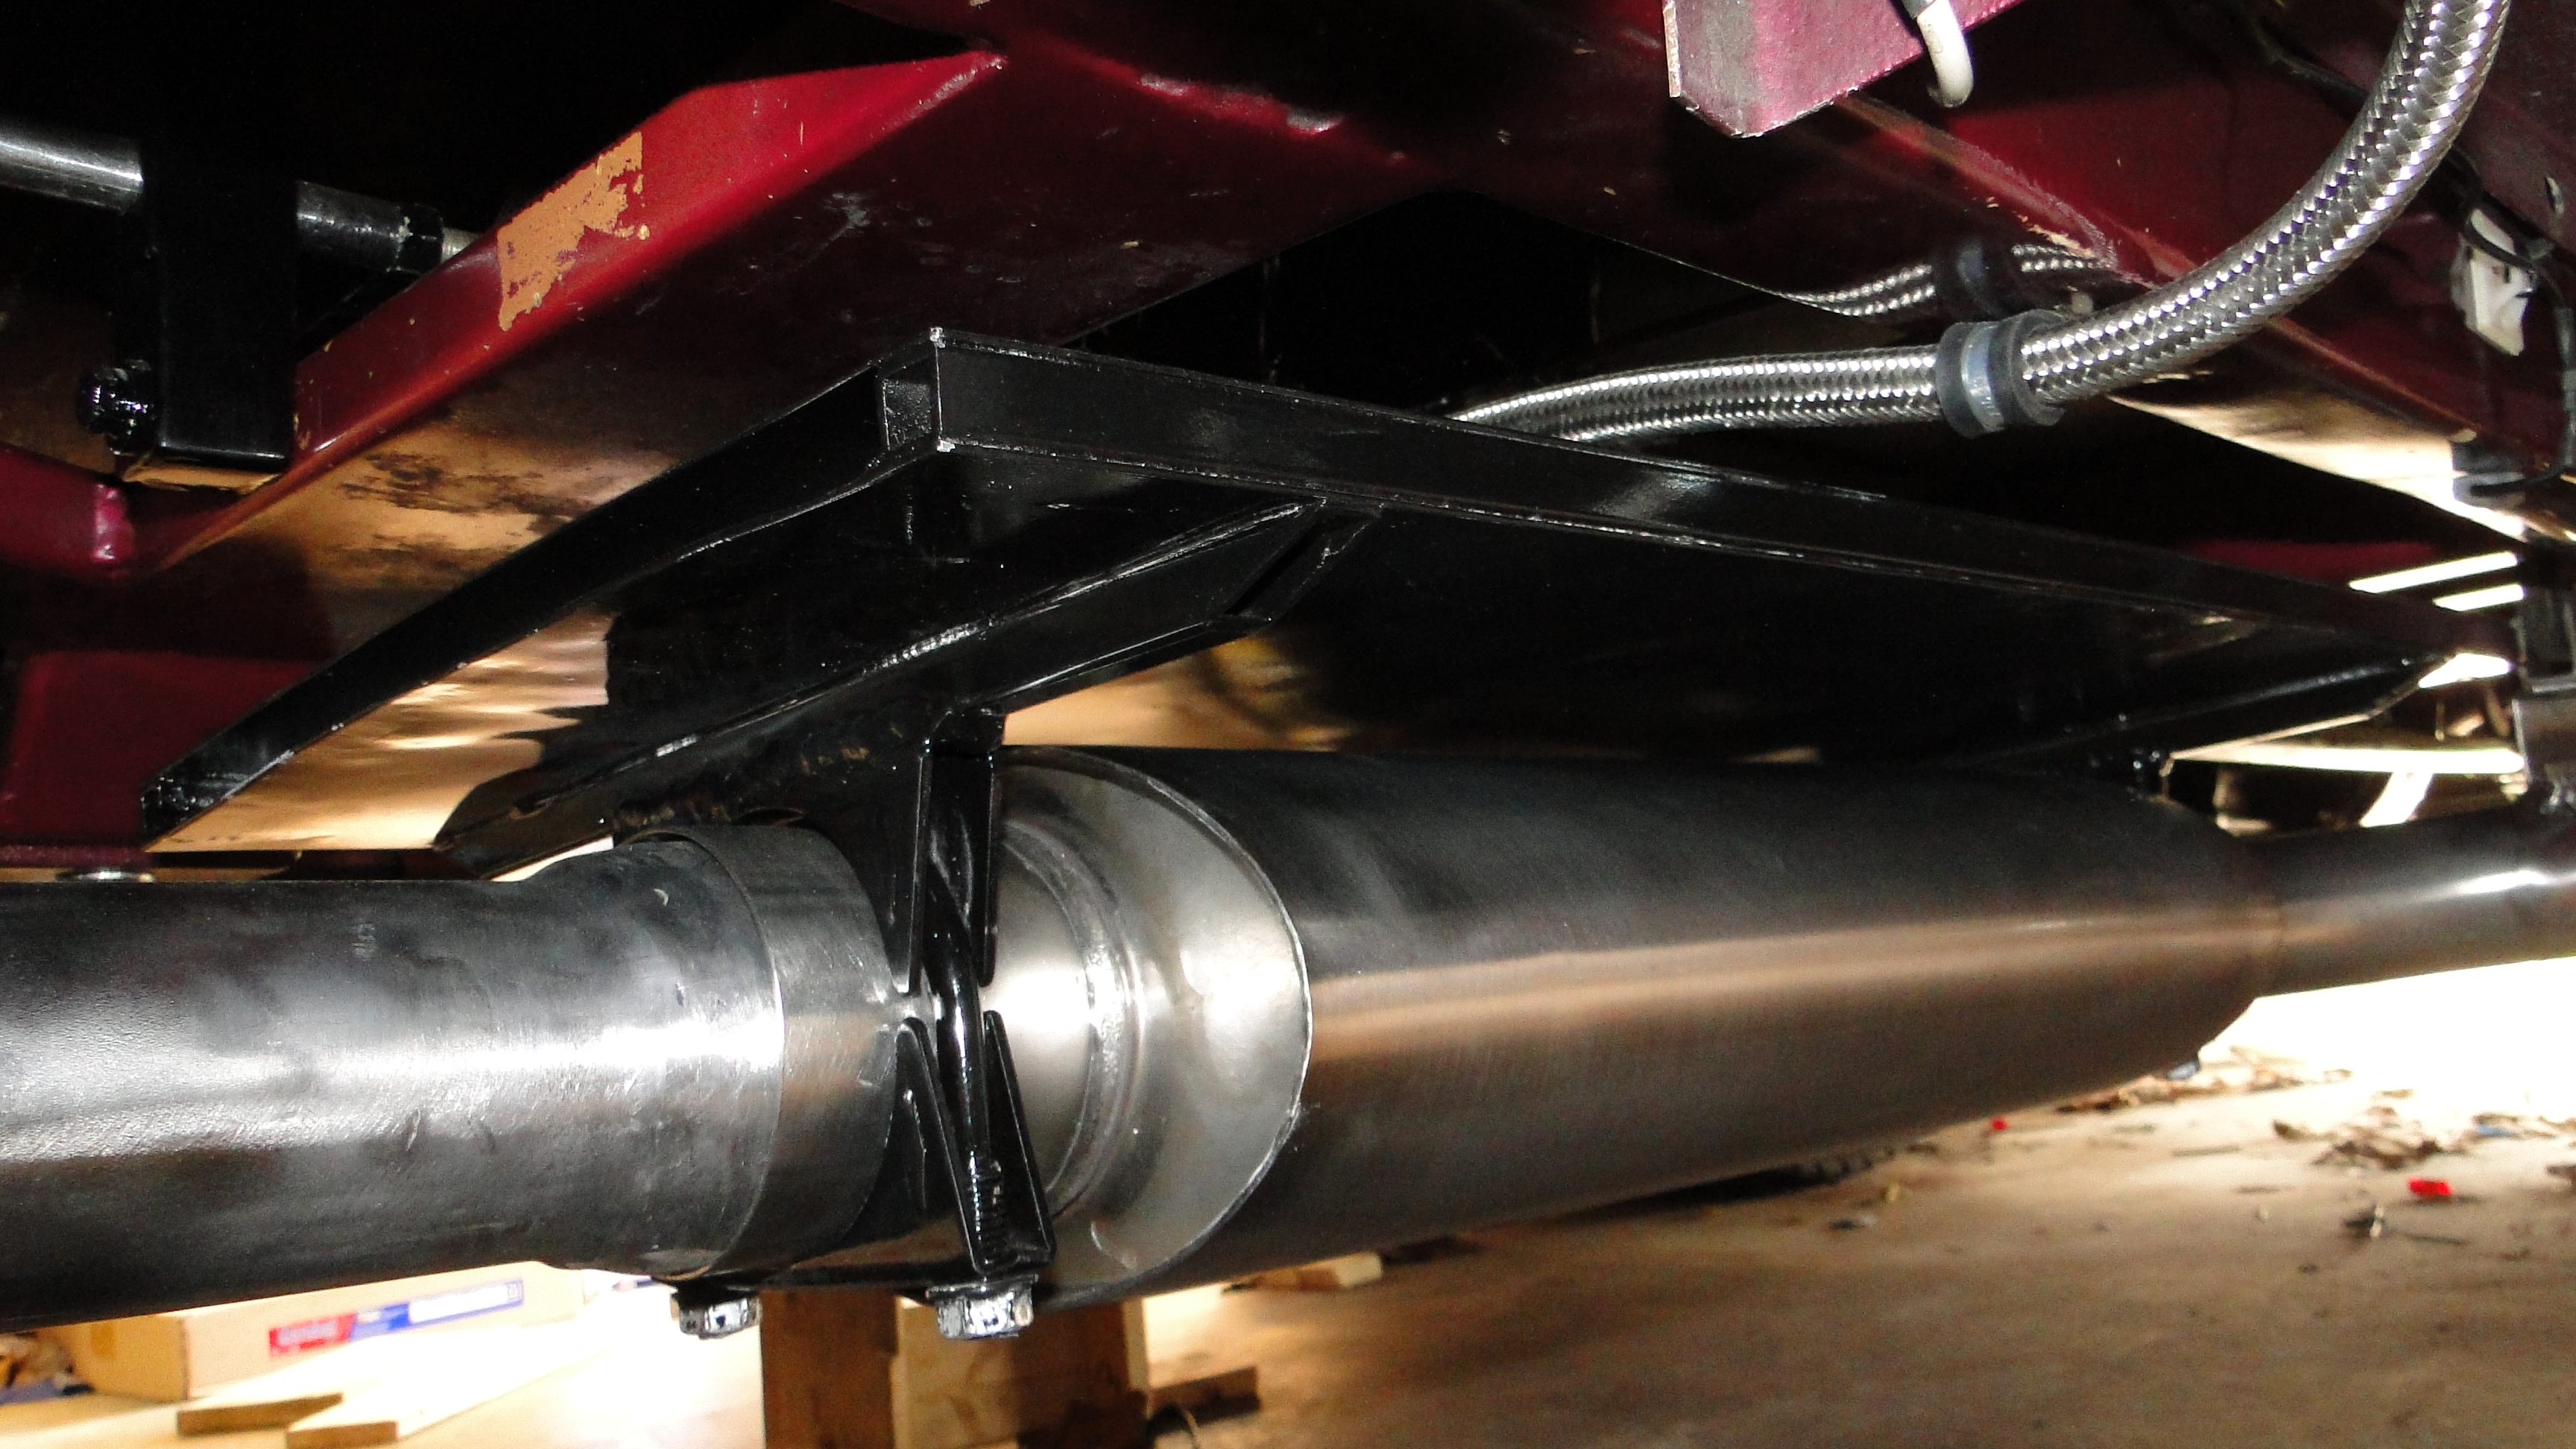
pipe position is going to cause some braking problems. The heat raising from the muffler is going to affect the brake booster. When I talked to Jim about this, he said you need a heat shield, the heat shield needs to completely cover the muffler and you will need to have two layers of metal
separated by a half inch of air space, and the shield should be able to breath
end to end between the two layers of steel. Oh is that all I thought!
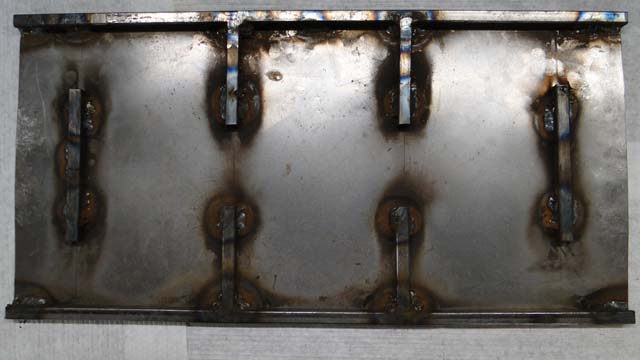
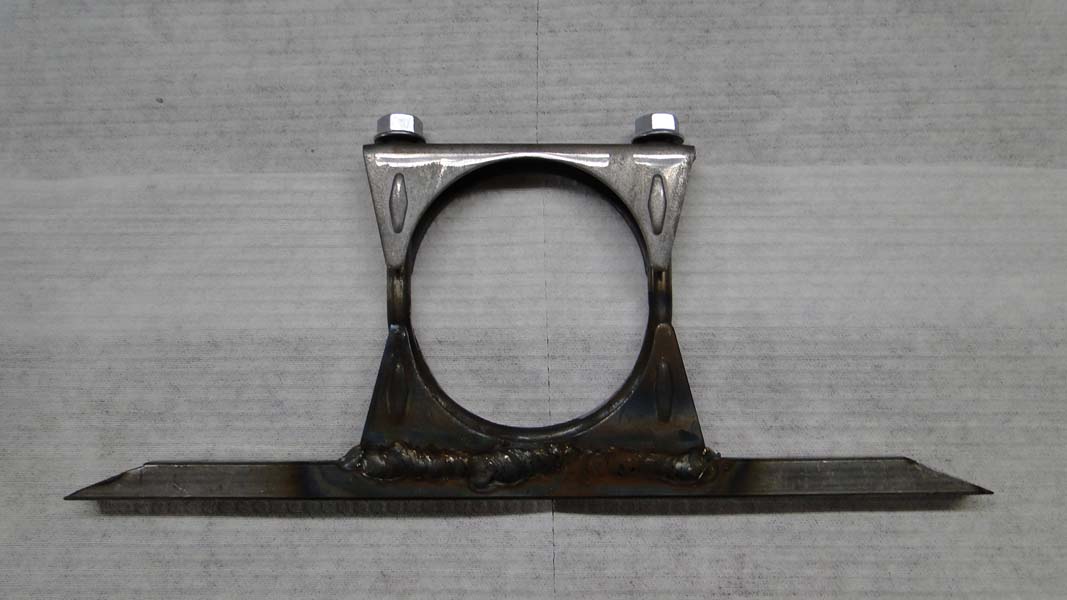
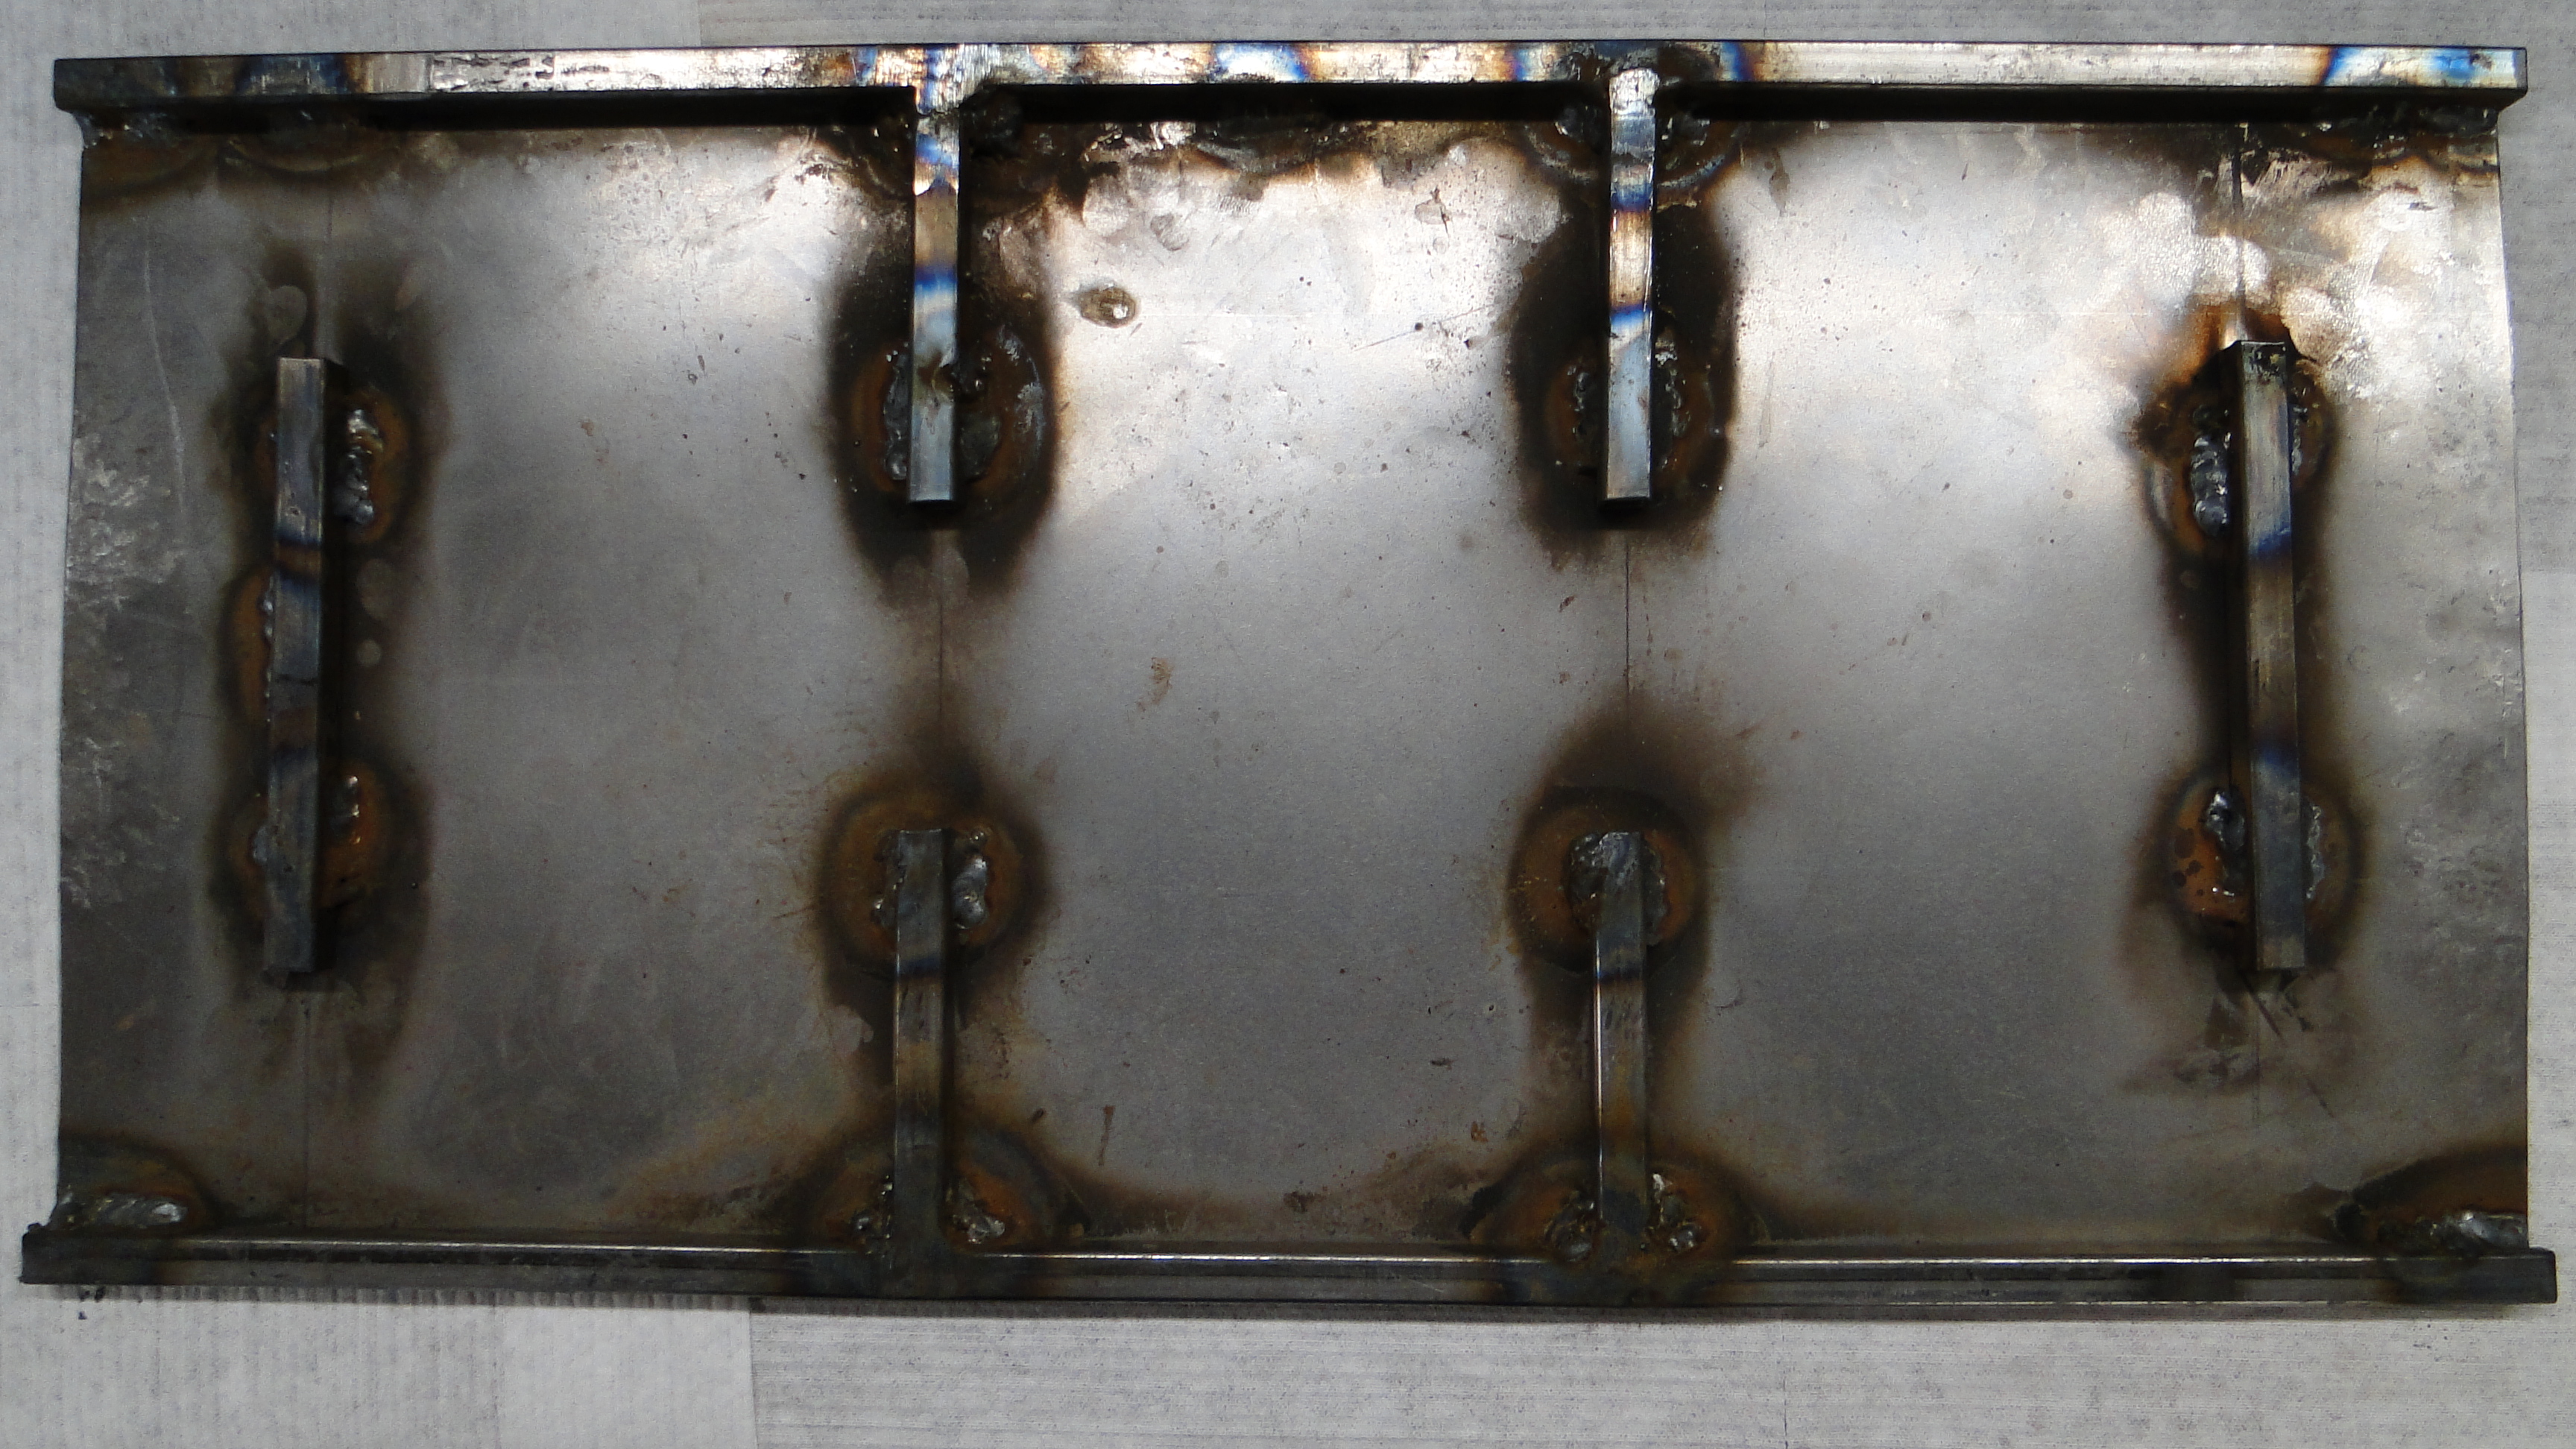
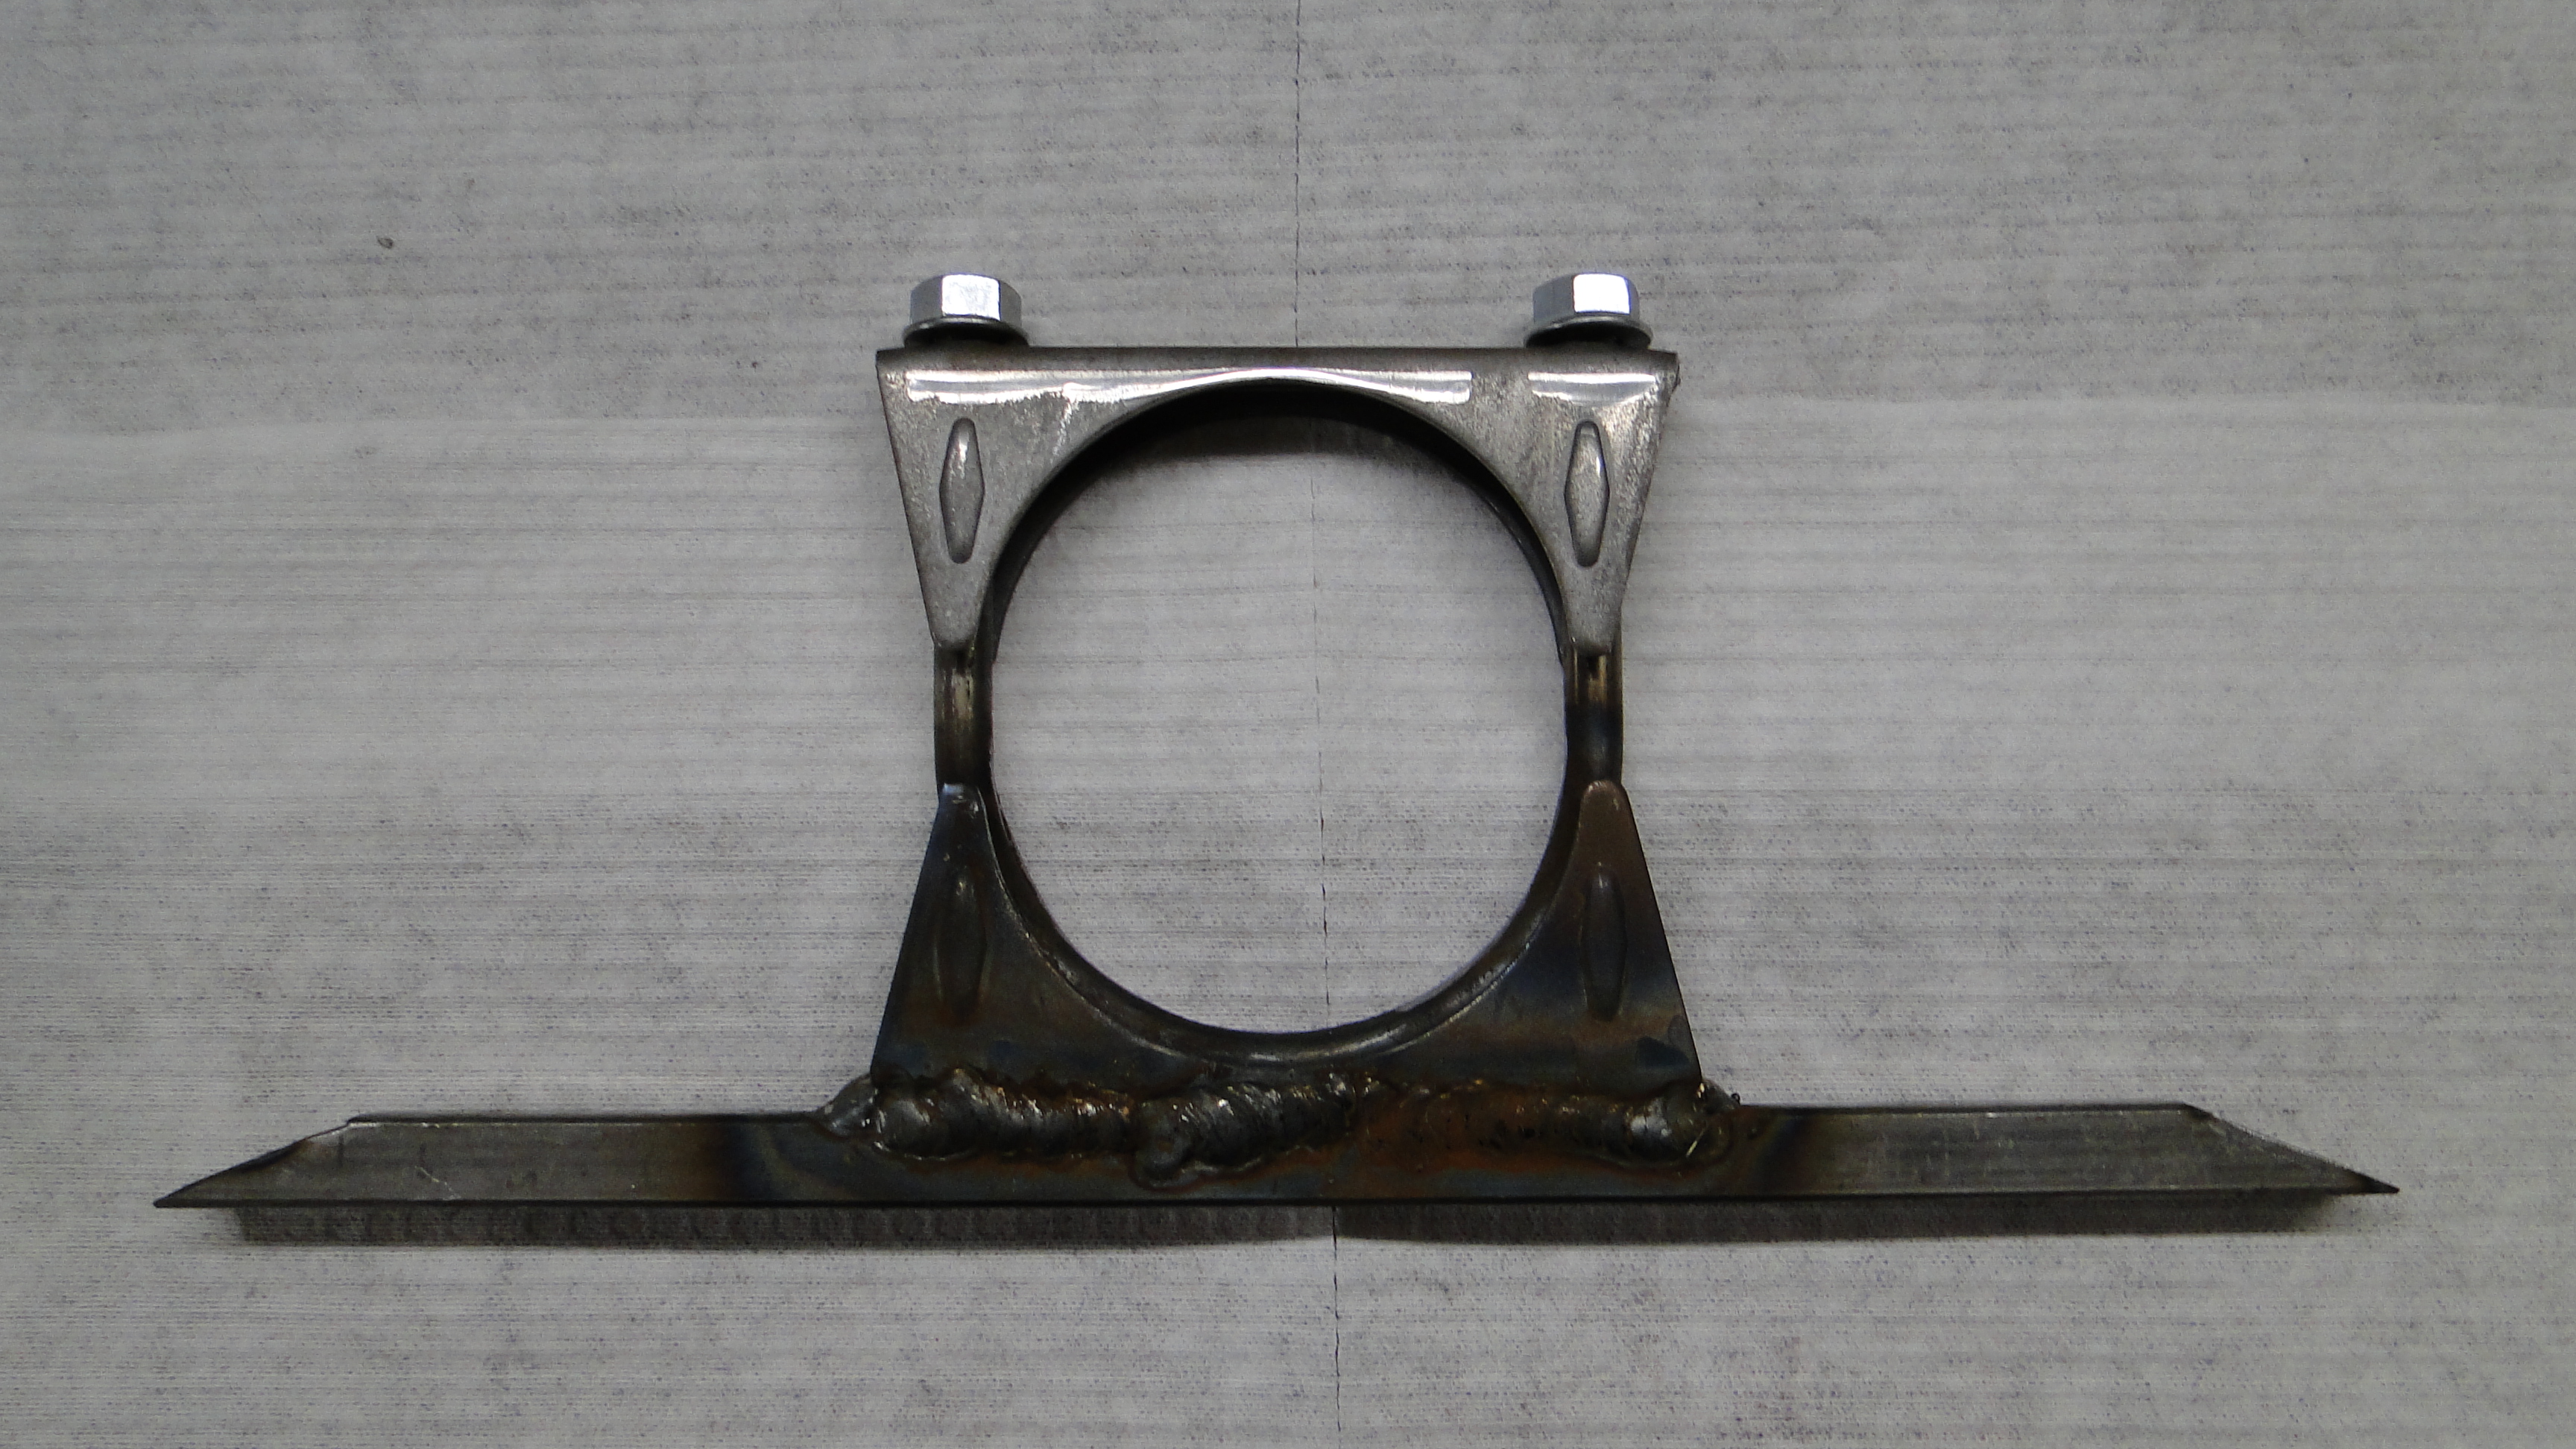
So I got to work, and the first layer of steel with half inch square tubing welded in such a way that the air can flow though it. See first photo Next I needed a way to mount the shield between the pipe and the brake
booster. See second photo. I used two exhaust clamps and welded them to a piece of square tubing and now I have a mounting bracket. Then I attached the mounting
brackets to the shield, and were ready to go.
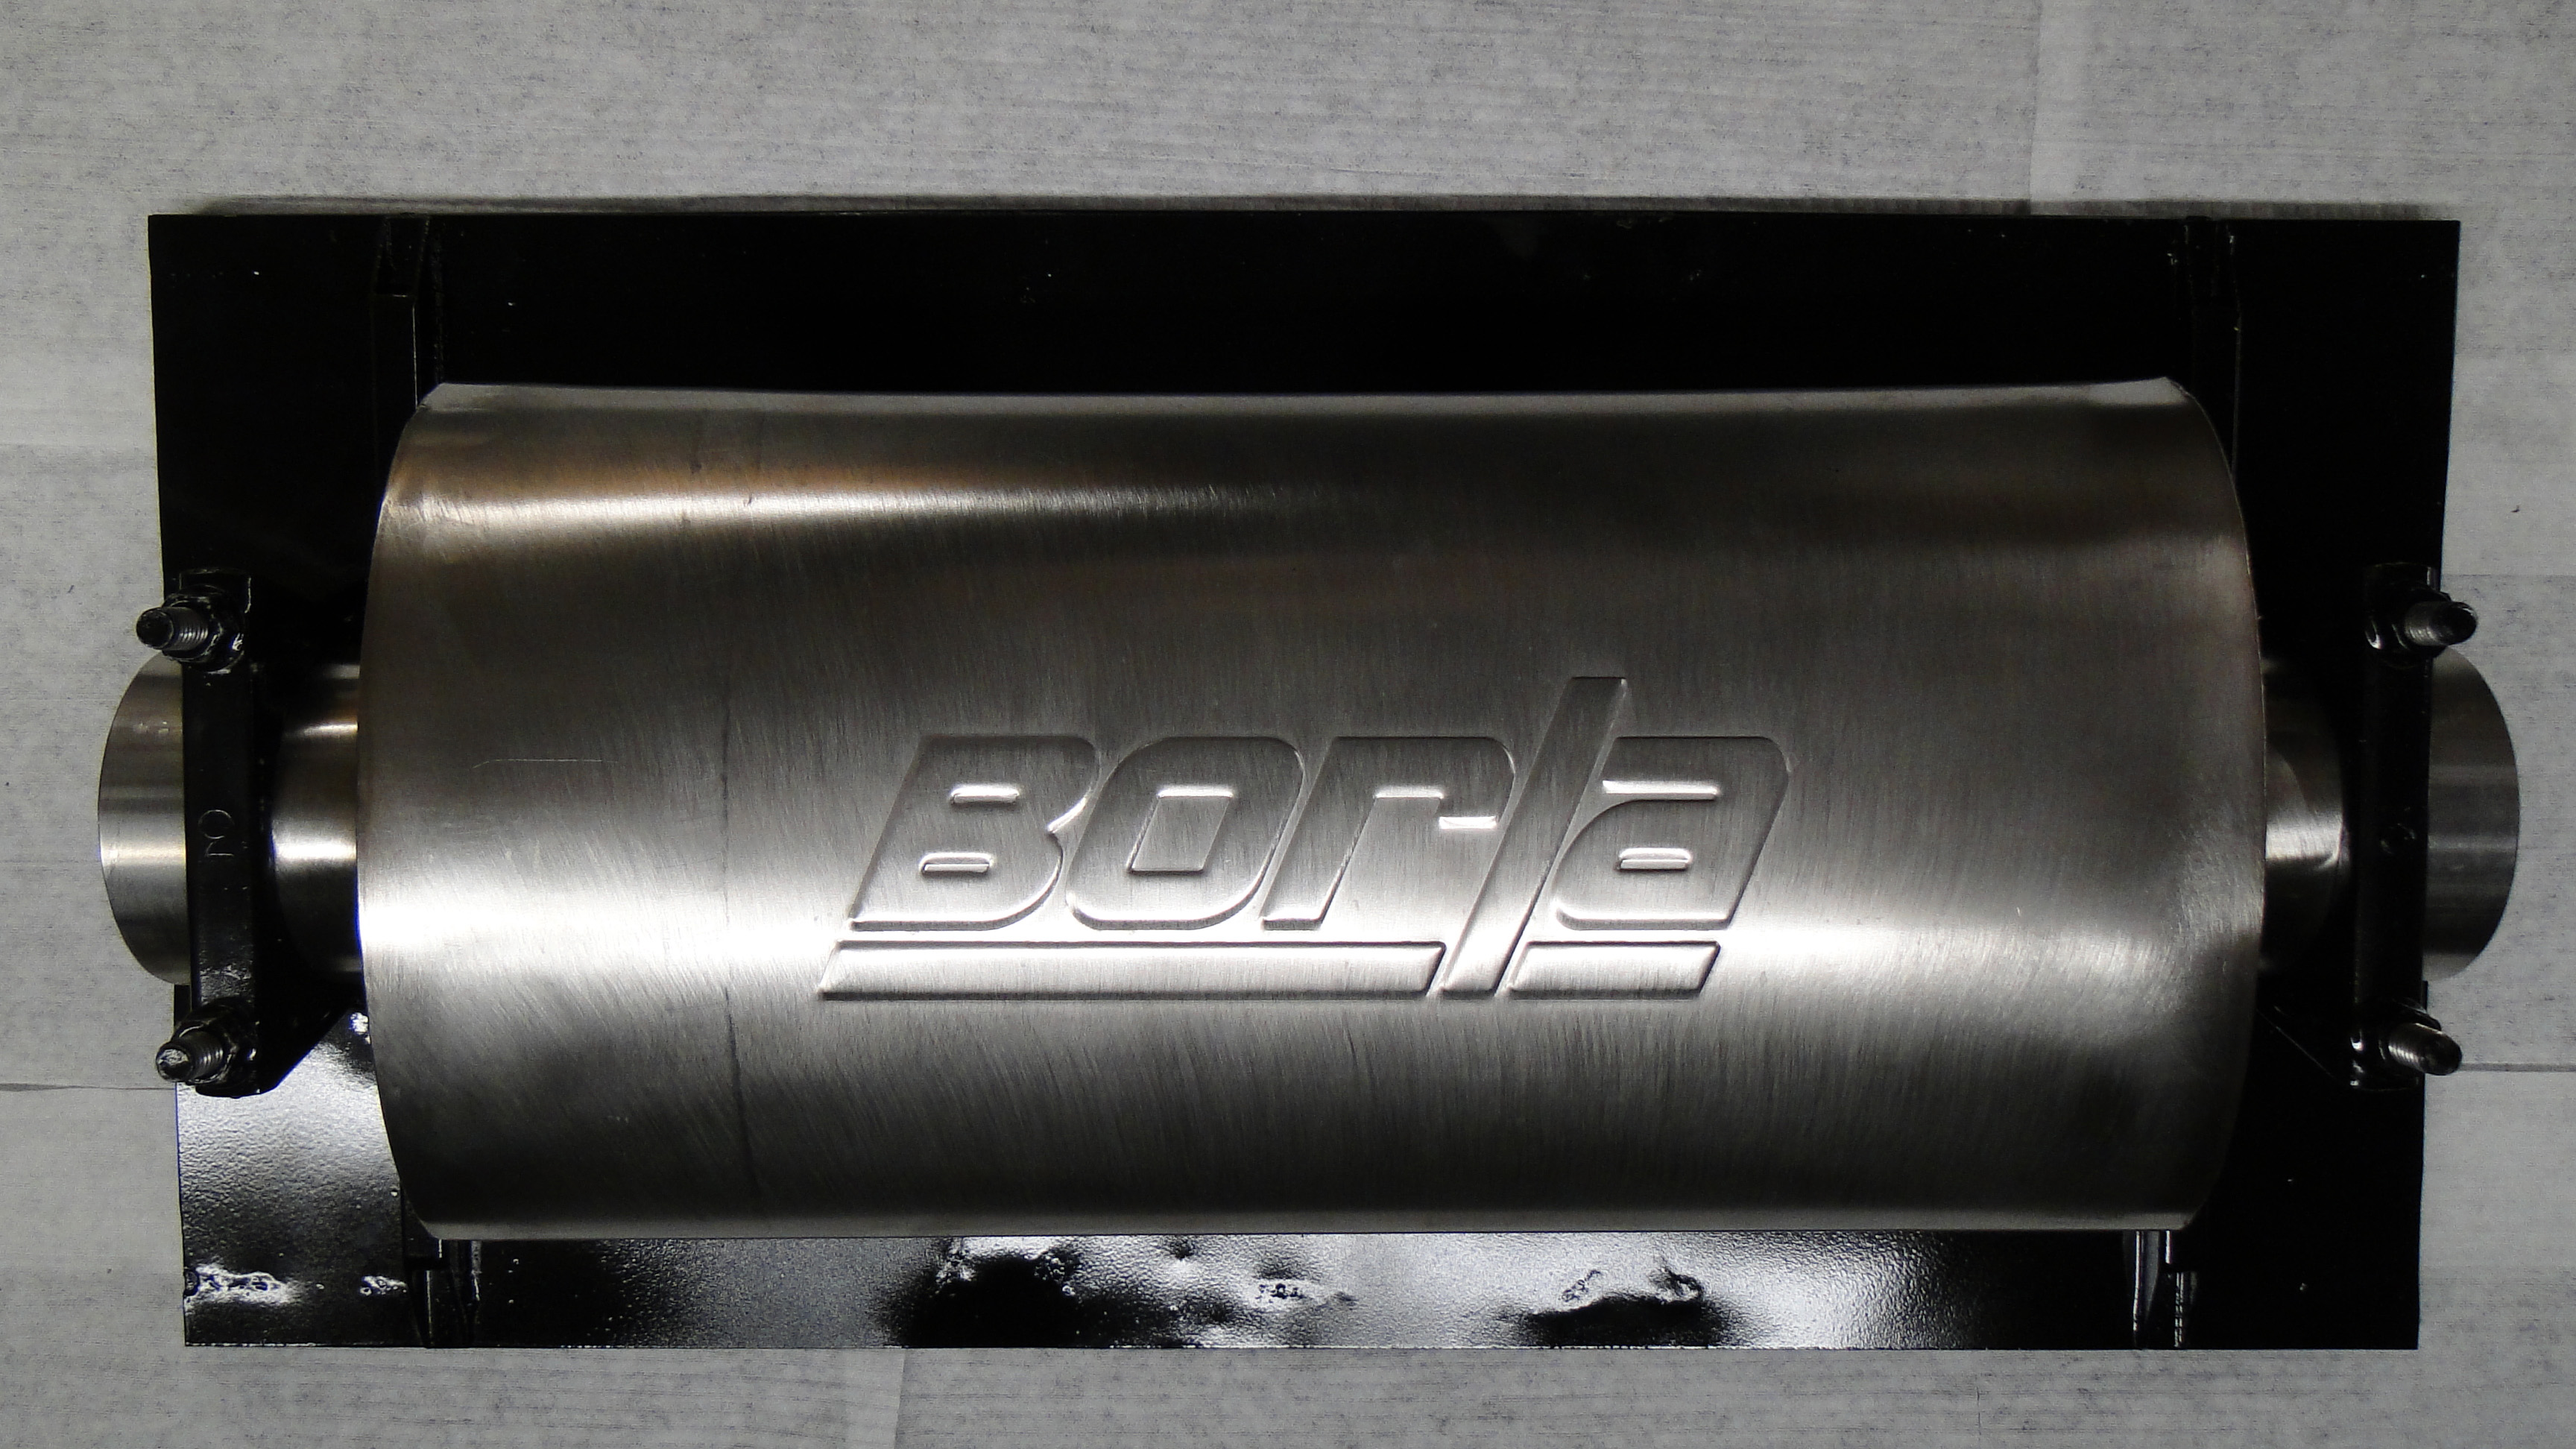
I was thinking the mufflers on this car are just to loud for me, maybe I am getting older now, but its hard to hear the radio at times. I wanted
something quieter with good performance. I called Borla tech support and told them my situation. They
recommended I purchase the XR1 Sportsman Stainless steel muffler, I trusted them because their supposed to be one of the best
performance
exhausts made.
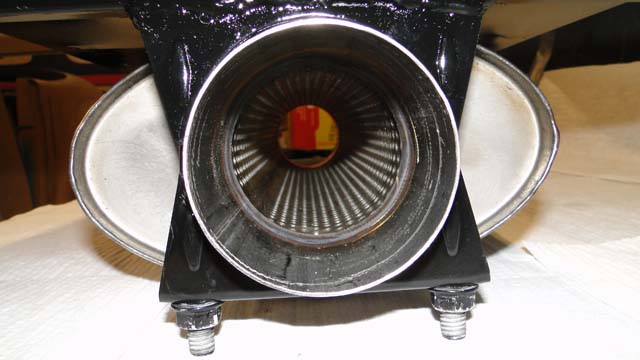
I ordered two mufflers that only comes in a 3 inch pipe of course, and now I need to make the 2.1/5 inch pipe fit in to the 3 inch
muffler then back to a 2.1/5 inch pipe again. To my surprise the
muffler is straight though with no baffles, and I was told it would be quieter then what I already have. We will see, I mean hear, whatever!

Click any picture to enlarge.
Windshield Trim/Frame Part 2
I received the windshield frame back from the chrome shop before spring as promised, and
installation was straight forward. You can purchase reproduction clips to hide the window shield frame seams. So I thought I will buy one pair of clips to hide the seams and the second pair of clips to balance the windshield out. See photo. If I say so my self the windshield looks great.

Click
any picture to enlarge.
Click any picture to enlarge.
That worked just fine, however the exhaust pipe position is going to cause some braking problems. The heat raising from the muffler is going to affect the brake booster. When I talked to Jim about this, he said you need a heat shield, the heat shield needs to completely cover the muffler and you will need to have two layers of metal separated by a half inch of air space, and the shield should be able to breath end to end between the two layers of steel. Oh is that all I thought!
So I got to work, and the first layer of steel with half inch square tubing welded in such a way that the air can flow though it. See first photo Next I needed a way to mount the shield between the pipe and the brake booster. See second photo. I used two exhaust clamps and welded them to a piece of square tubing and now I have a mounting bracket. Then I attached the mounting brackets to the shield, and were ready to go.
I was thinking the mufflers on this car are just to loud for me, maybe I am getting older now, but its hard to hear the radio at times. I wanted something quieter with good performance. I called Borla tech support and told them my situation. They recommended I purchase the XR1 Sportsman Stainless steel muffler, I trusted them because their supposed to be one of the best performance exhausts made.
I ordered two mufflers that only comes in a 3 inch pipe of course, and now I need to make the 2.1/5 inch pipe fit in to the 3 inch muffler then back to a 2.1/5 inch pipe again. To my surprise the muffler is straight though with no baffles, and I was told it would be quieter then what I already have. We will see, I mean hear, whatever!

Click any picture to enlarge.
Windshield Trim/Frame Part 2
I received the windshield frame back from the chrome shop before spring as promised, and installation was straight forward. You can purchase reproduction clips to hide the window shield frame seams. So I thought I will buy one pair of clips to hide the seams and the second pair of clips to balance the windshield out. See photo. If I say so my self the windshield looks great.
The Beaver Falls Car Cruse Curse Continues and Power Brake Booster Installation Part II
Because of the daily rain this spring I have not had the opportunity to road test the new brake system yet. Confident that
absolutely nothing could go wrong. I headed out to the Beaver Falls car cruse. Everything was great for about five minutes then I started to smell
something hot and then my brake lights came on again.
At this point I turned the car around and headed for
home, but by the time I made it to my gravel driveway one of my front wheels
locked up, and the car would not move. I went to my garage, grabbed
a end wrench to bleed the excess brake pressure from the front caliper.
Then I was able to get the car to the garage.
I made a few adjustments and hit the road again, this time I made it all the way to the Beaver Falls Car Cruse entrance and you guessed it, my brake lights came on again. I turned around and made it half way home, then I had to pull off the road to release the brake pressure again.
Luckily I did bring a end wench just in case. I got the car home and parked it, then I jumped in the Austin Healey and headed to the car show.
June
Power Brake Booster Installation part III
The next day I was not sure what my brake problem might be, so I call Jim and asked his opinion. He said how much play do you have in the foot pedal. I proudly responded none, its nice and snug.
That's the problem when the brakes heat up they expand and that causes the pedal to apply the brakes. I thought simple fix right? Wait not so fast, I went to adjust the pedal length so it would have a little extra play, I then
realized the adjuster could not turn in any further. I said it before and I will say it again, nothing is easy with this car. The pedal rod had to be removed, re-drilled and taped to increase its movement, this will
allow me to adjust the pedal rod so it will also have some extra play. Ok, now
that's all done we should be good to go right?
You guessed it after about a 15 minute in to my test drive my brakes came on and locked up again. At this point I was lets just say not happy to put it mildly. I called Jim and asked ok
what's next? Jim said there is a shaft between the Booster and the Master
cylinder that needs adjusted, you need to make it shorter to allow more play between the Booster and Master
cylinder. I thought cool how do I do that? Jim said you have to remove the Booster and the Master
cylinder from the car then take the two apart to adjust the shaft.
HOLD ON! You mean I have to remove the
exhaust pipe, muffler, heat shield, brake lines, disconnect the brake pedal,
vacuum line, remove the interior seat, floor cover, Booster and Master cylinder, then make the adjustment, and after all that I have to put it all back on the car. Oh is that all! Jim realized at this point I was becoming
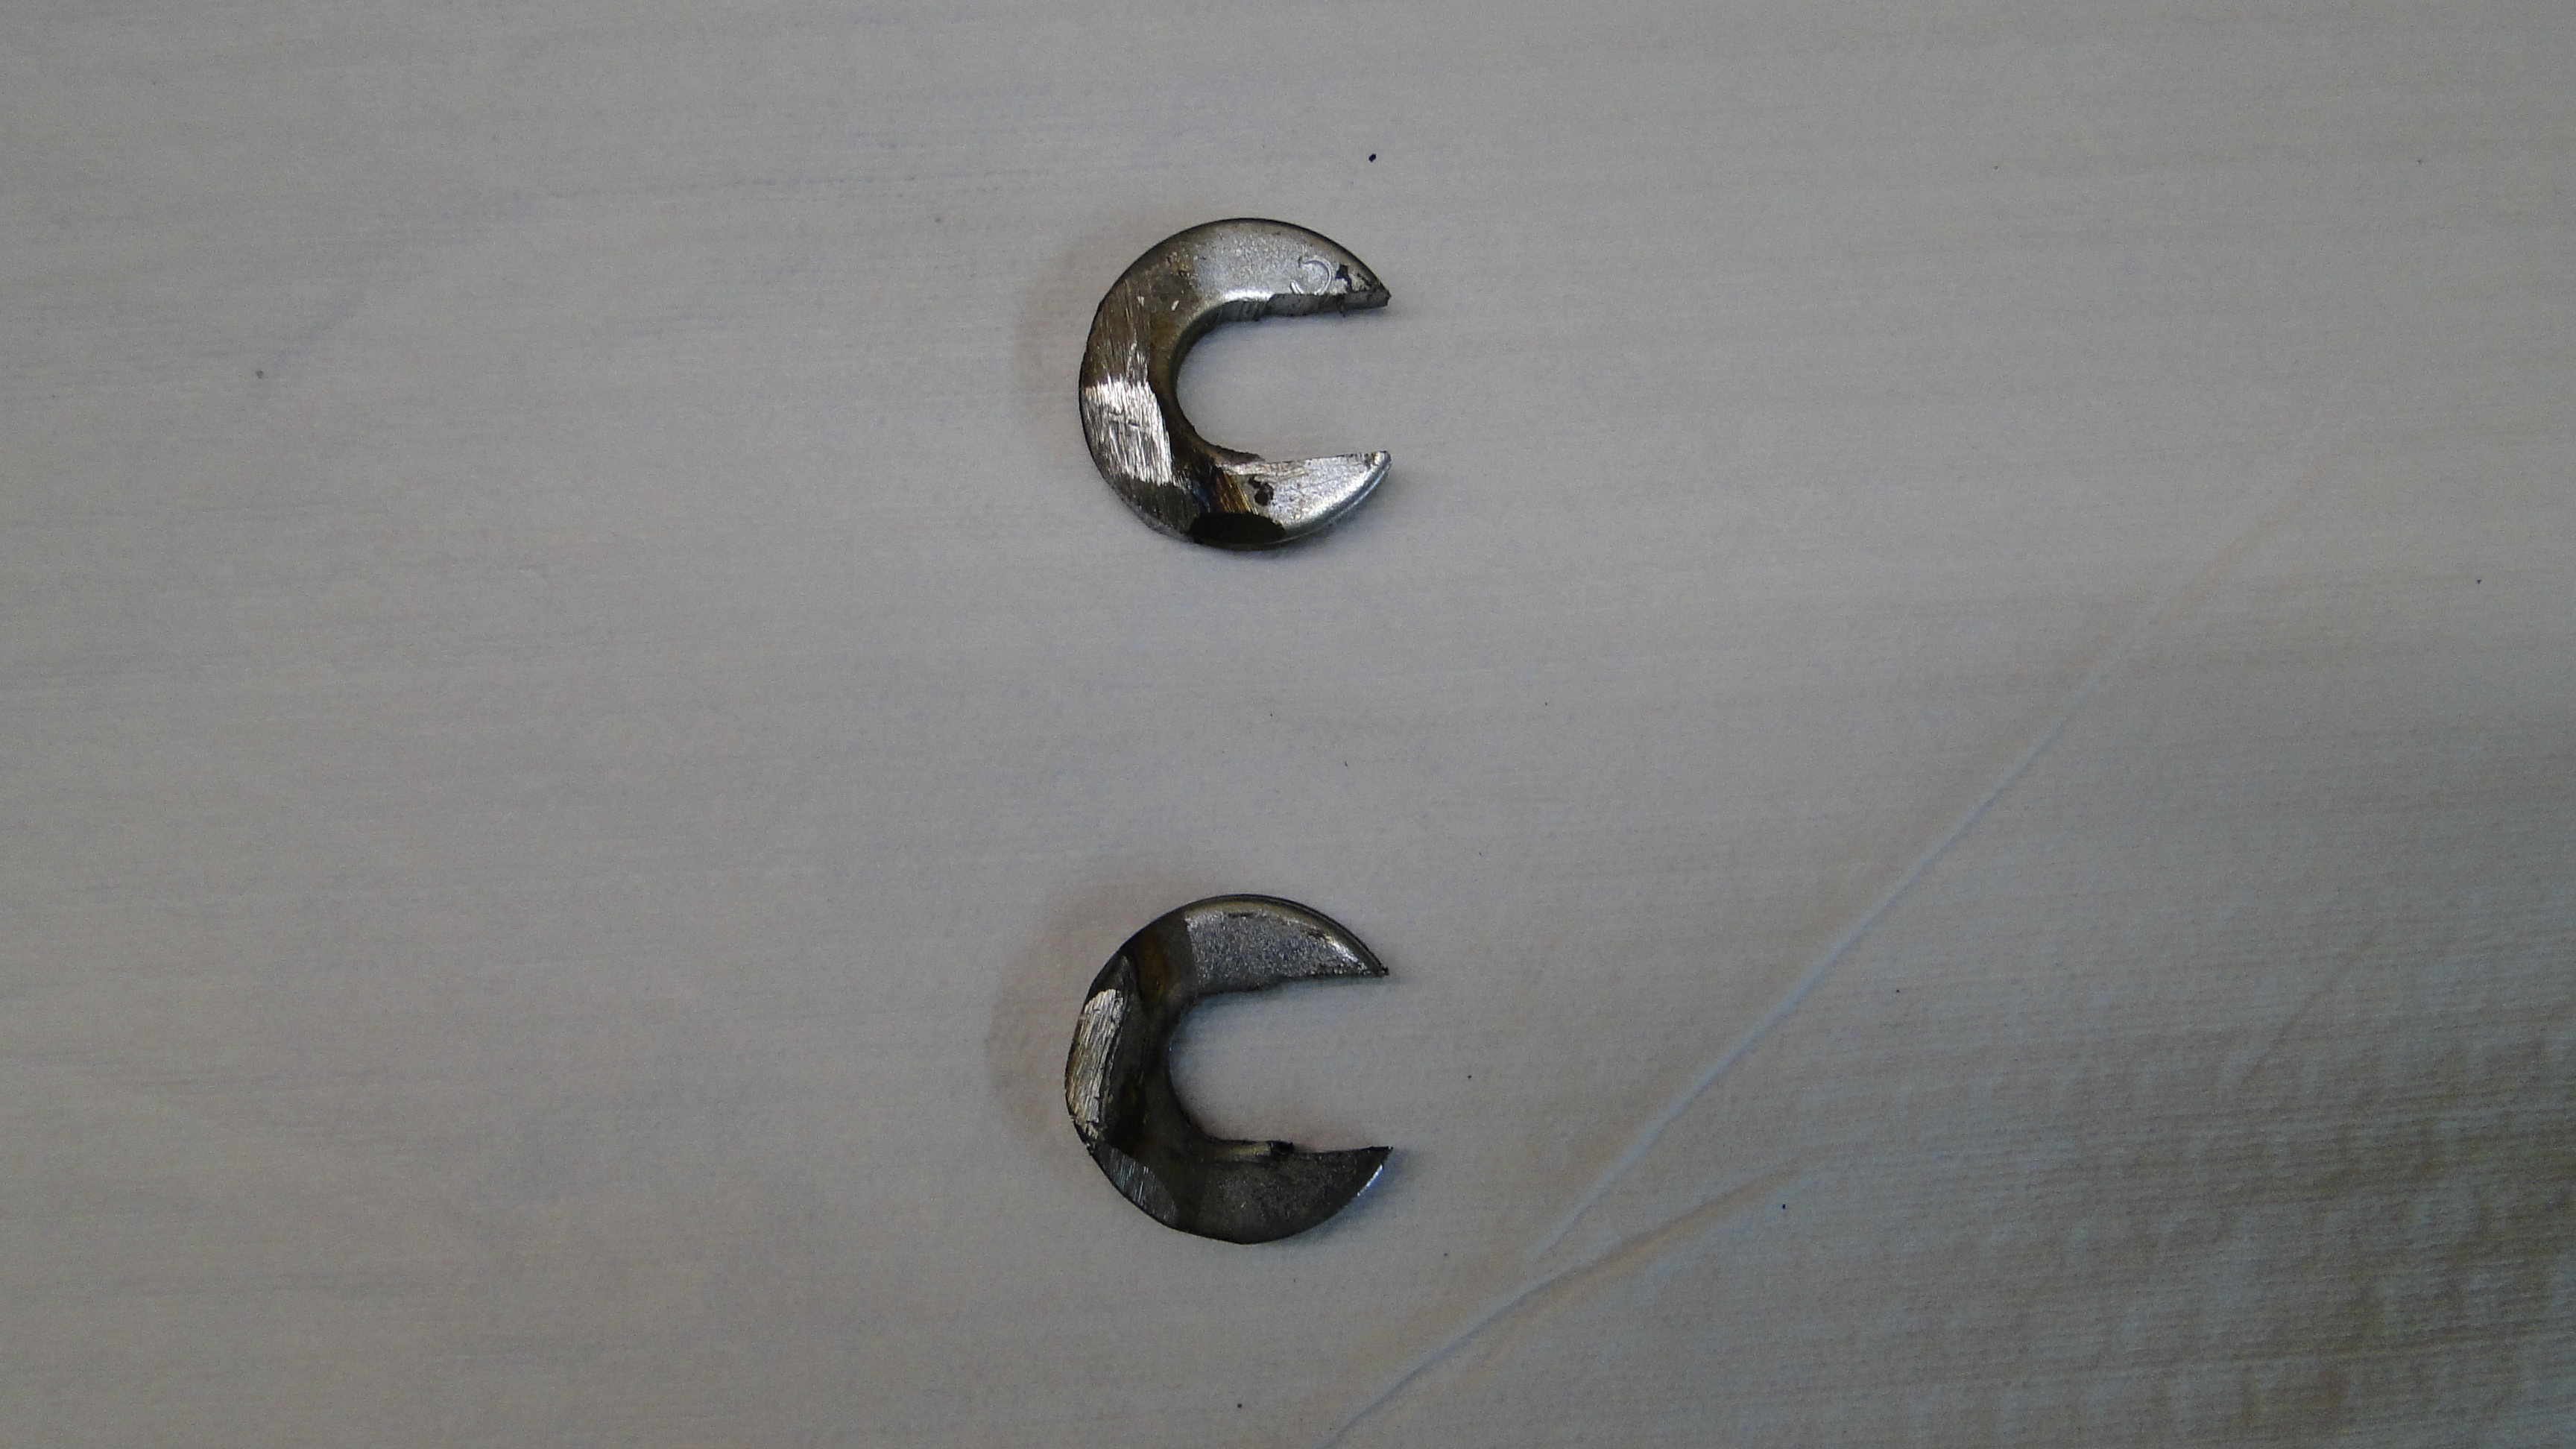
unglued. Jim thought about it and said well there was this one time when I was in a race and I had this same problem. Try this take two sets of two washers and weld them together then grind off all the ruff edges. Cut the washers so they are in the shape of a C.
Loosen the Master cylinder from the Booster, and slide the both sets of washers over the bolts in between them. Then re-tighten the nuts and you should be good to go. I think Jim just likes playing with my head,
and I am like we could have started with
that plan first, I just think he just wanted to see me
squirm. I did just what he said and the brakes are fine now.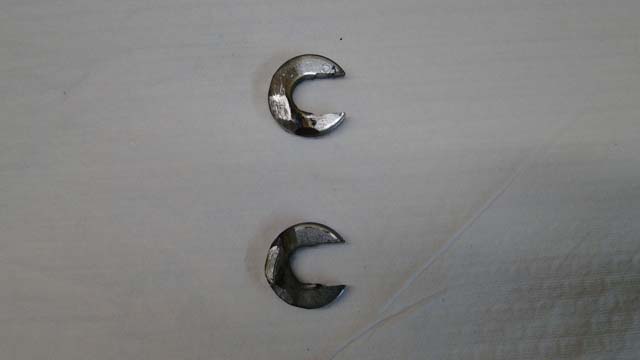
Click
any picture to enlarge.
July
and August
Date Night To
be honest I was just about to create a celebration post for this car.
It was going to state that she was mechanically done and except for the final paint I
was good to go, and its on to the next car project.
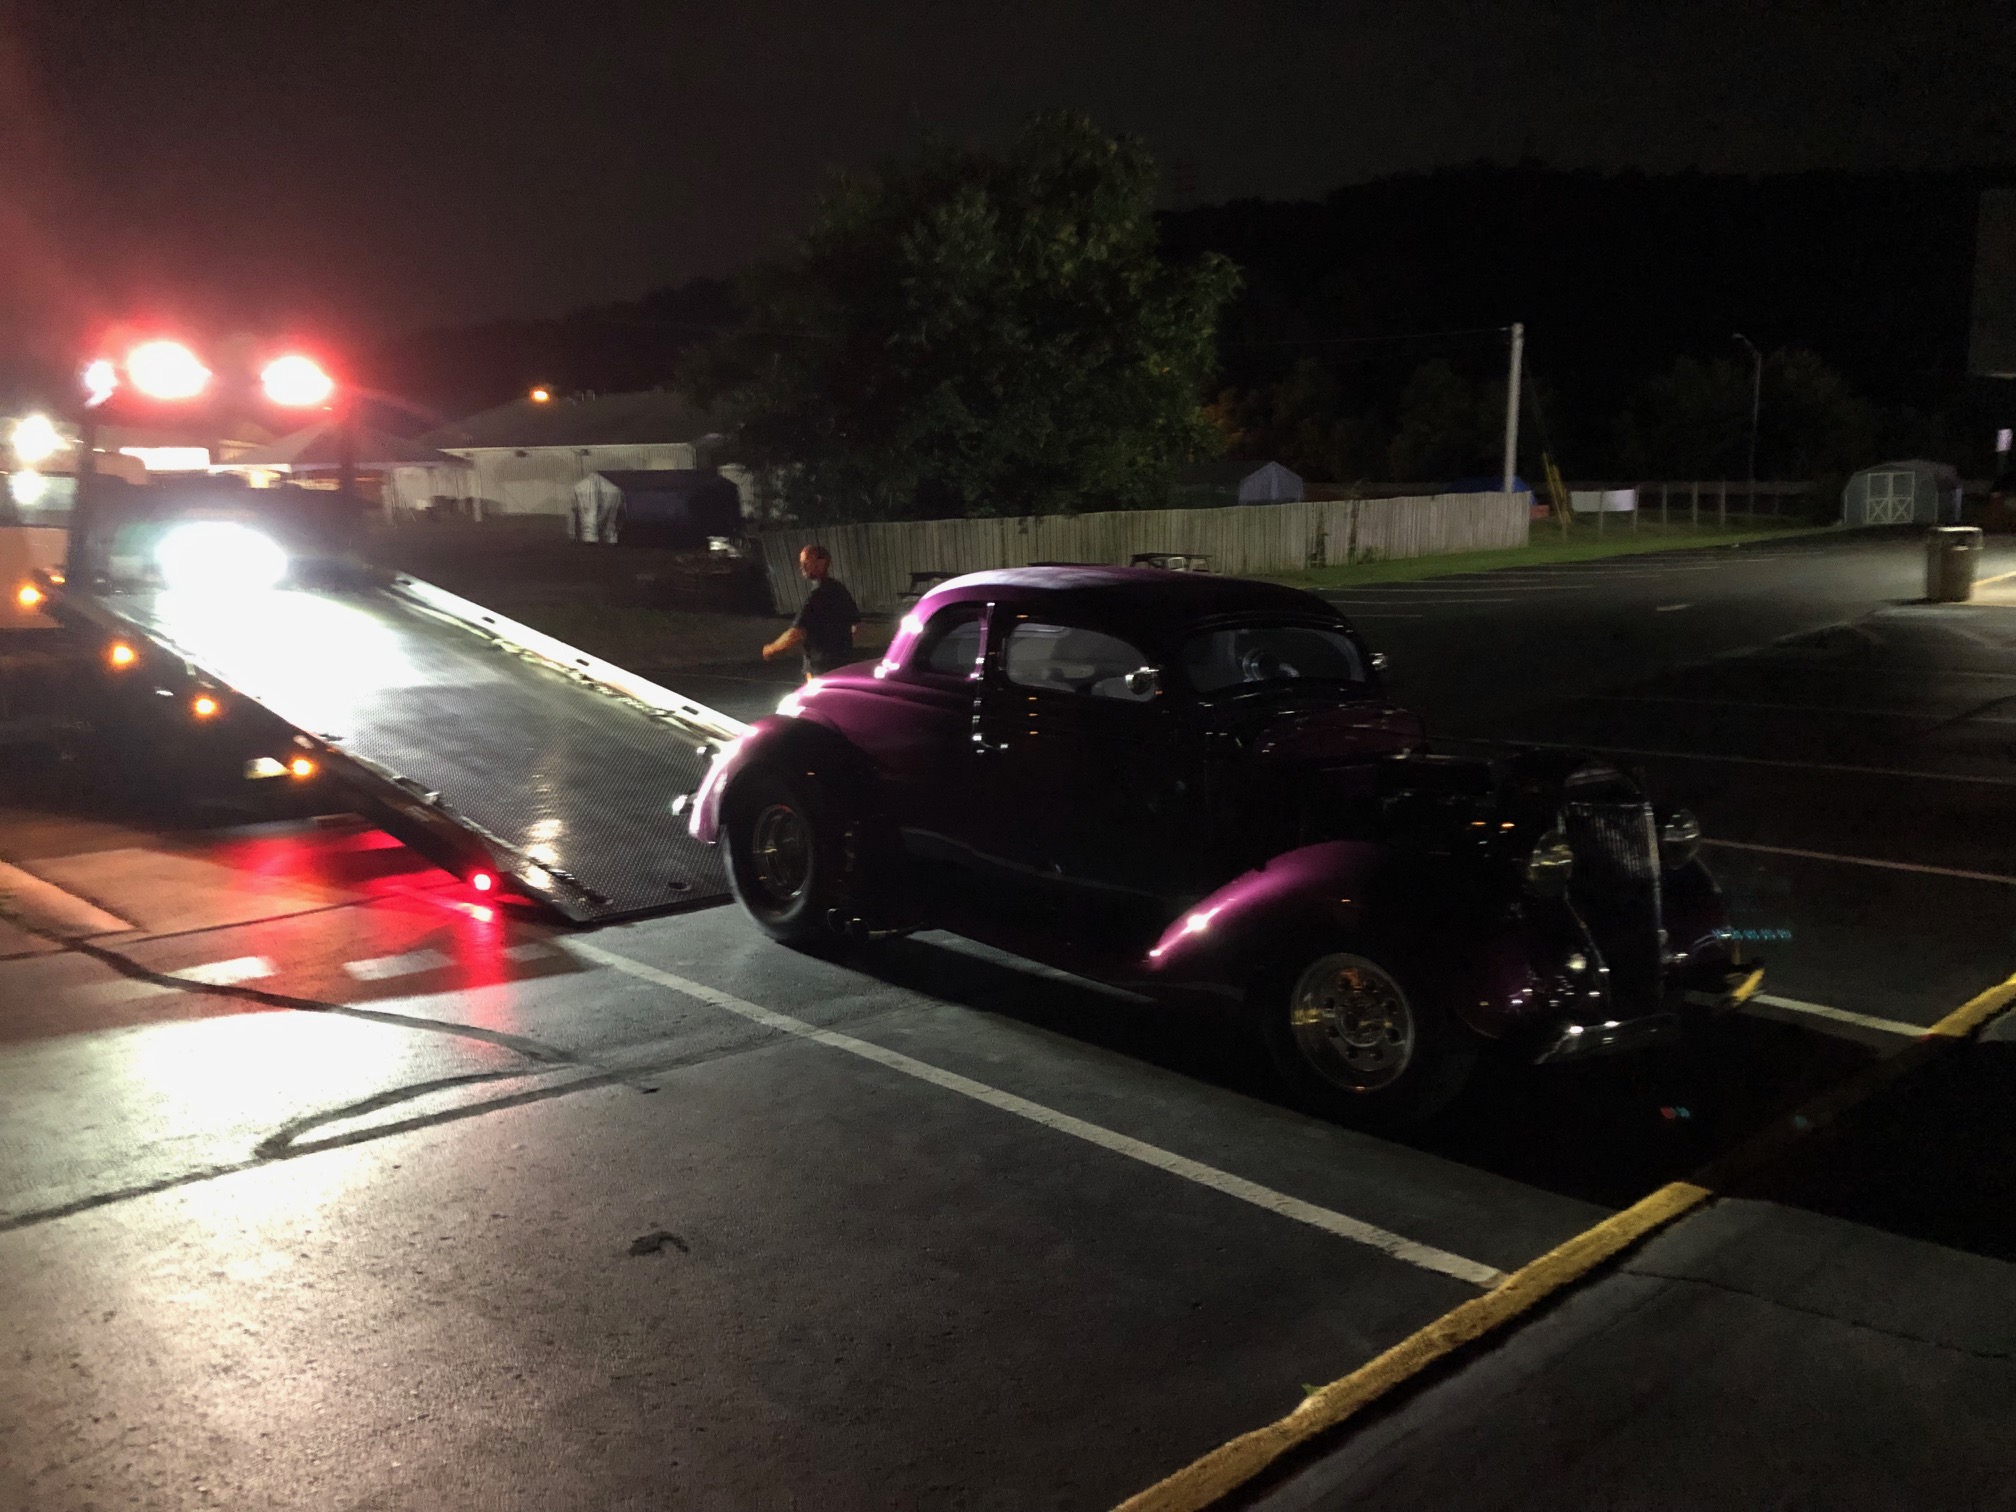
Then this
happened on date night, some of you
might recognize the local ice cream shop parking lot, but its at 1:00am.
The problem was I did not have any spark, so were off for another tow
truck ride home.
The really irritating thing was early the next morning when I went to see what
the problem might be, she started right up.
However something was off, and she did not idle or run right.

Click picture to enlarge.
MSD Ignition replacement
I seemed to
have developed serious engine performance problems. The Ford had a
significant loss of power and timing problems IE:back firing that the car had
never done before.
When I checked the engine timing it was all over the place IE: I
set the timing for 18 degrees at idle and it would fluctuate from 16 to -8
degrees. Well that's not going to work! I decided that
the current MSD ignition that was of a unknown age, had to go. I
replace the MSD computer, distributer, coil, and wires. Now the
timing was dead on, and it stayed where I set it, like its suppose too.
Click any picture to enlarge.
Engine Upgrade
I still had performance problems and a backfire on
acceleration. I was done playing with this, so we were off to see
Jim at Boffo Motors. After Jim looked at the Ford and tried to perform
his magic, and he gave me some very bad news. Jim informed me that he
believed at least one or maybe two of my camshaft lobes were deteriorating and
I
will have to replace the camshaft. Yea this is just great right? Its the
middle of summer and the Ford is down.
In Normal cars this repair is not a big ordeal, but in my Ford
just to
get at the front of the engine to replace the camshaft. I have to
take the nose assembly, grill, and radiator totally off the car before we can even start
to work on the
engine.
So I started thinking if I have to do all this work for the
camshaft repair, lets upgrade a few things to make it worth while.
My first thought was replace the standard radiator belt fan with
3,000 CFM electric fan, so that when I go on car cruses the engine won't run hot
anymore.
Second go to a bigger cam shaft that's gives me more power,
more power is always better right?
How hard can it be to upgrade these two things?
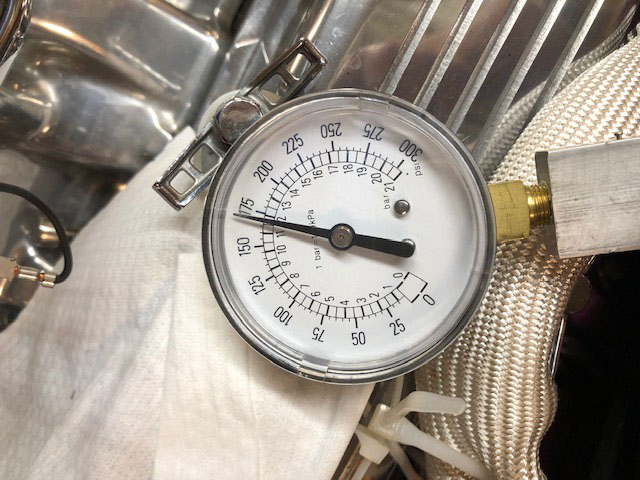
Jim asked me to do a compression test to insure the lower
engine was good to go, and the pressure ranged from 159psi to 170psi.
Now that we passed that test we were ready to continue.

Click picture to enlarge.
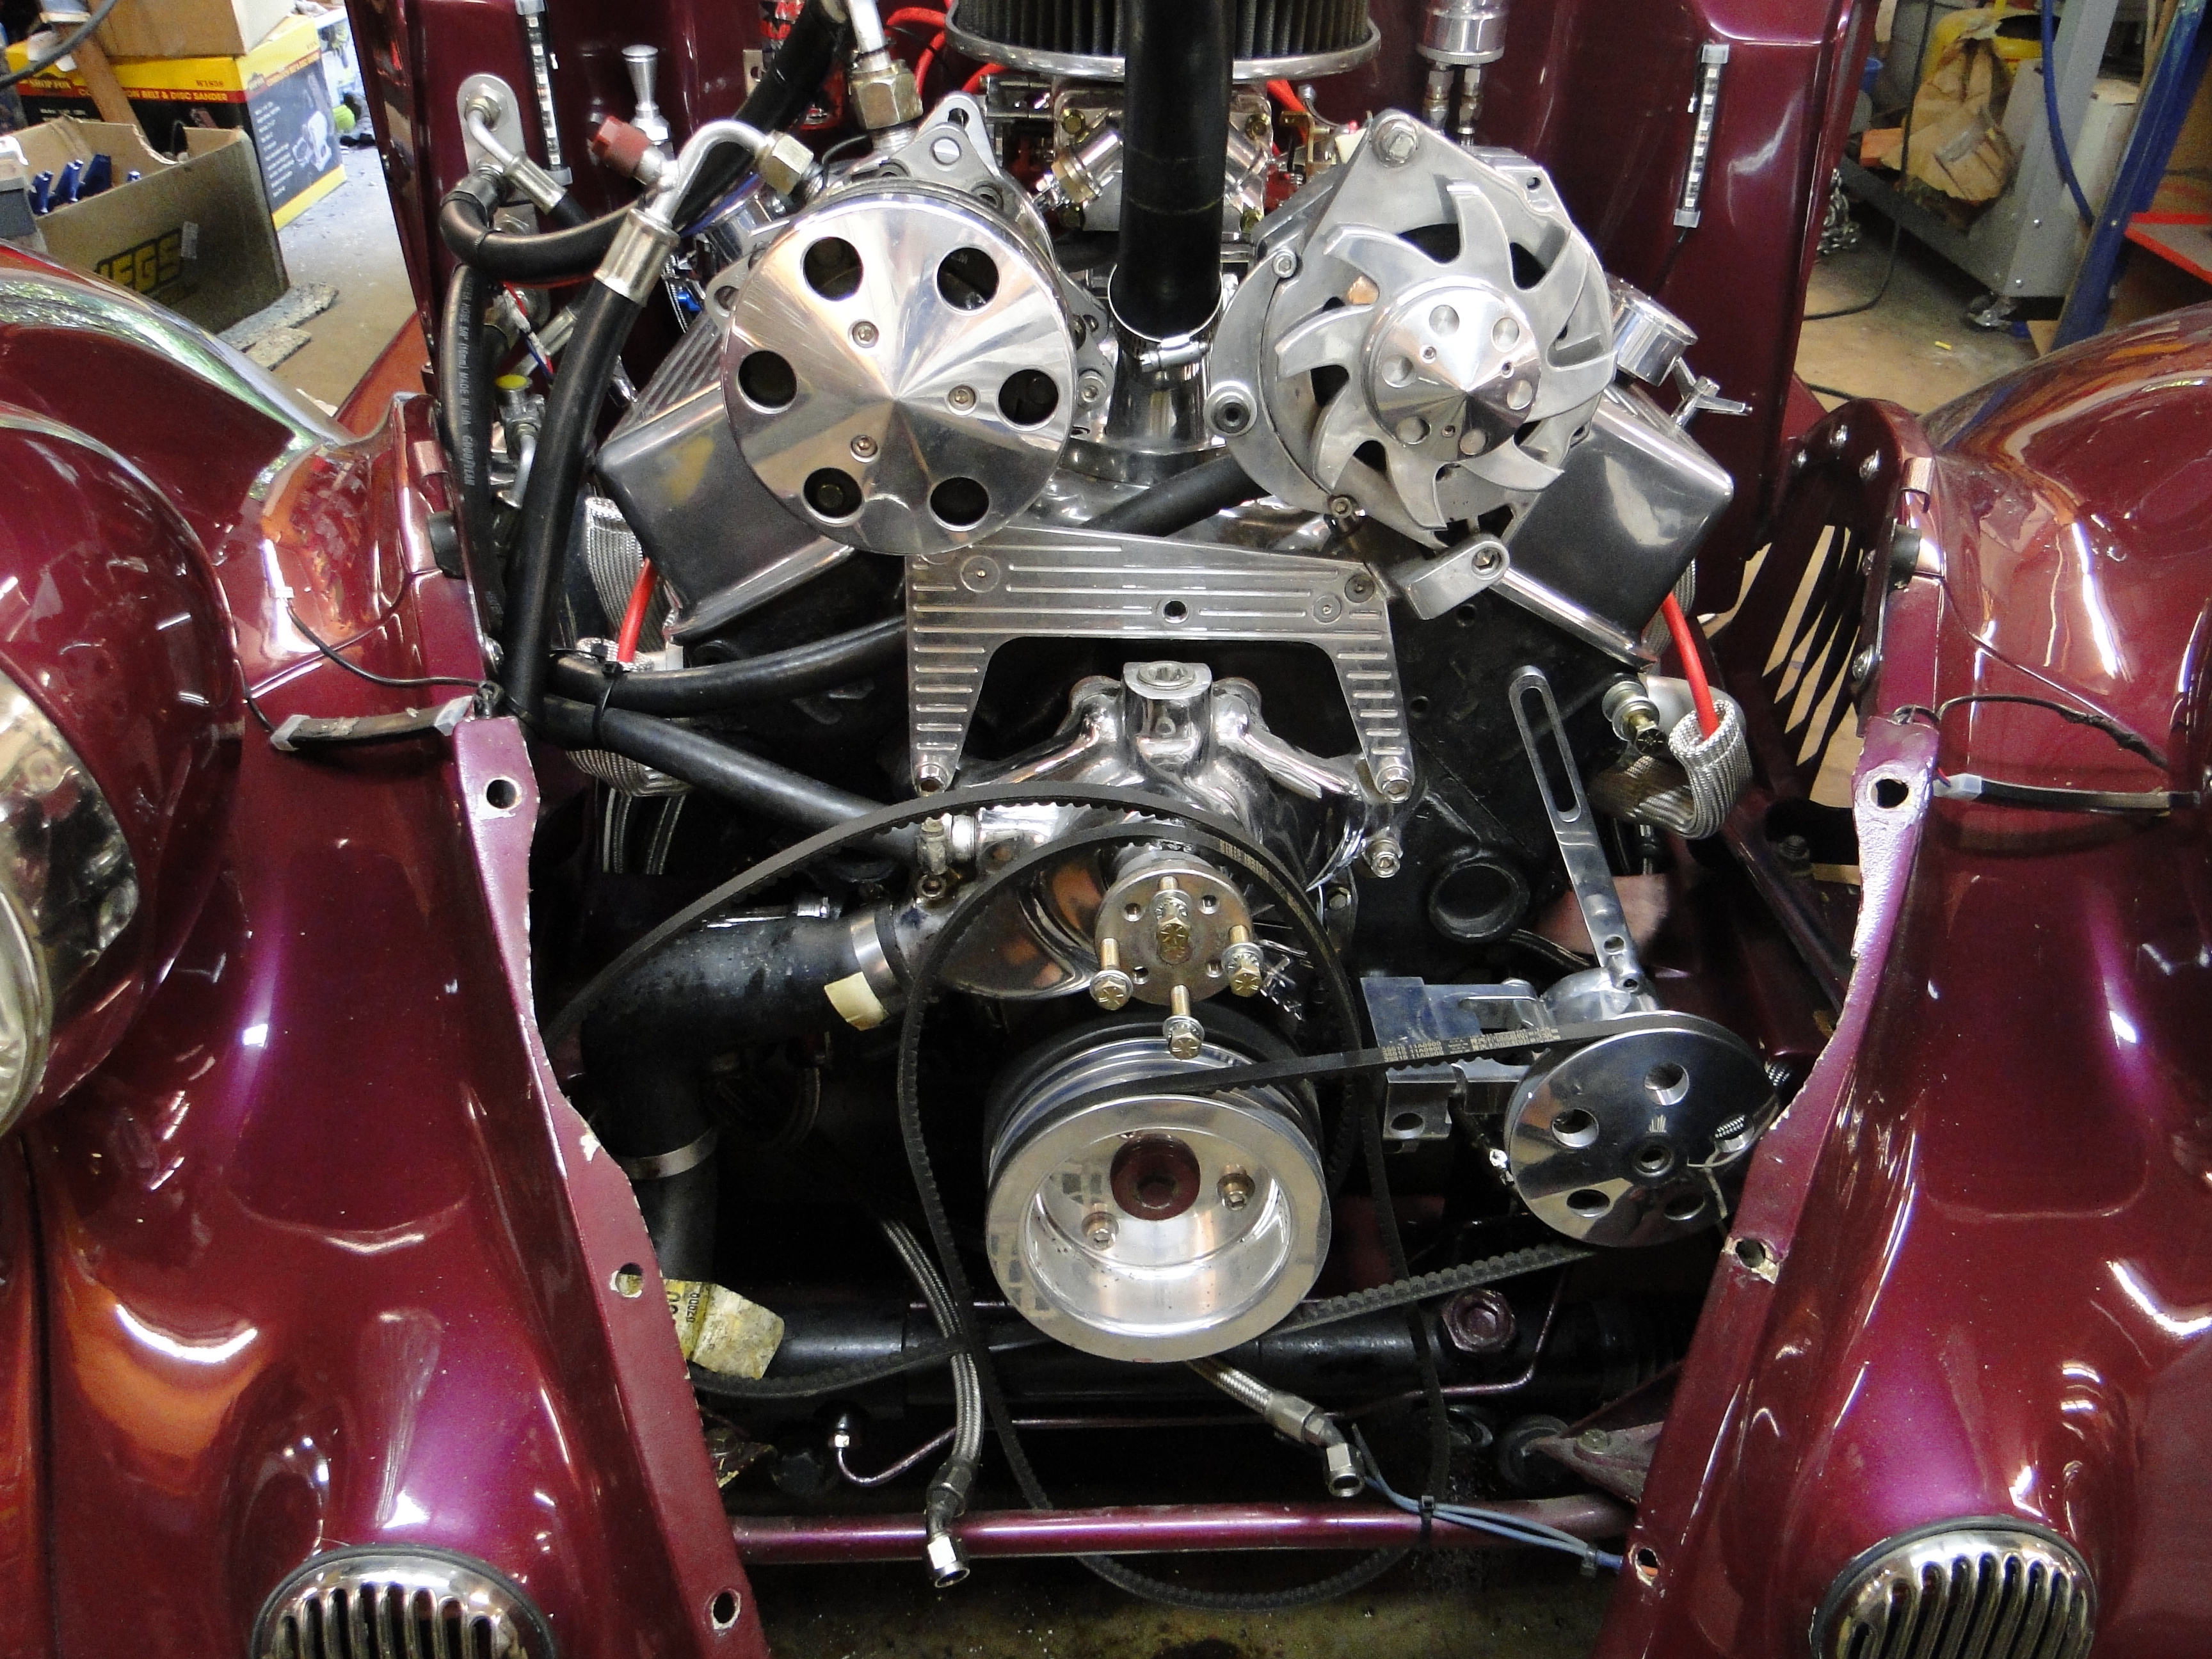
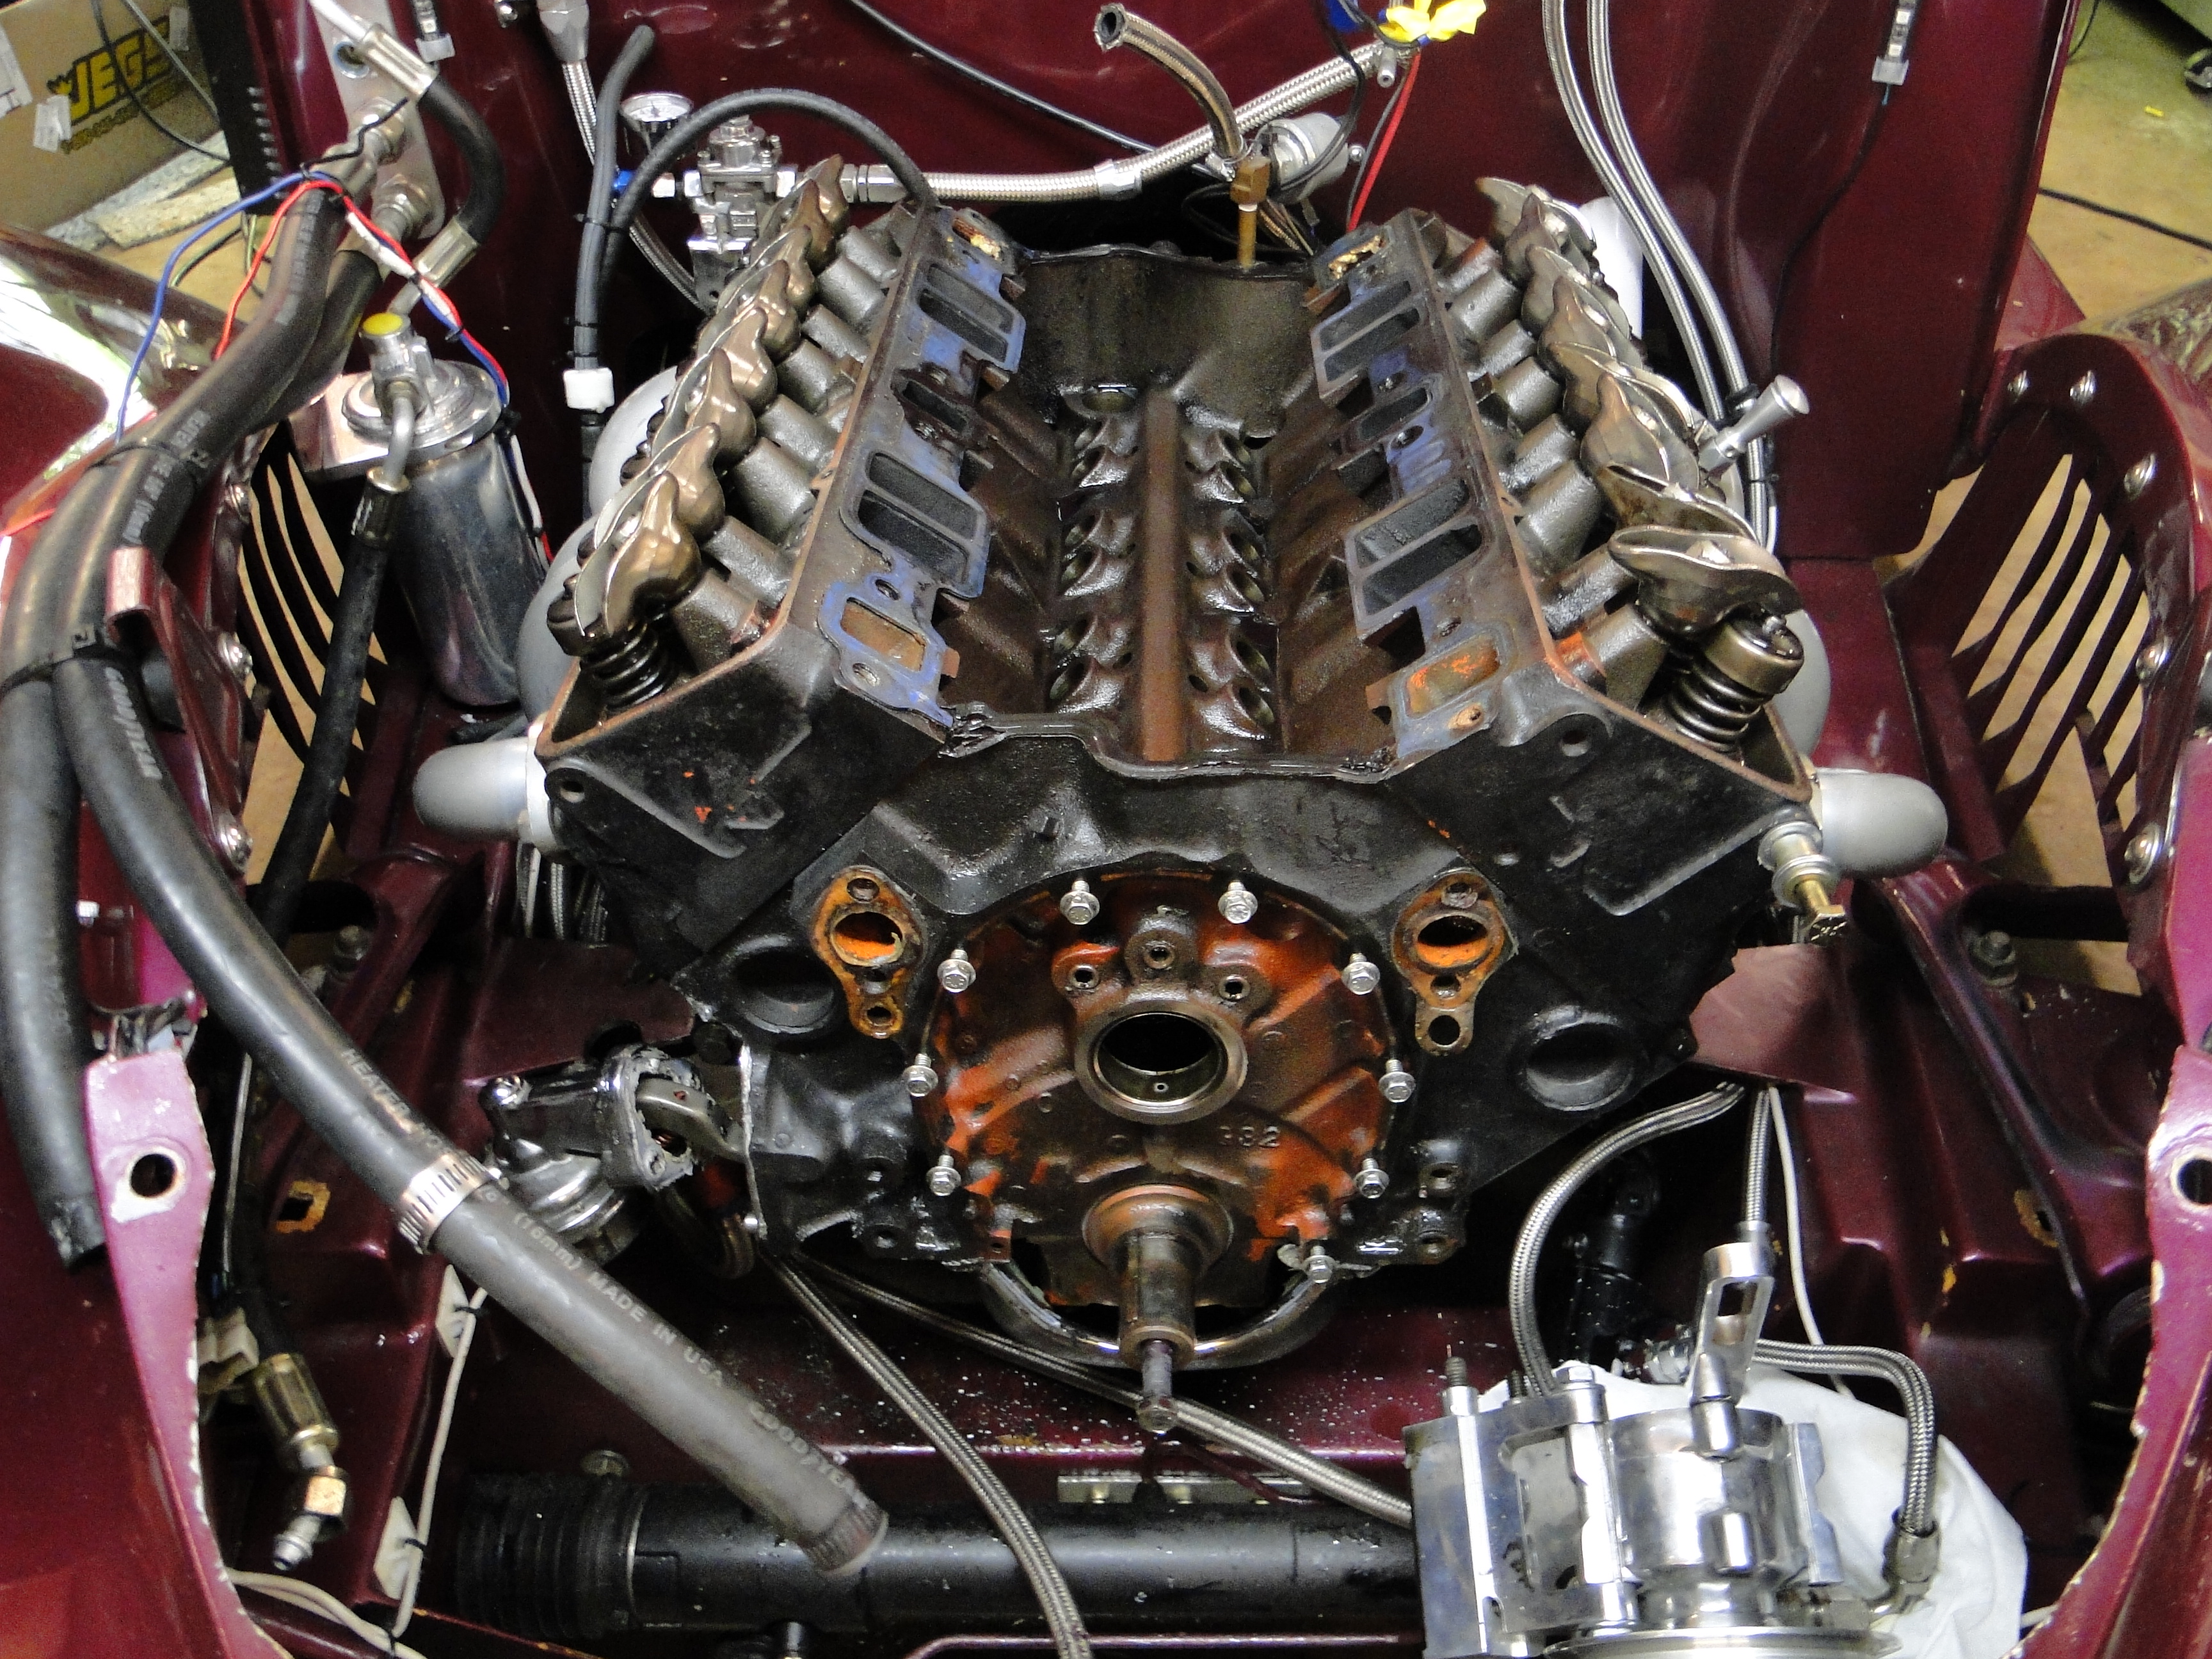
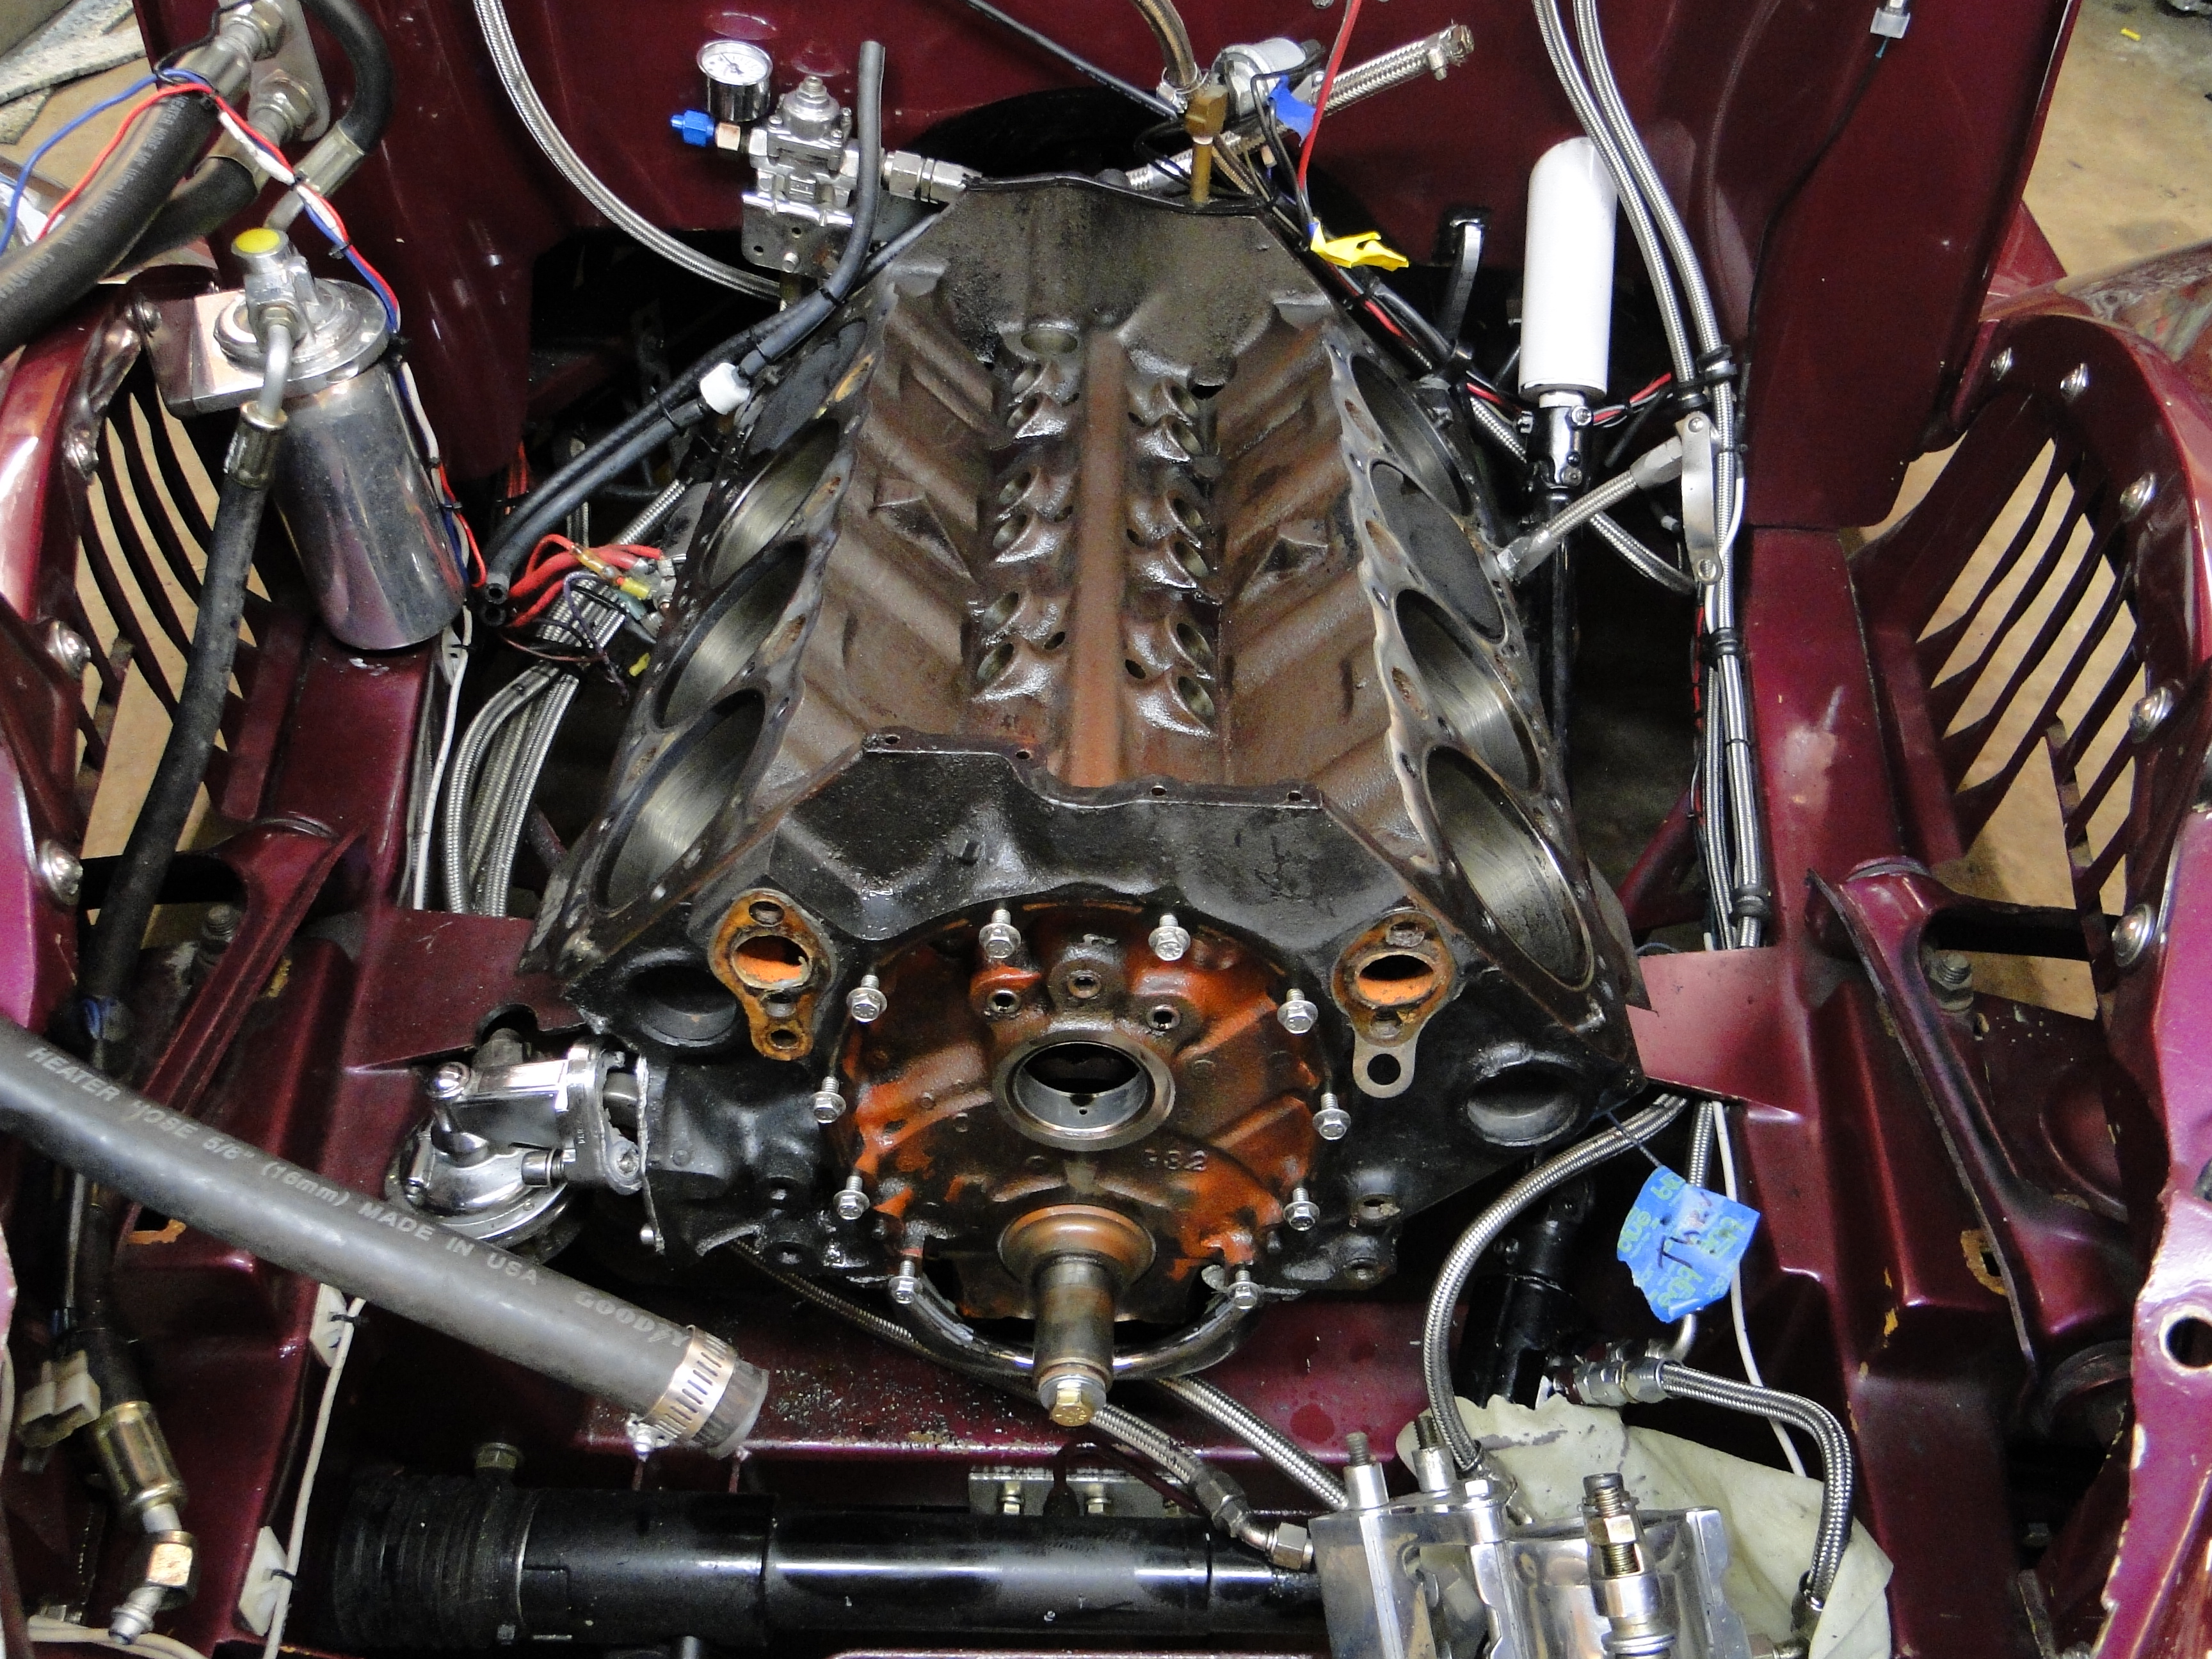
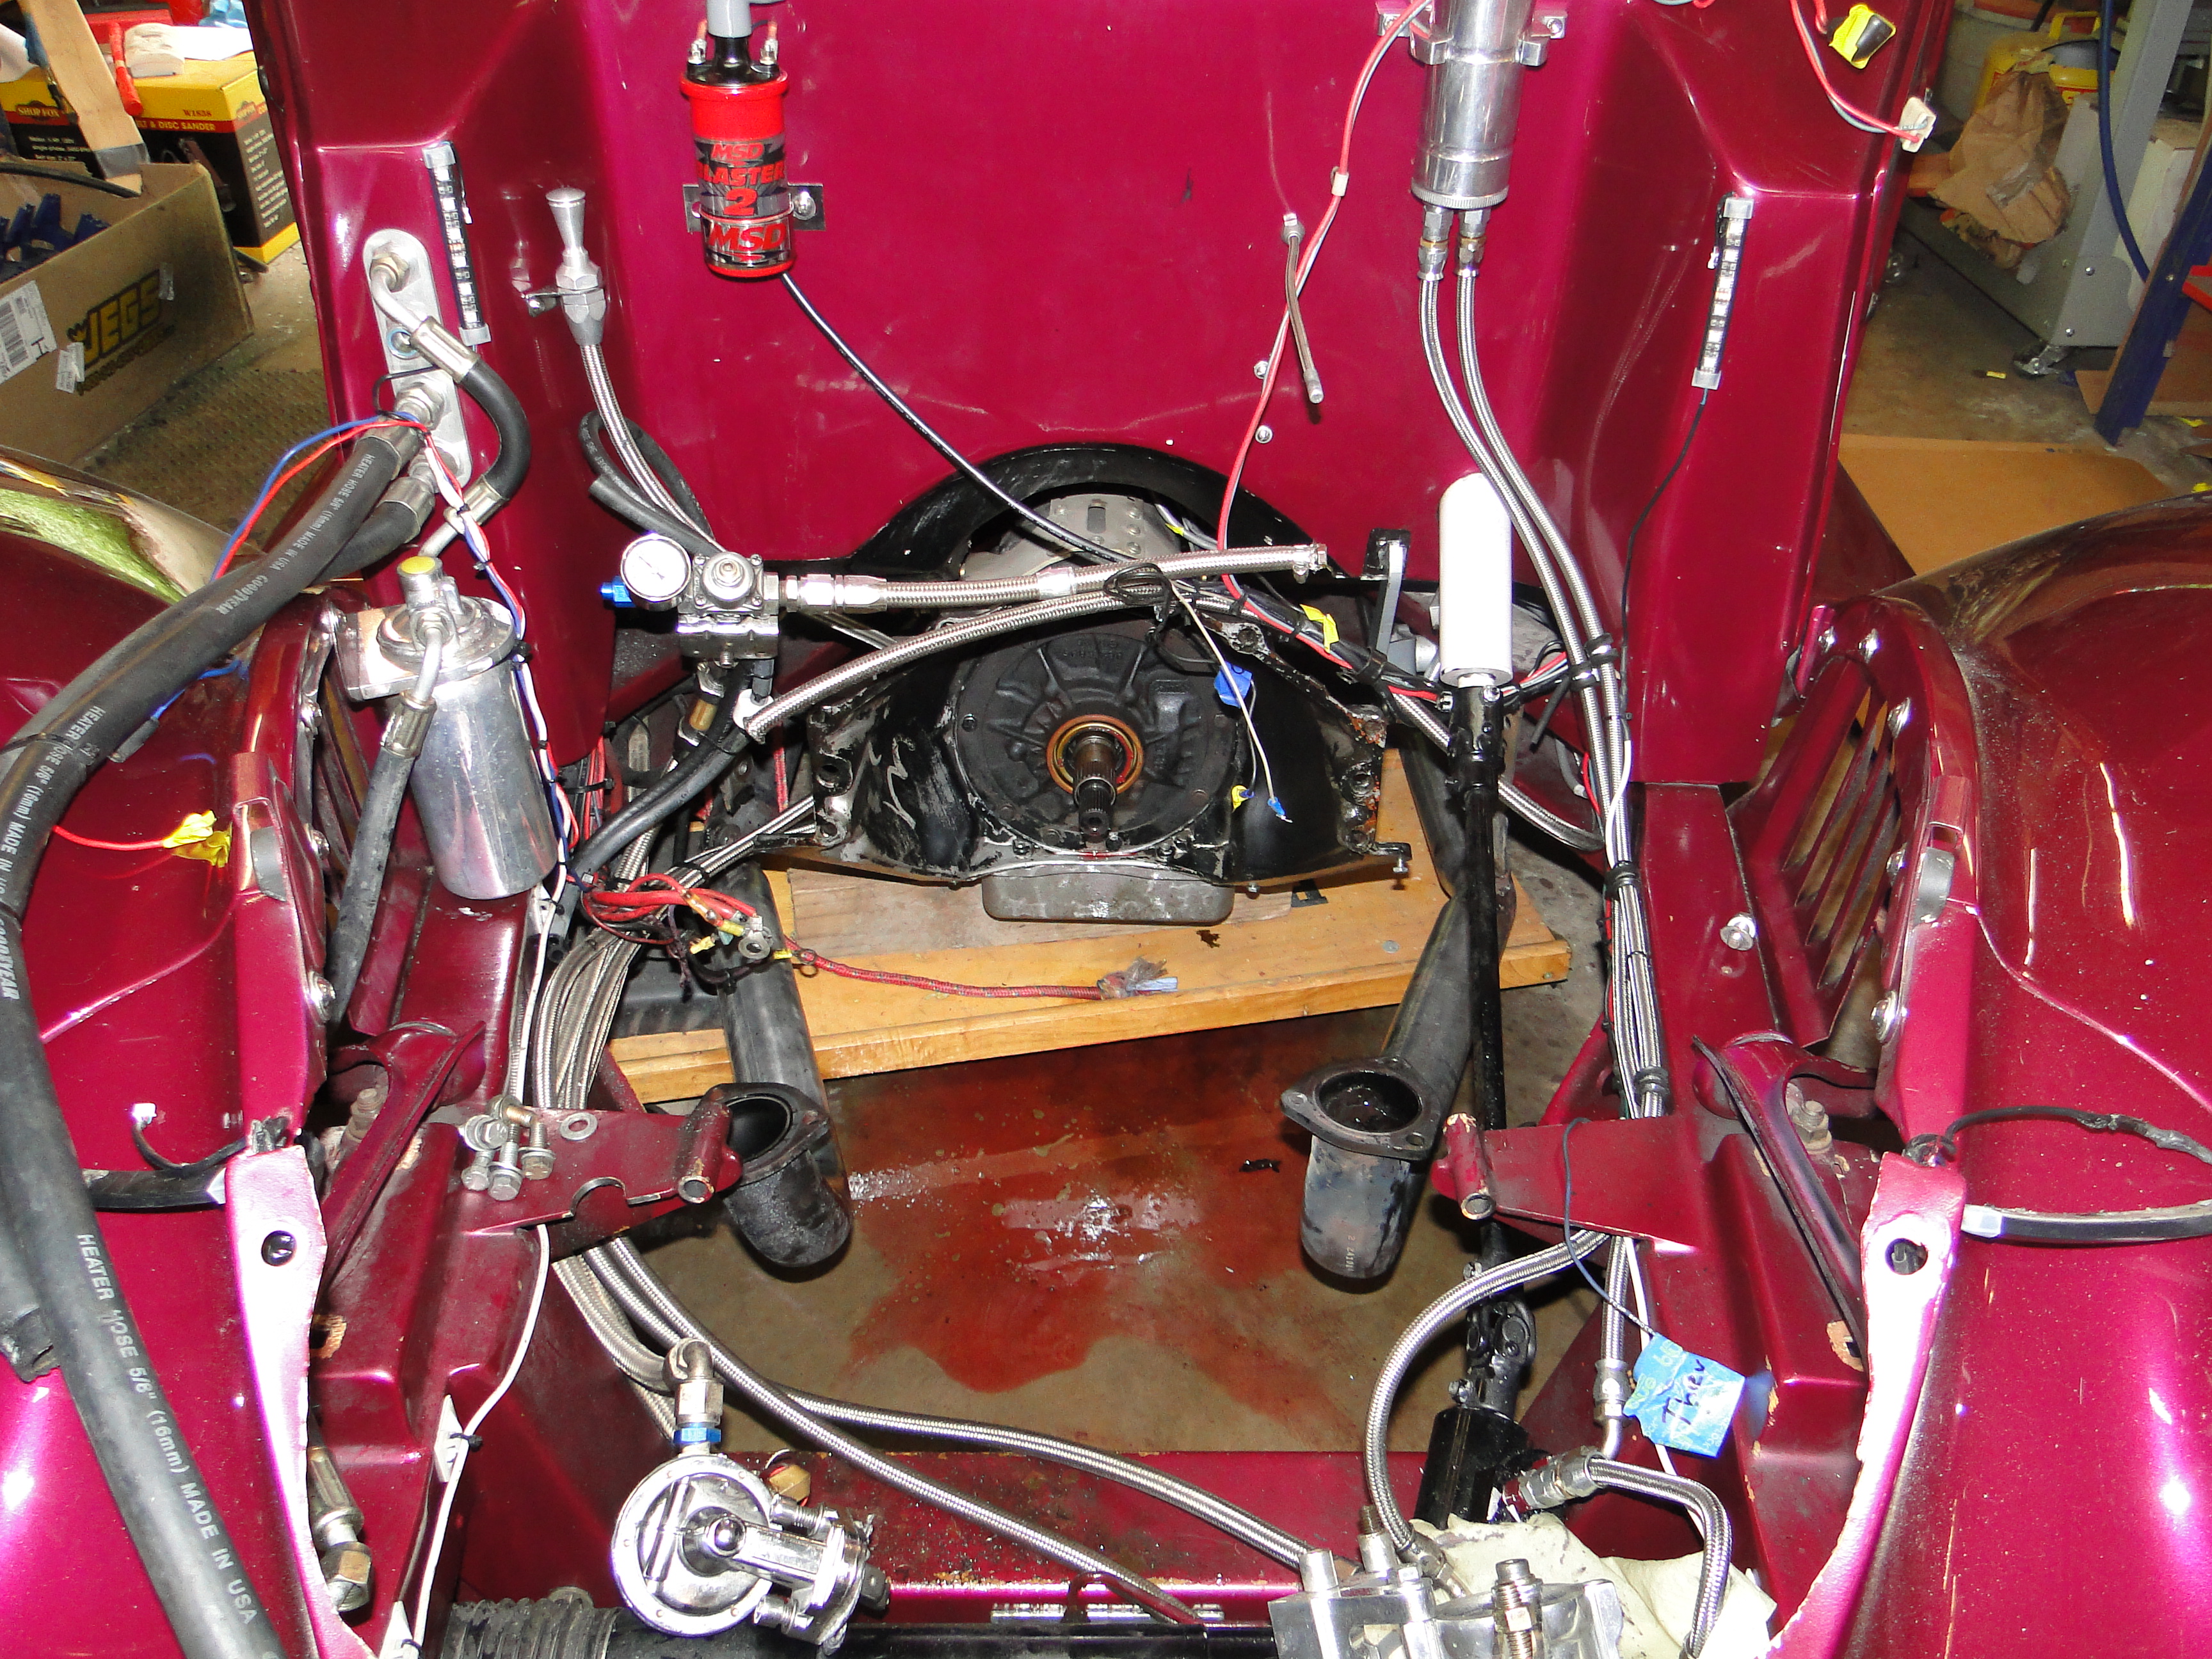
Off with the nose assembly, Grill, and Radiator. Next
I have to remove all add-ons and timing covers, after that I can remove the
Carburetor and Manifold. Then removed the push rods, Lifters Timing
chain and Cam.
Last but not least both heads have to come off.


HOLD ON! You mean I have to remove the
exhaust pipe, muffler, heat shield, brake lines, disconnect the brake pedal,
vacuum line, remove the interior seat, floor cover, Booster and Master cylinder, then make the adjustment, and after all that I have to put it all back on the car. Oh is that all! Jim realized at this point I was becoming
unglued. Jim thought about it and said well there was this one time when I was in a race and I had this same problem. Try this take two sets of two washers and weld them together then grind off all the ruff edges. Cut the washers so they are in the shape of a C.
Loosen the Master cylinder from the Booster, and slide the both sets of washers over the bolts in between them. Then re-tighten the nuts and you should be good to go. I think Jim just likes playing with my head,
and I am like we could have started with
that plan first, I just think he just wanted to see me
squirm. I did just what he said and the brakes are fine now.
Date Night To
be honest I was just about to create a celebration post for this car.
It was going to state that she was mechanically done and except for the final paint I
was good to go, and its on to the next car project.
Then this
happened on date night, some of you
might recognize the local ice cream shop parking lot, but its at 1:00am.
The problem was I did not have any spark, so were off for another tow
truck ride home.
The really irritating thing was early the next morning when I went to see what
the problem might be, she started right up.
However something was off, and she did not idle or run right.
Click picture to enlarge.
MSD Ignition replacement
I seemed to have developed serious engine performance problems. The Ford had a significant loss of power and timing problems IE:back firing that the car had never done before.
When I checked the engine timing it was all over the place IE: I
set the timing for 18 degrees at idle and it would fluctuate from 16 to -8
degrees. Well that's not going to work! I decided that
the current MSD ignition that was of a unknown age, had to go. I
replace the MSD computer, distributer, coil, and wires. Now the
timing was dead on, and it stayed where I set it, like its suppose too.
Click any picture to enlarge.

Engine Upgrade
I still had performance problems and a backfire on acceleration. I was done playing with this, so we were off to see Jim at Boffo Motors. After Jim looked at the Ford and tried to perform his magic, and he gave me some very bad news. Jim informed me that he believed at least one or maybe two of my camshaft lobes were deteriorating and I will have to replace the camshaft. Yea this is just great right? Its the middle of summer and the Ford is down.
In Normal cars this repair is not a big ordeal, but in my Ford just to get at the front of the engine to replace the camshaft. I have to take the nose assembly, grill, and radiator totally off the car before we can even start to work on the engine.
So I started thinking if I have to do all this work for the camshaft repair, lets upgrade a few things to make it worth while.
My first thought was replace the standard radiator belt fan with 3,000 CFM electric fan, so that when I go on car cruses the engine won't run hot anymore.
Second go to a bigger cam shaft that's gives me more power, more power is always better right?
How hard can it be to upgrade these two things?
Jim asked me to do a compression test to insure the lower
engine was good to go, and the pressure ranged from 159psi to 170psi.
Now that we passed that test we were ready to continue.
Click picture to enlarge.
Off with the nose assembly, Grill, and Radiator. Next I have to remove all add-ons and timing covers, after that I can remove the Carburetor and Manifold. Then removed the push rods, Lifters Timing chain and Cam. Last but not least both heads have to come off.

Click any picture to enlarge.
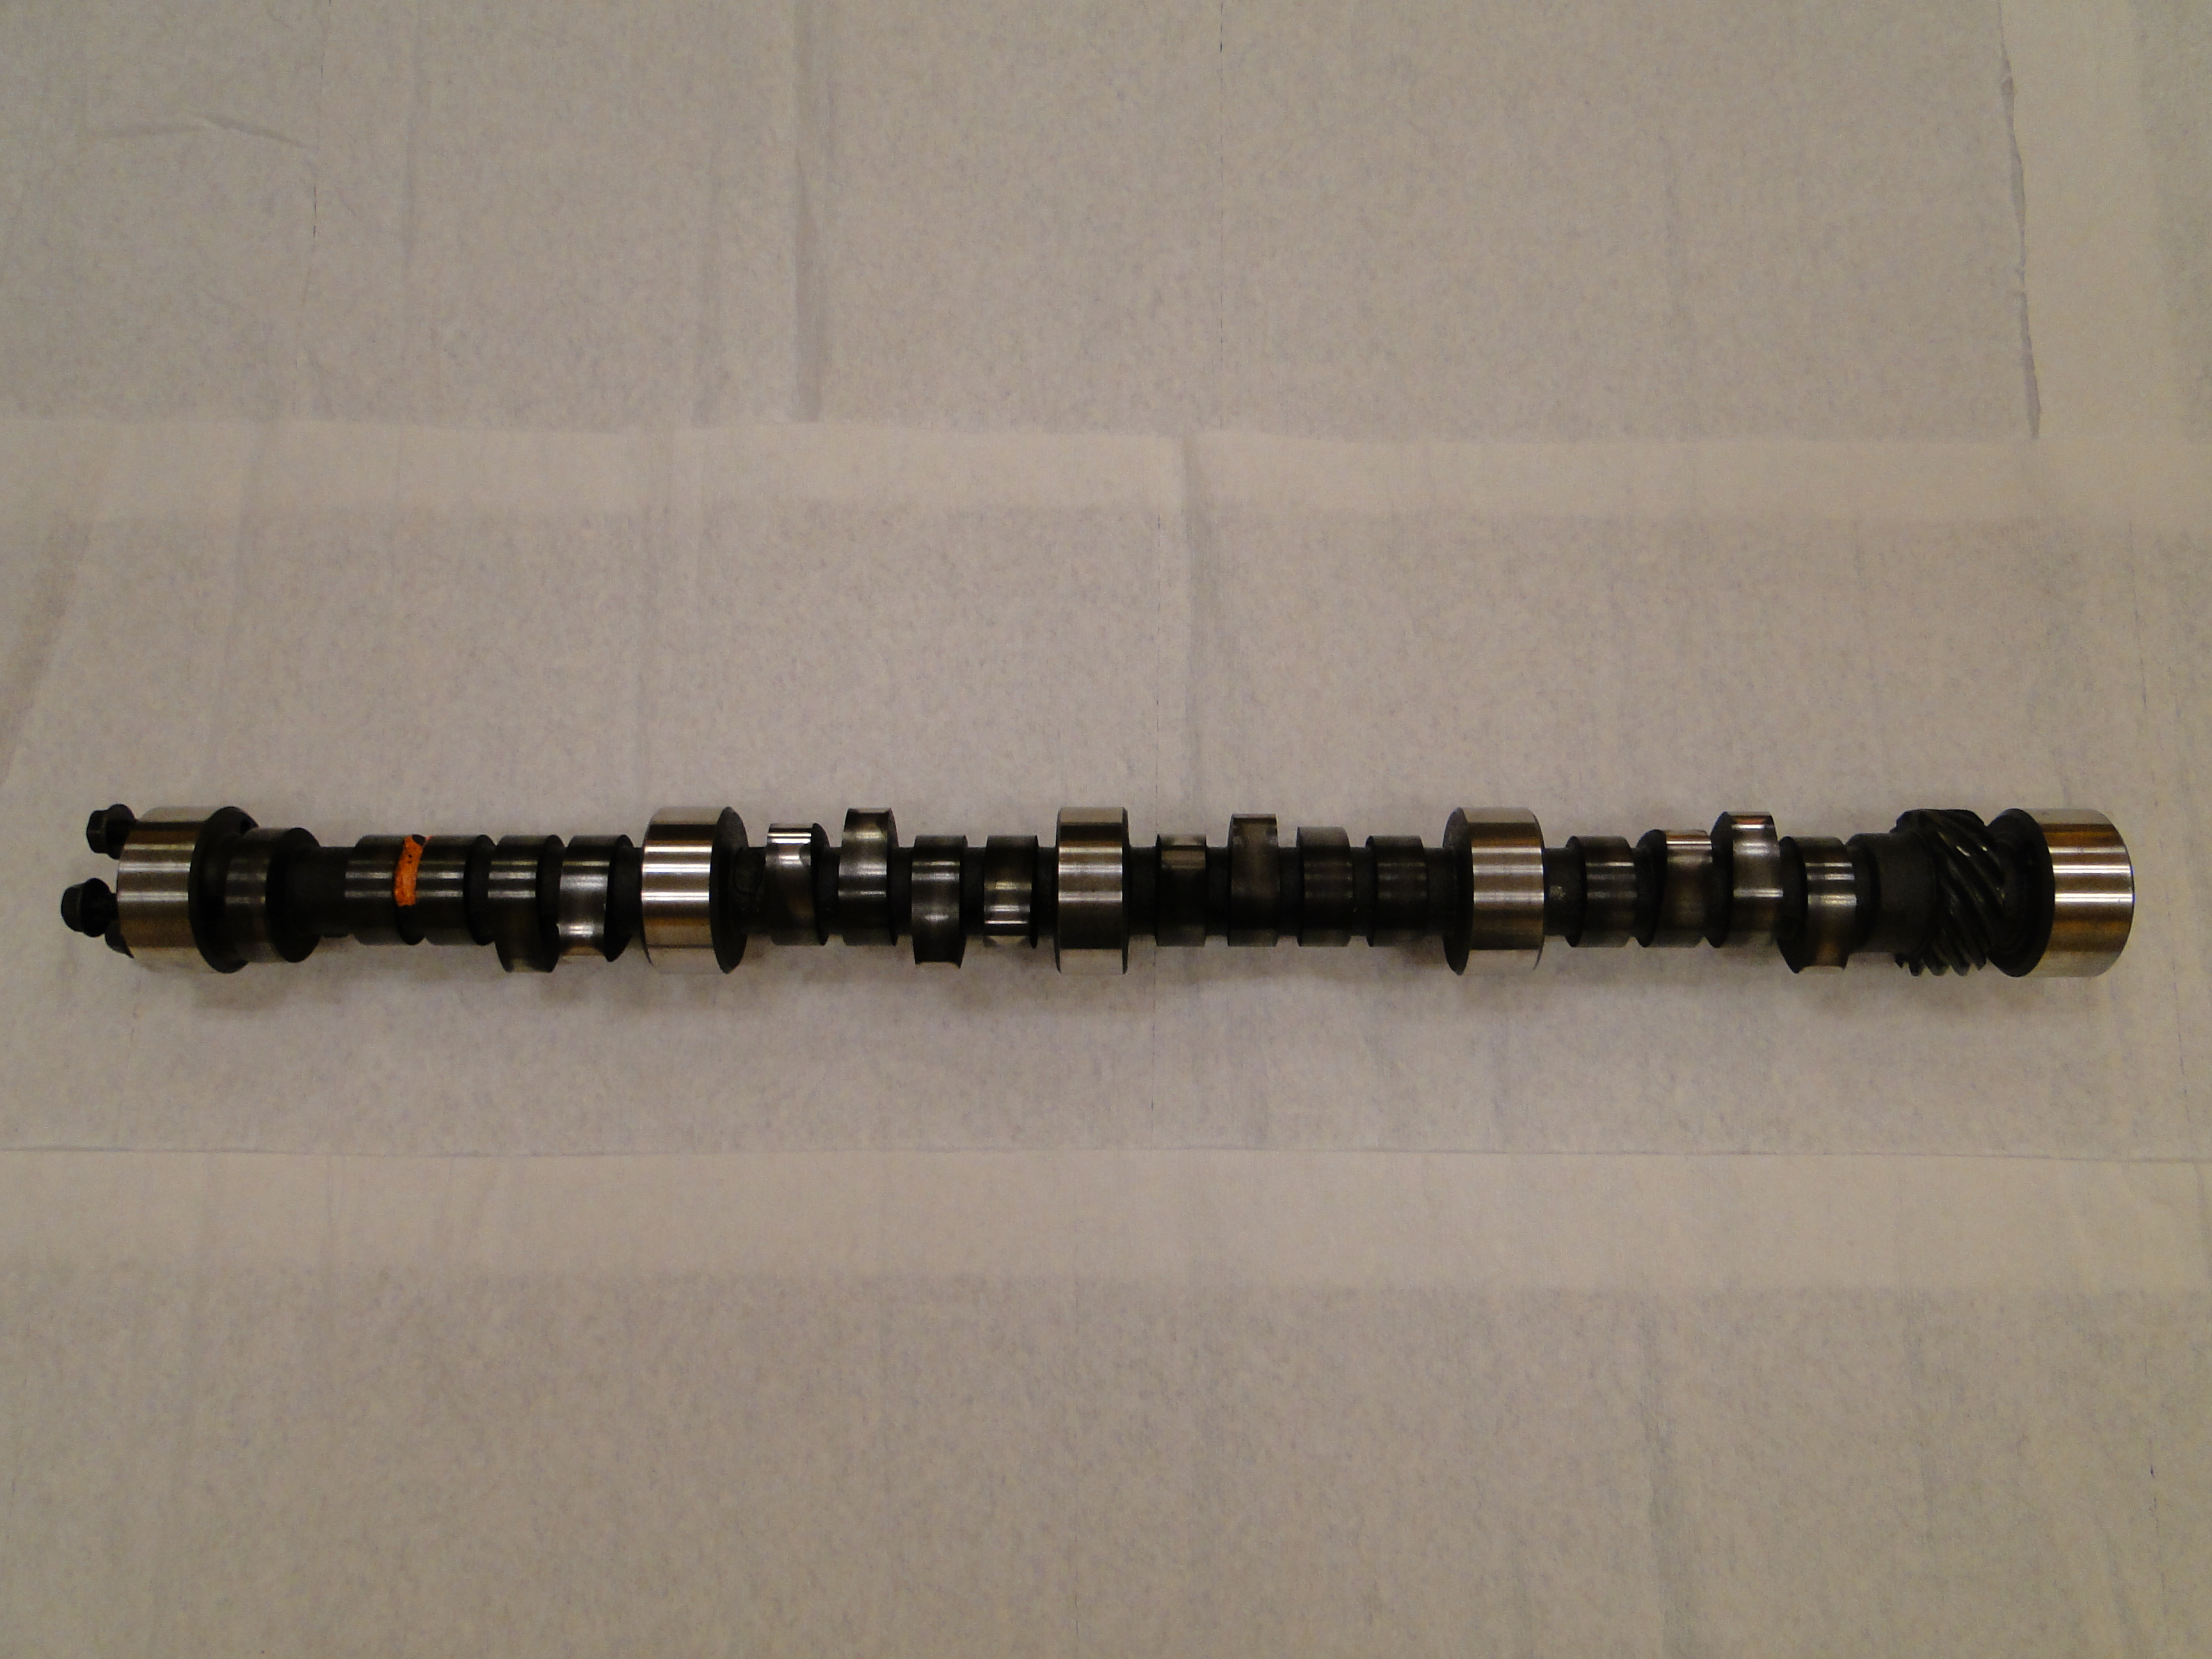
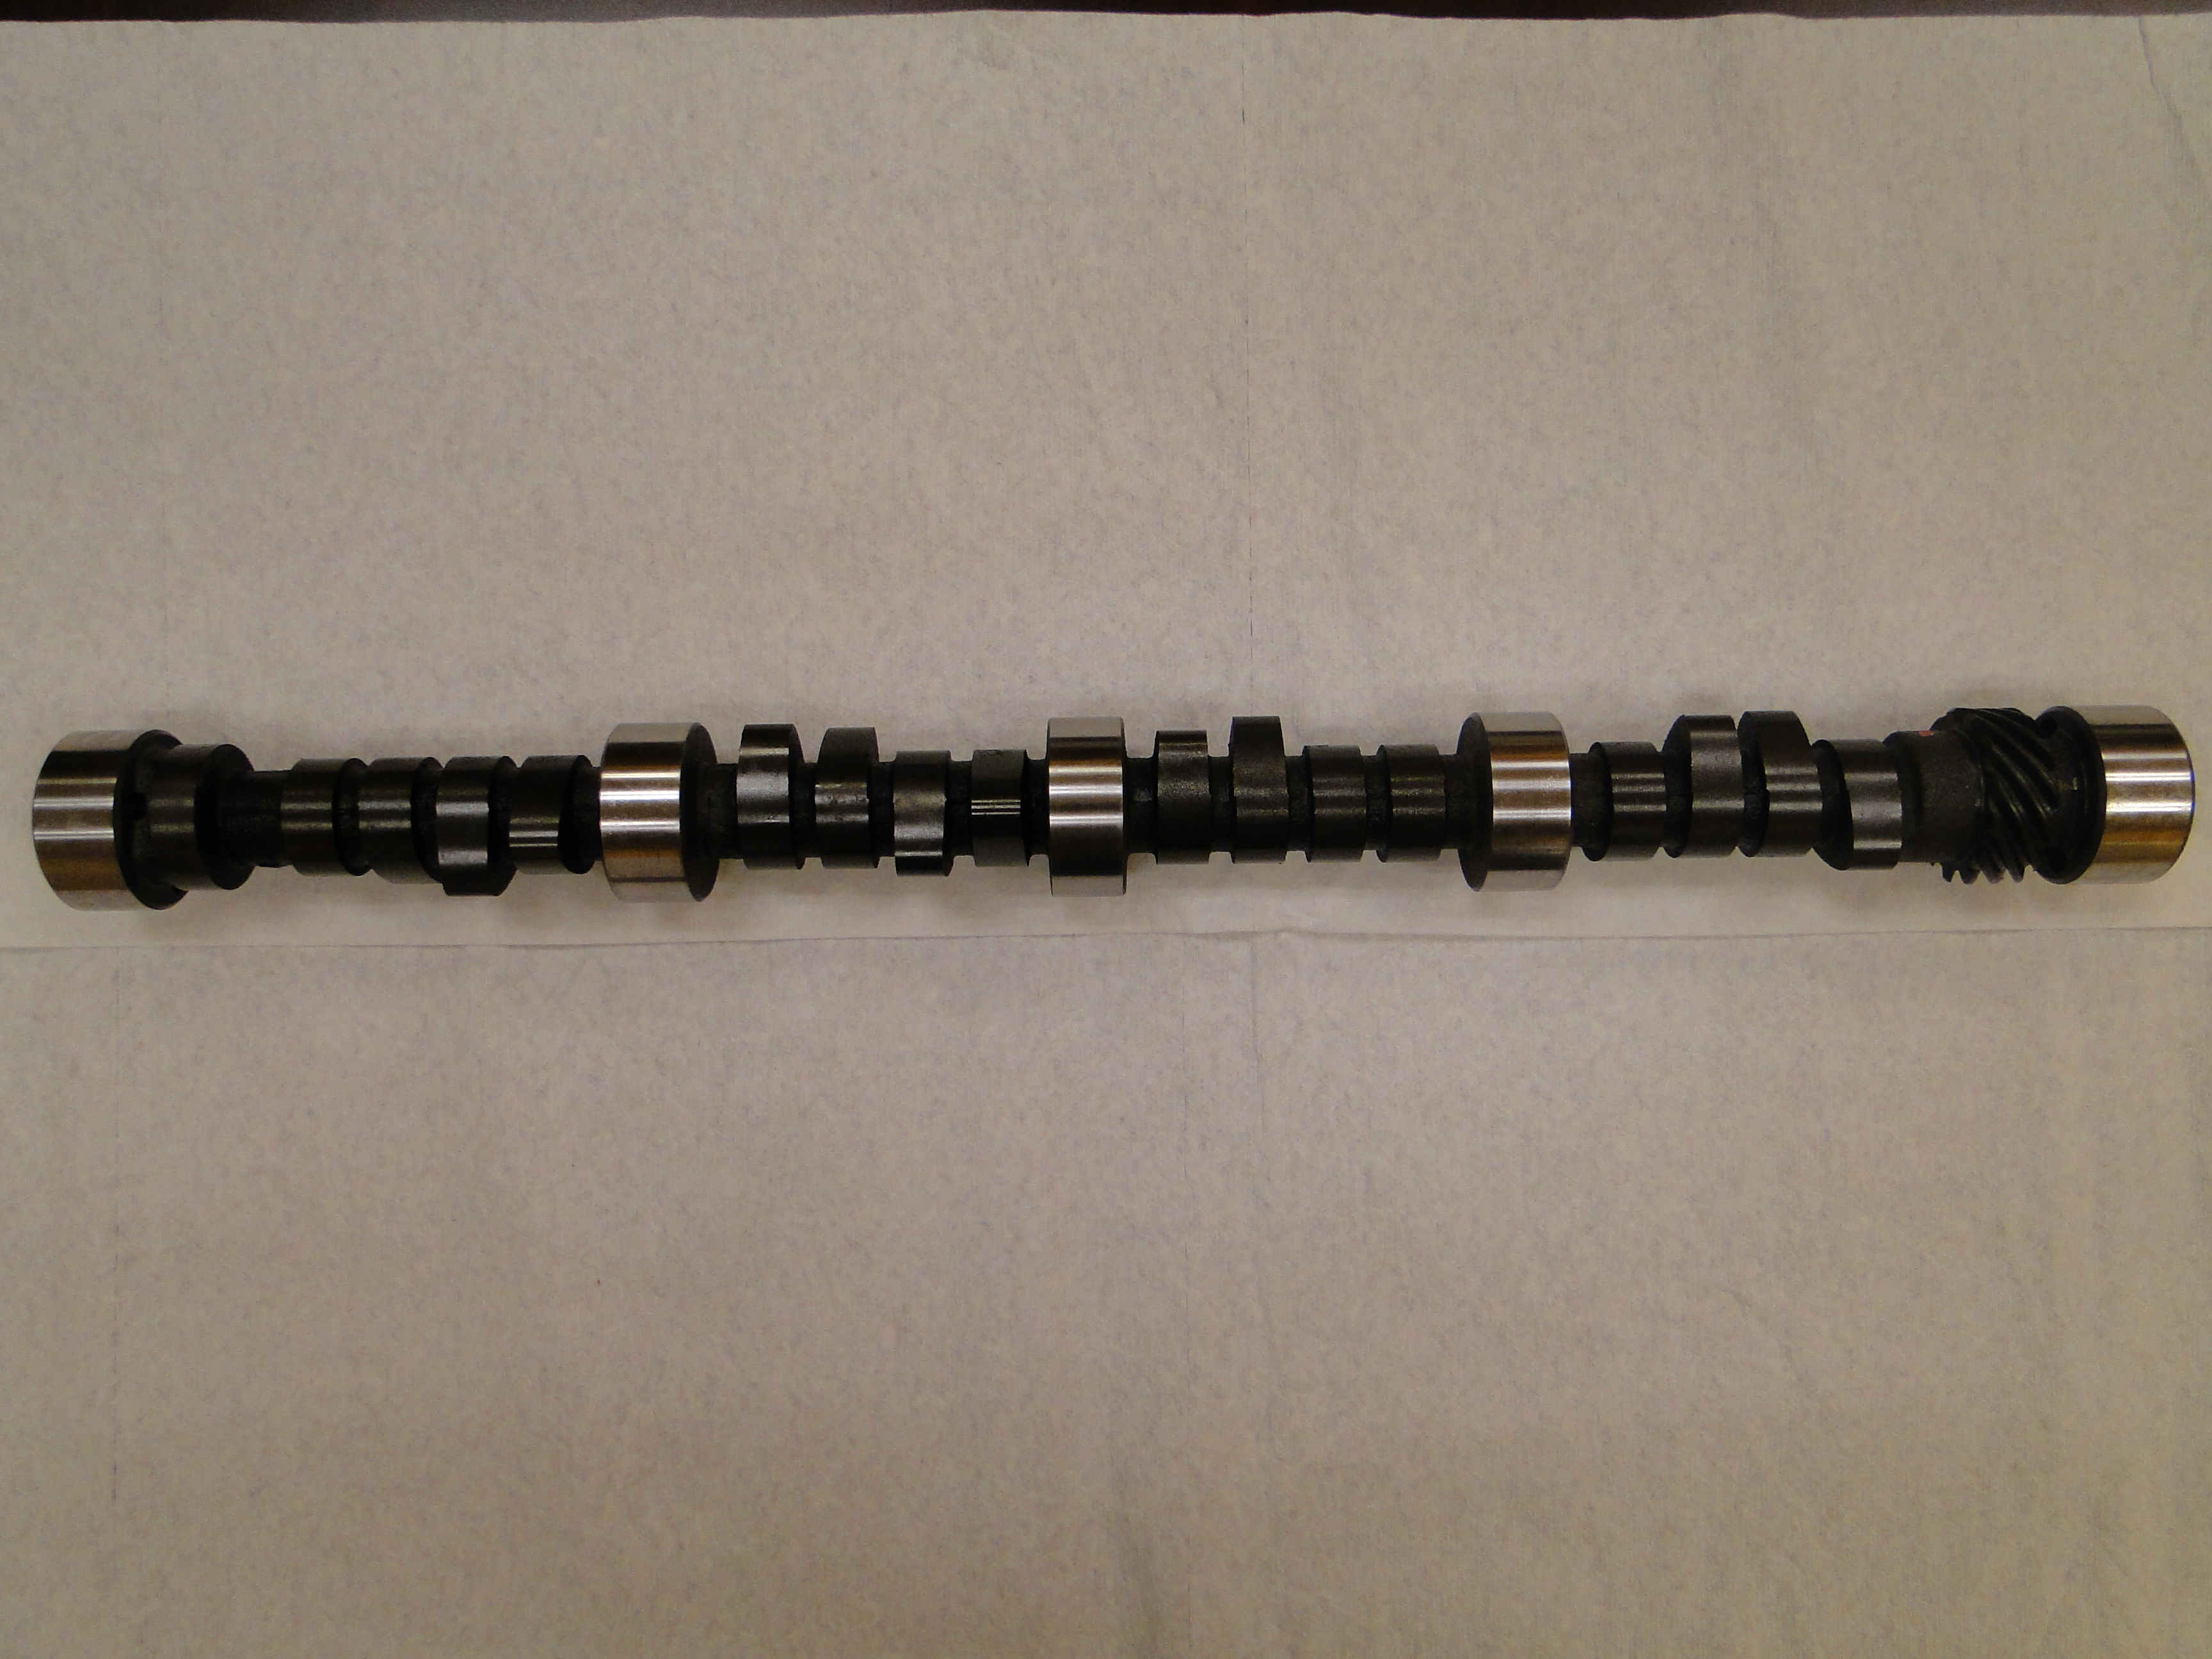
Now when I removed the camshaft, I expected to see miss-shaped lobes. No such luck in fact when I took the camshaft to Jim, he was a little perplexed. He did not see any signs of excessive wear ether. Jim stated well that camshaft is not the problem.
Click picture to enlarge.
September
Well now its time to pull the engine block and get started on it.
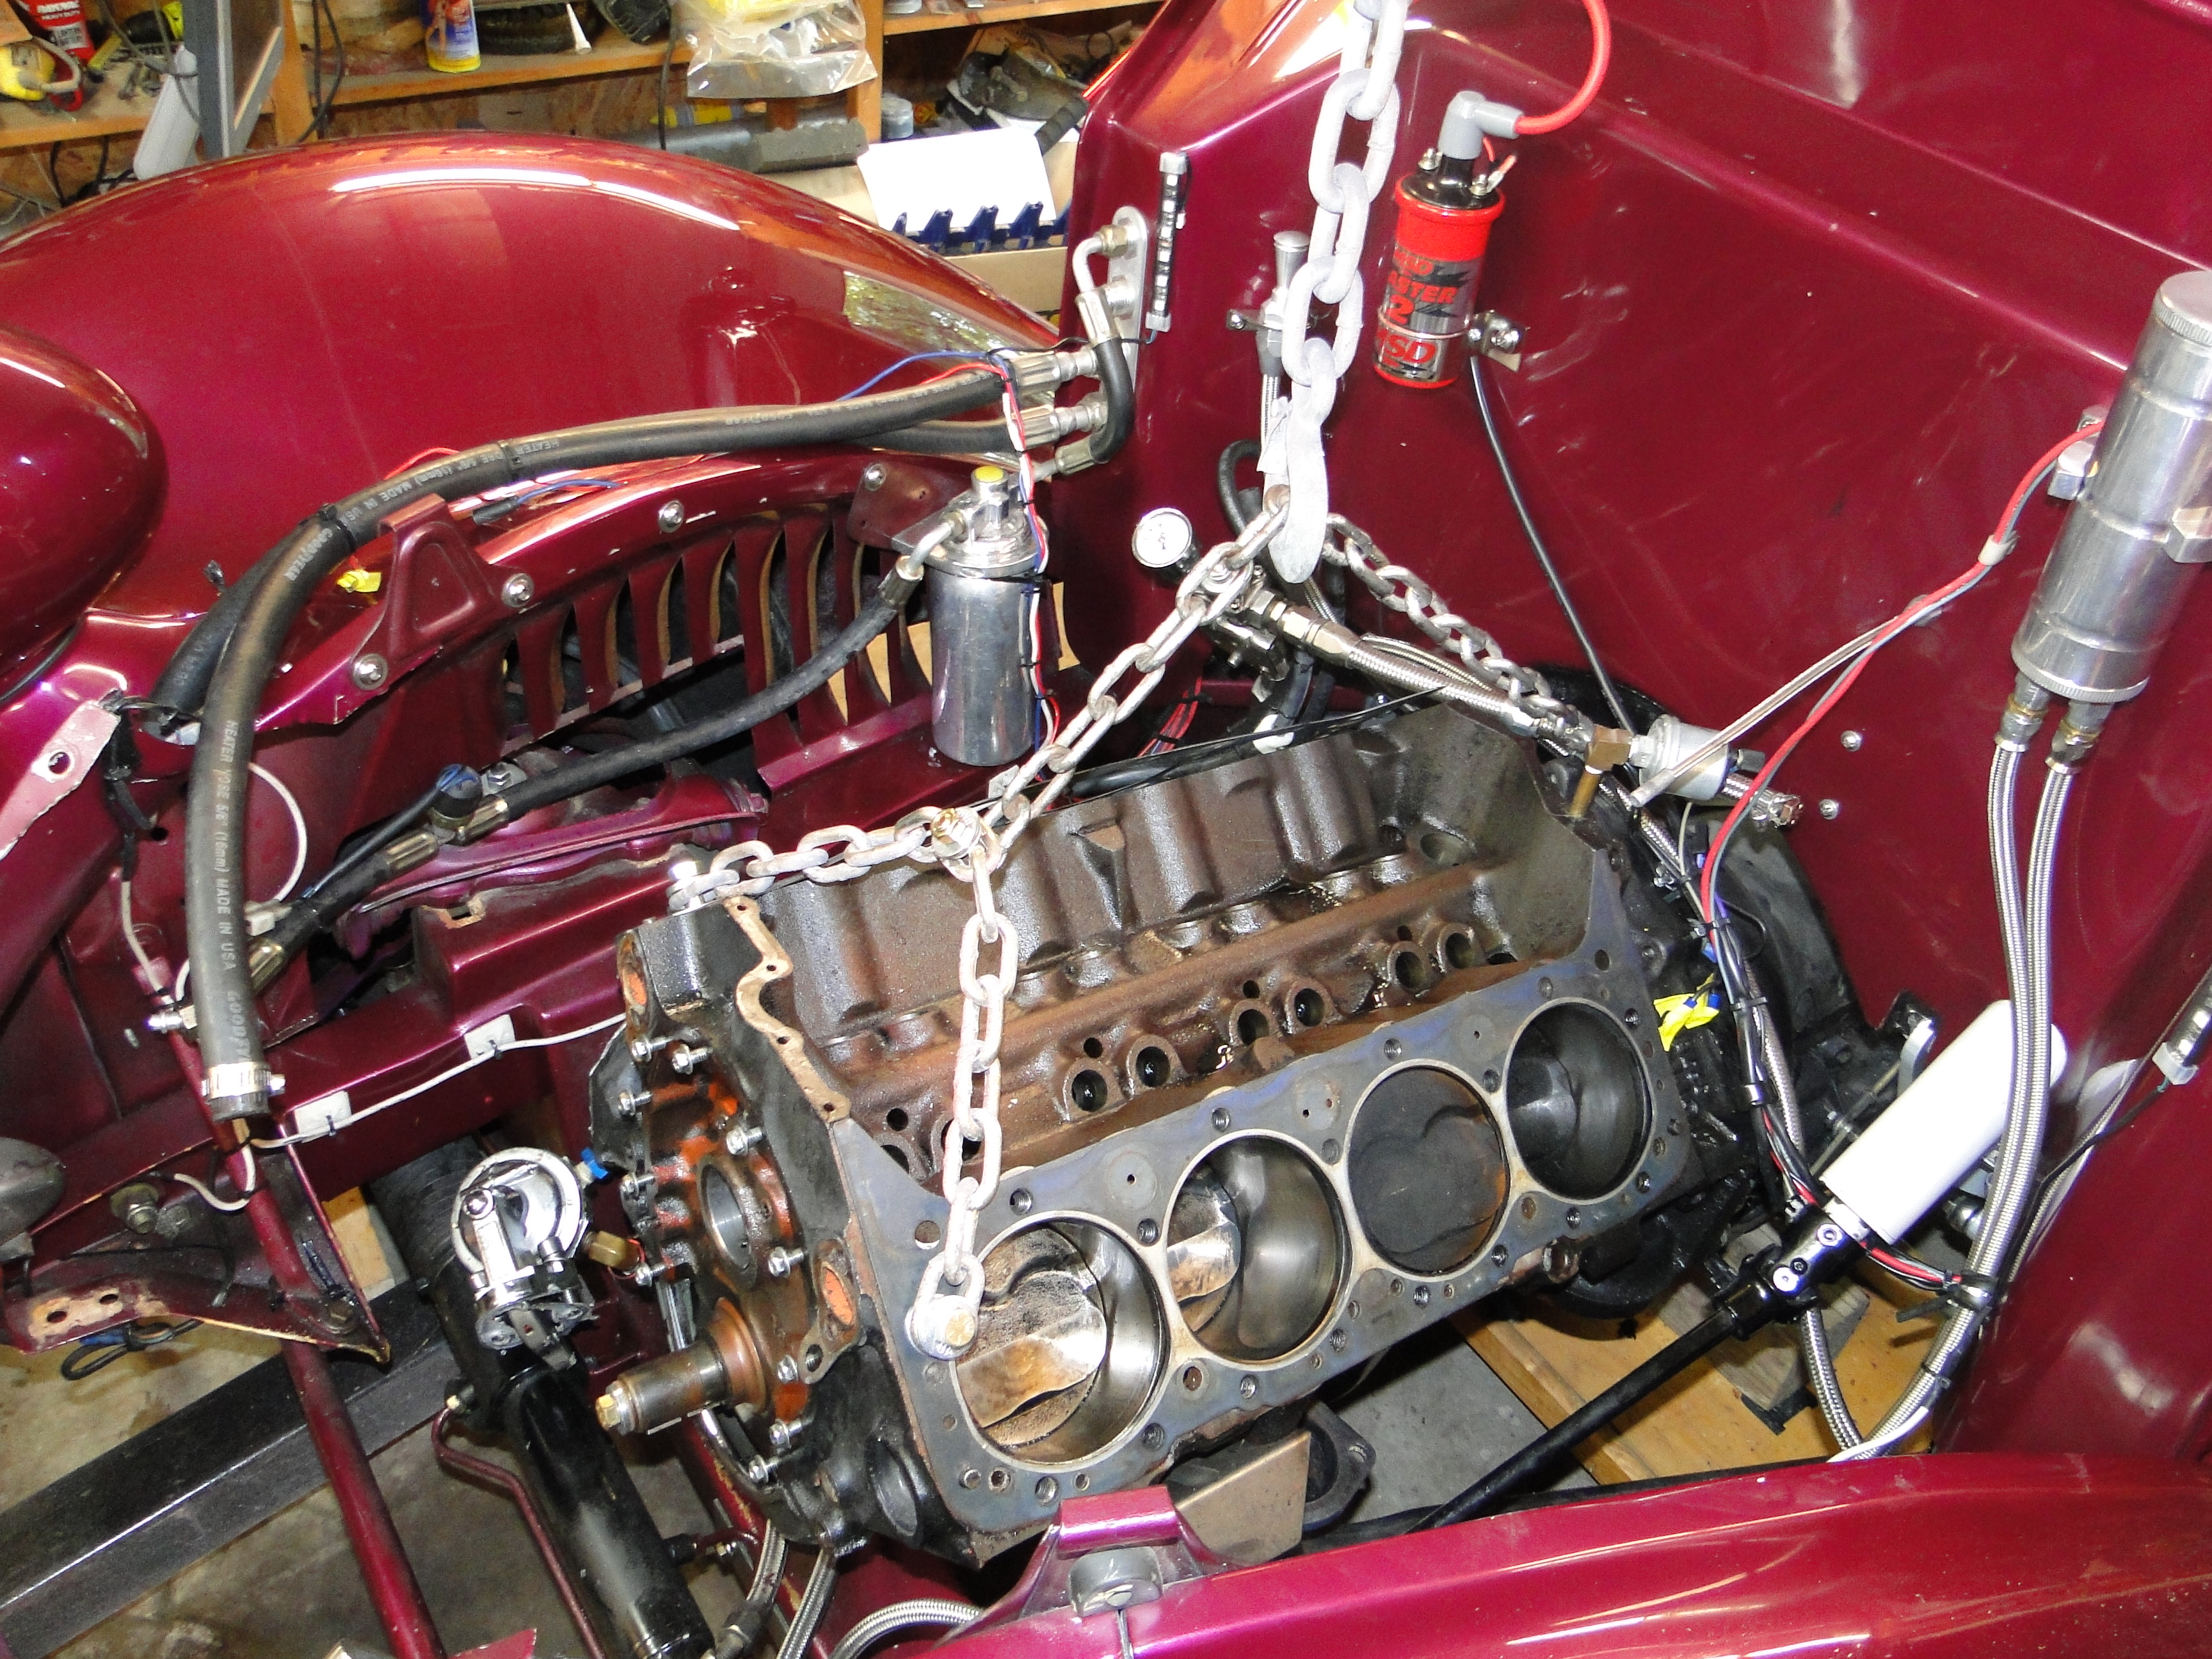
Click any picture to enlarge.
I left the purchase of all parts to Jim's discression while we were waiting on the engine block to return from the machine shop.
This is where the domino effect comes in to play, so here we go!
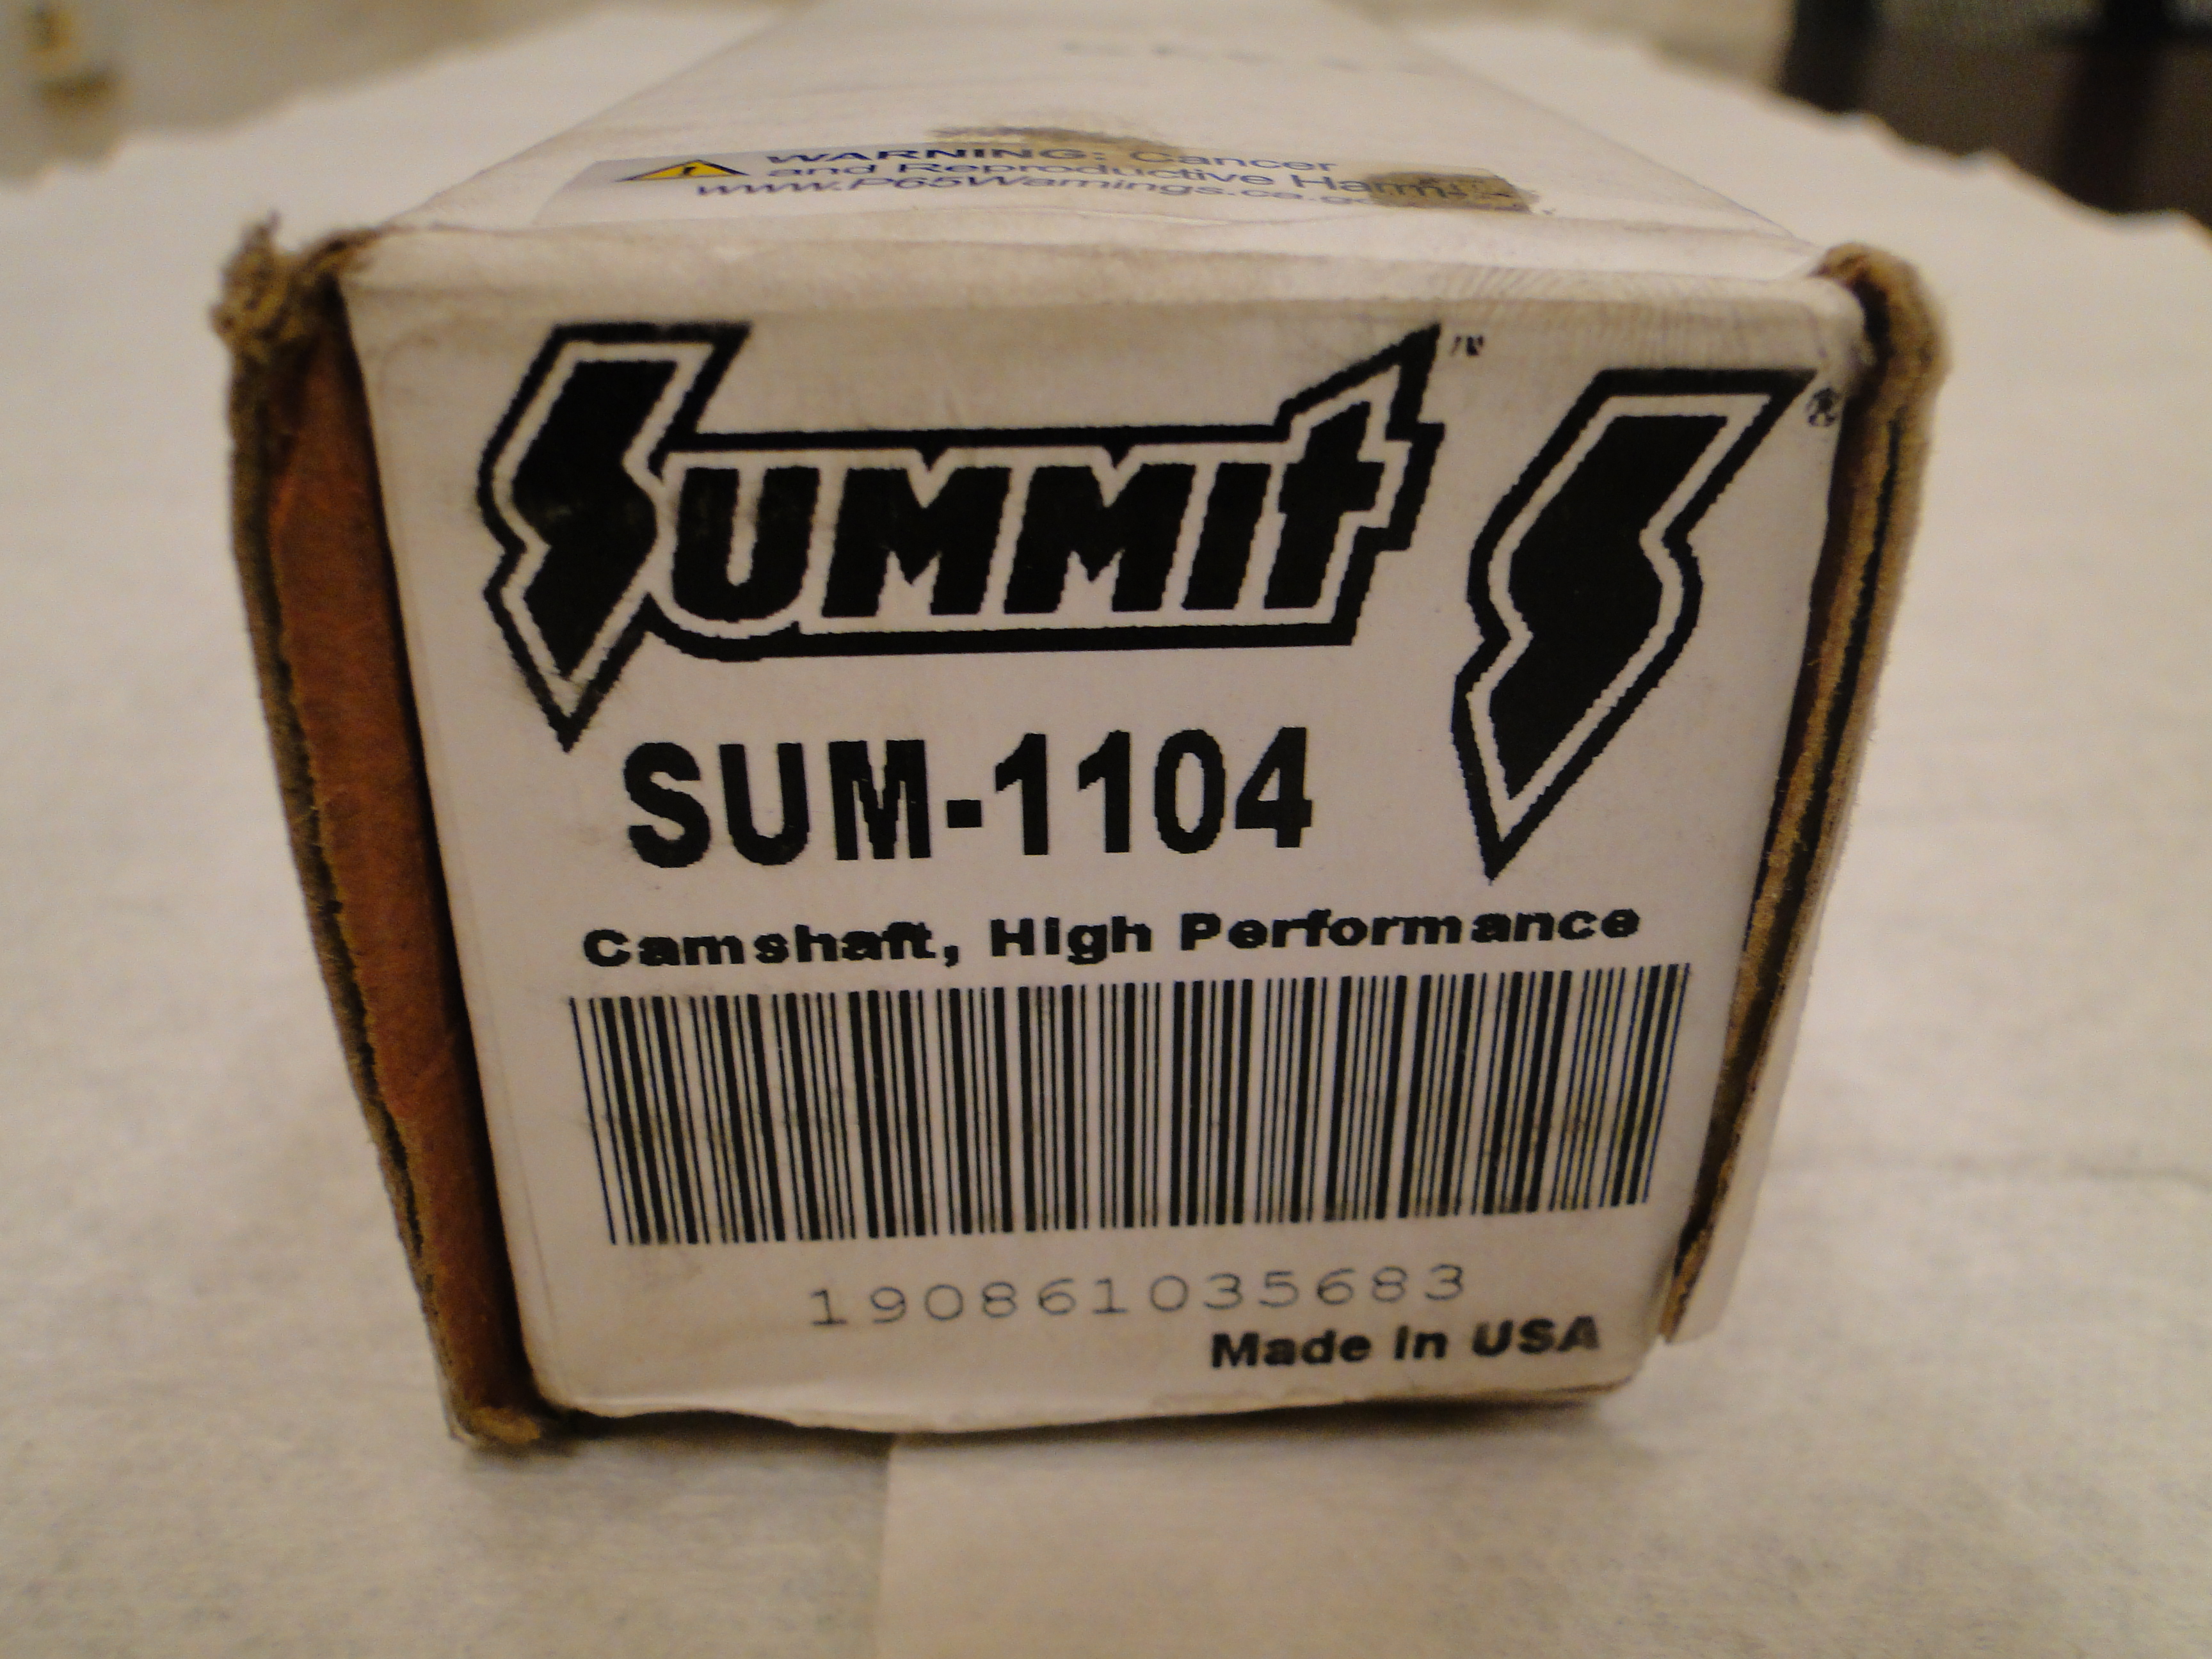
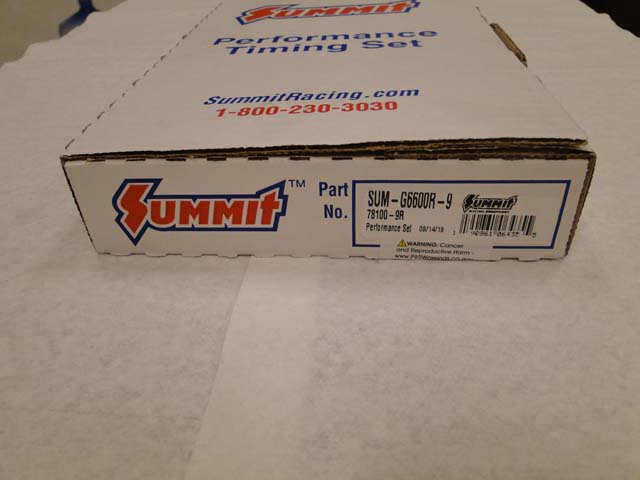
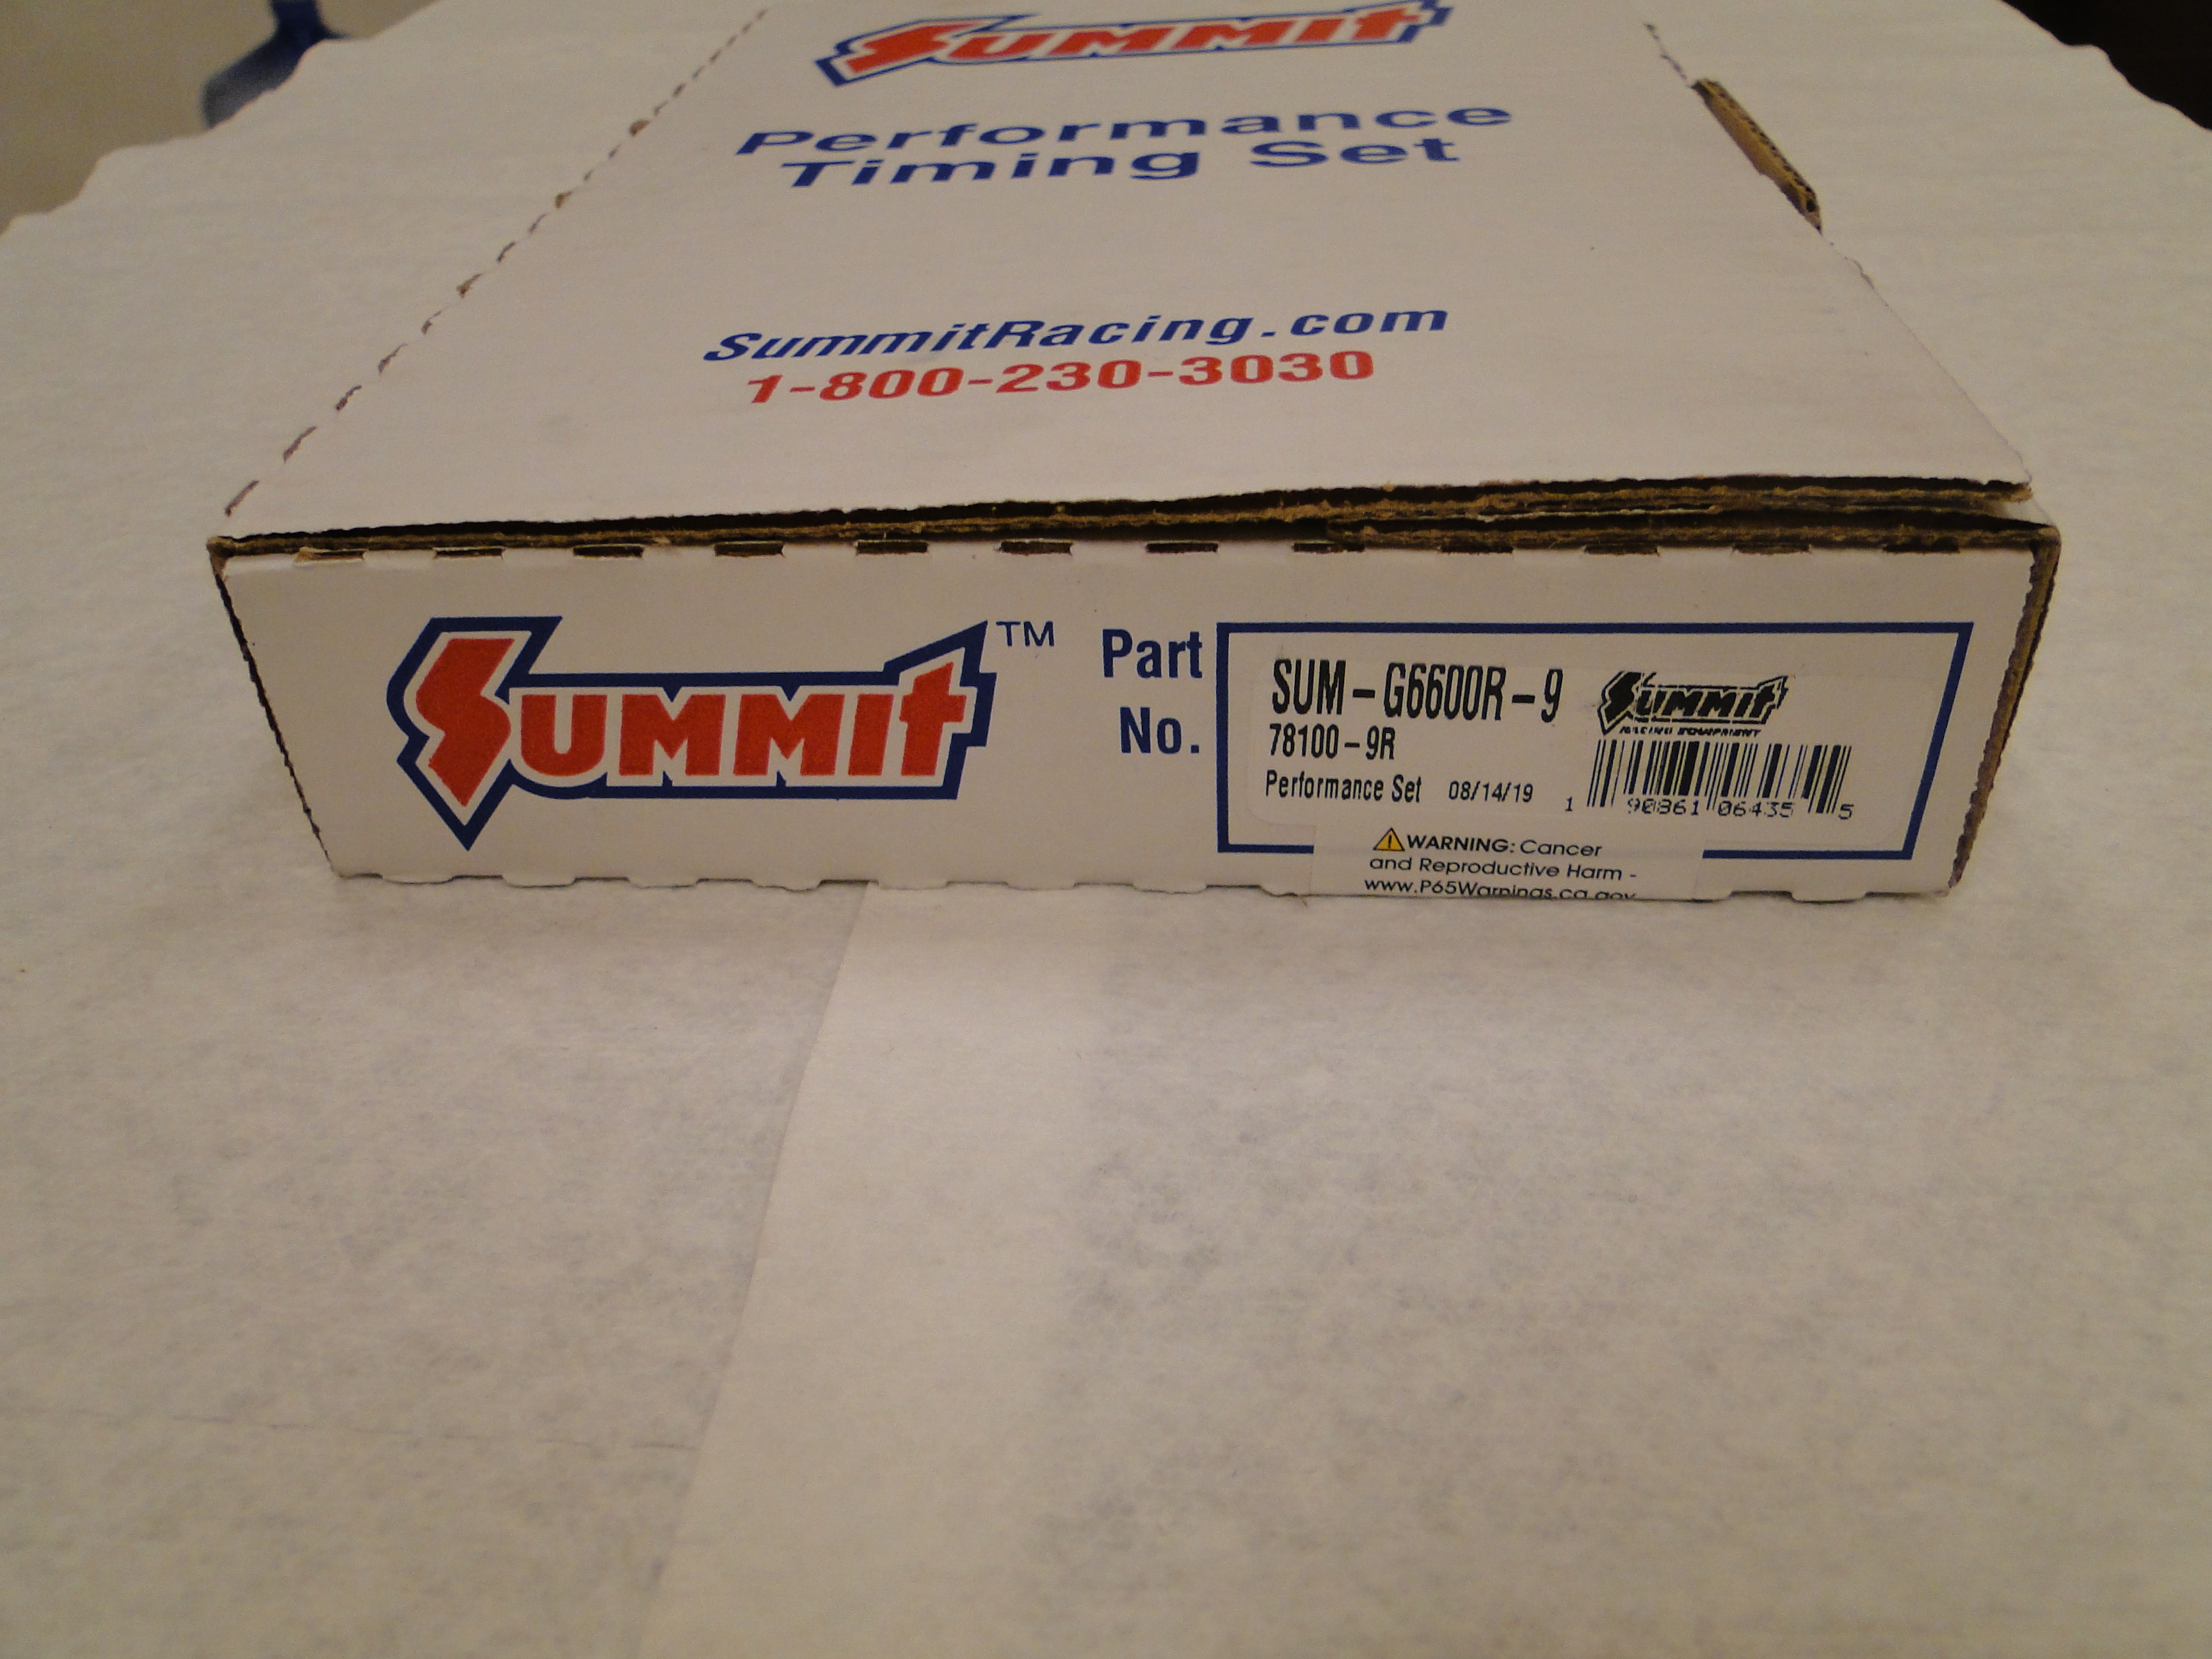
We ordered a new camshaft from Summit racing with a much higher lift.
Click any picture to enlarge.
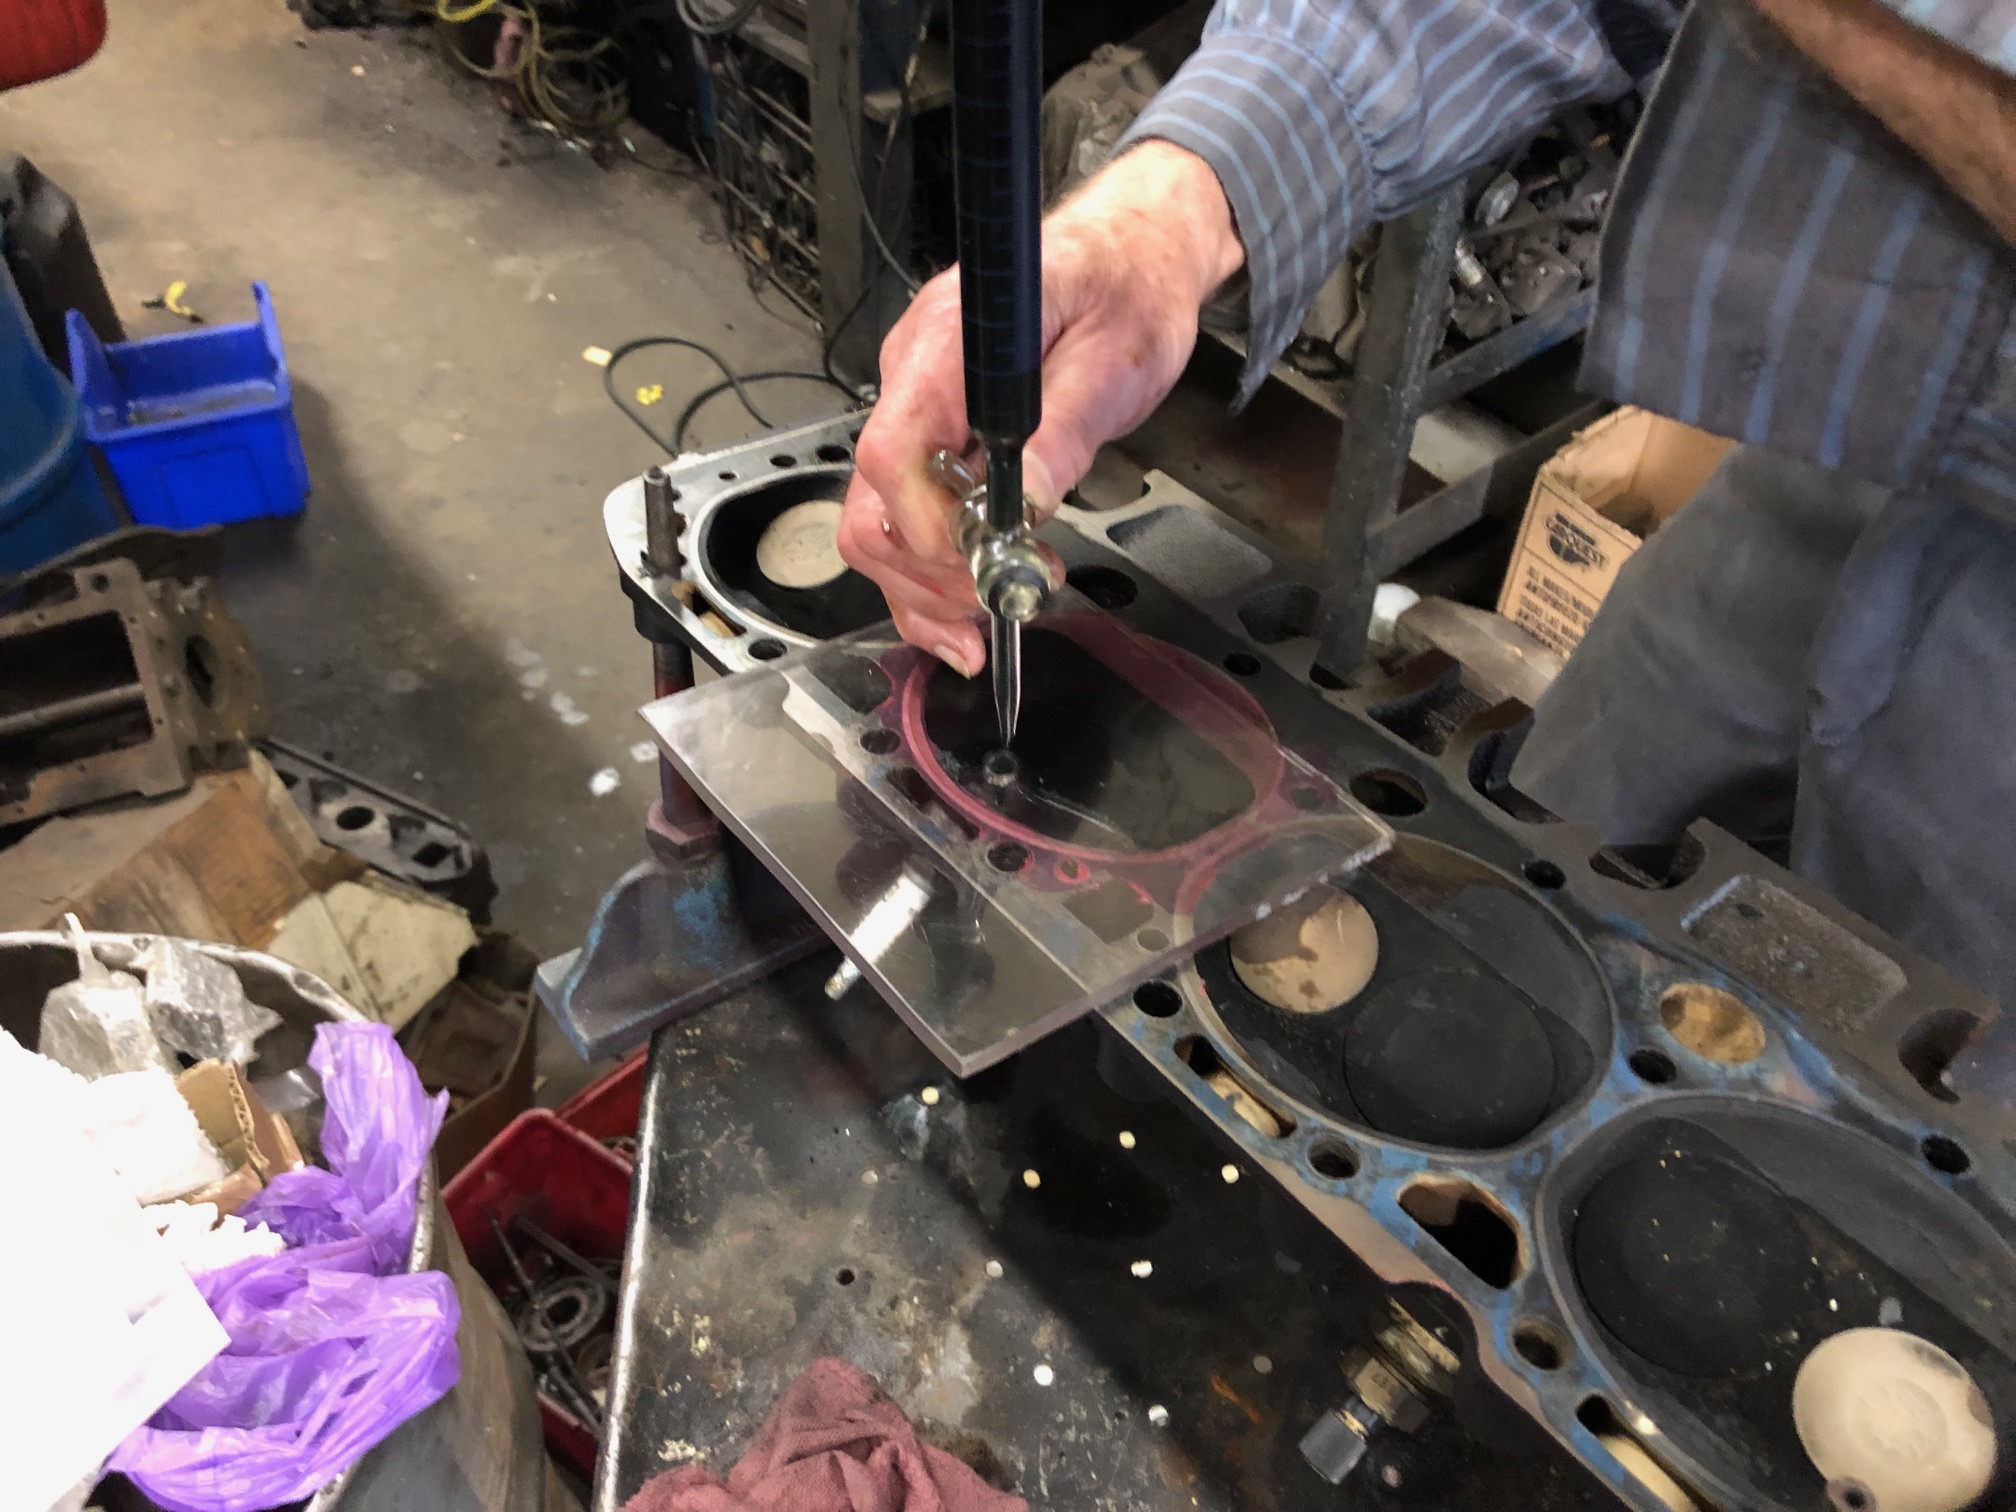
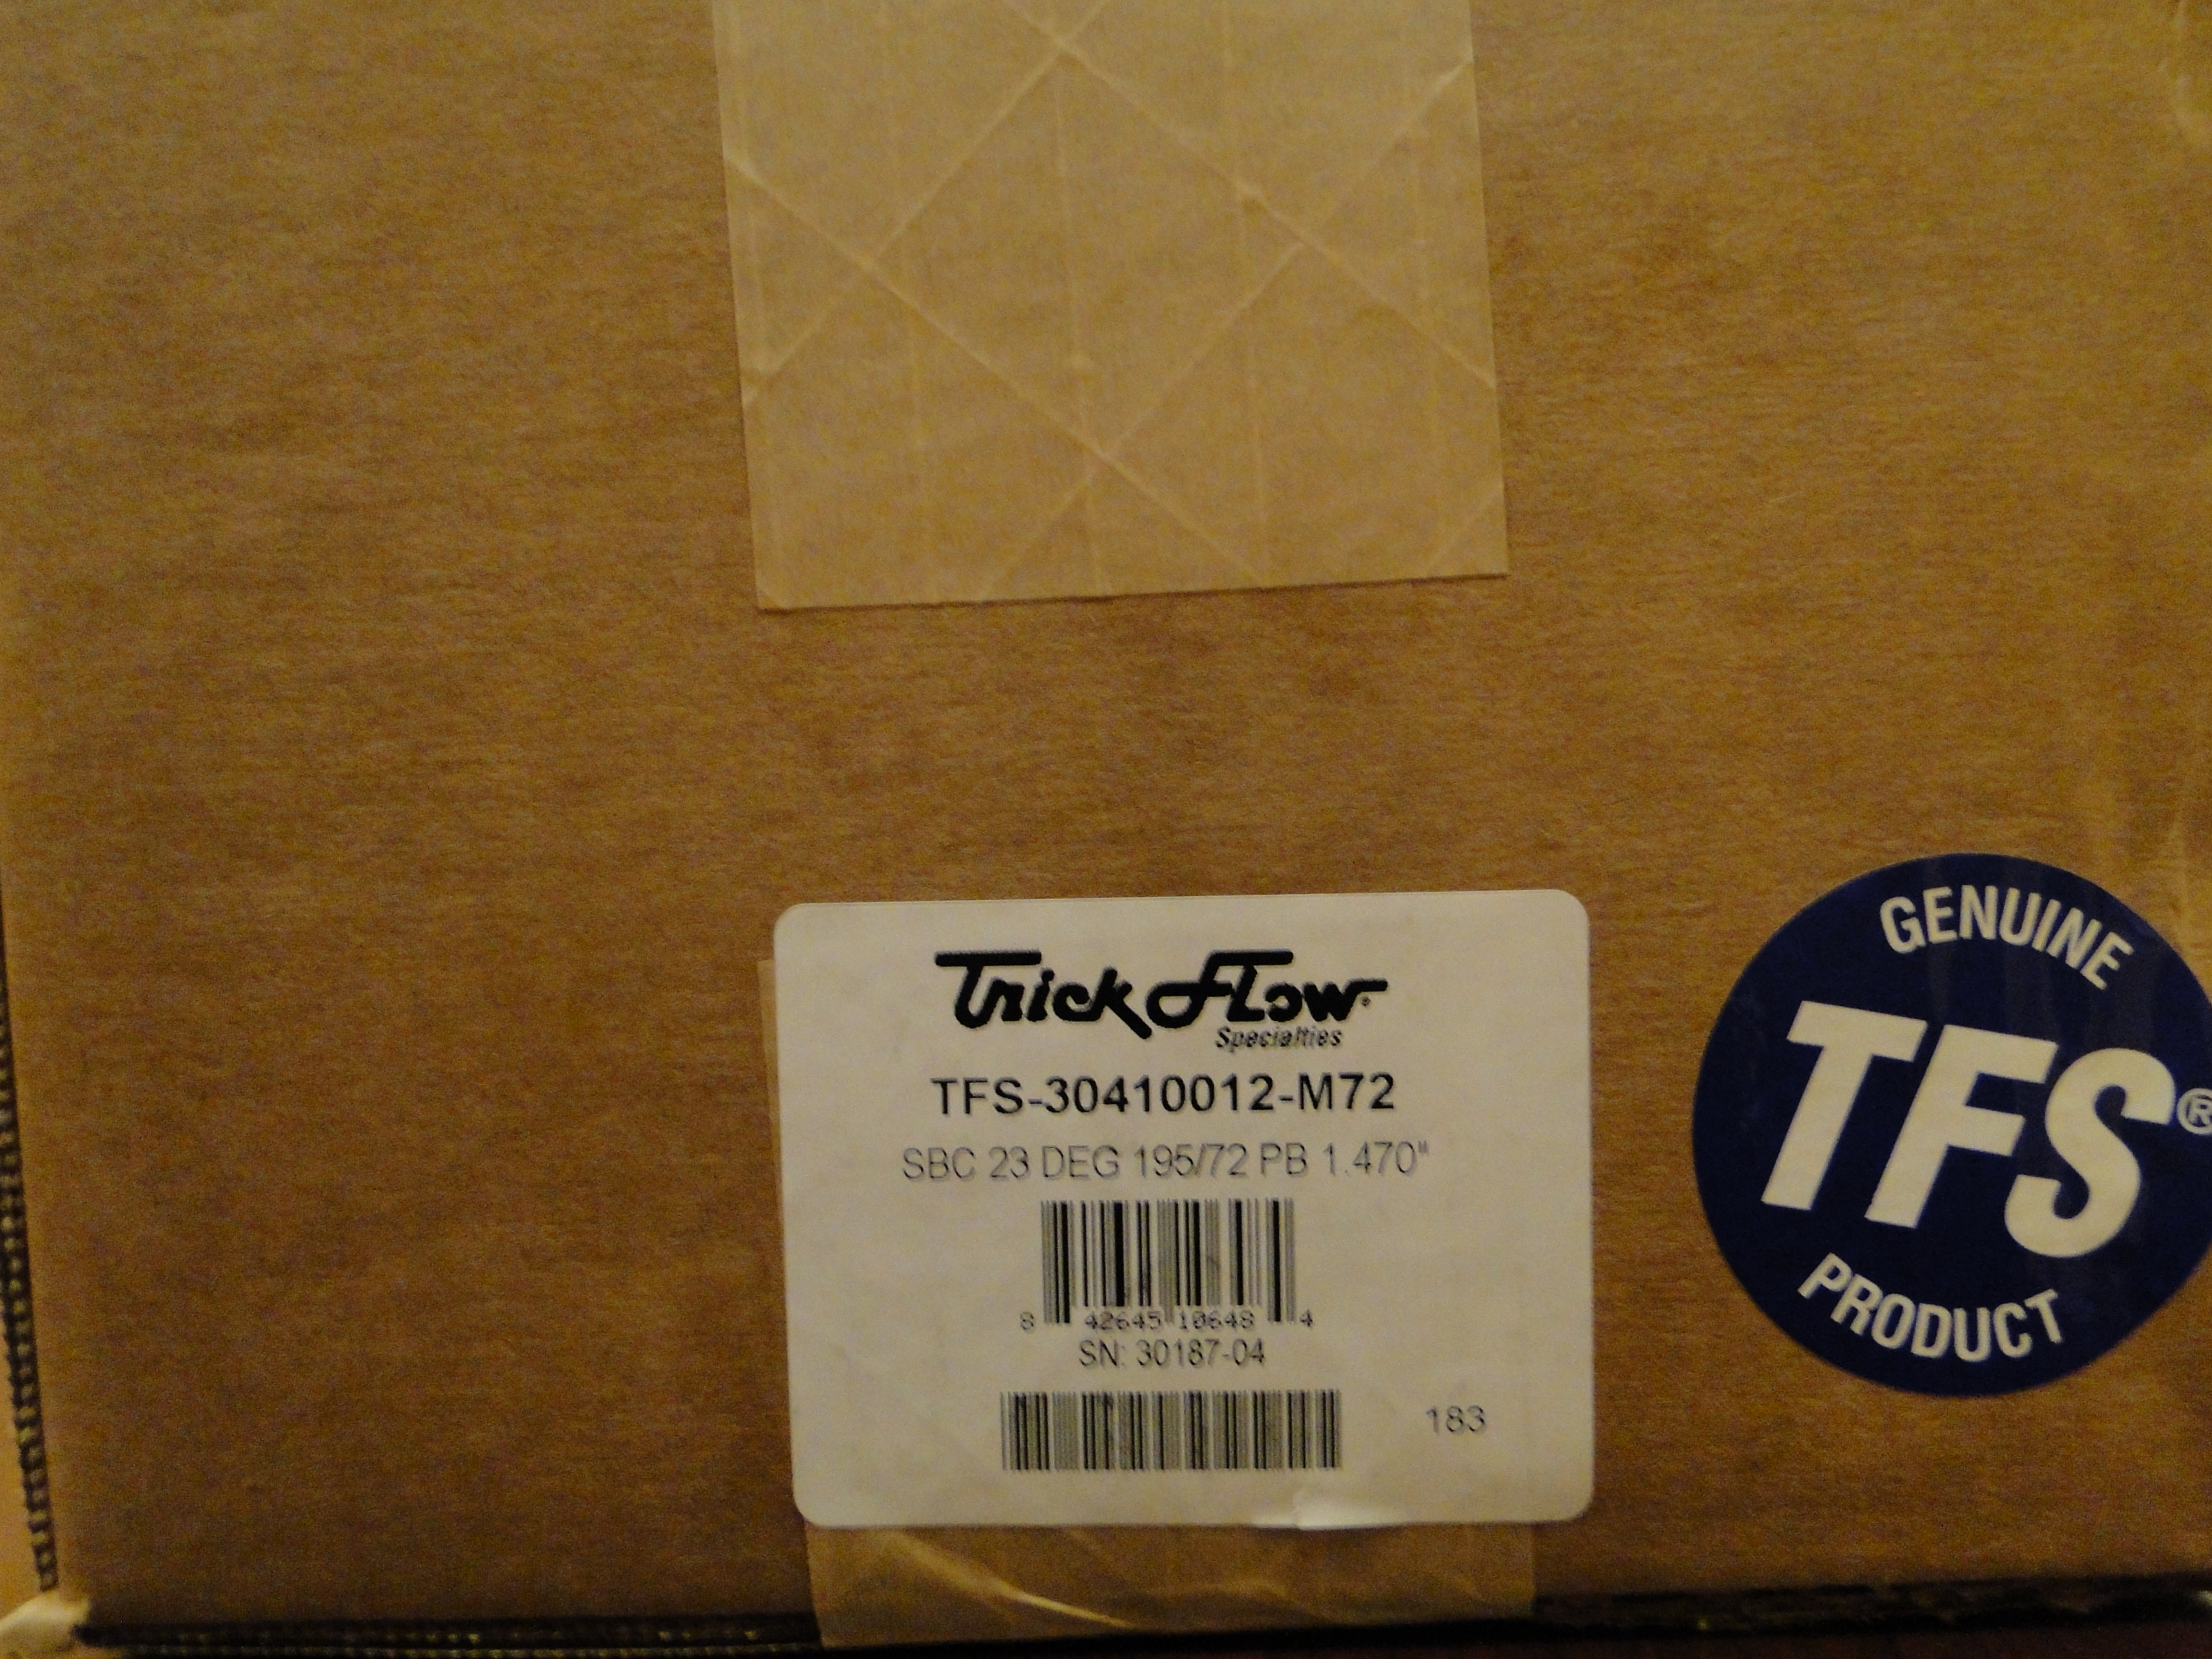
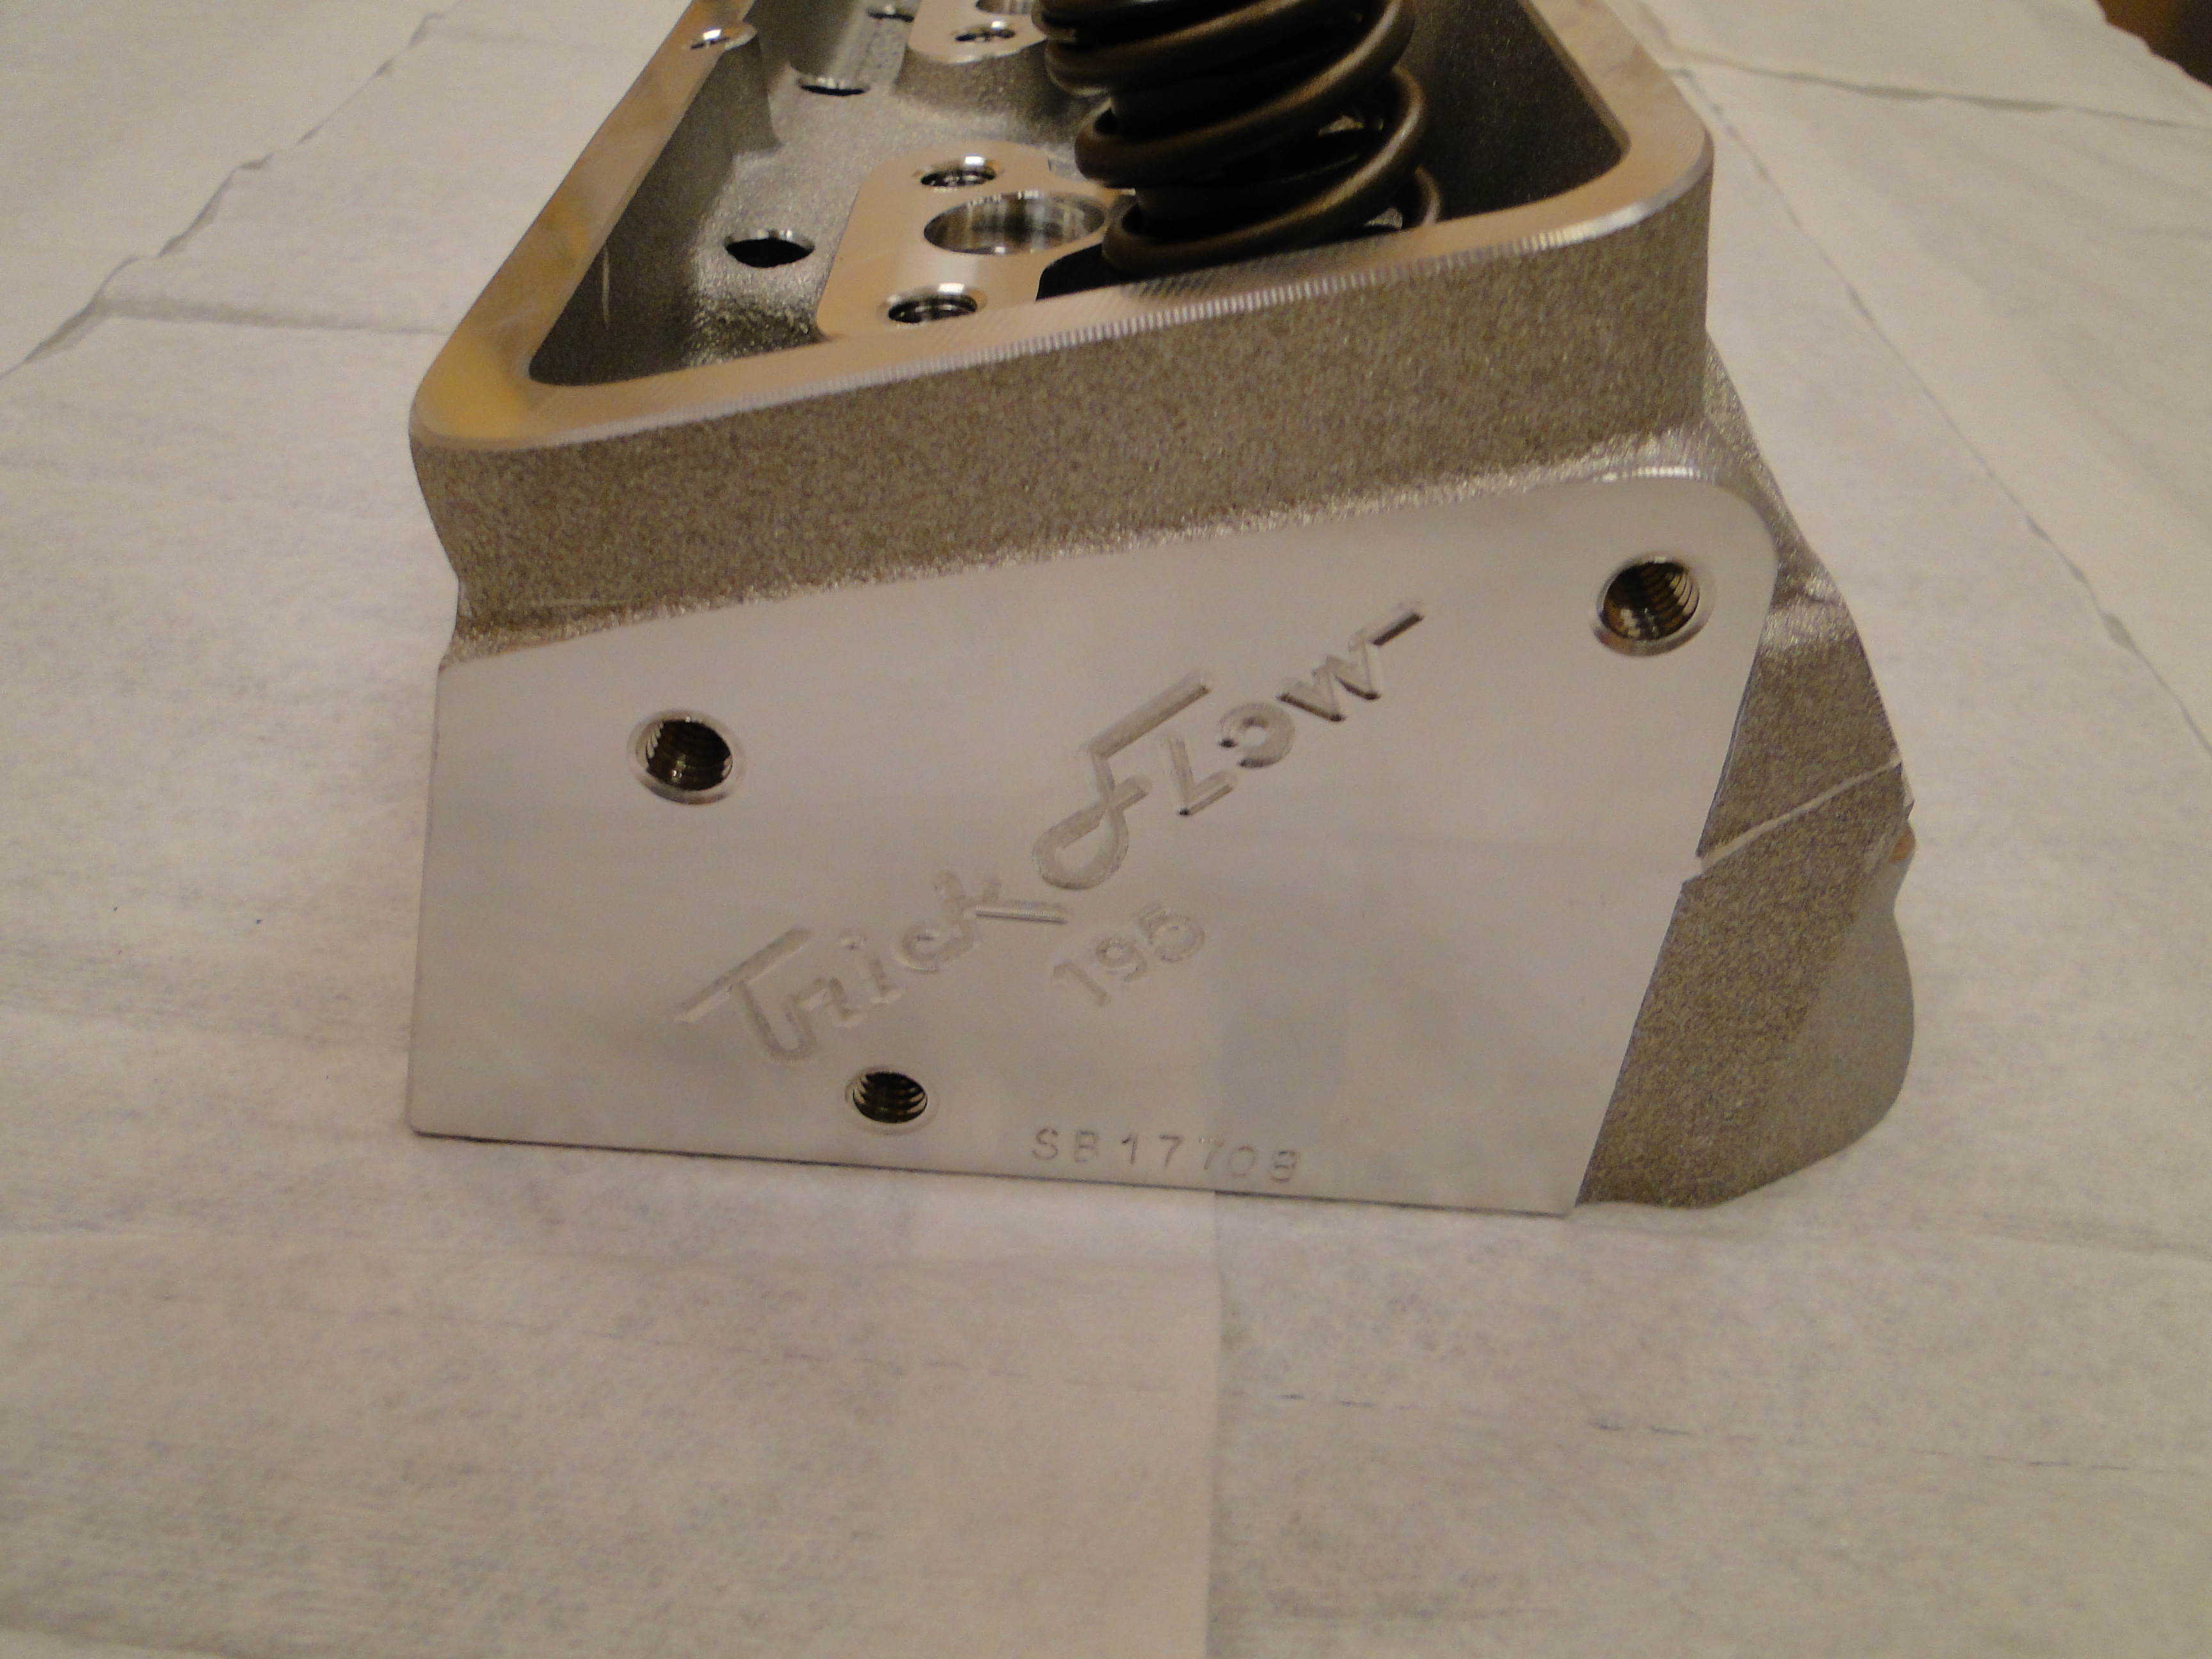
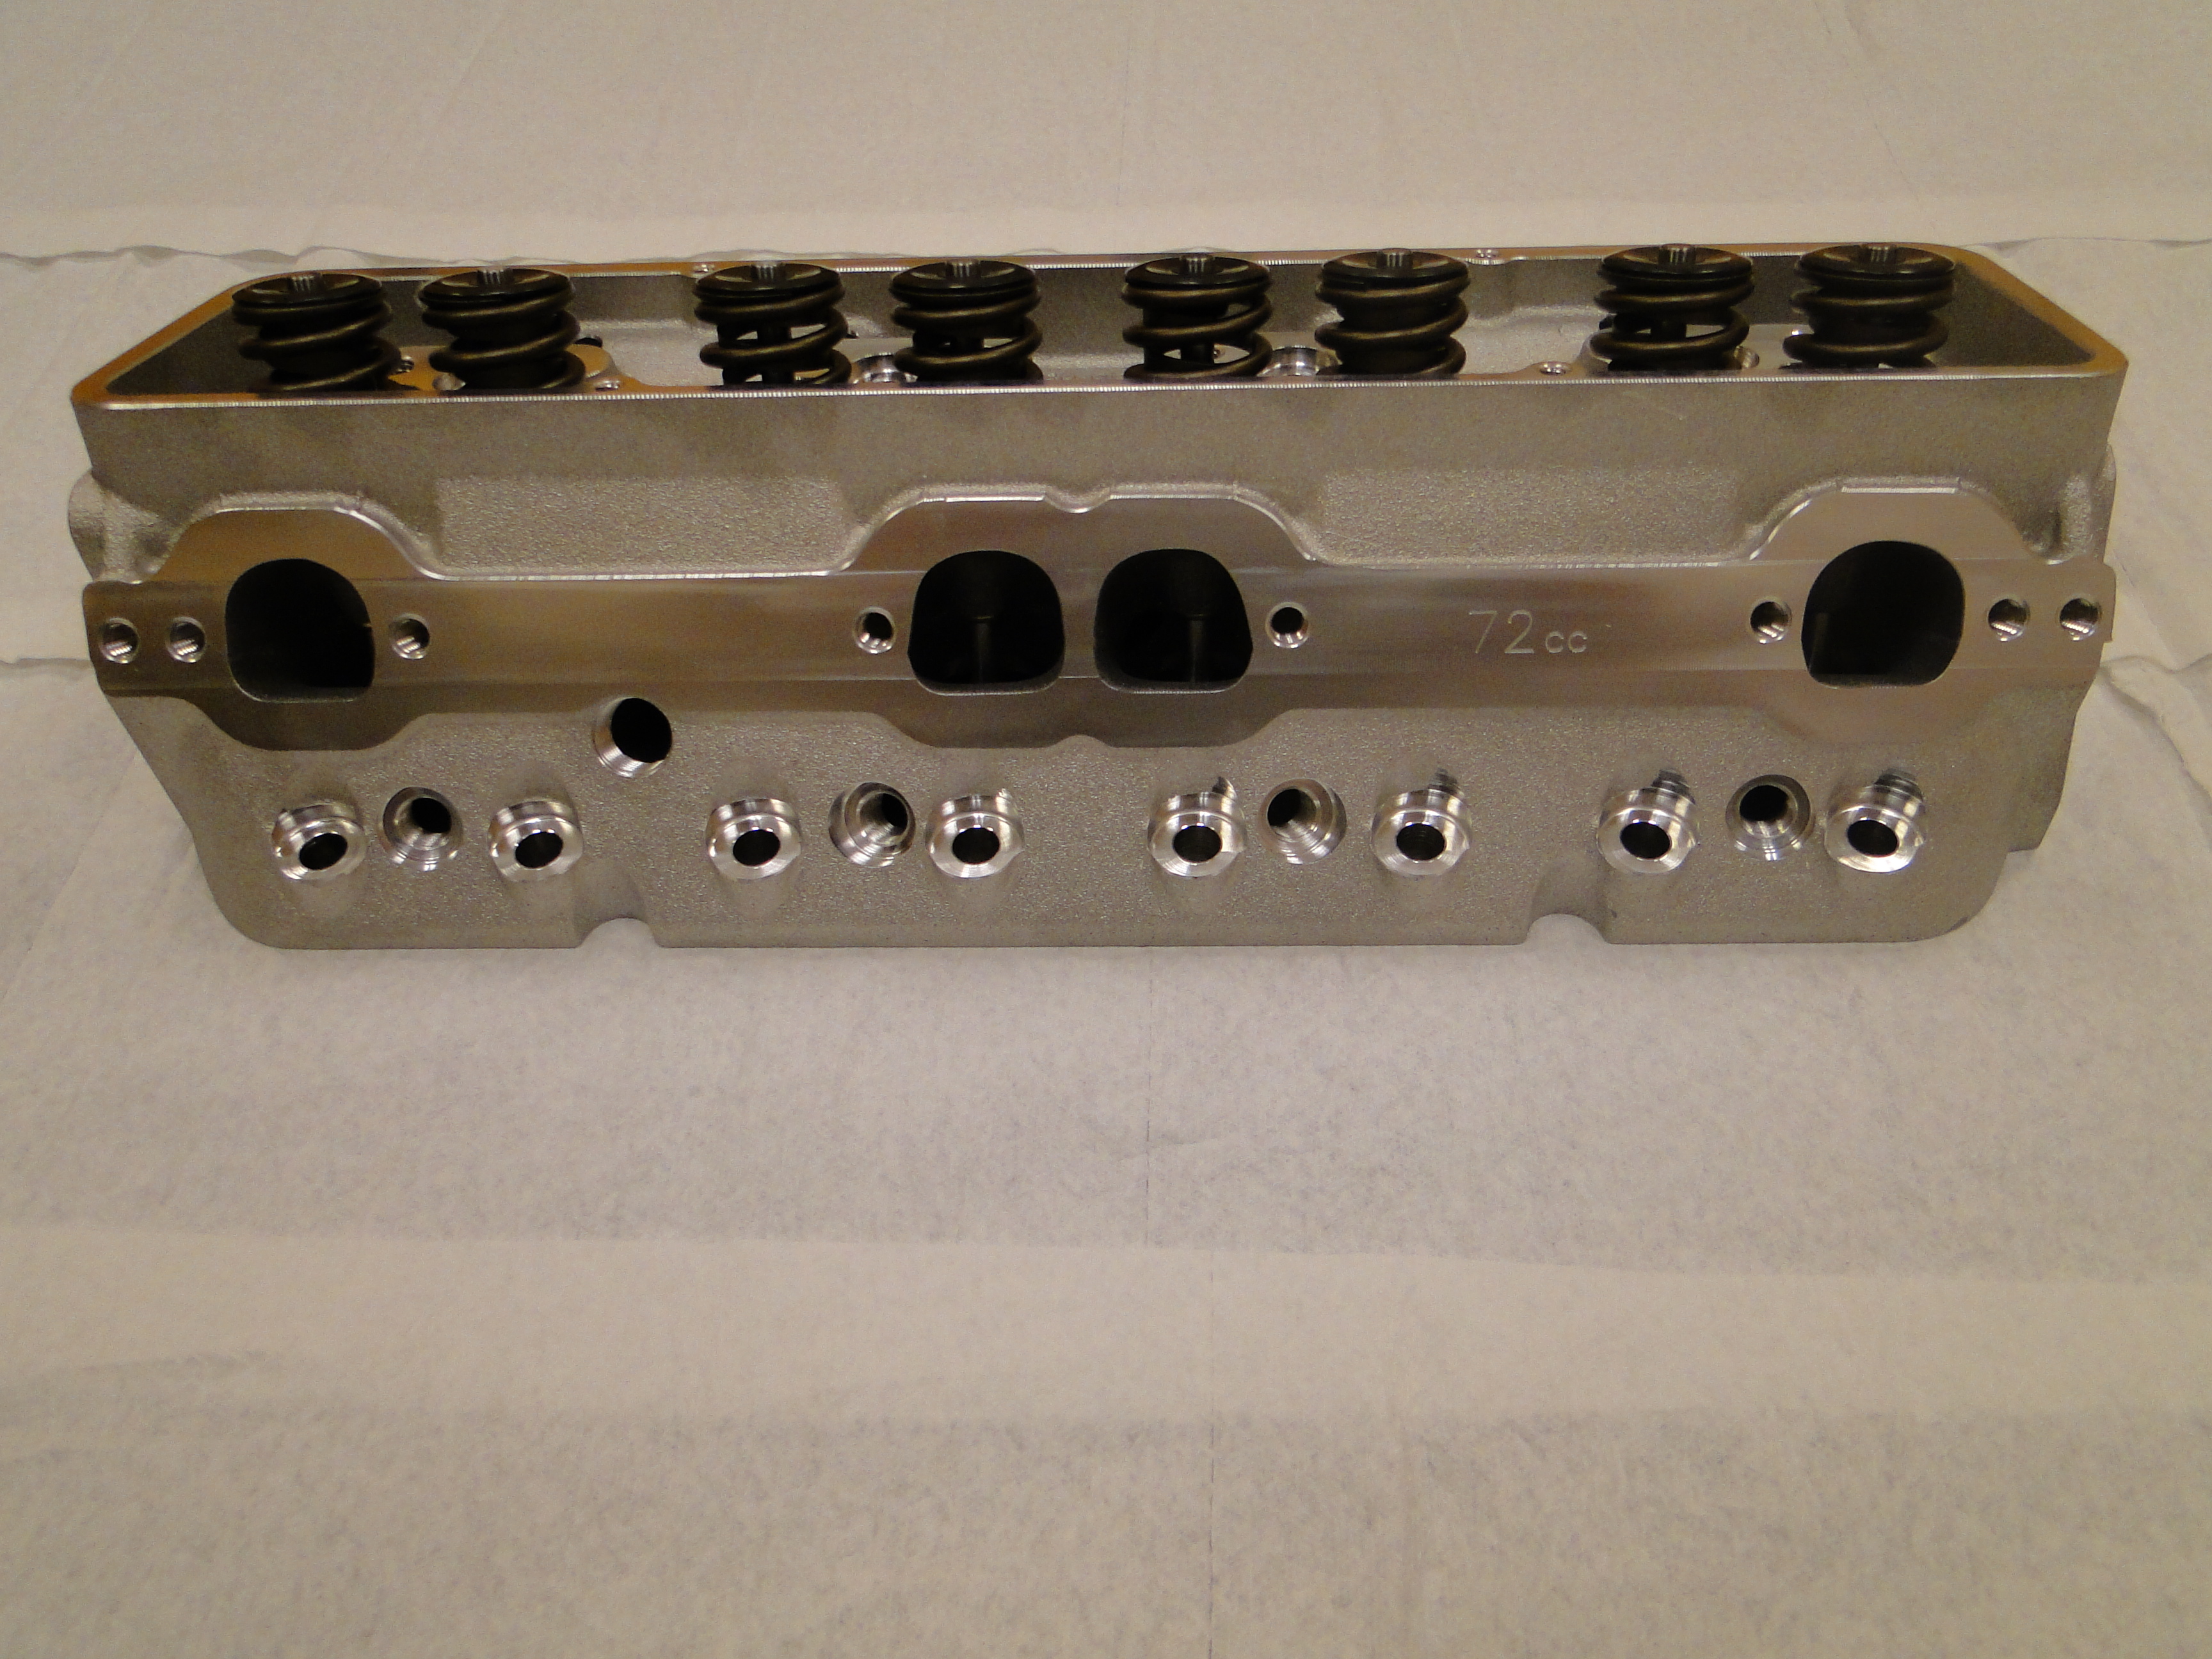
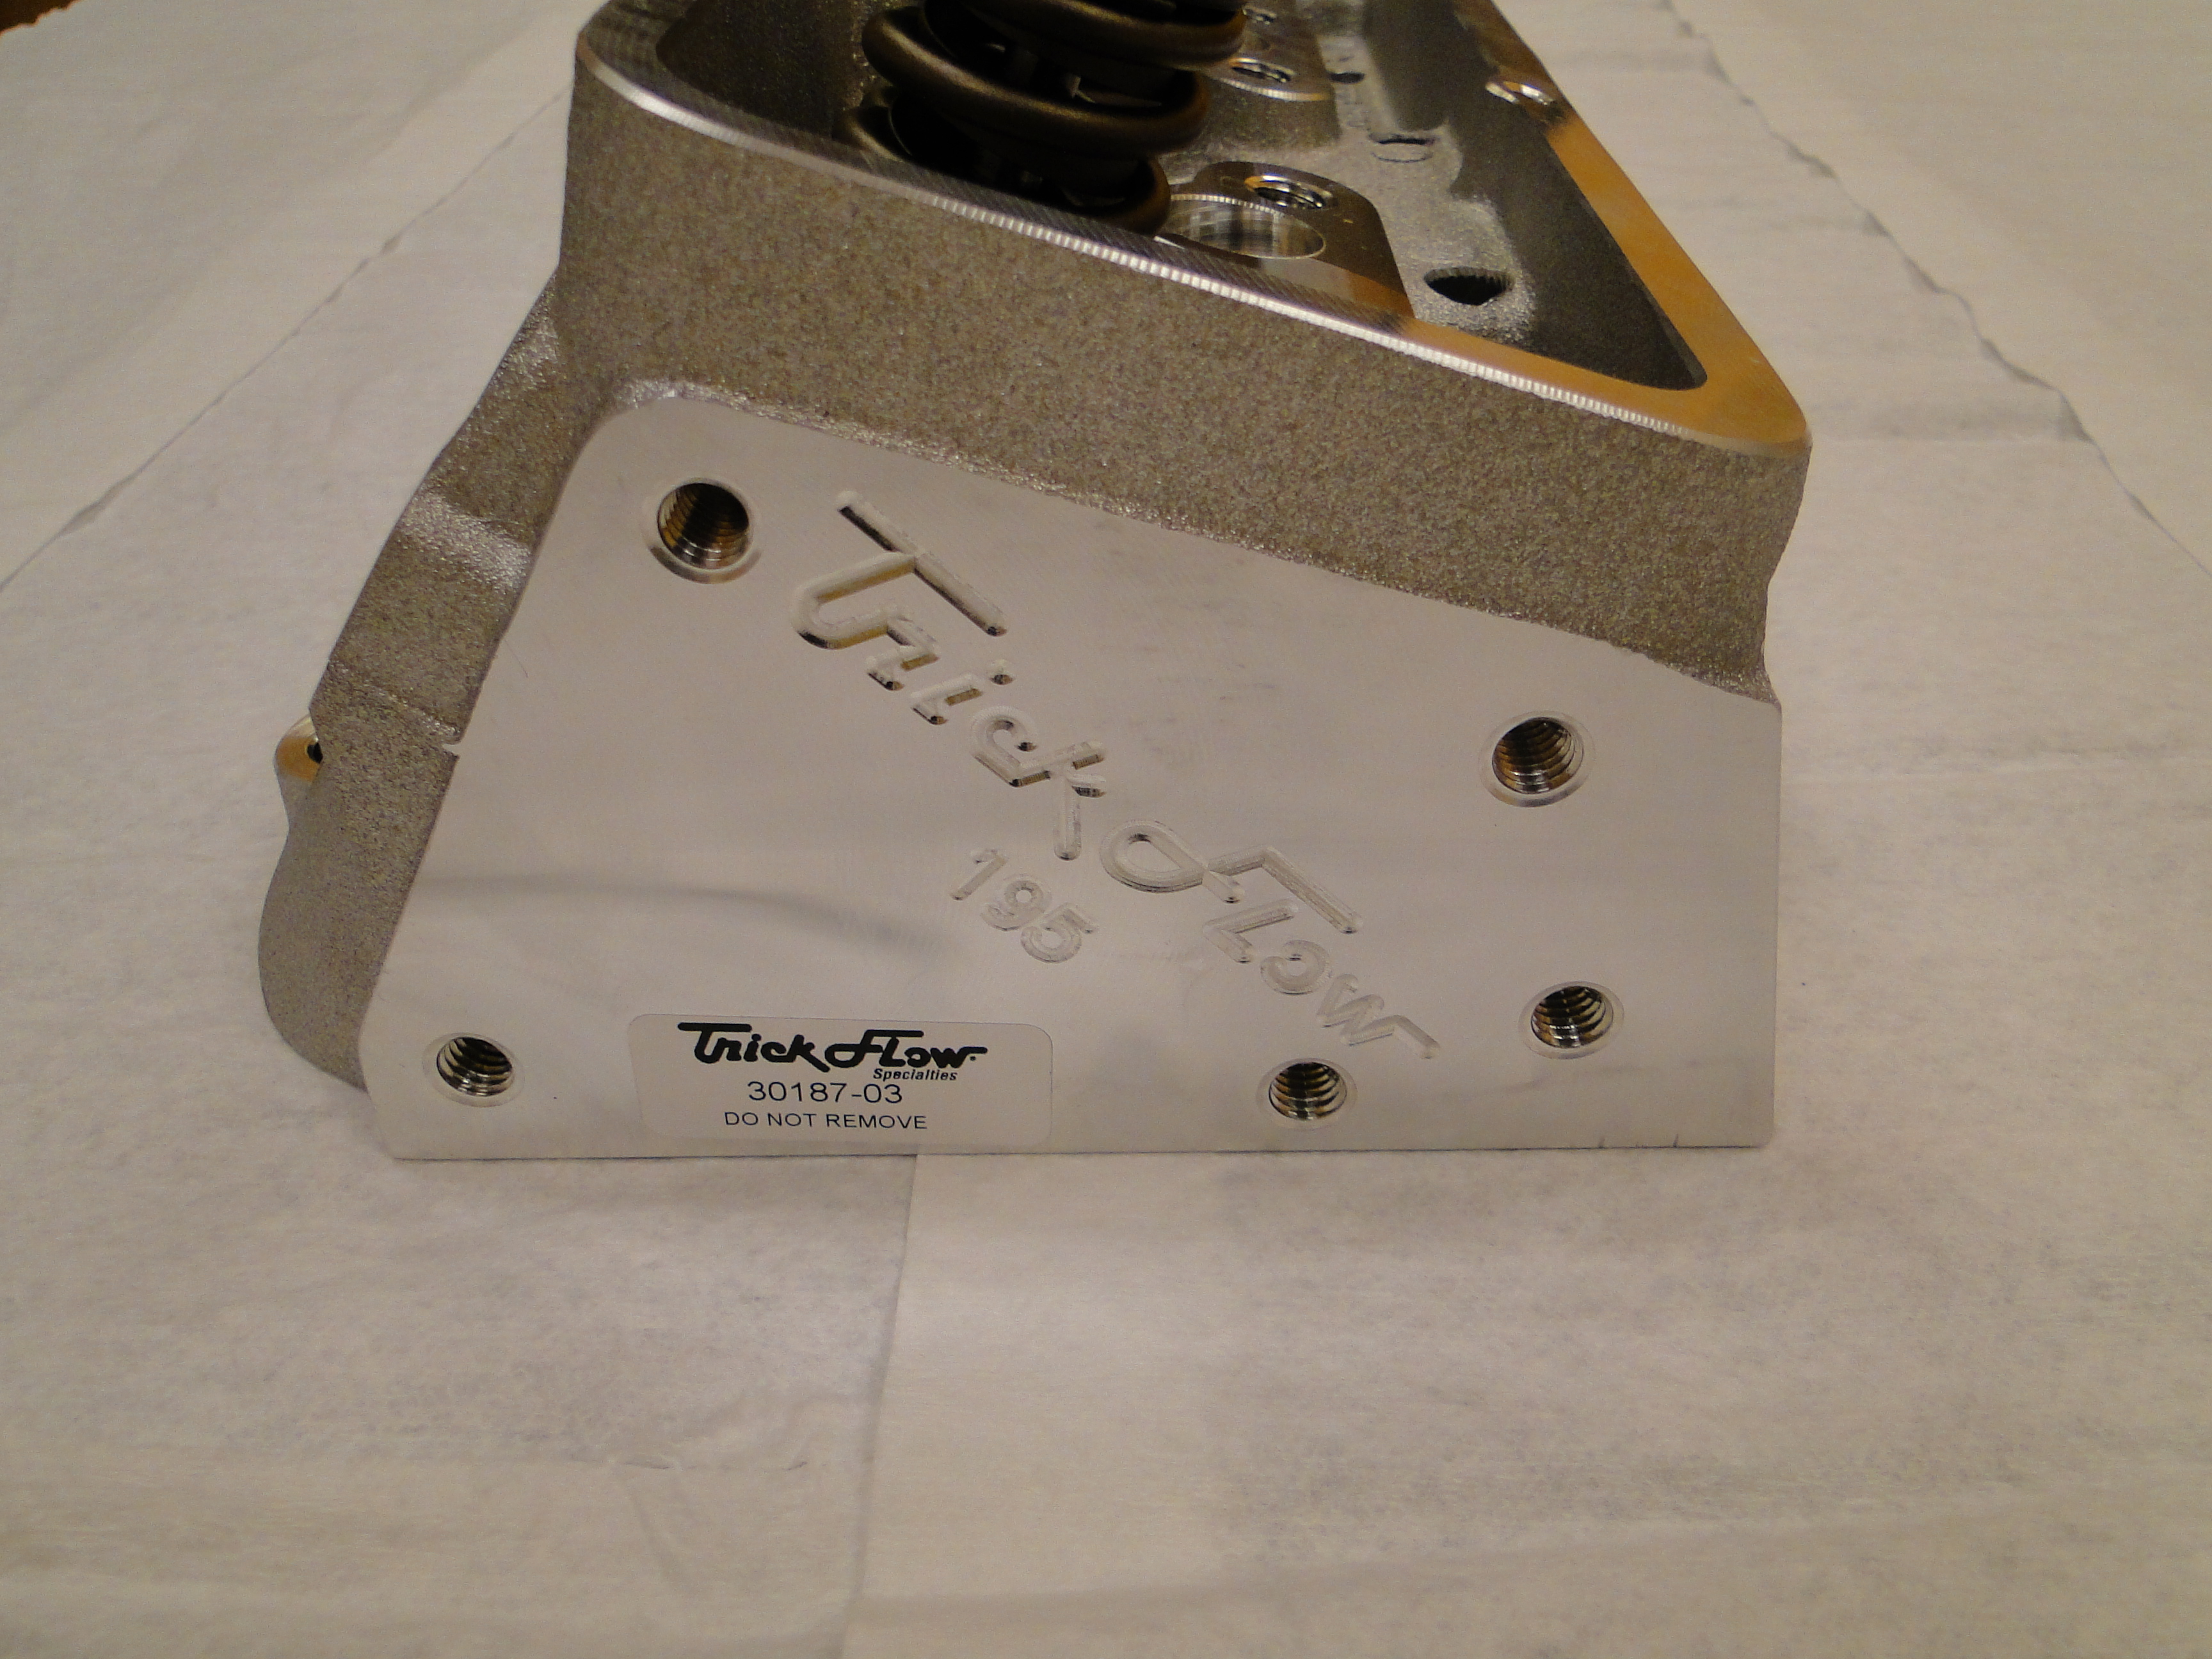
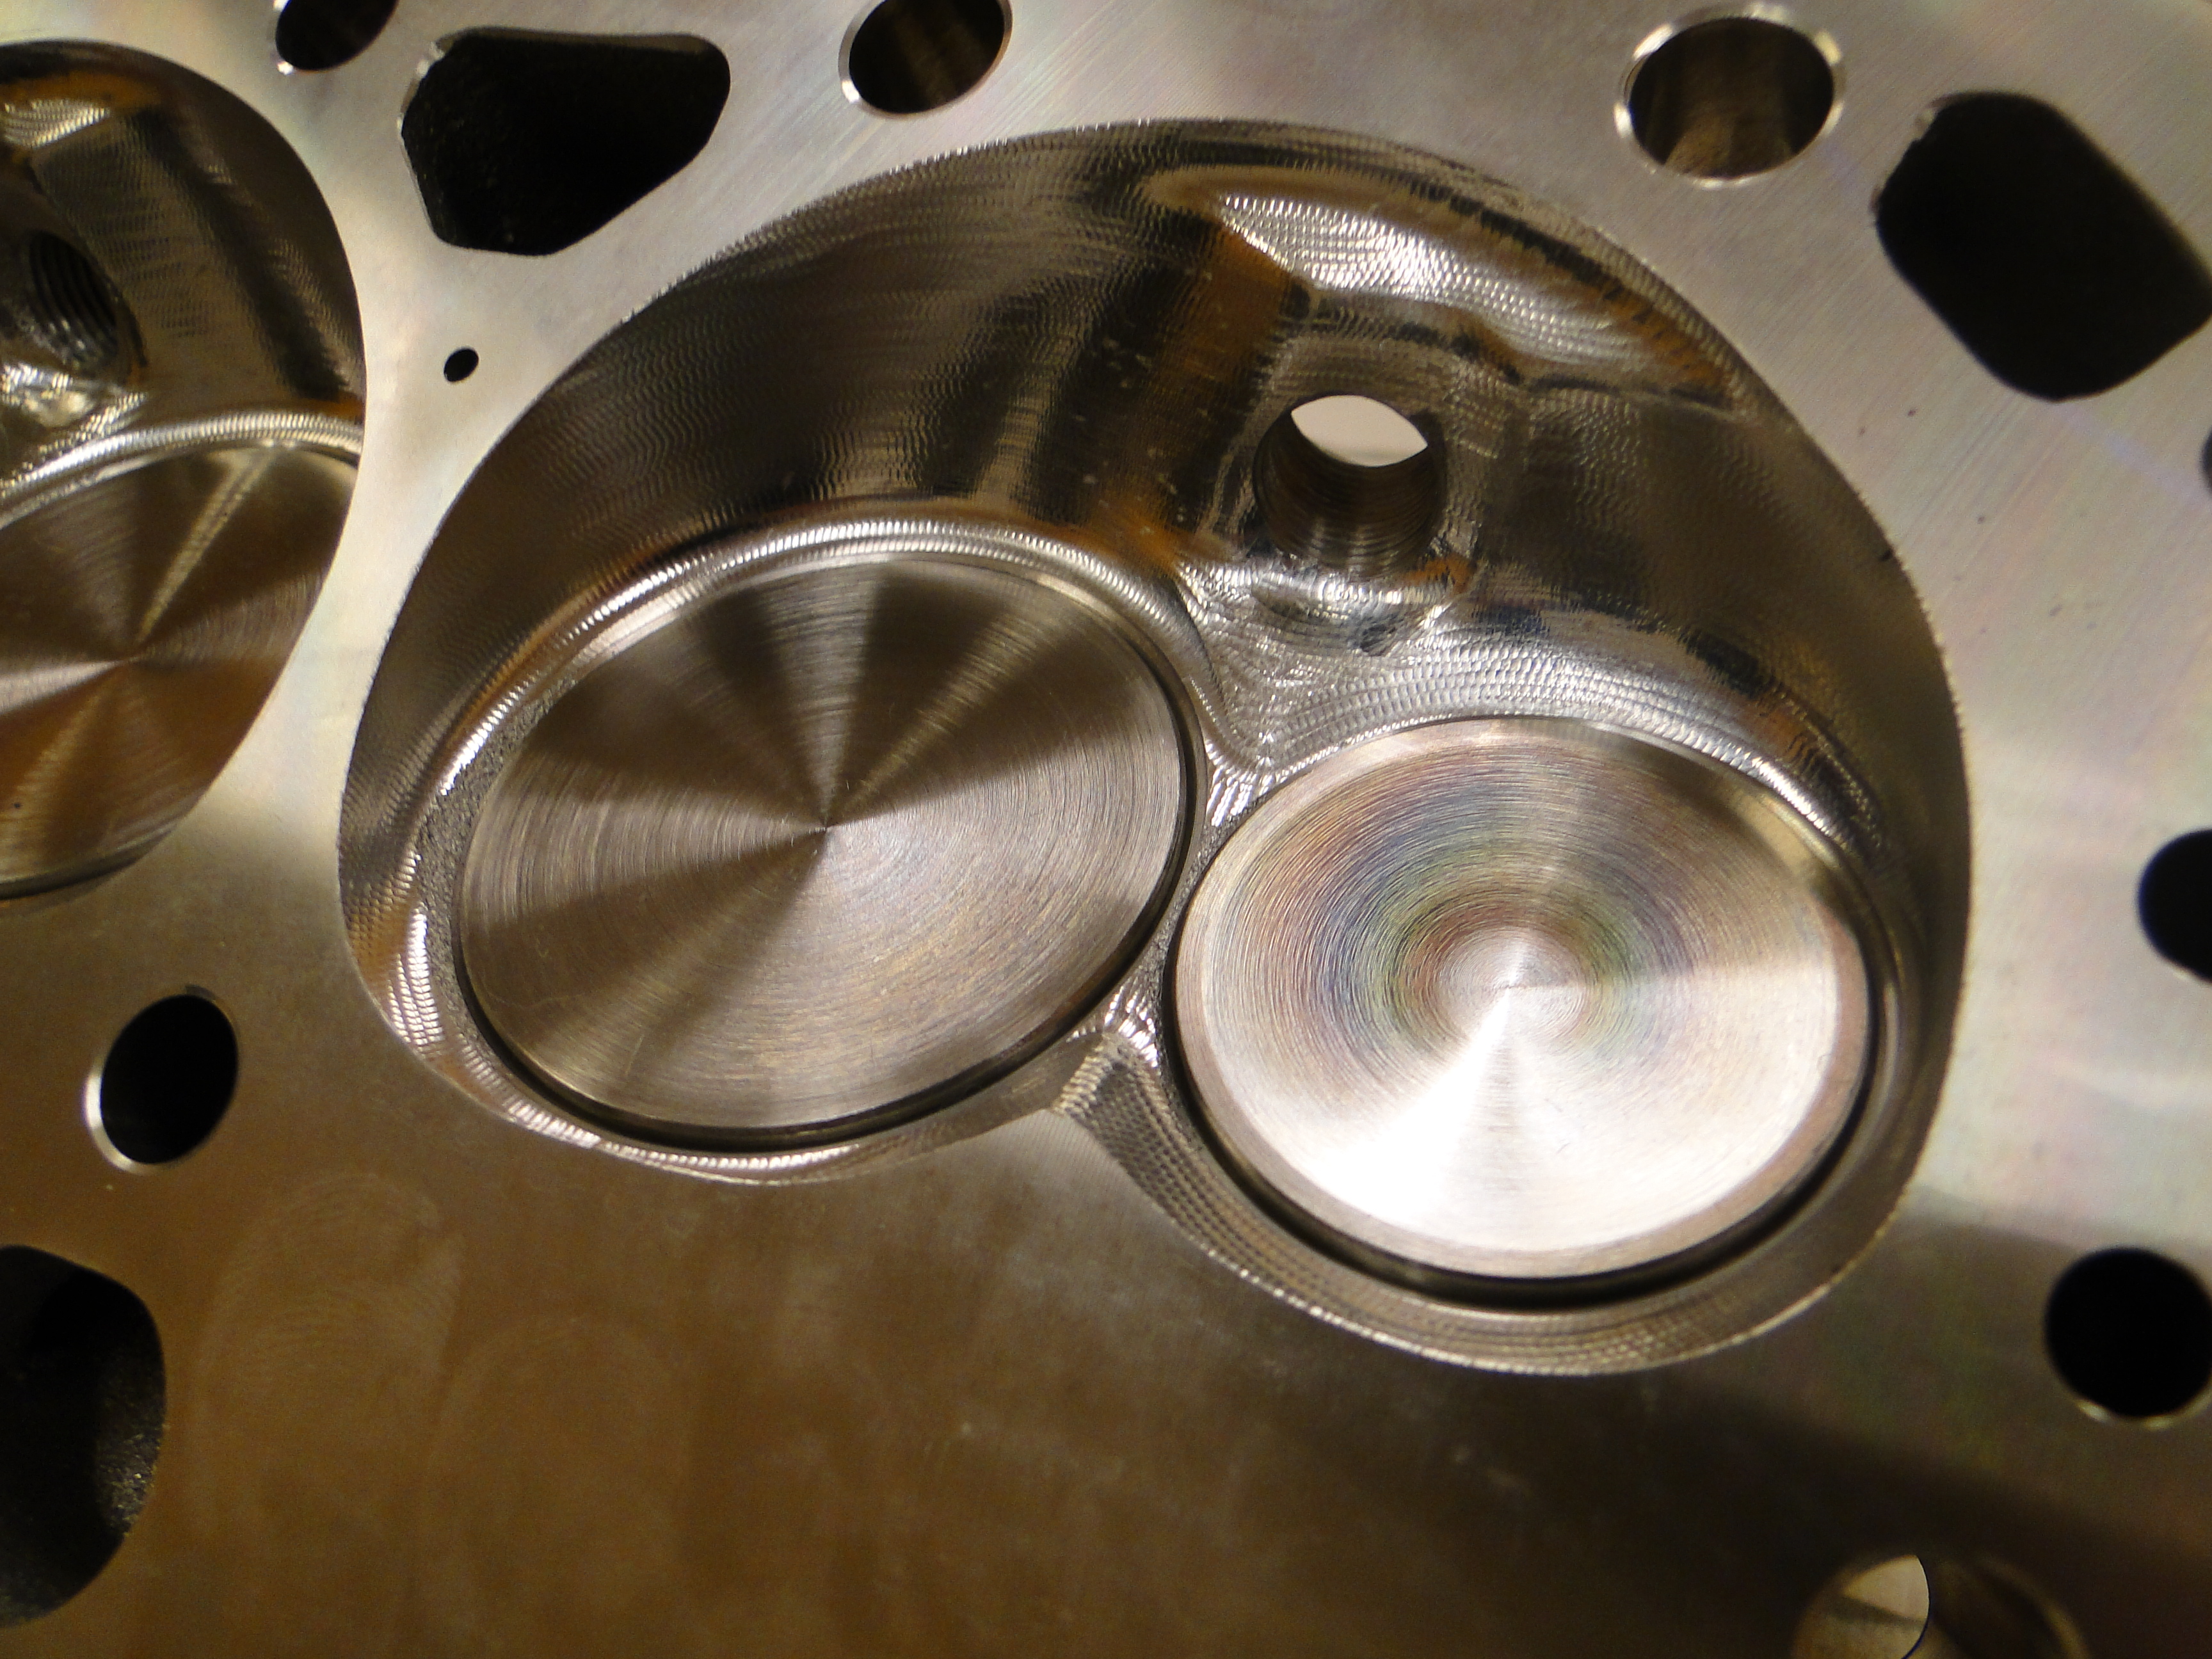
To use the bigger camshaft I have to replace both cylinder heads because the current cylinder heads do not have enough clearance to accommodate the new higher cam lift. I wanted to get the Trickflow aluminum racing heads and Jim wanted to increase the compression ratio for some more horse power. In order to do this we needed to get the head size from the old cast iron heads, which he measured to be at 74.4cc. So then Jim ordered the new Trickflow 72cc aluminum racing heads. To be honest these Trickflow aluminum racing heads are beautiful to look at, and I just hope they perform just as well.
Click any picture to enlarge.
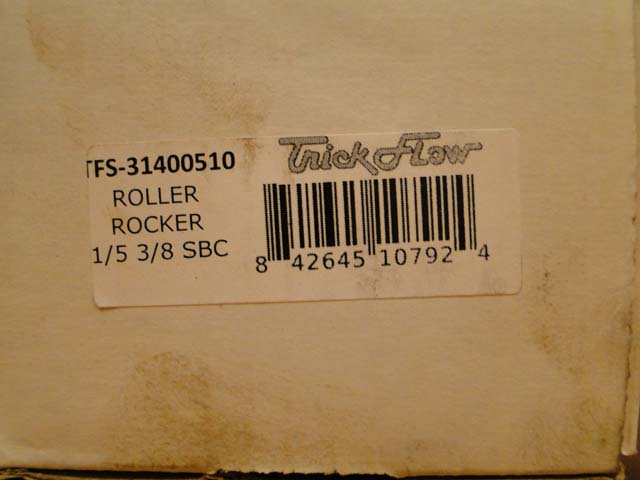
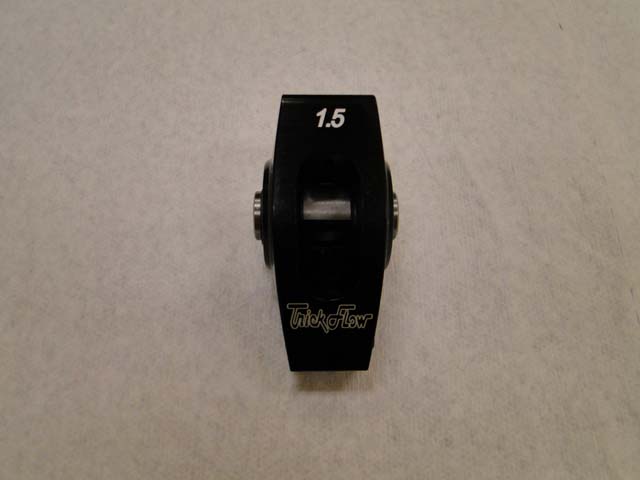
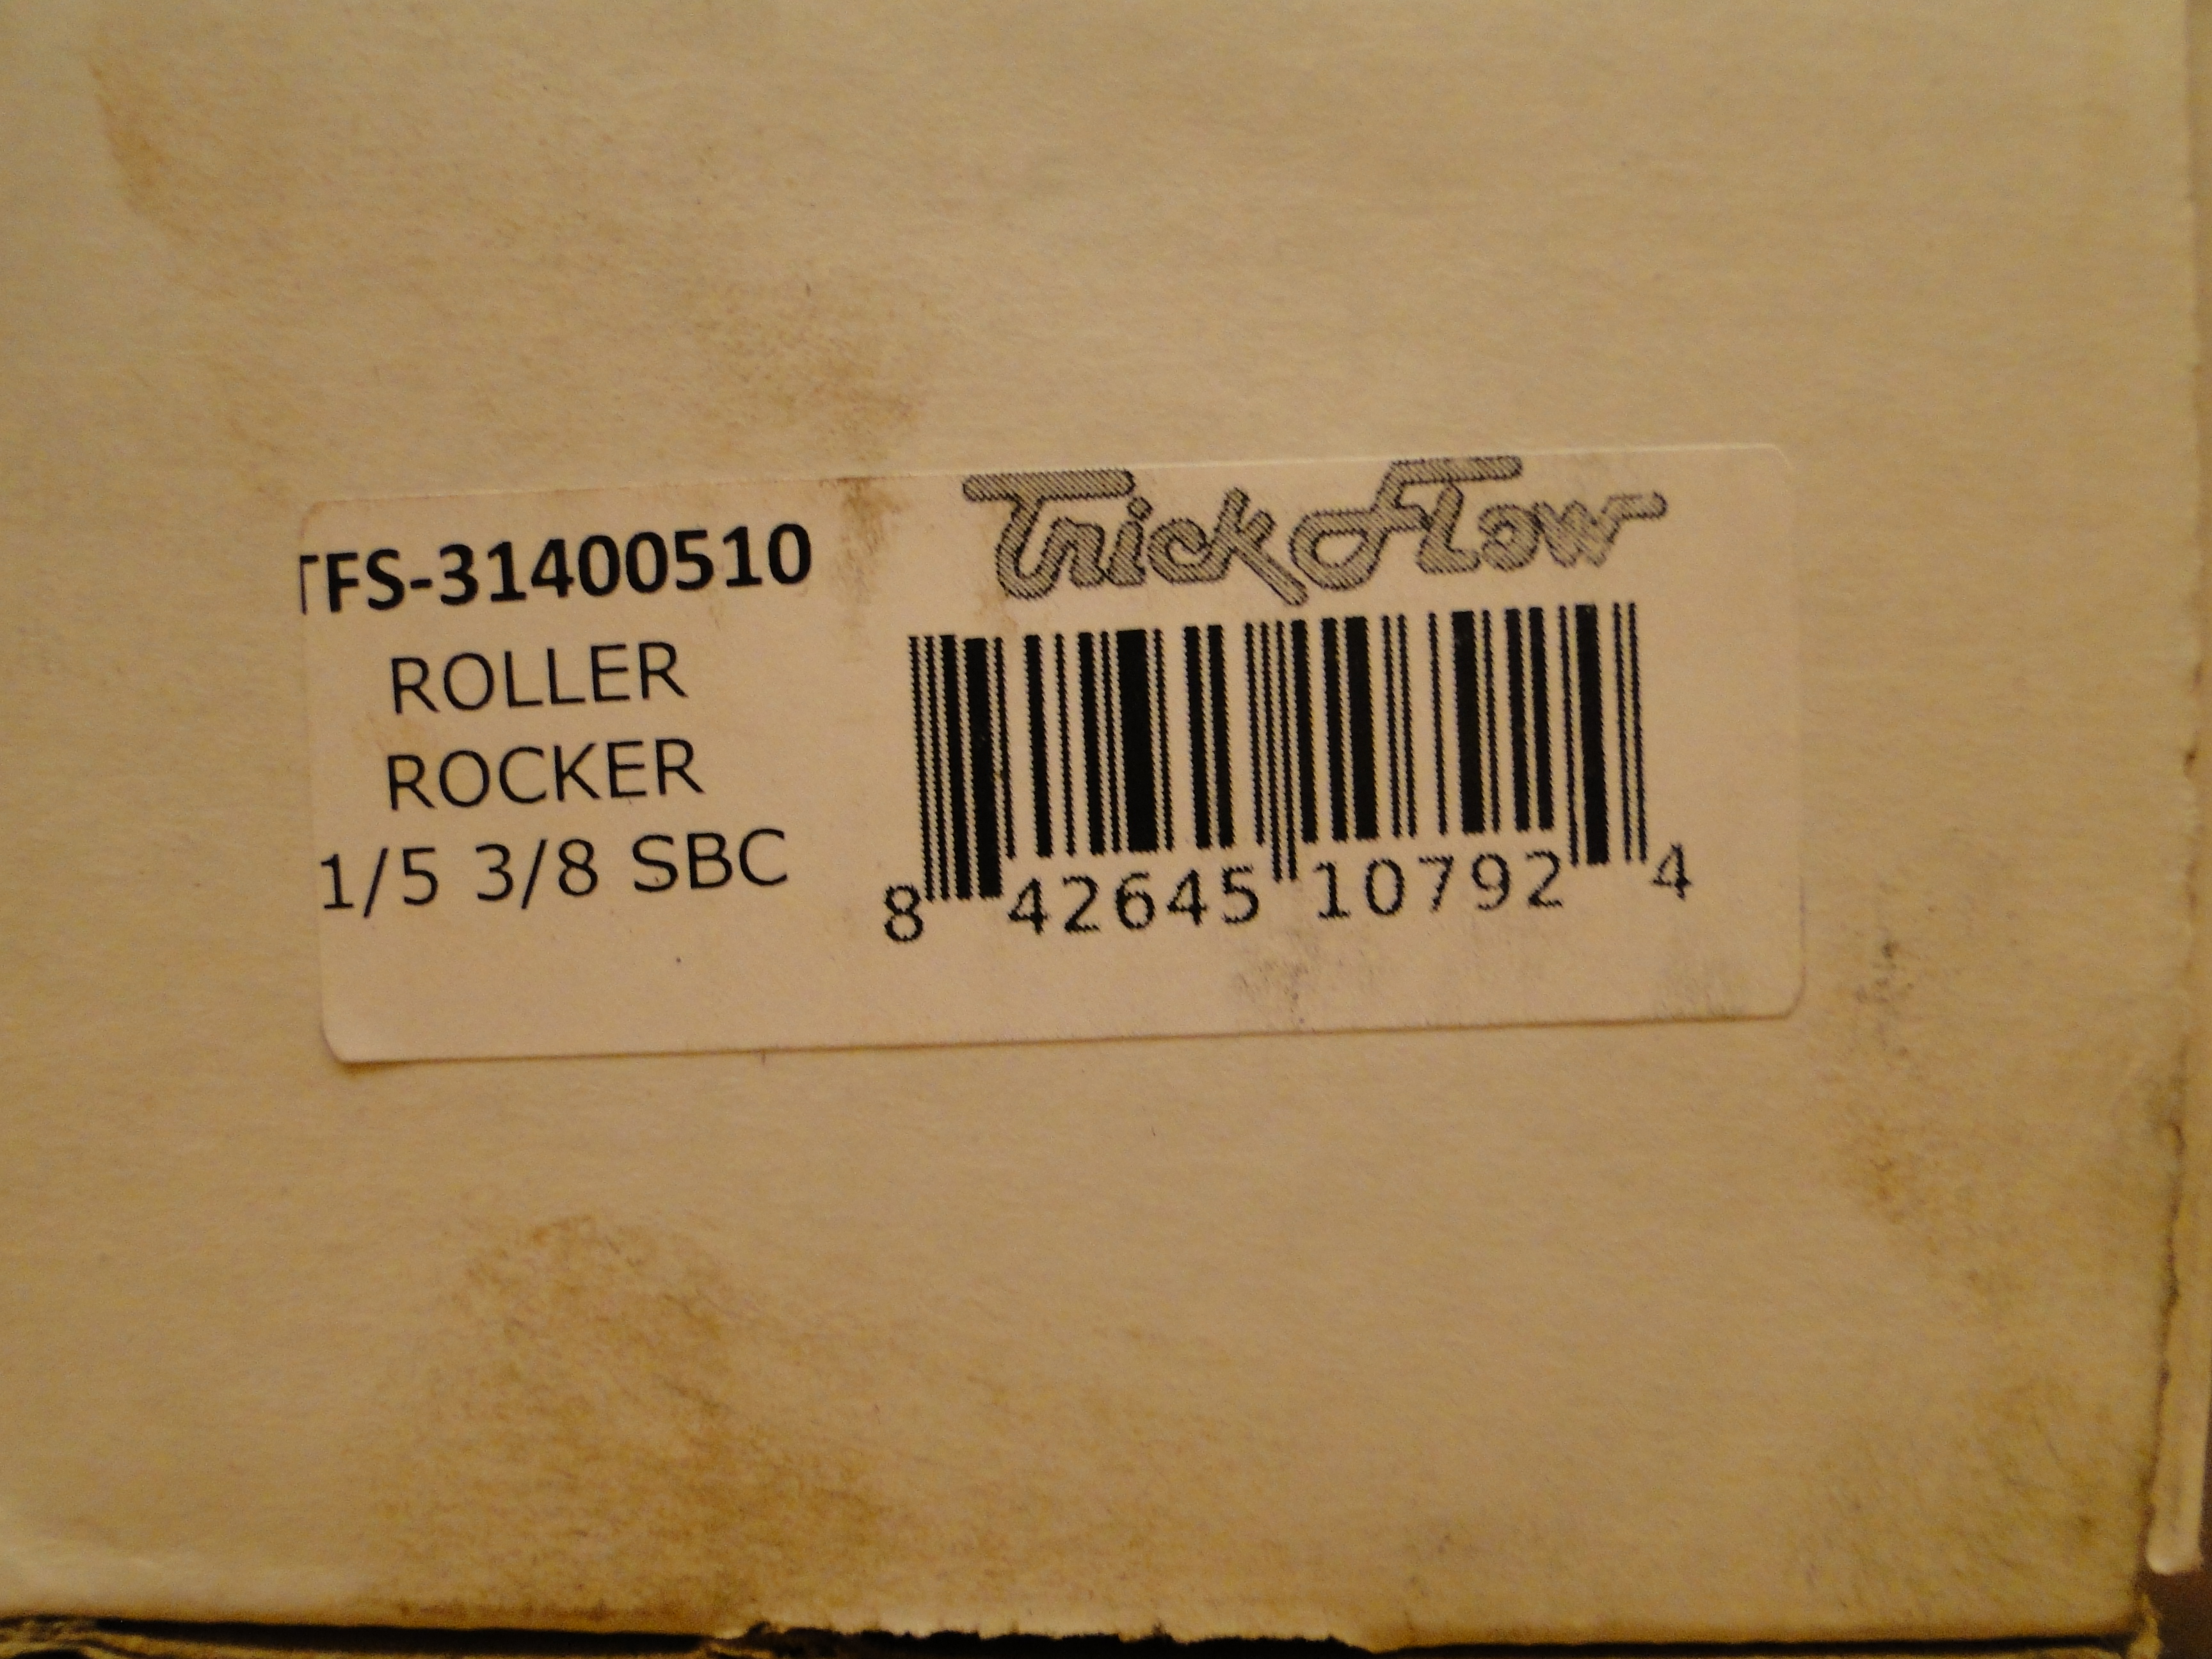
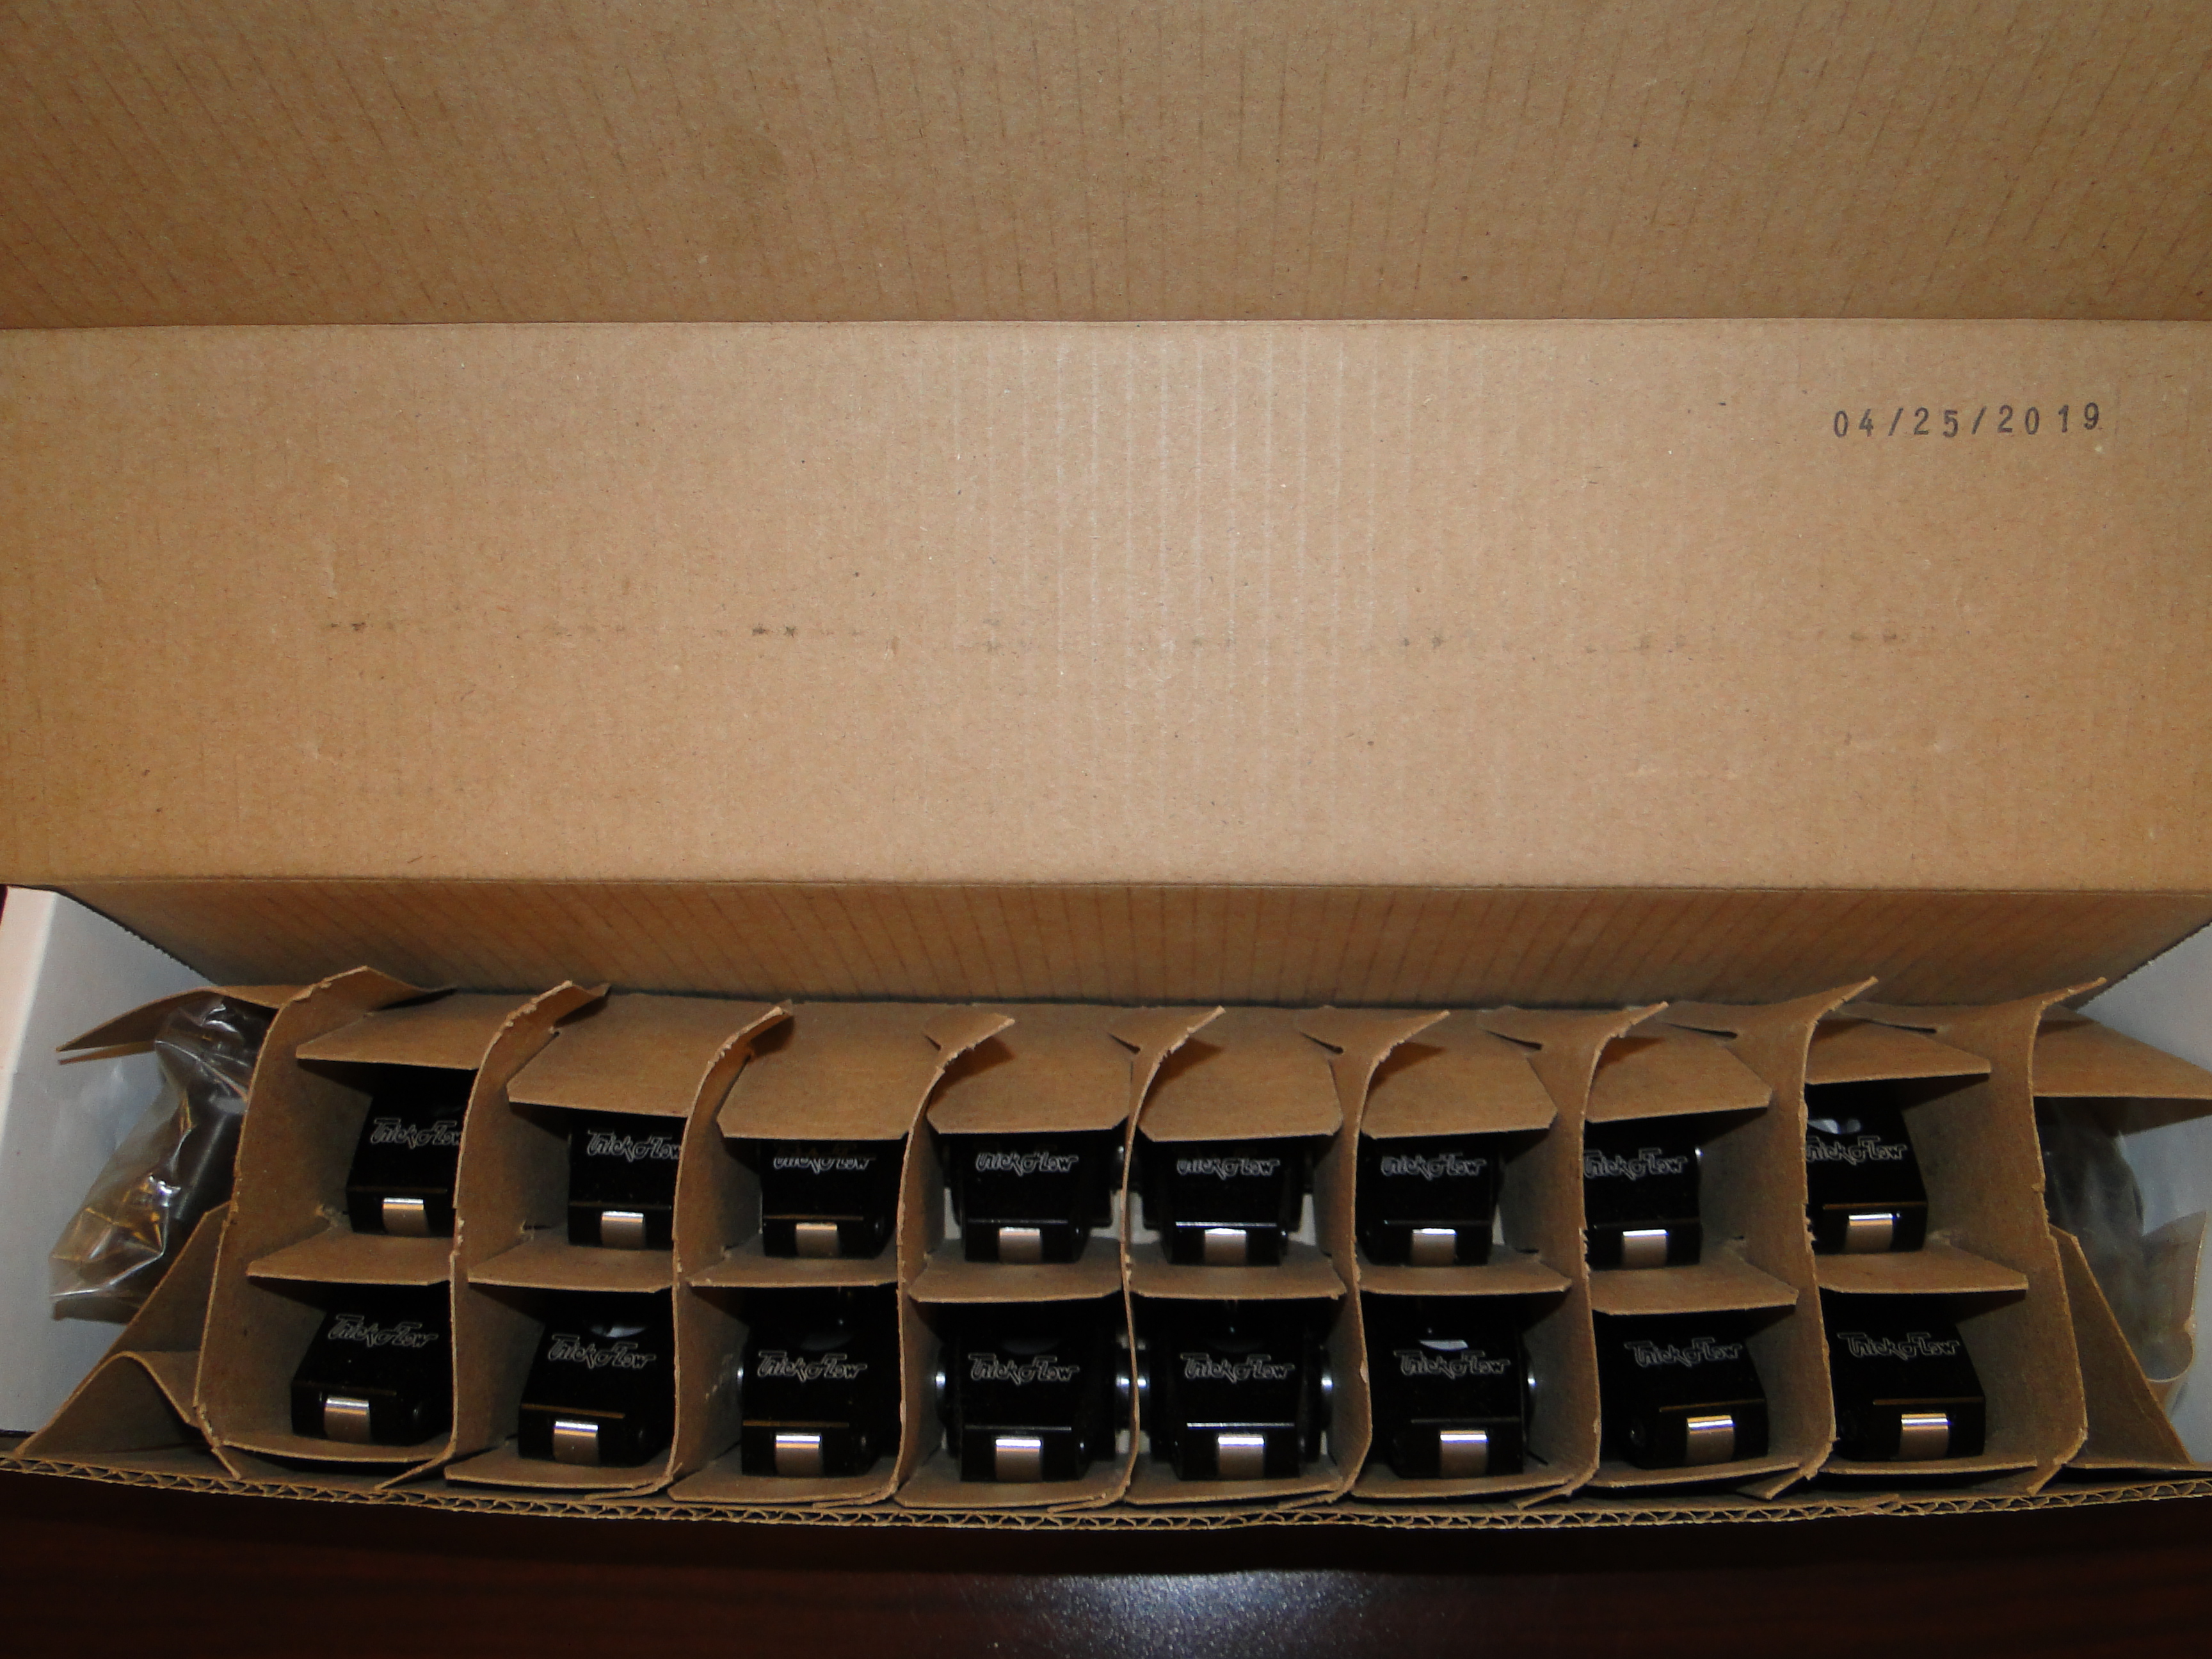
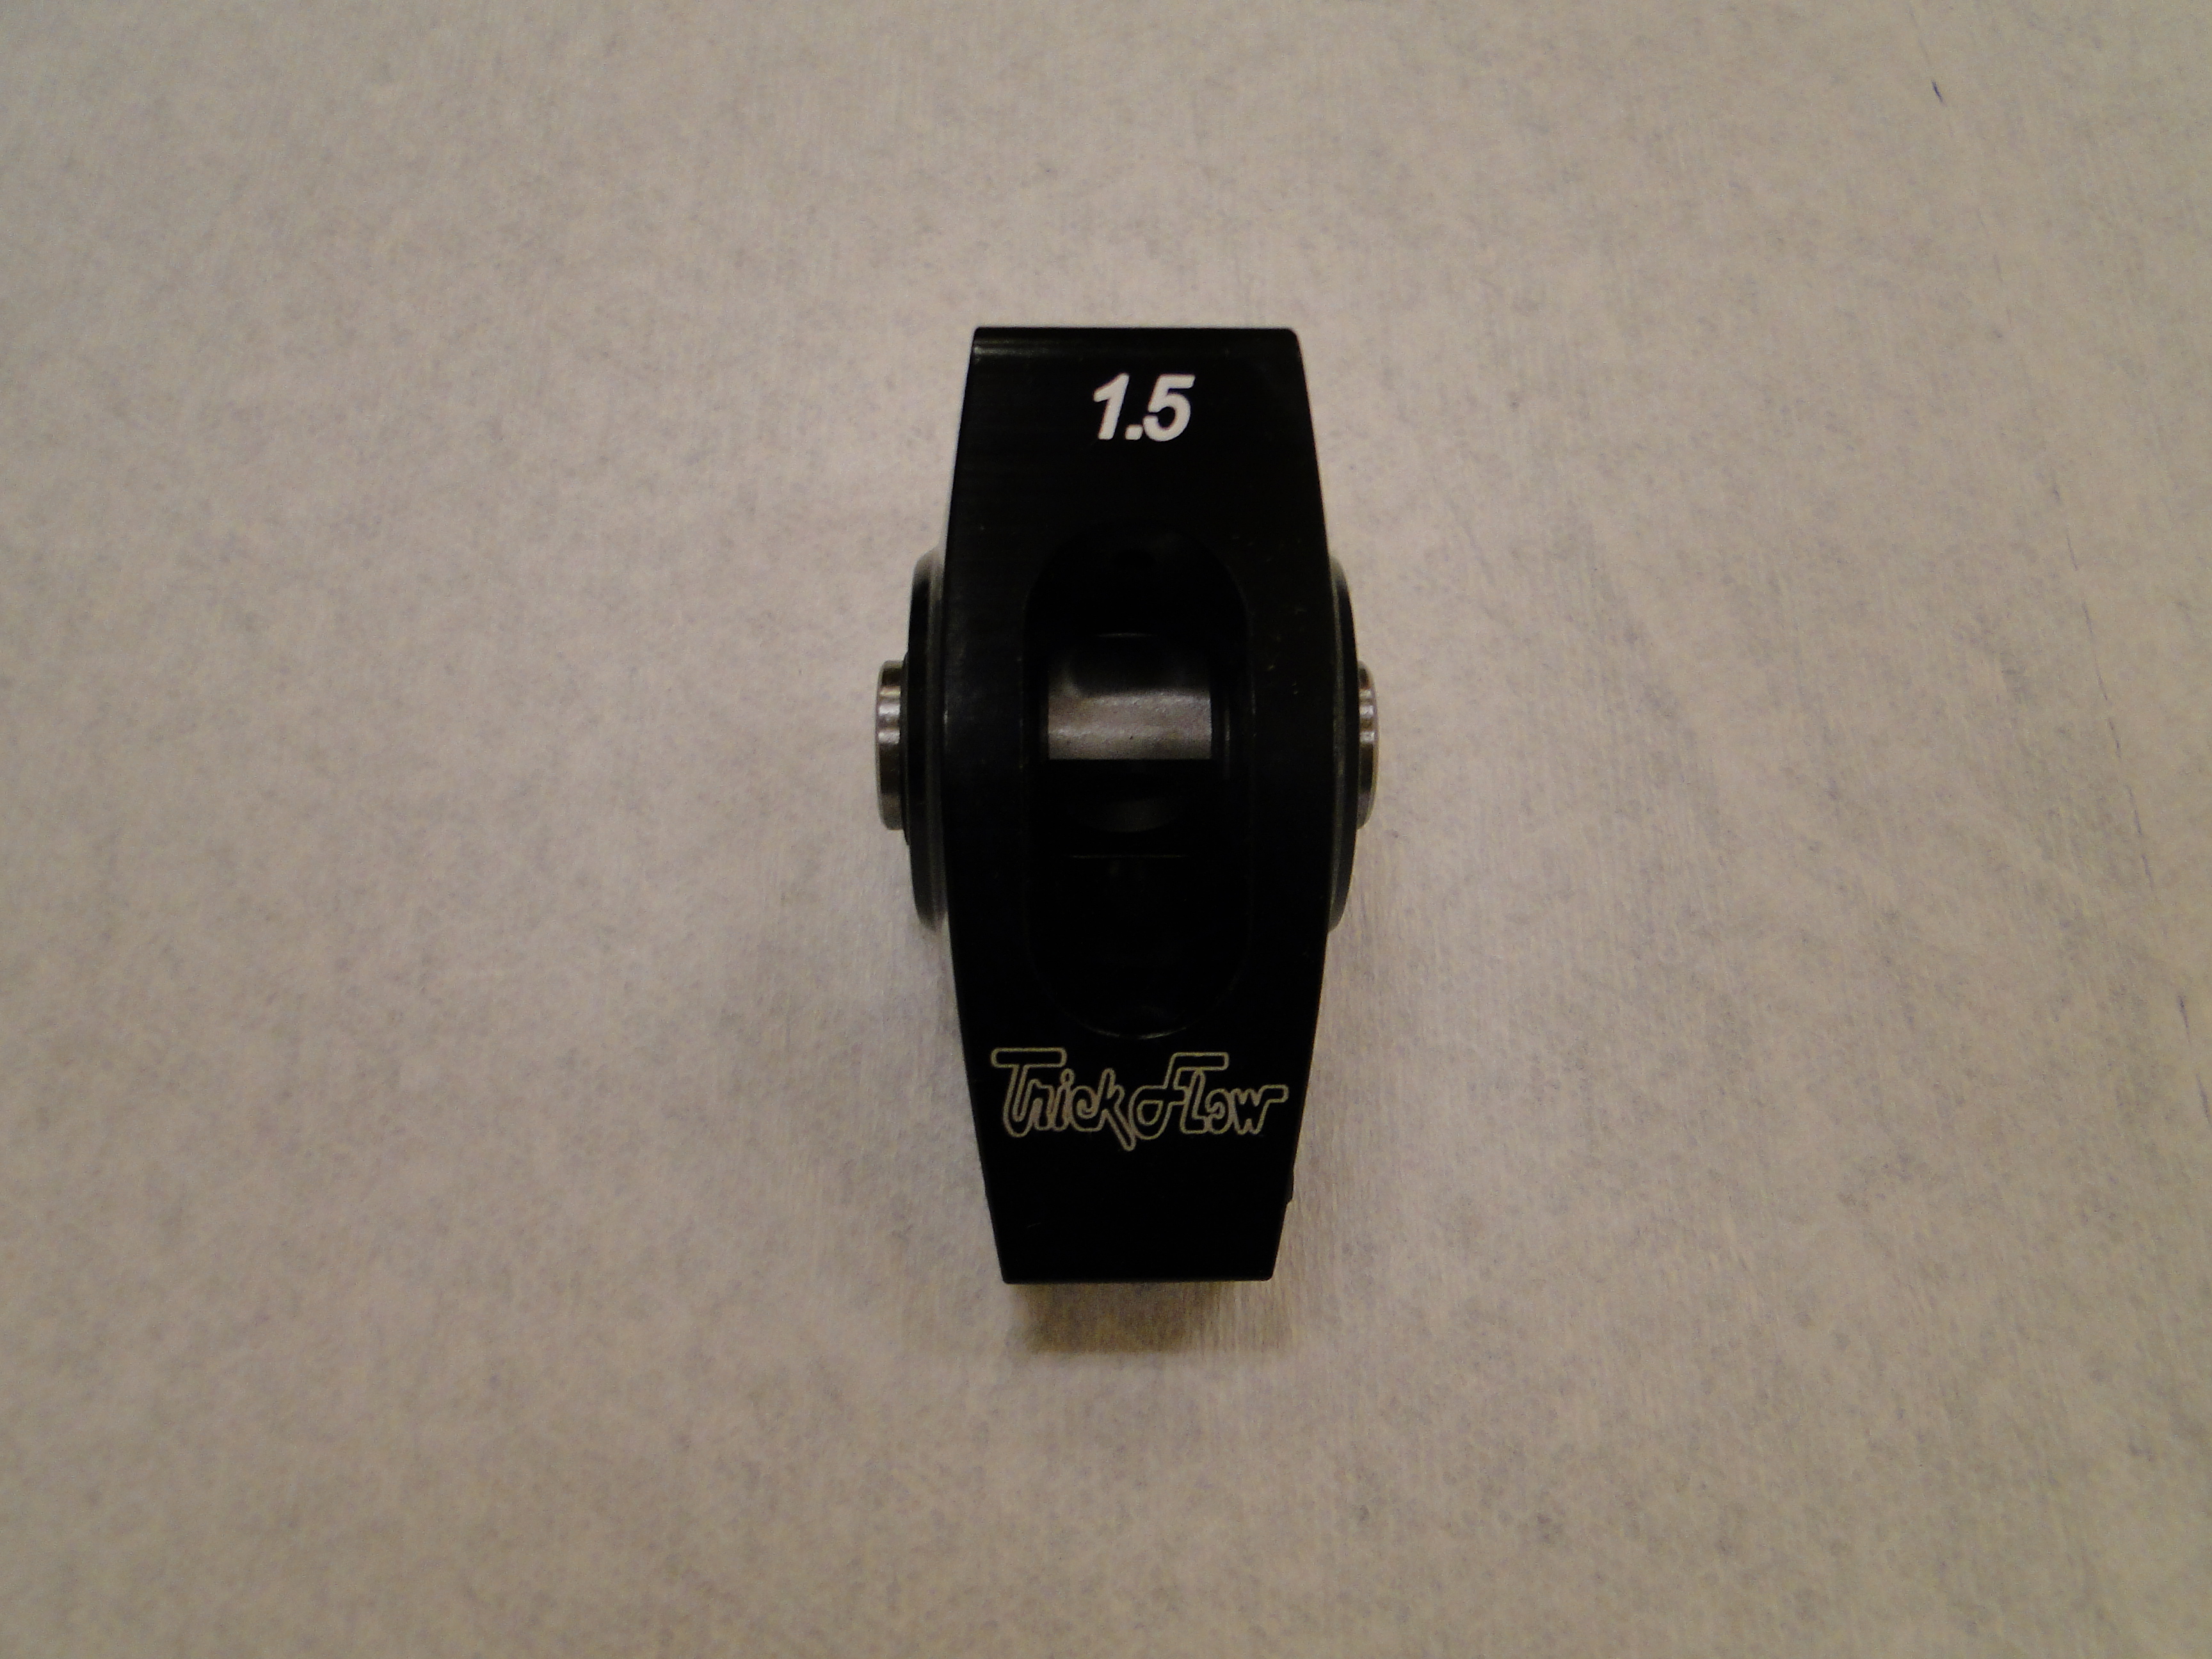
Now of course we cant use regular rocker arms no we have to buy
Trick Flow roller rocker arms for the new racing heads. Which I have
to admit are really cool.

Click any picture to enlarge.
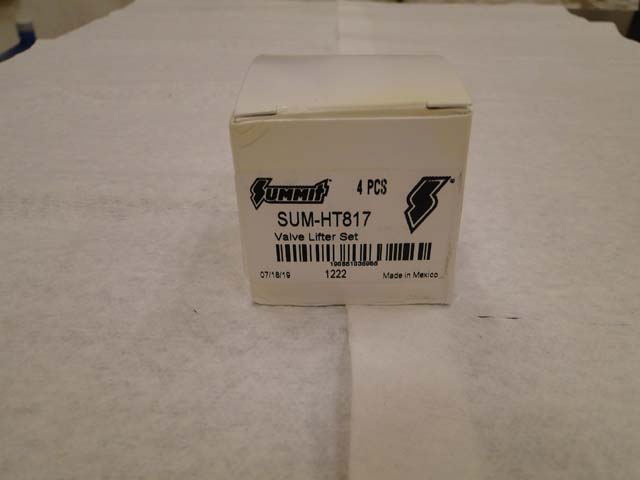
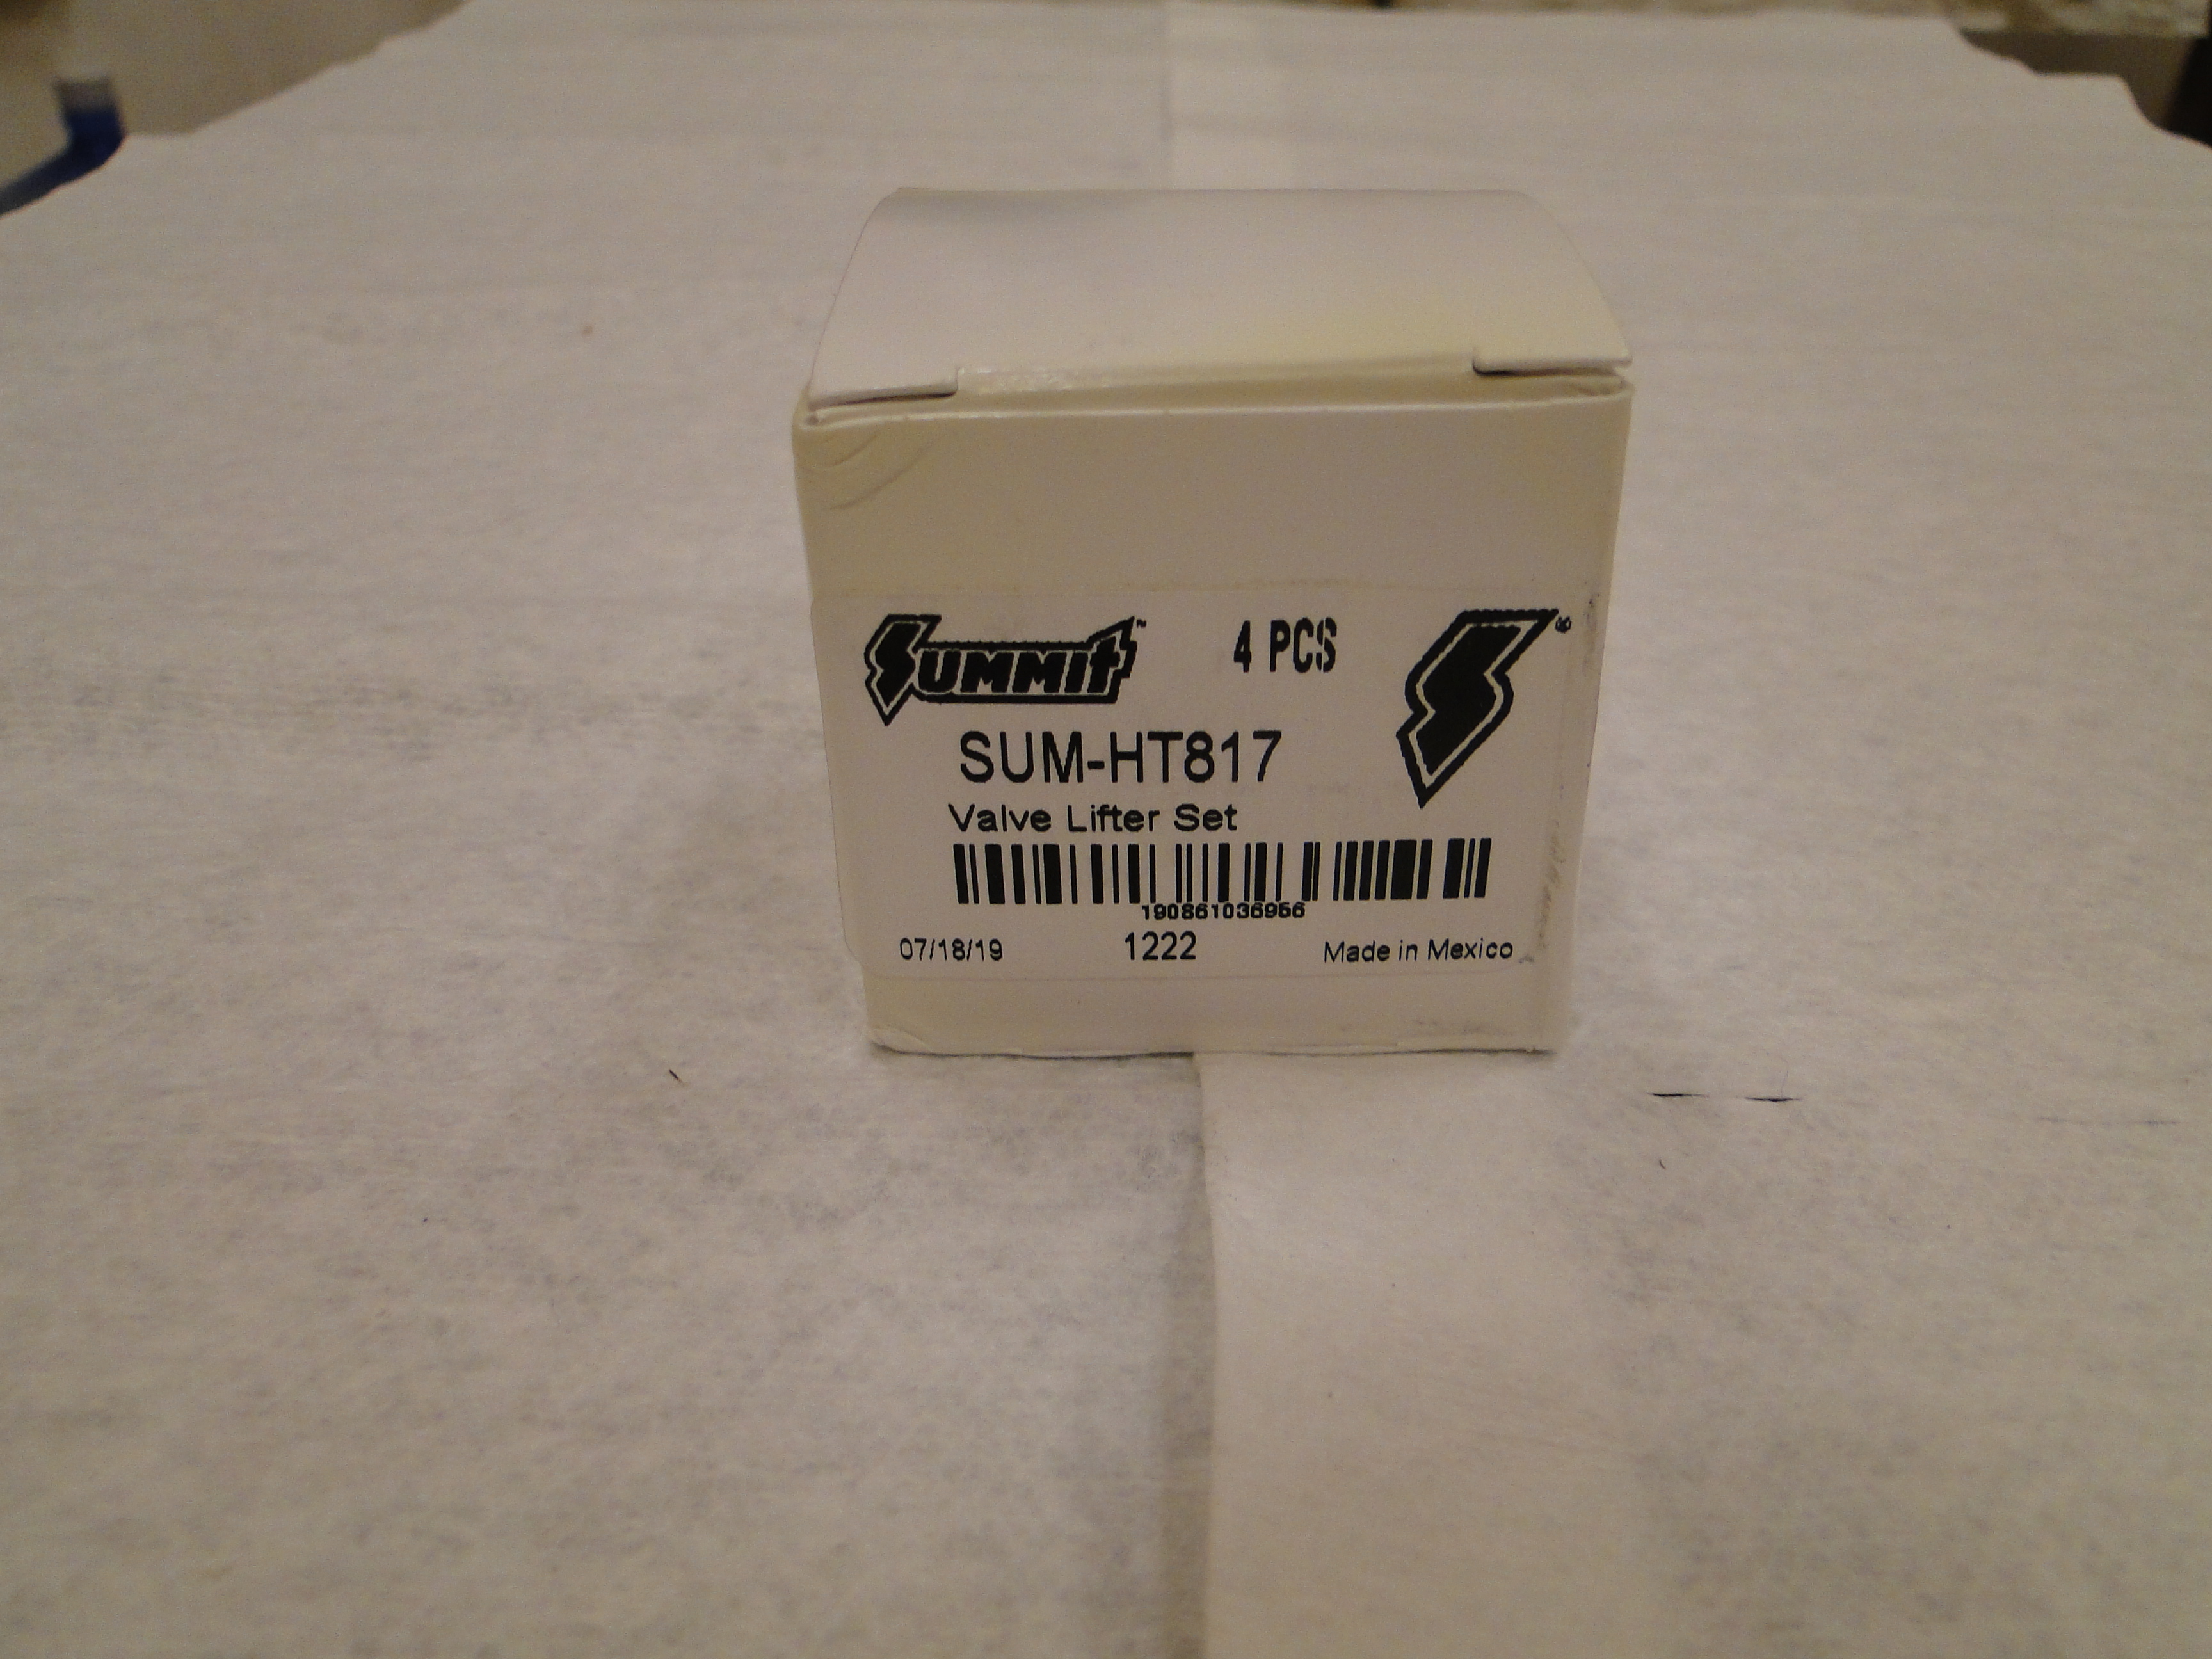
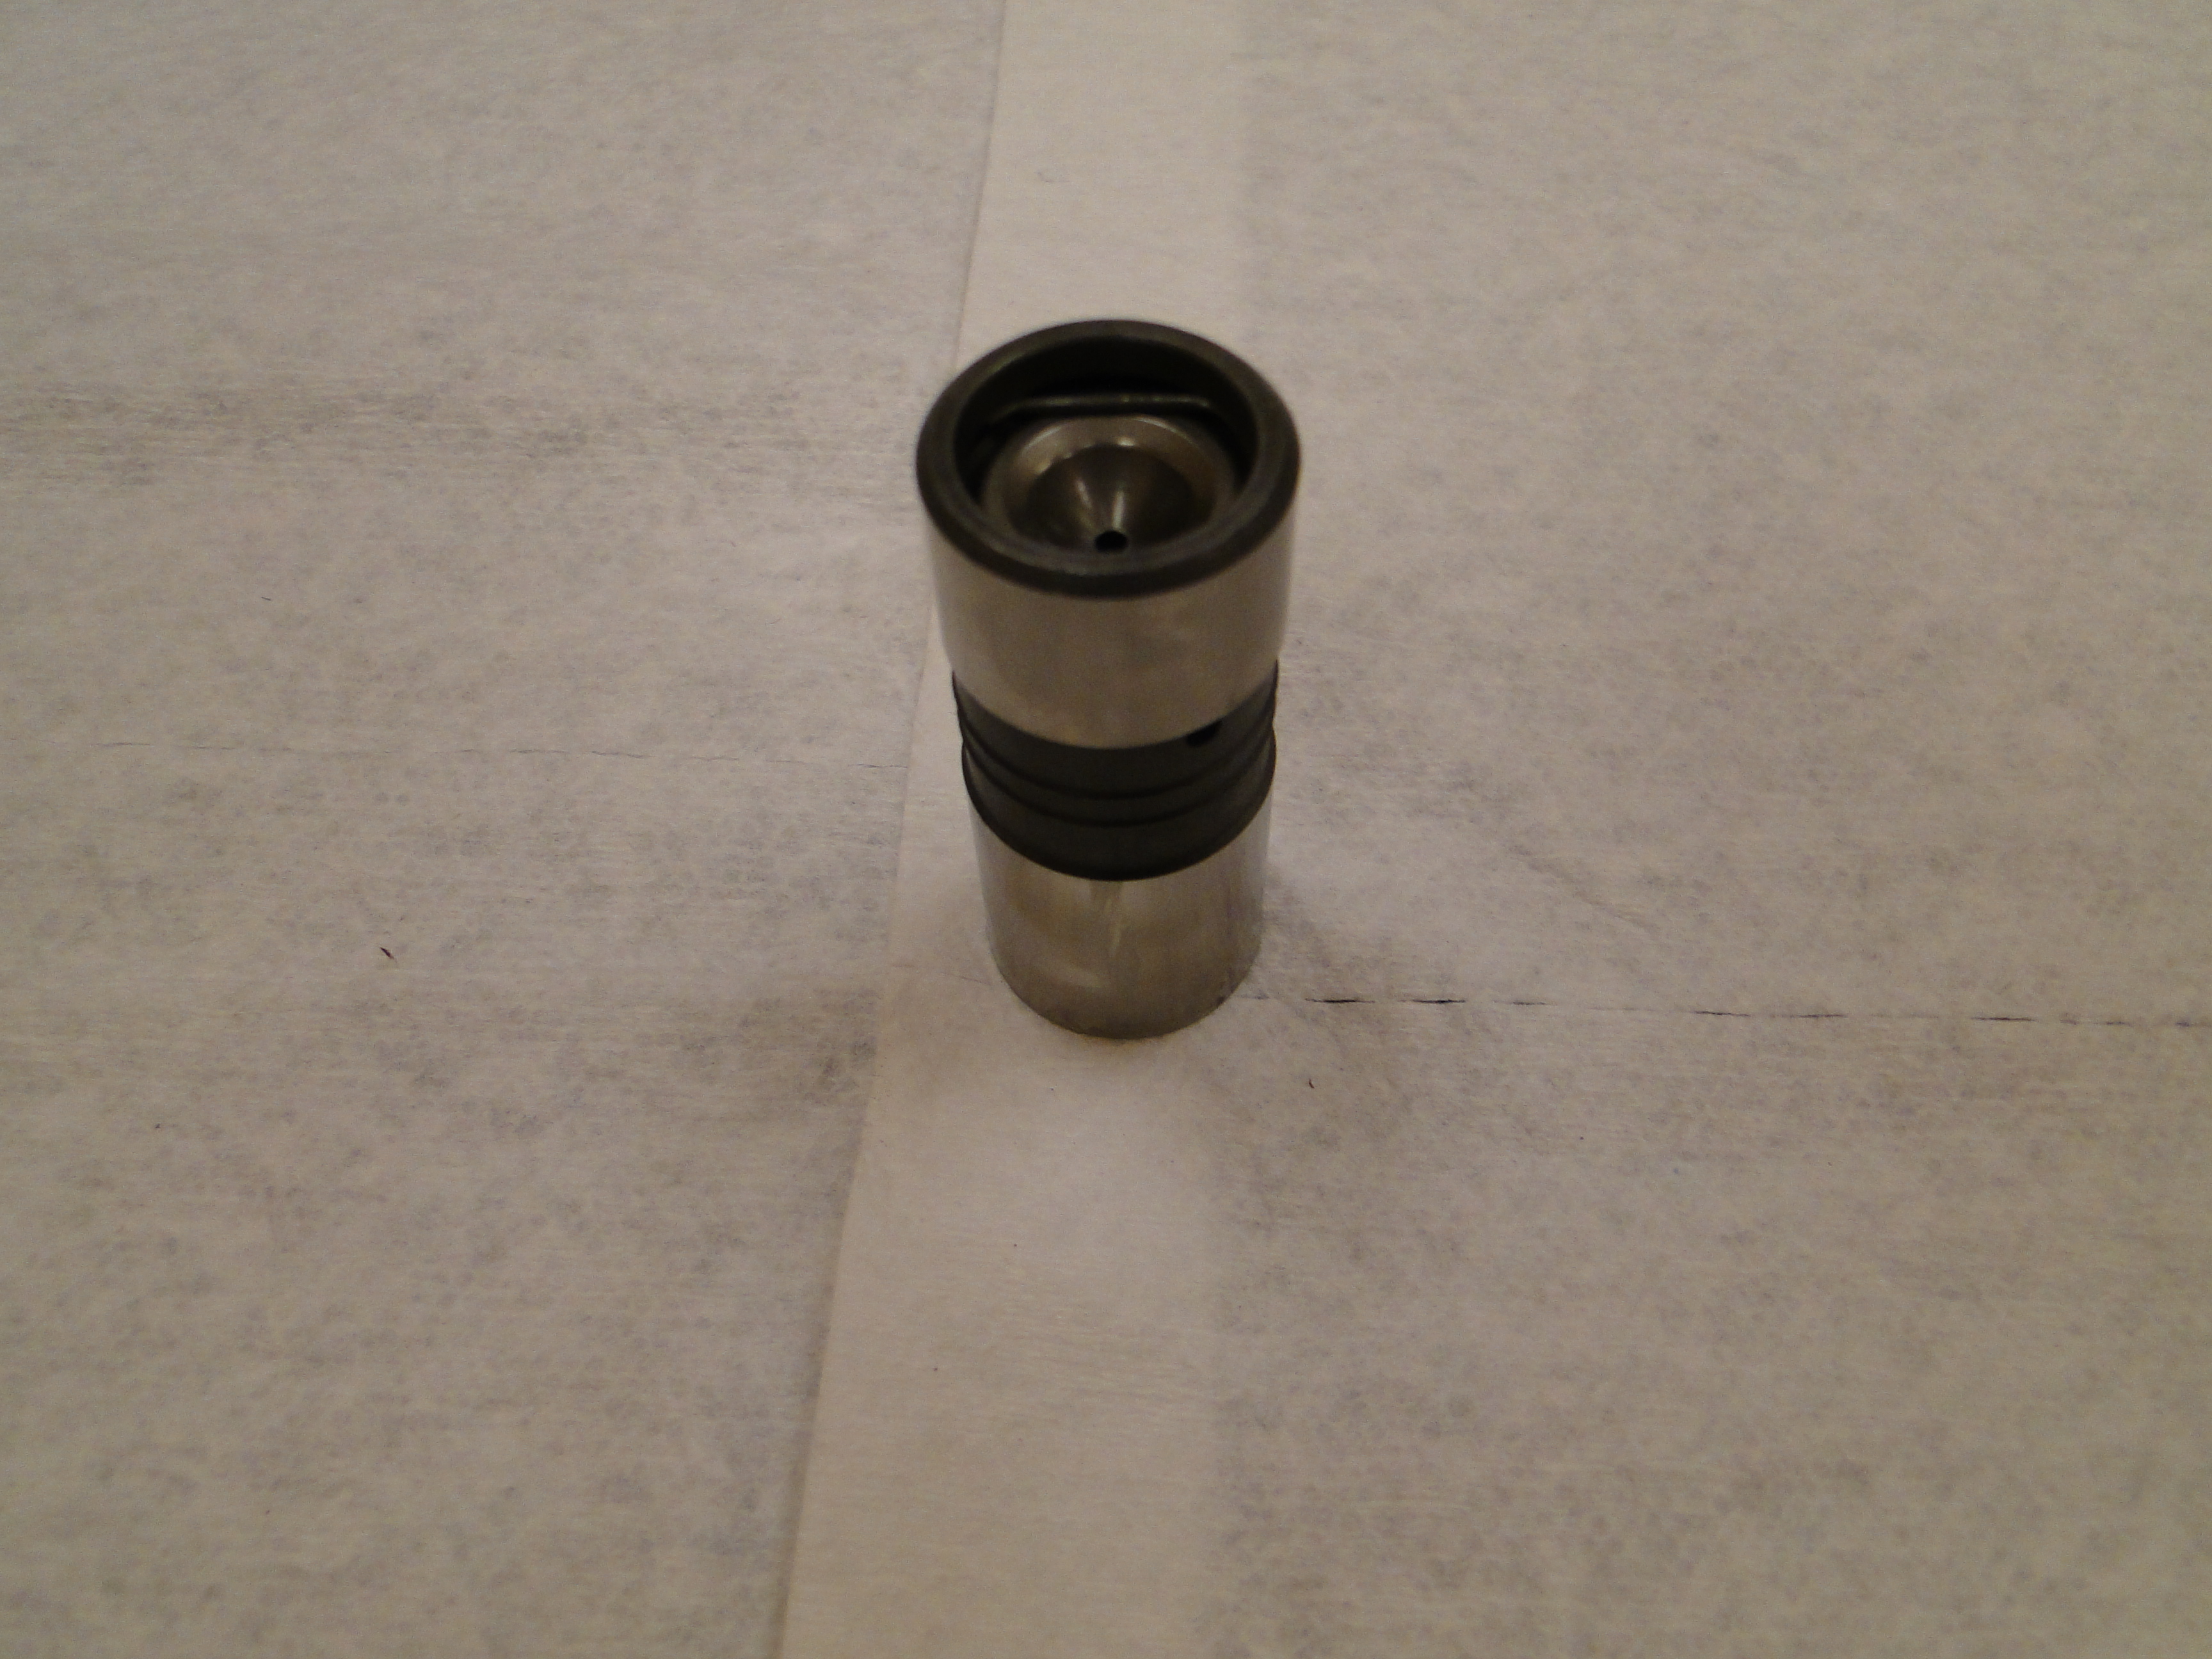
Jim upgraded my regular lifters, to Hydraulic lifters.
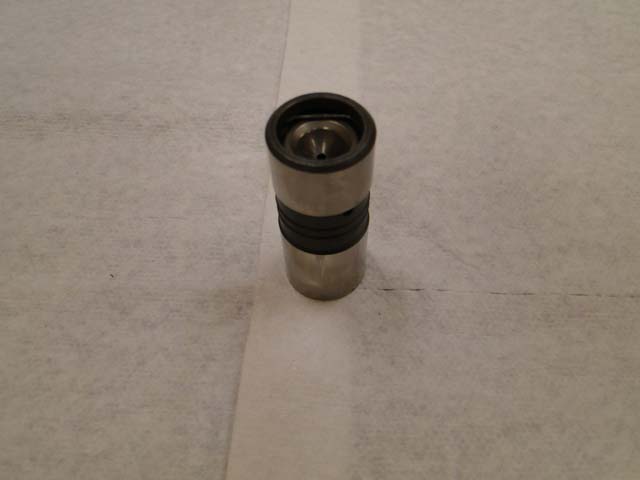
Click any picture to enlarge.
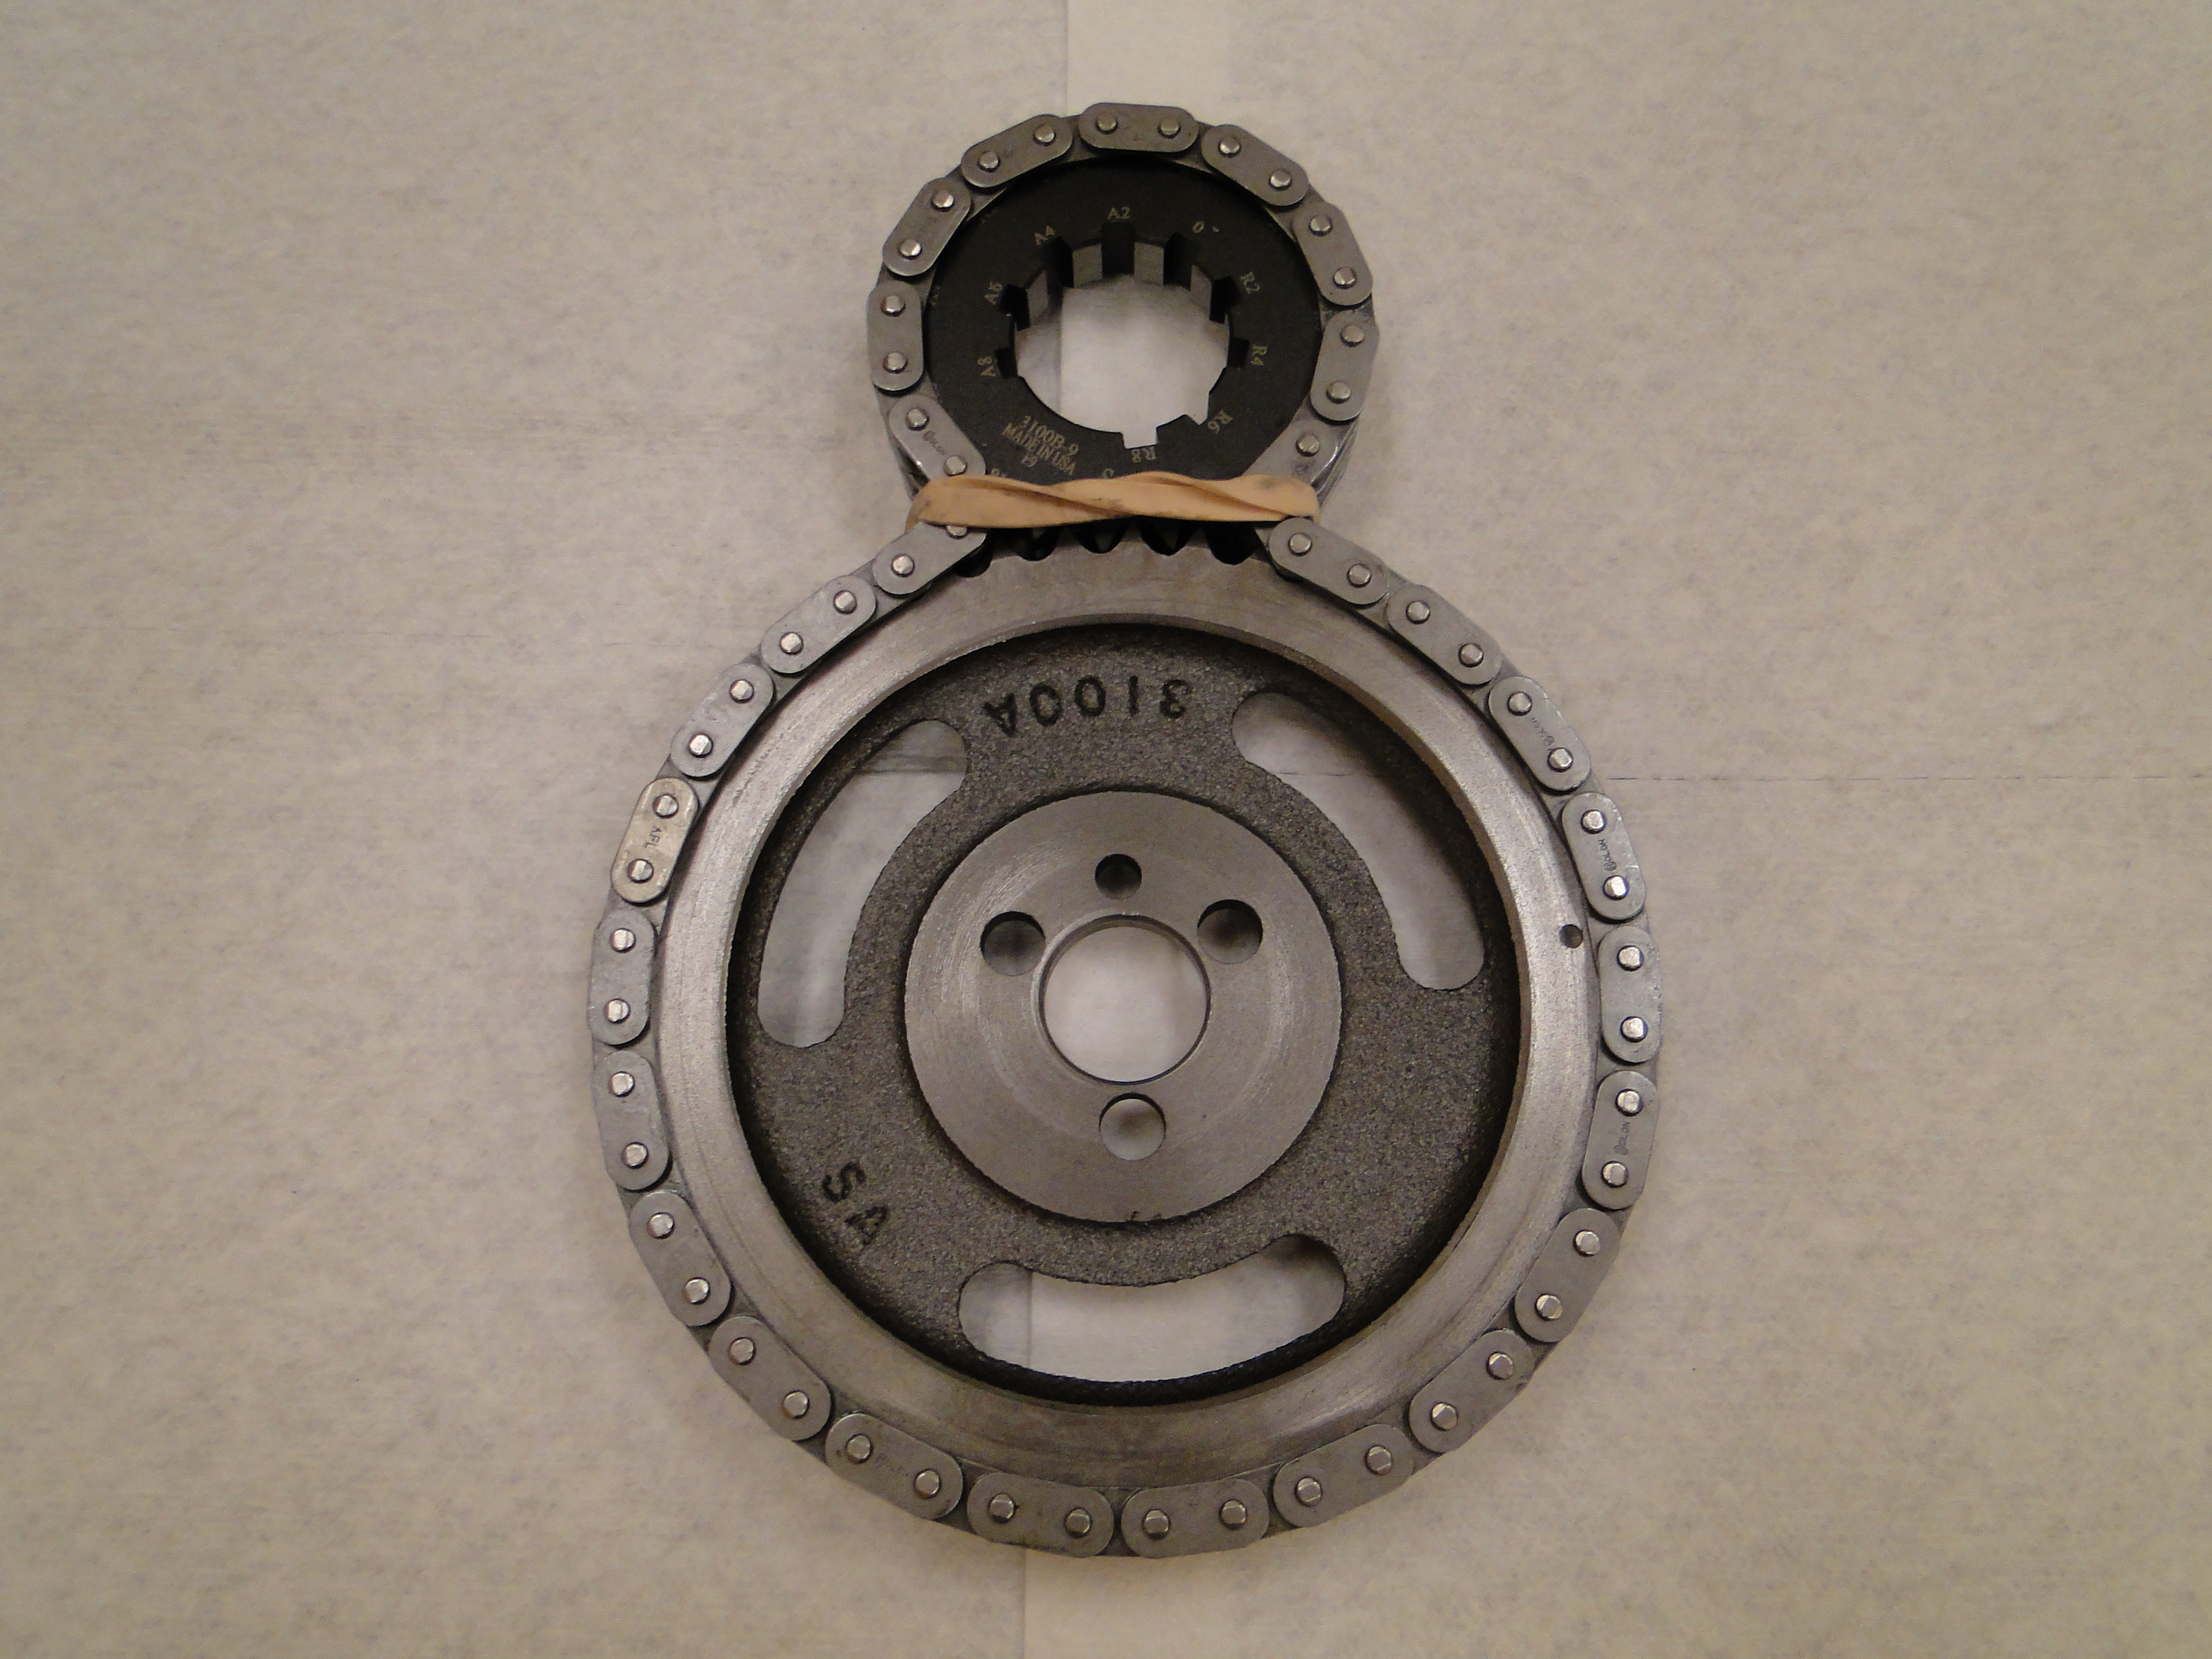
We will replace the timing chain with a roller timing
chain system.
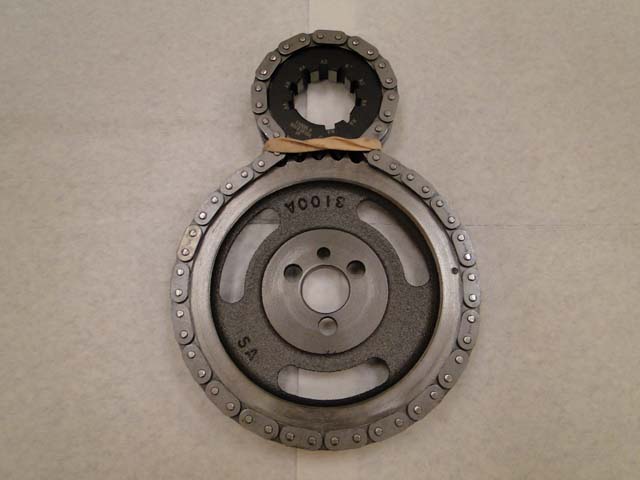
Click any picture to enlarge.
Now all that's left is to hot dip clean the block, and
Magna flux testing to check for cracks.
I have said it before and will I say it again nothing
is easy with this car.
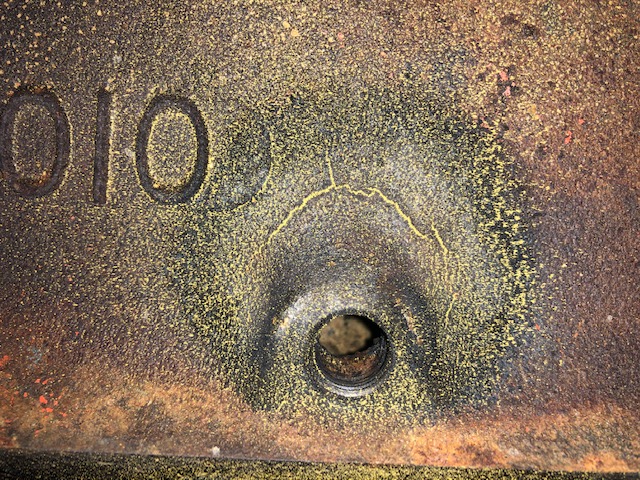
The
Magna flux test reviled a small crack in the block. Now it is true
that some engine blocks have cracks and it no problem. So Jim
decided to have the engine block pressure tested, and of course it failed.
That means the engine block is unusable.
Click any picture to enlarge.
Click any picture to enlarge.
Click picture to enlarge.
Now I have to take a step back and make a few
decisions.
One option is to purchase another used engine block, and pay to
have the machine work done and then continue with the engine upgrade.
Another
option is return all the parts that just came in and purchase a create
engine to replace the previous engine.
l ran the numbers on the
purchase of a new block and continue with the rebuild, versus replace engine
with a create motor. They are about the same cost surprisingly, and
at this point I think a create motor is my best option.
October
After much debate with many mechanics and friends I have come to the decision to buy a create engine made by Blueprint from Summit Racing. Not just any engine mind you. I went with a Small Block Chevy 400 Stoker guaranteed to dyno at 507 HP from Blueprint. My thoughts were if your going to do something like this, you better do it right. The engine will be custom built and shipped in 30 days.

Click picture to enlarge.
Now all we have to do is wait.
Is it here yet?
Is it here yet?
Is it here yet?
Damn is going to be a long month.
It's here!!!!
I will give Blueprint and Summitt kudos The engine arived in three weeks.
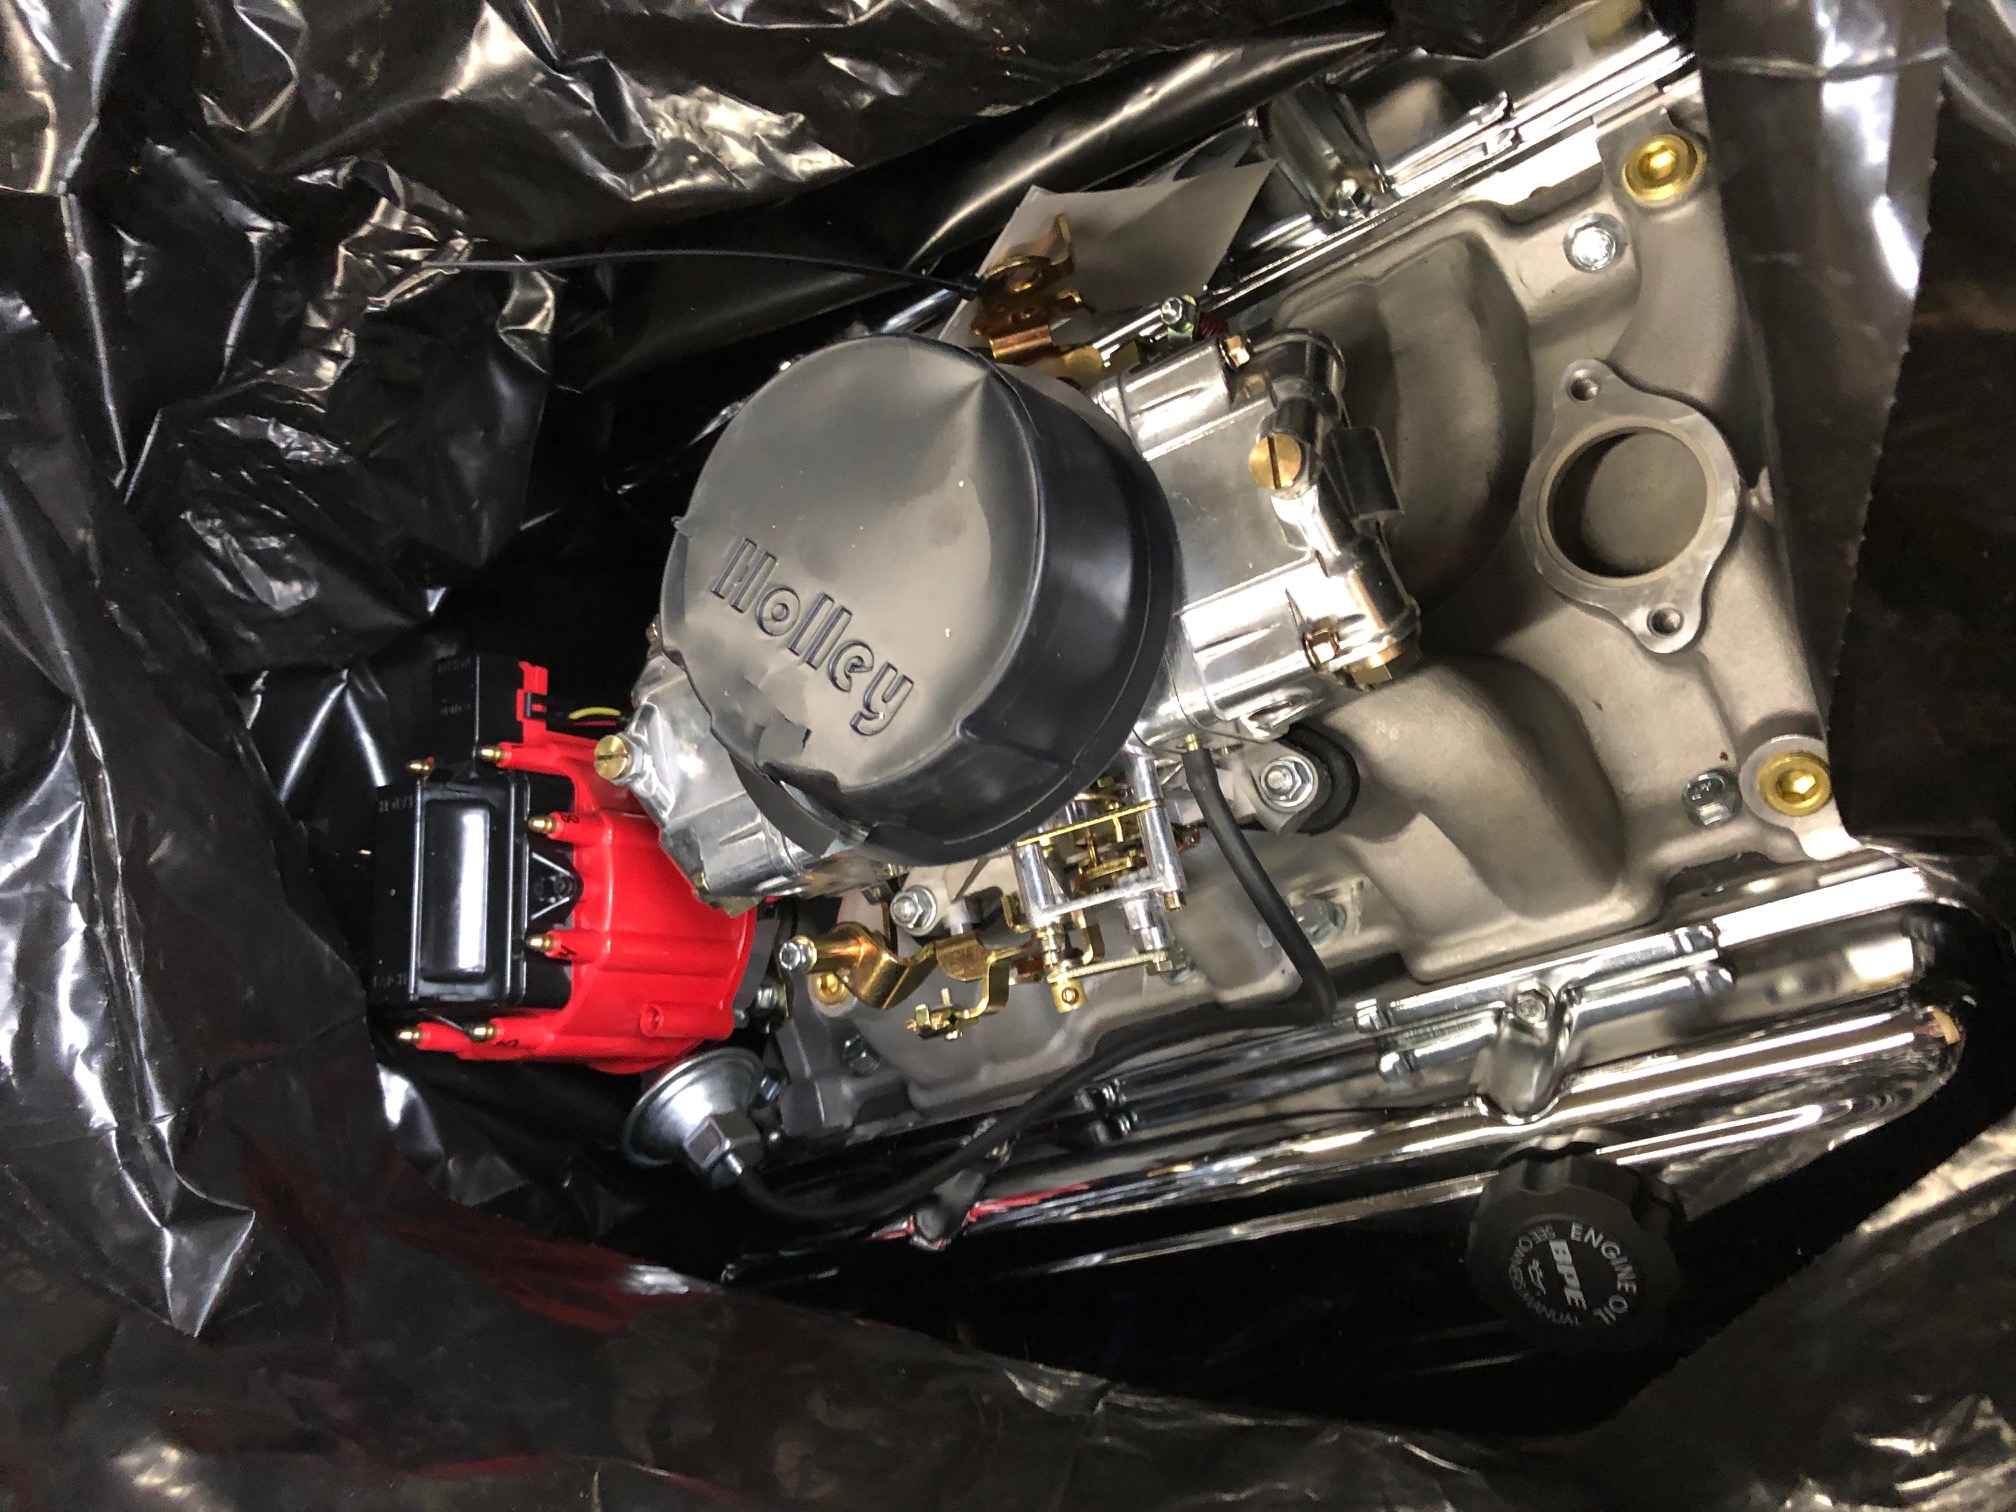
Click picture to enlarge.
Dyno test shows the Engine has 523.4 HP at 6,200 RPM.
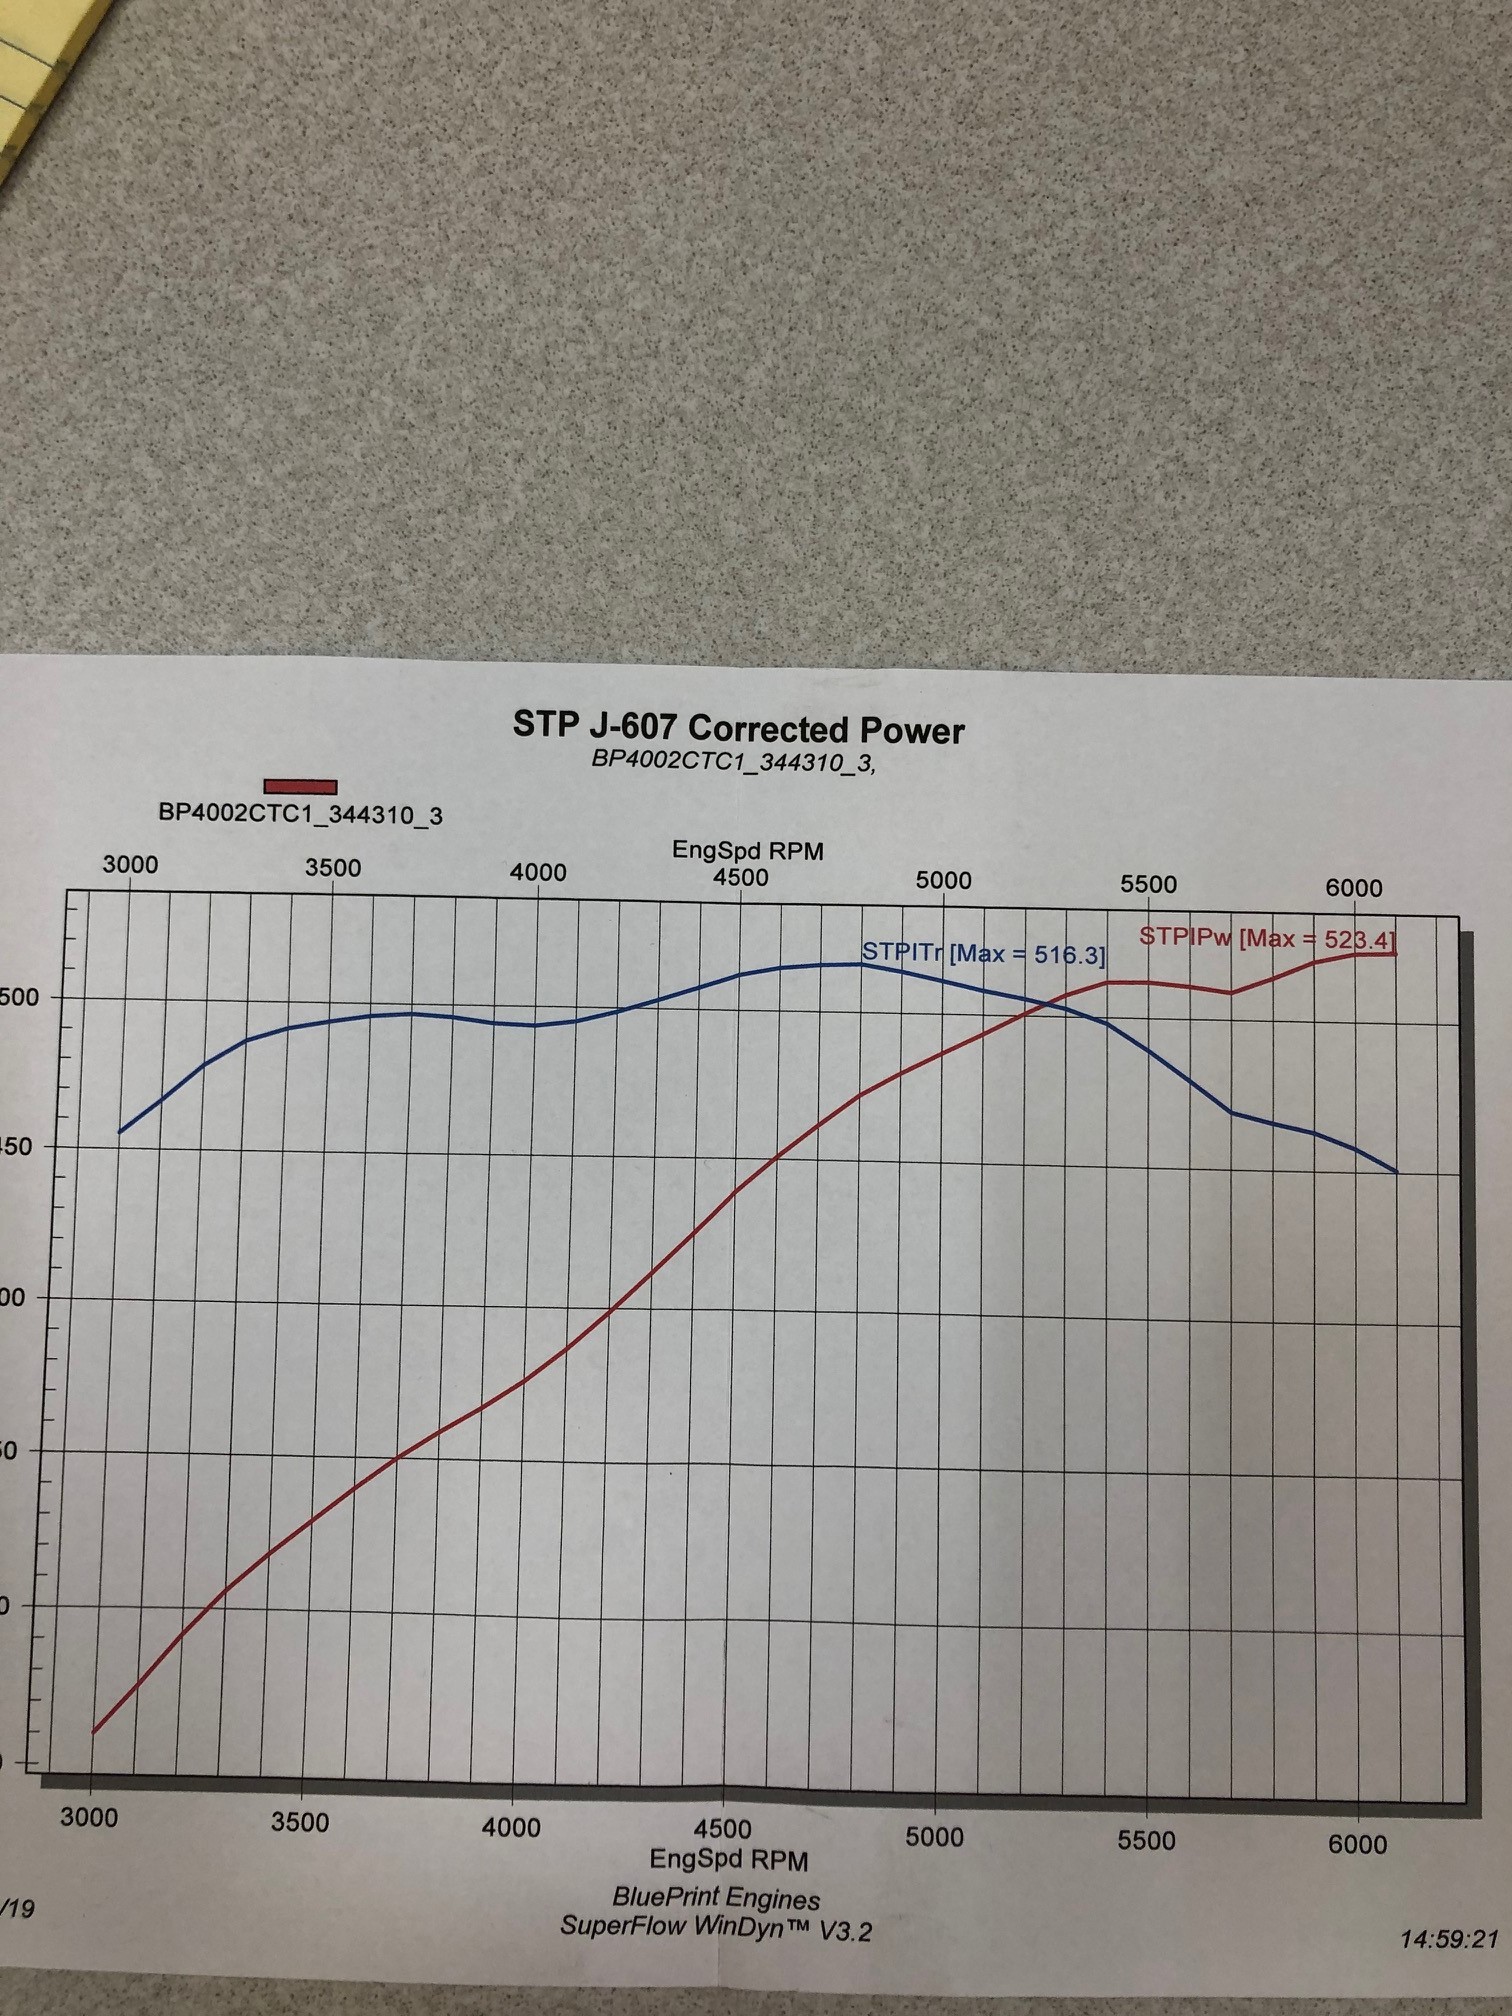
Click picture to enlarge.
Max torque is 516.3 Foot pounds of tourque at 4,800 RPM.
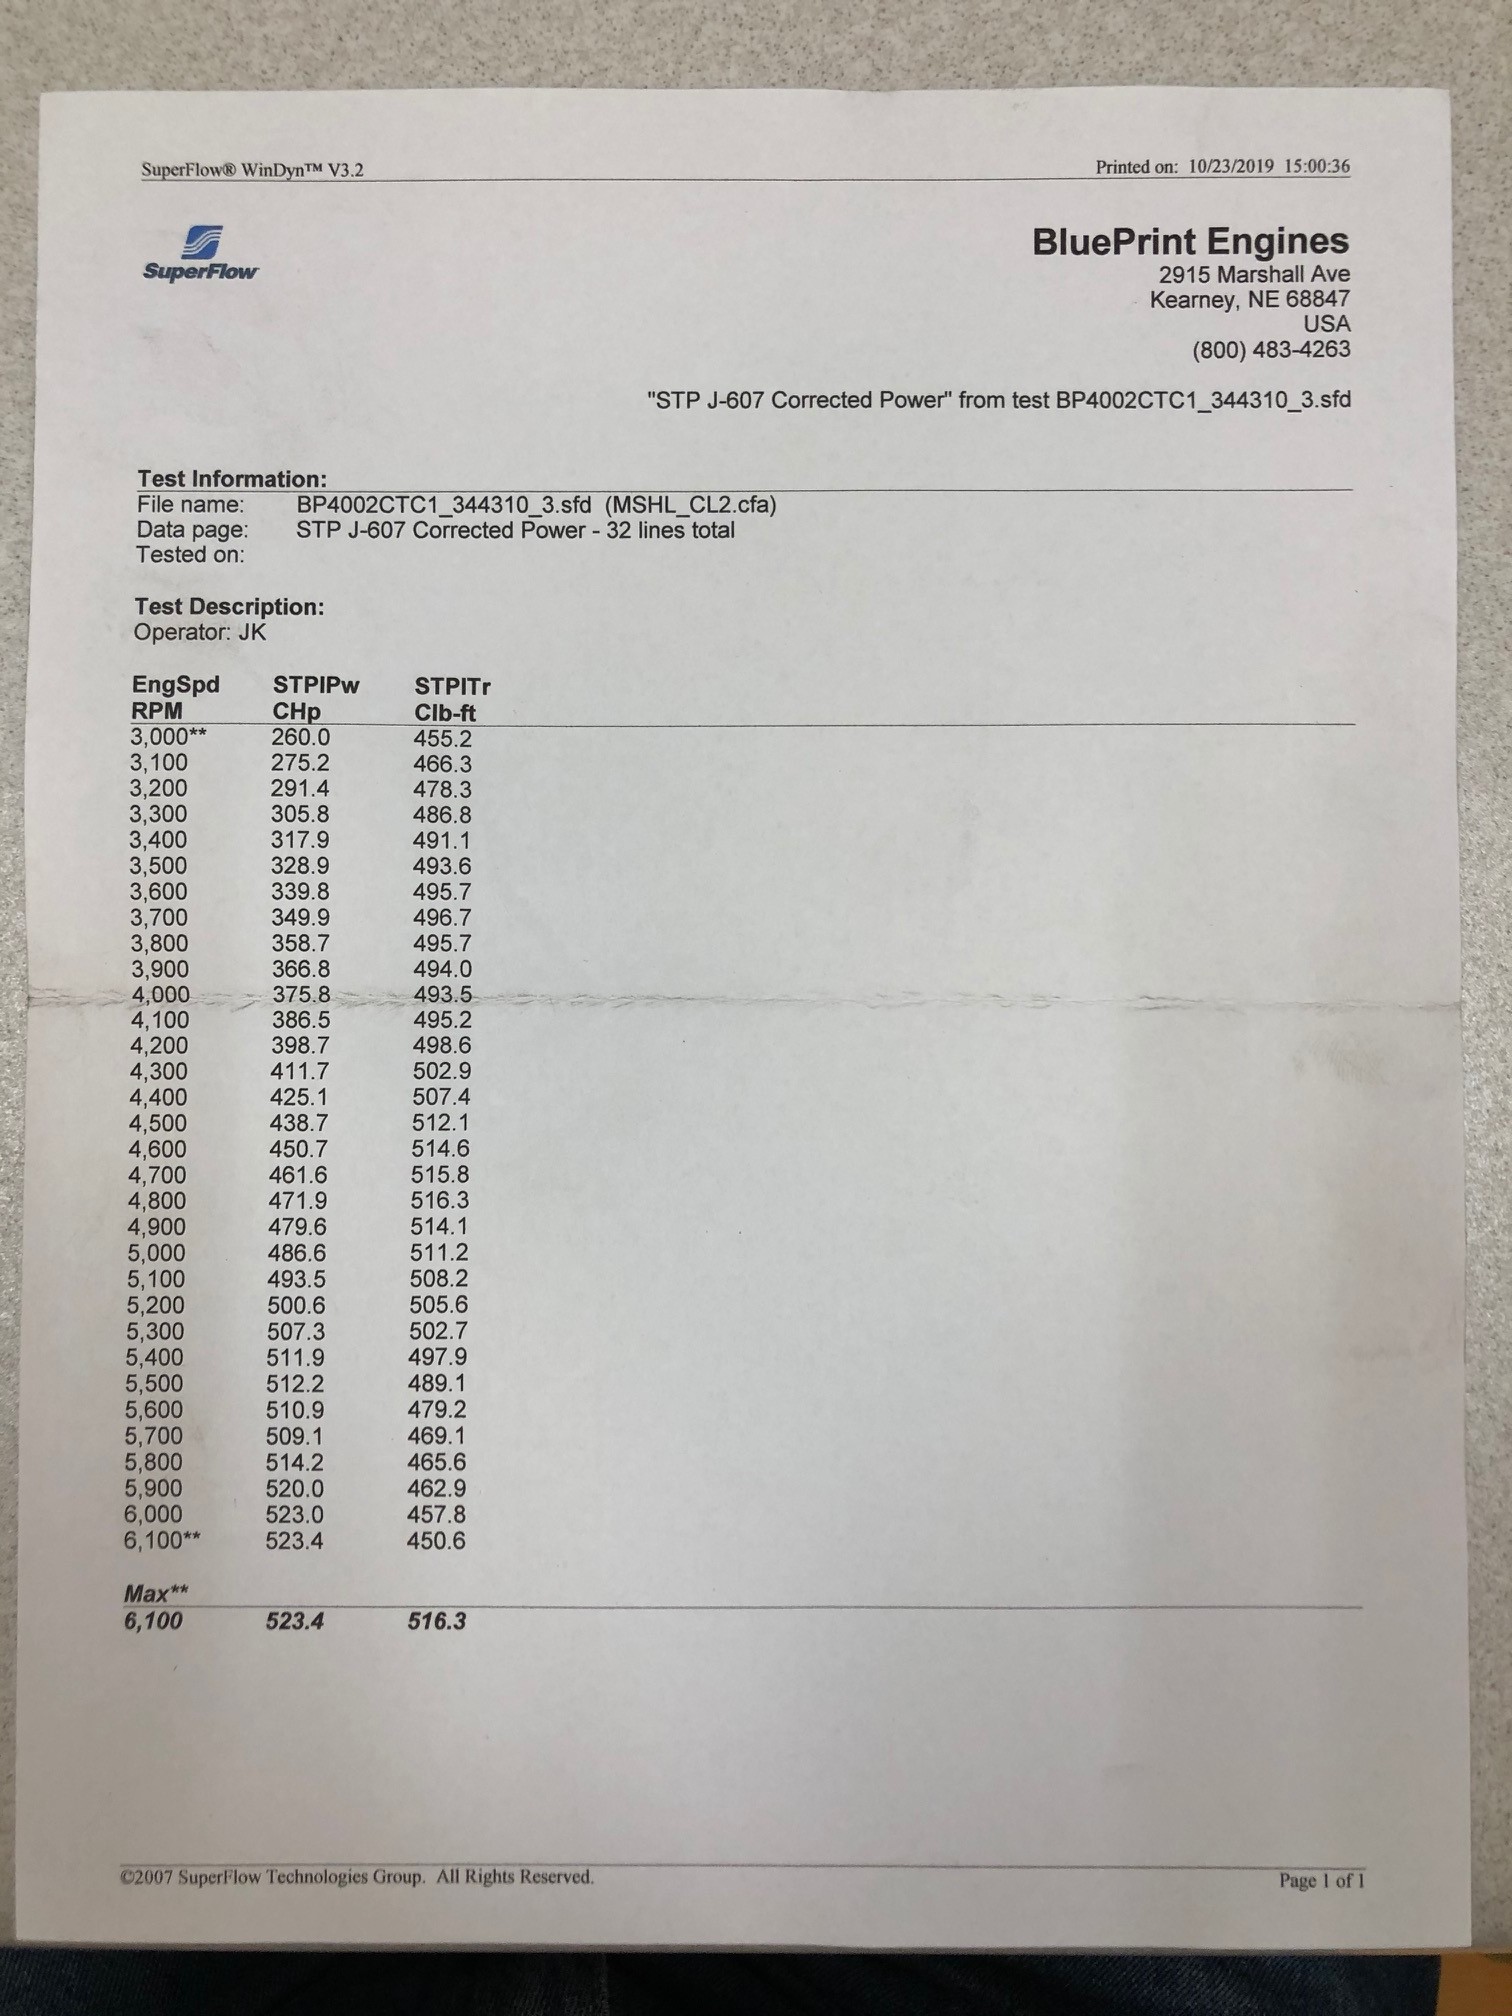
Click picture to enlarge.
I have alot of year end things to do, so I probably will not get started on this till January,
Contact Bob Capo at bob@bobcapo.com for further information
on any of our restorations.