1959 Austin Healey Bugeye /Frogeye Sprite
Restoration
The purpose of this web site is to help current and future Bugeye car enthusiast, I will give my opinion on some of my experiences with some of the venders and their products good or bad. So that you don't go thru the pain, aggravation, and quite frankly the horrific expense that I did. Keeping with the British spirit and a few modern updates. I updated my Bugeye the way most people dream about, with out changing out the British engine, and going V8 crazy. If you want to see a few Street Rods, go to my 1936 Ford Five Window Coupe Street Rod or 1947 Triumph 1800 Street Rod pages.
Here is a list of my Bugeye modifications.
Body
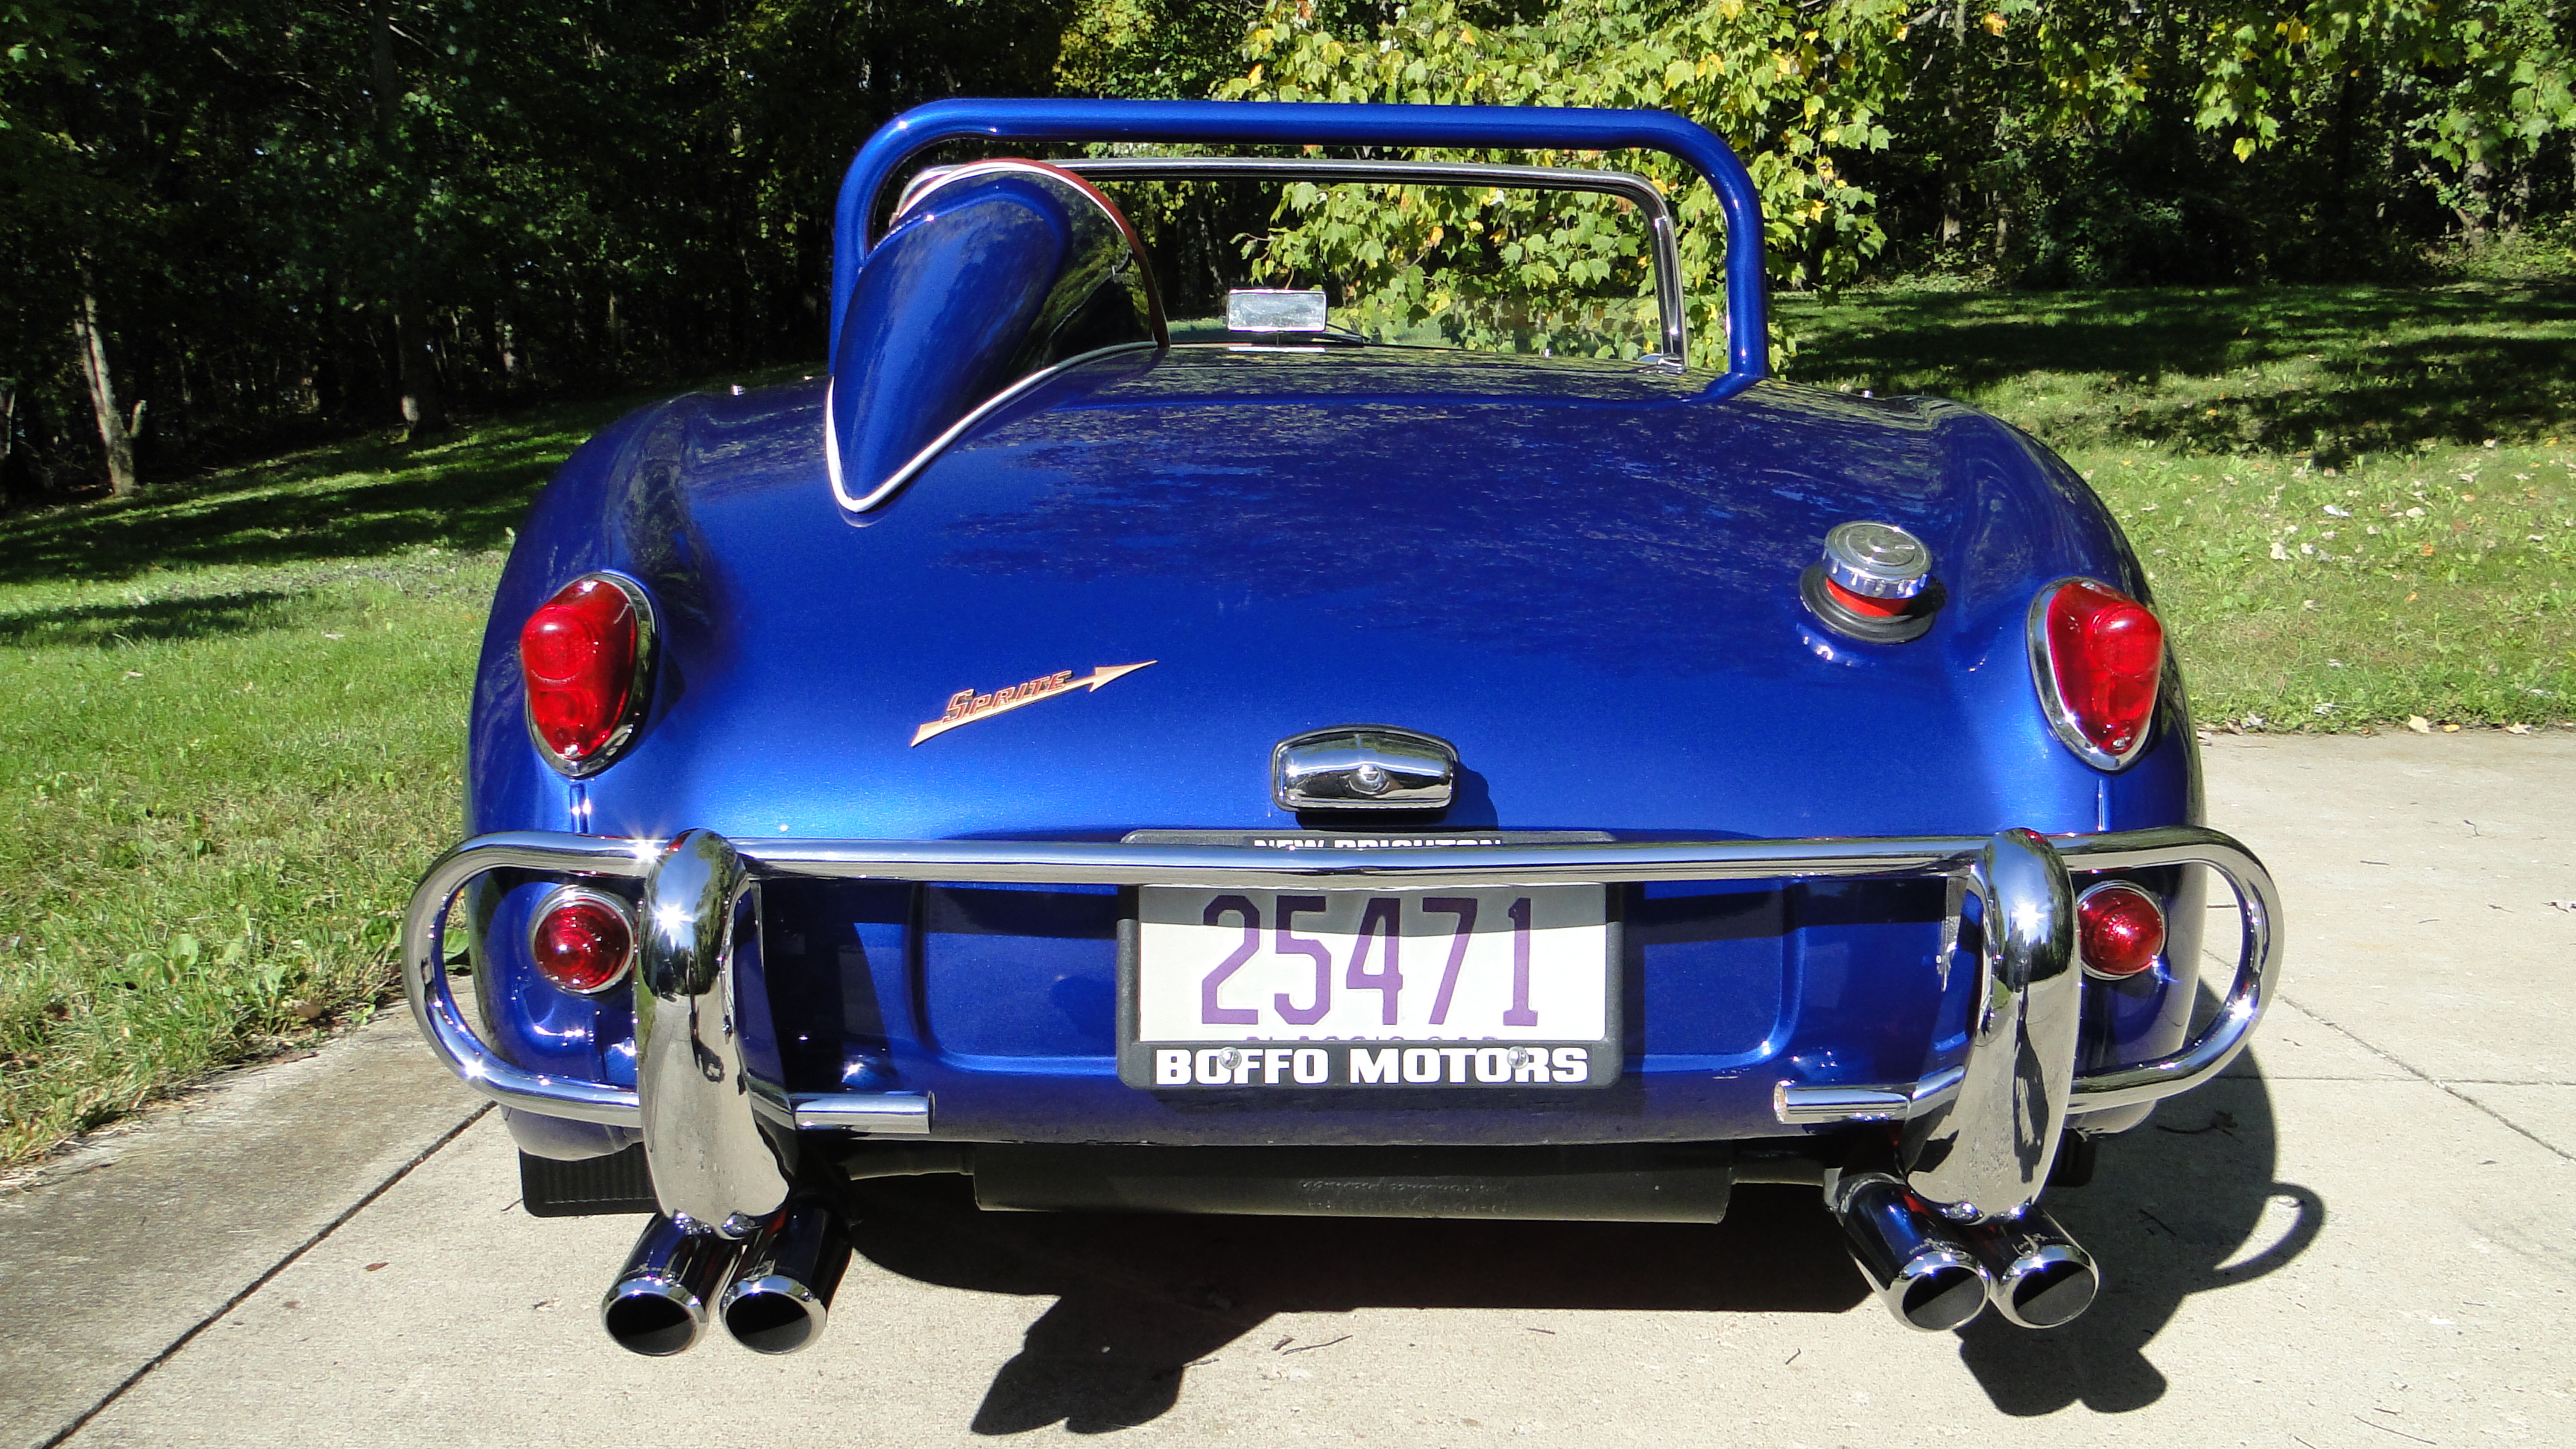
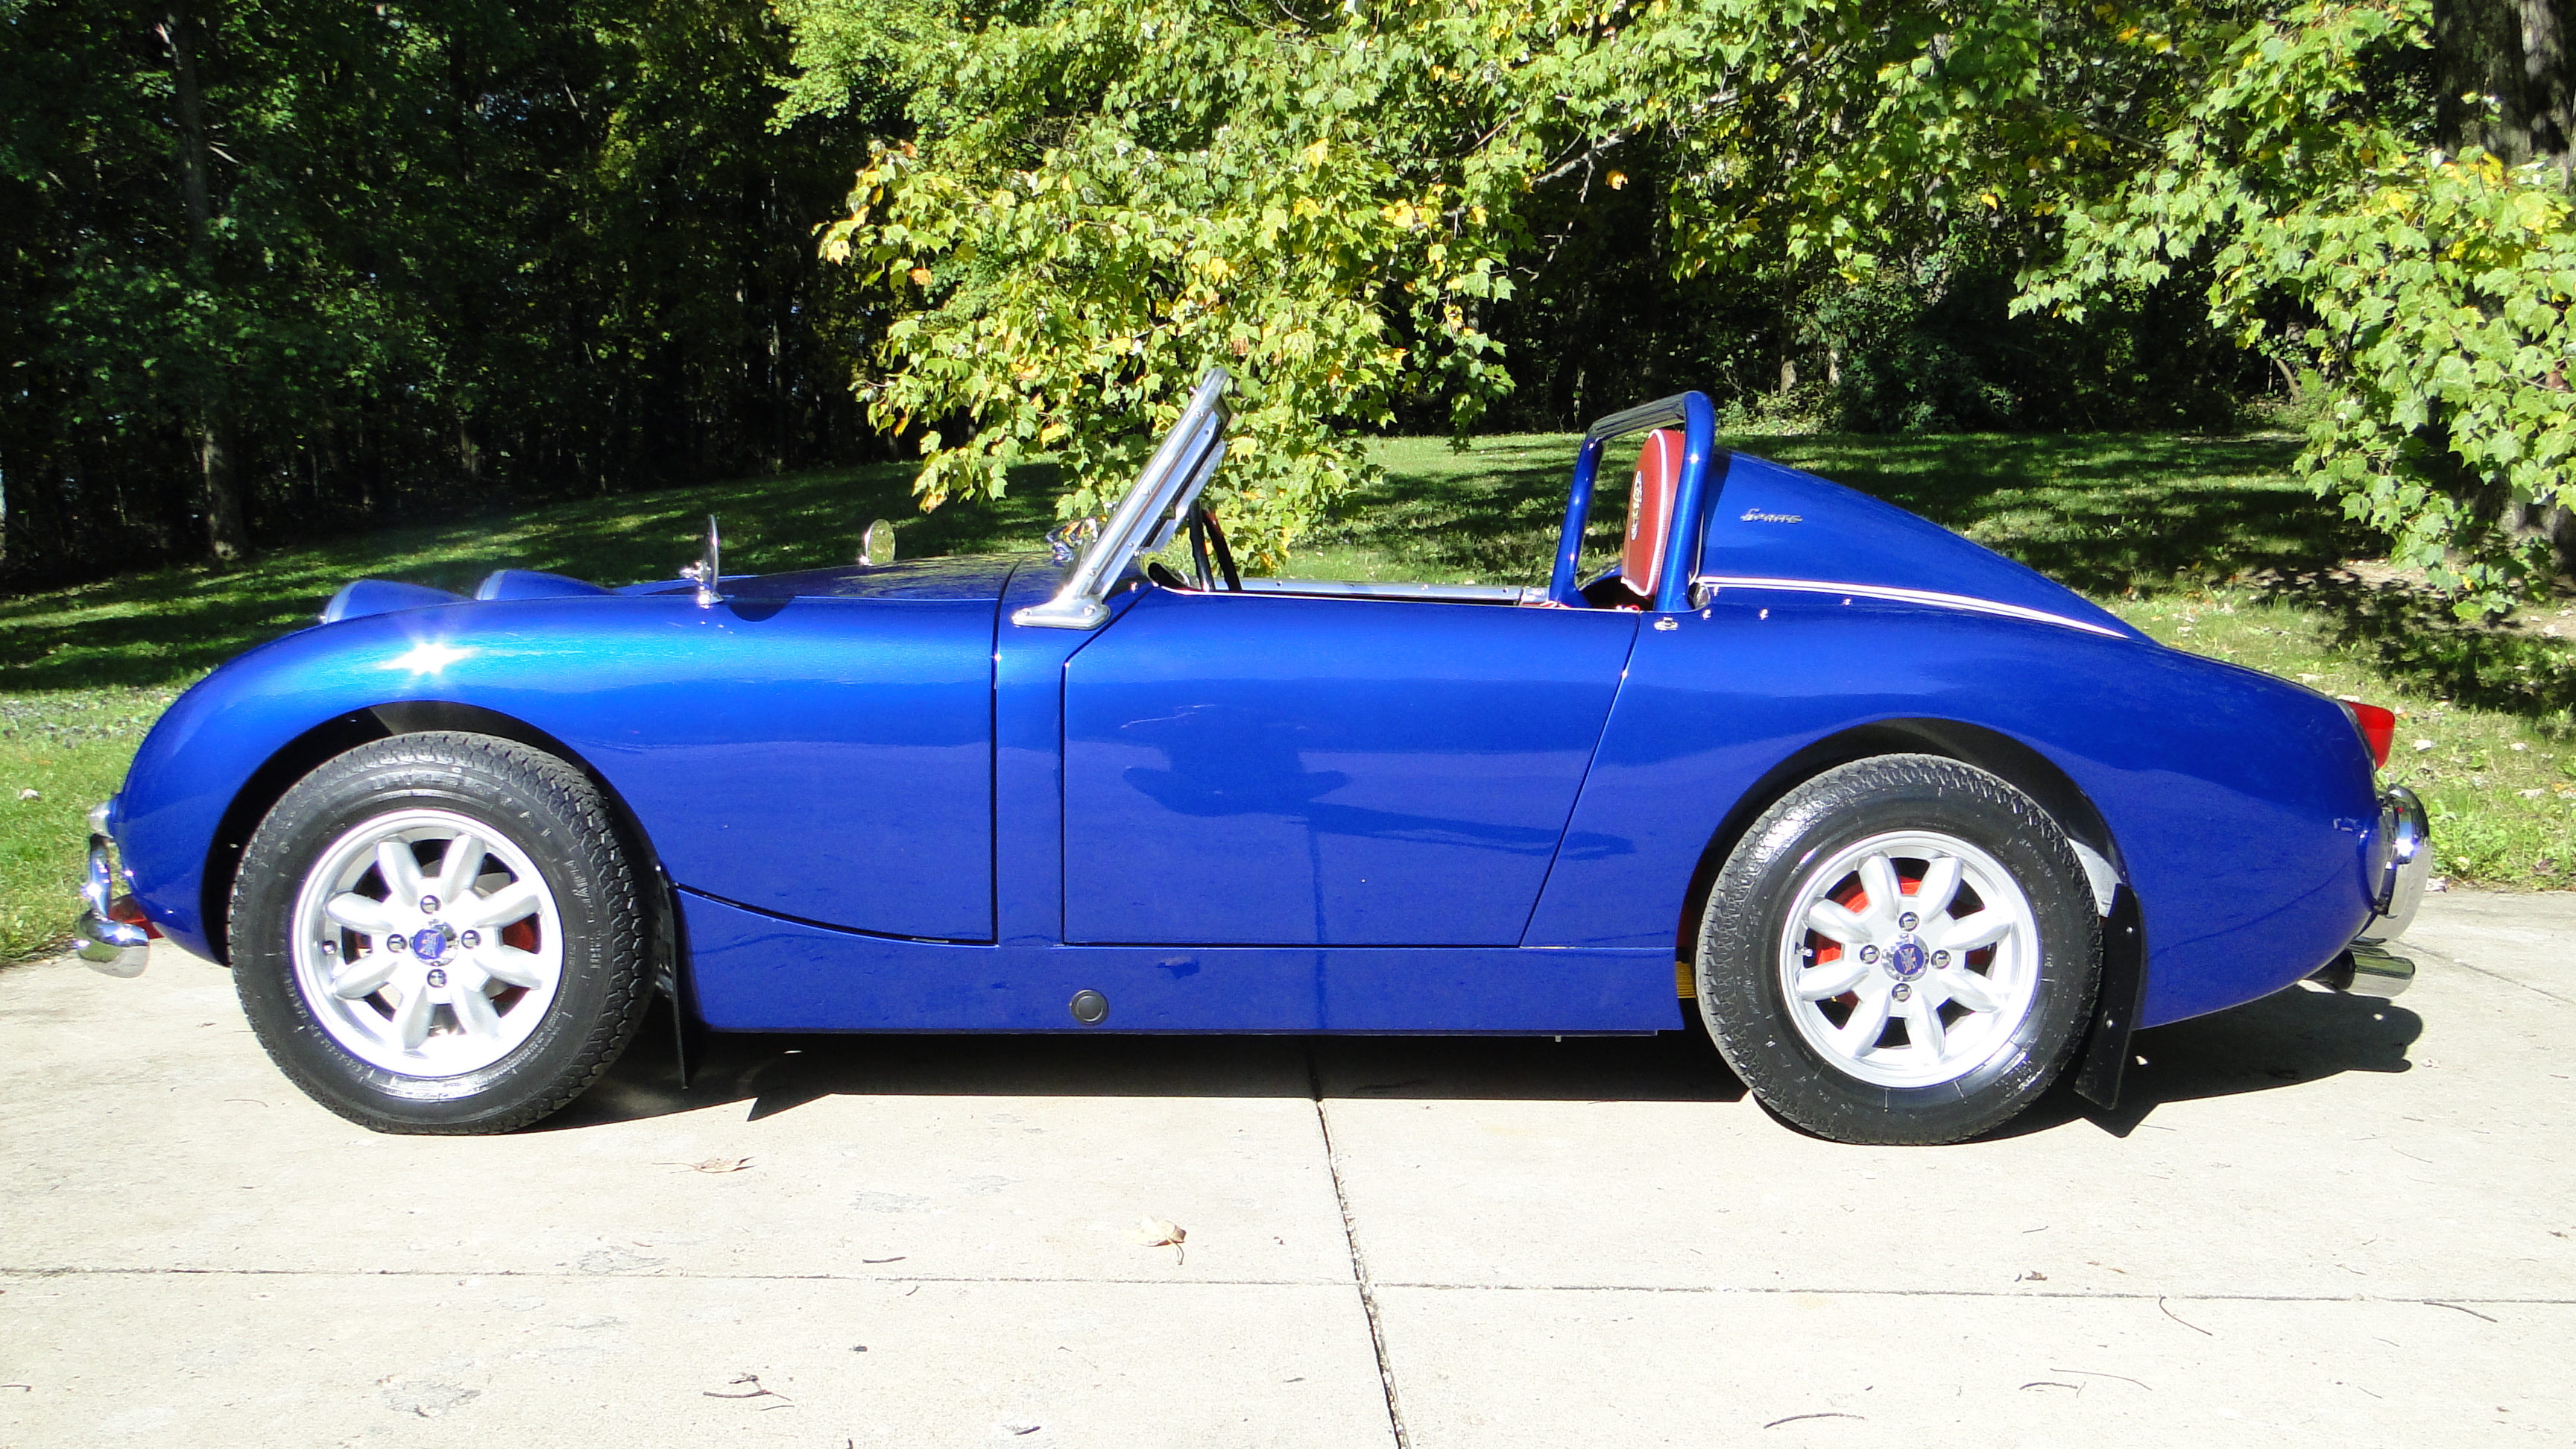
I removed front over riders, and added a period correct Amco front and rear bumper Nurf to give the Bugeye a wider looking stance. Then I reversed the rear over riders, and made a Headrest / Fairing for a more streamlined effect.
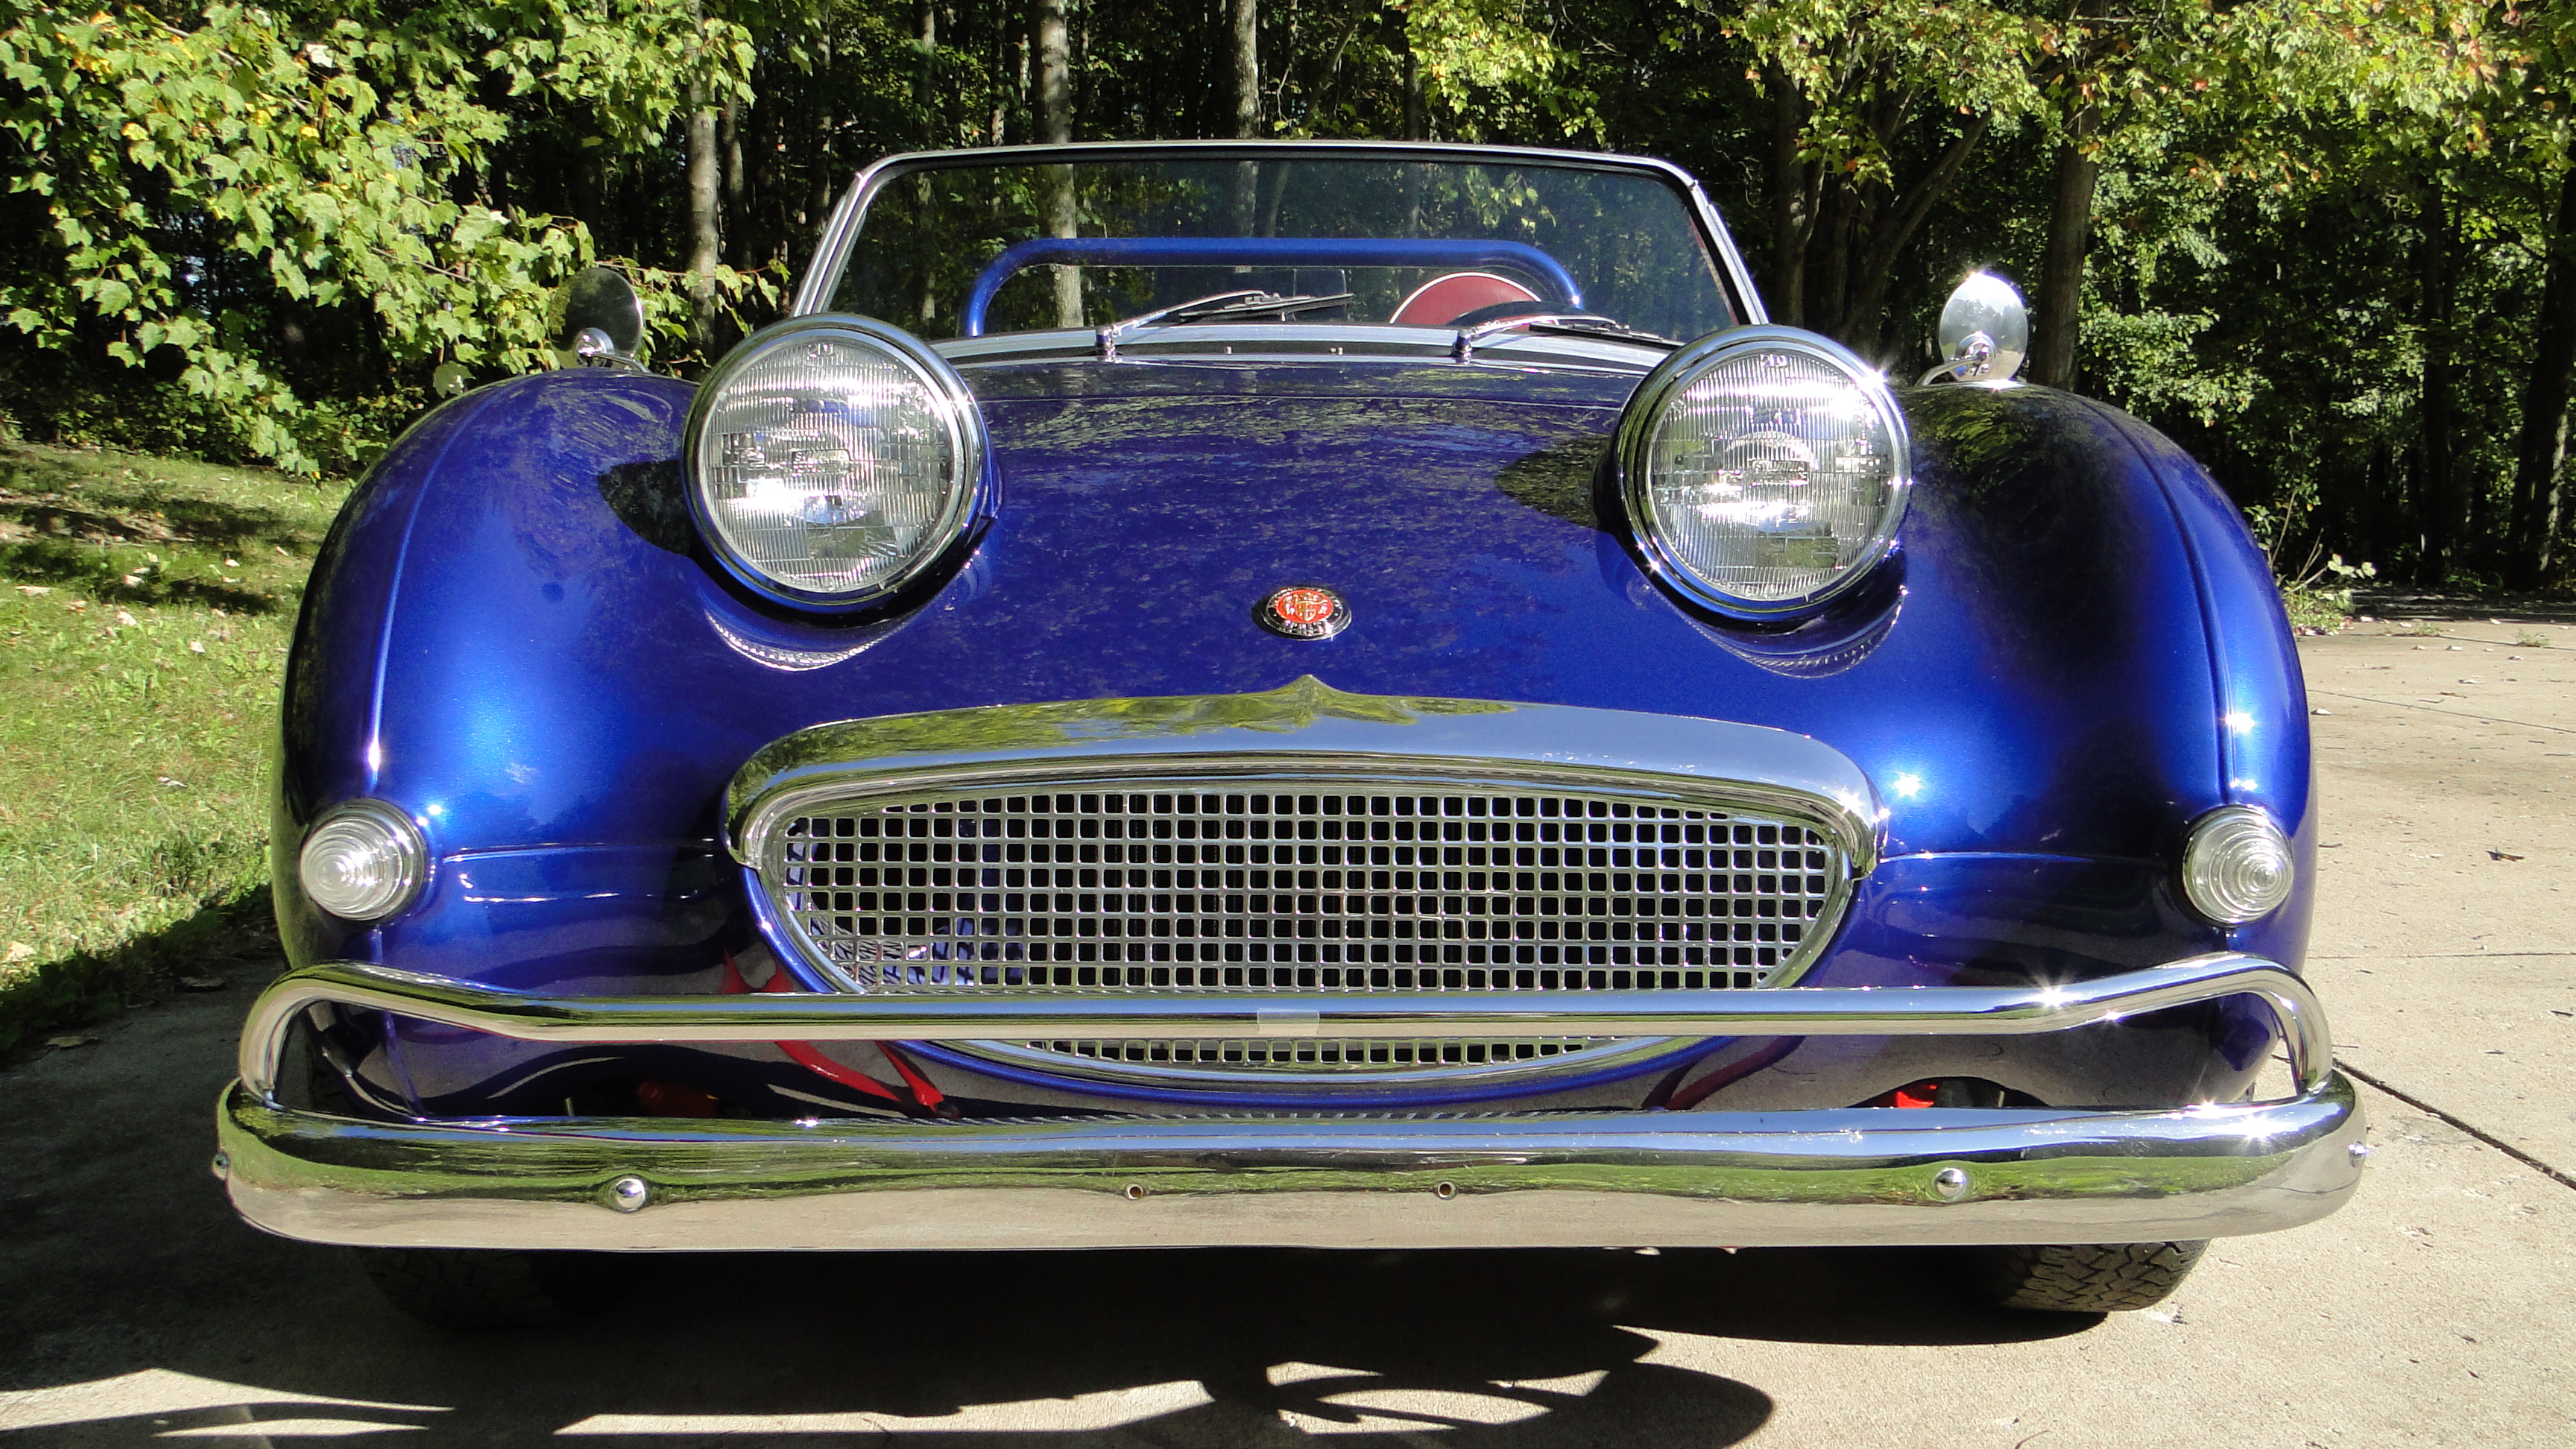


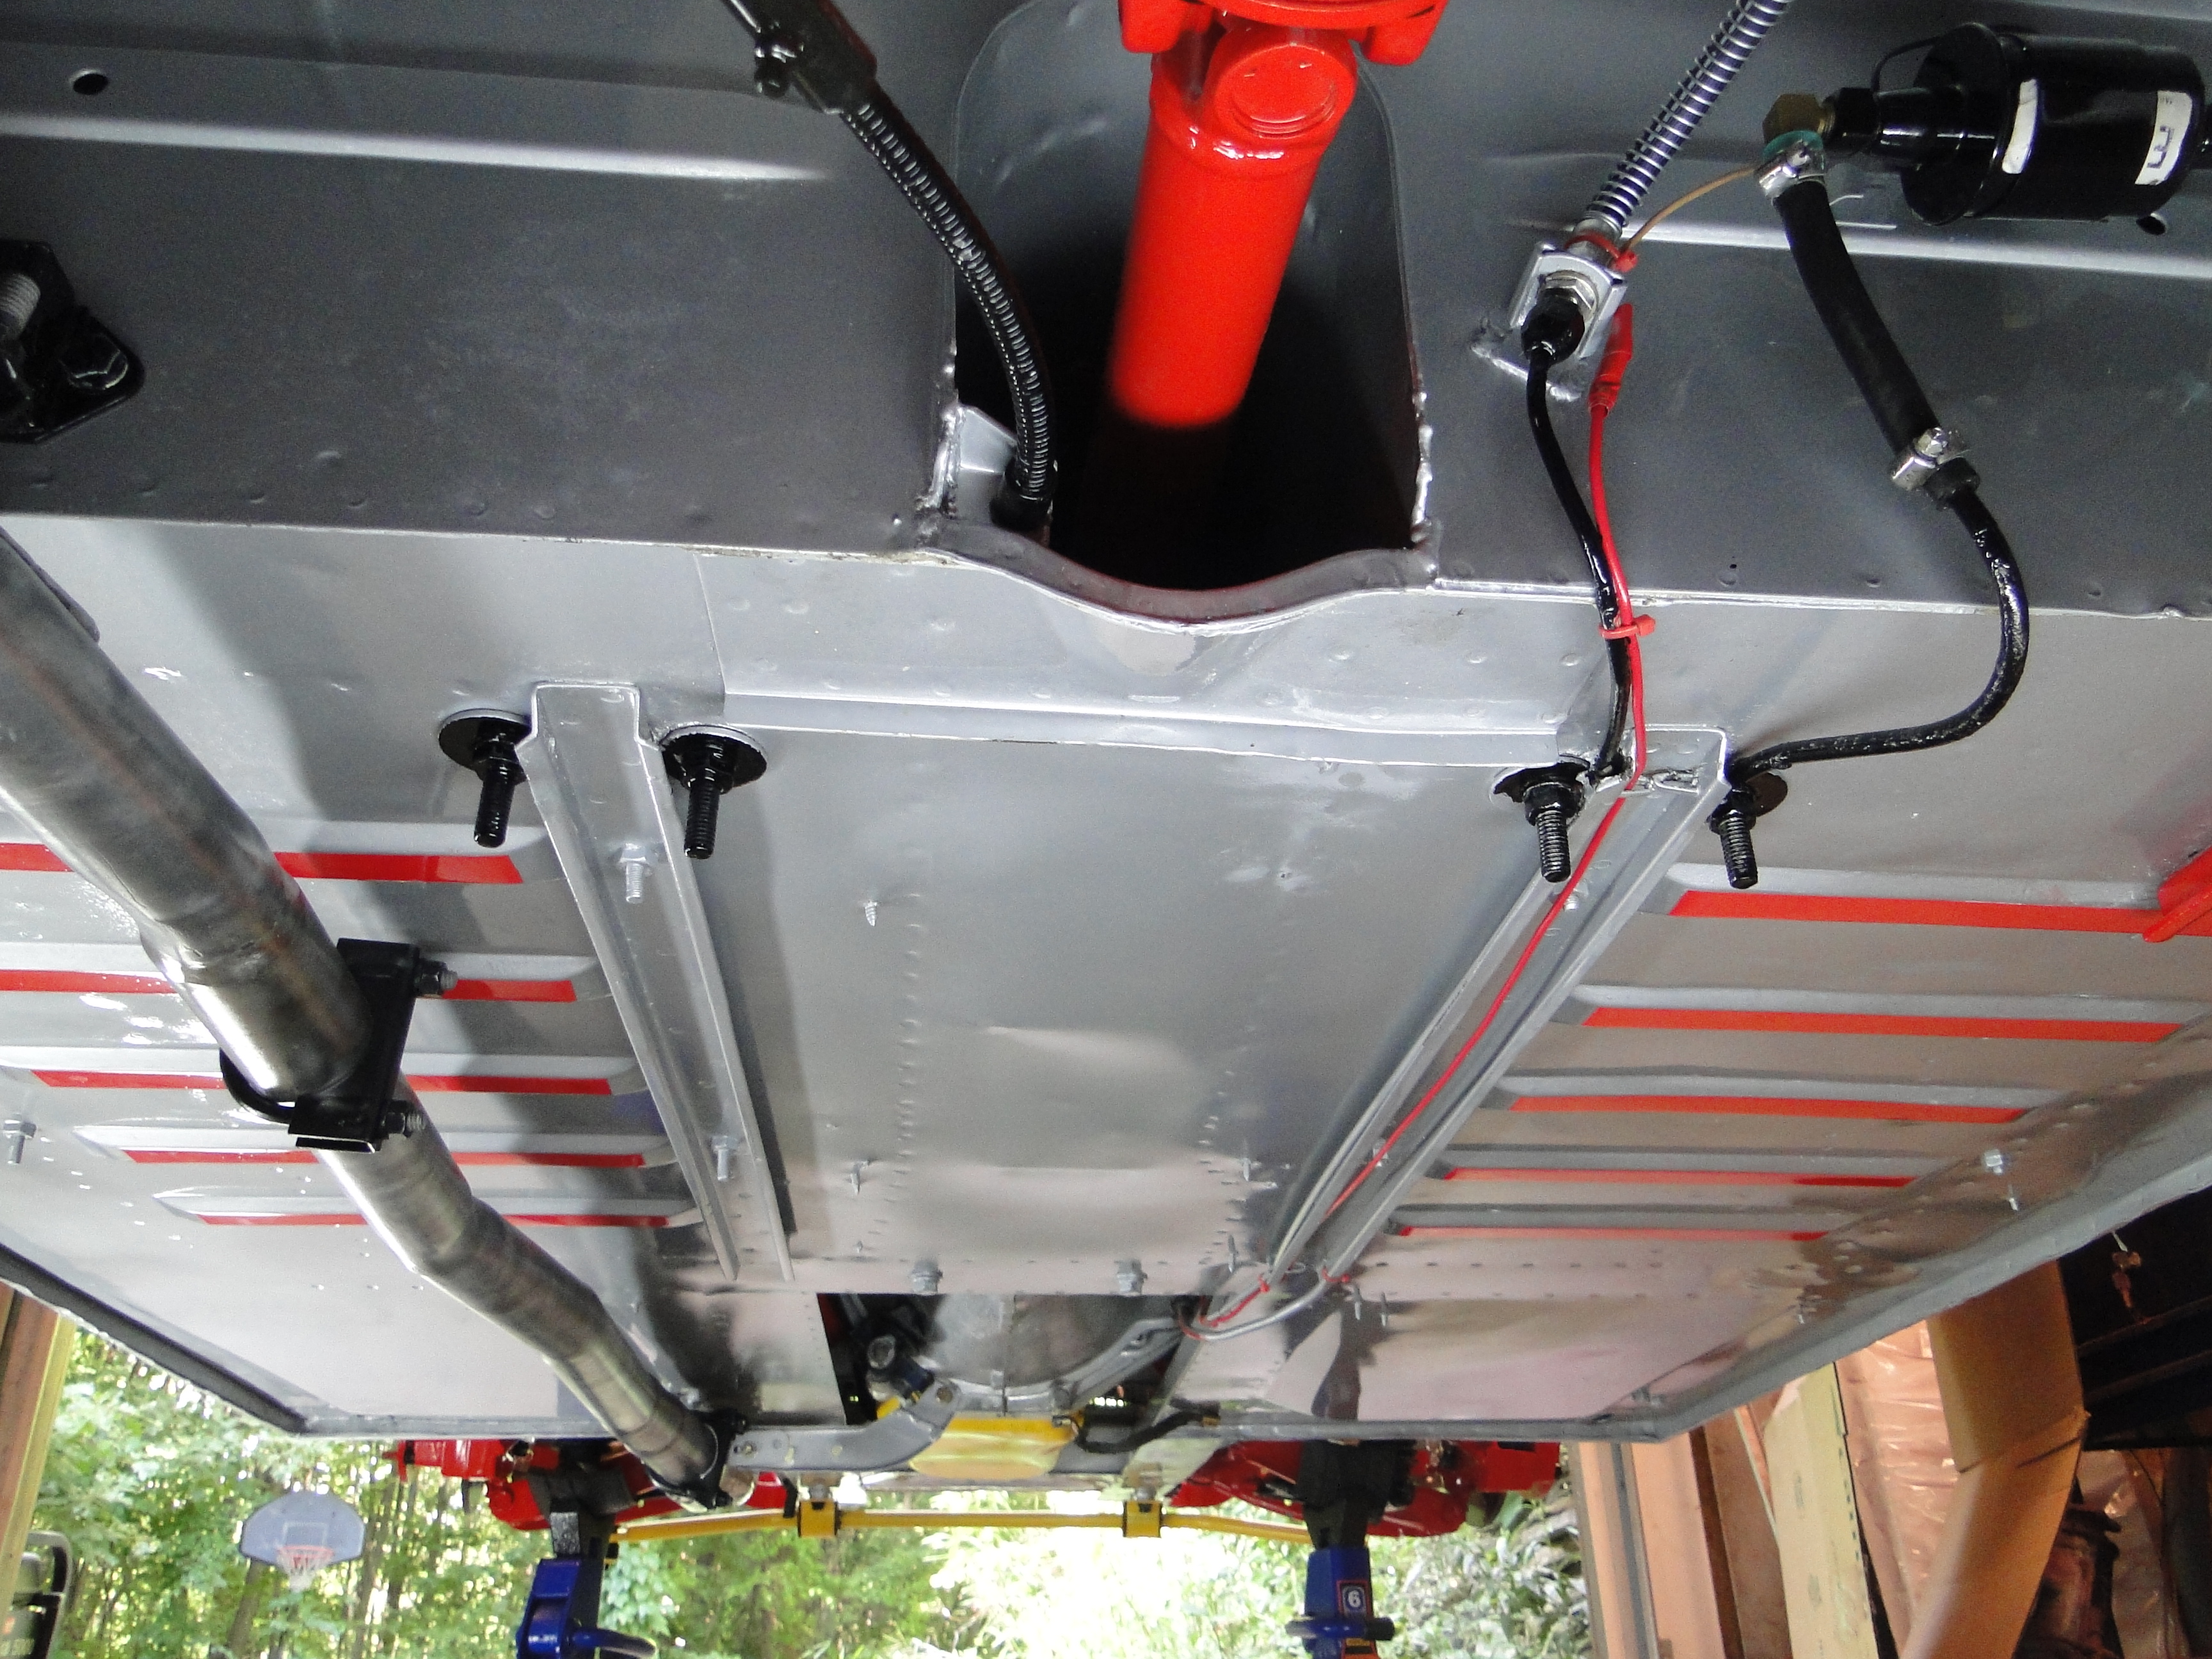
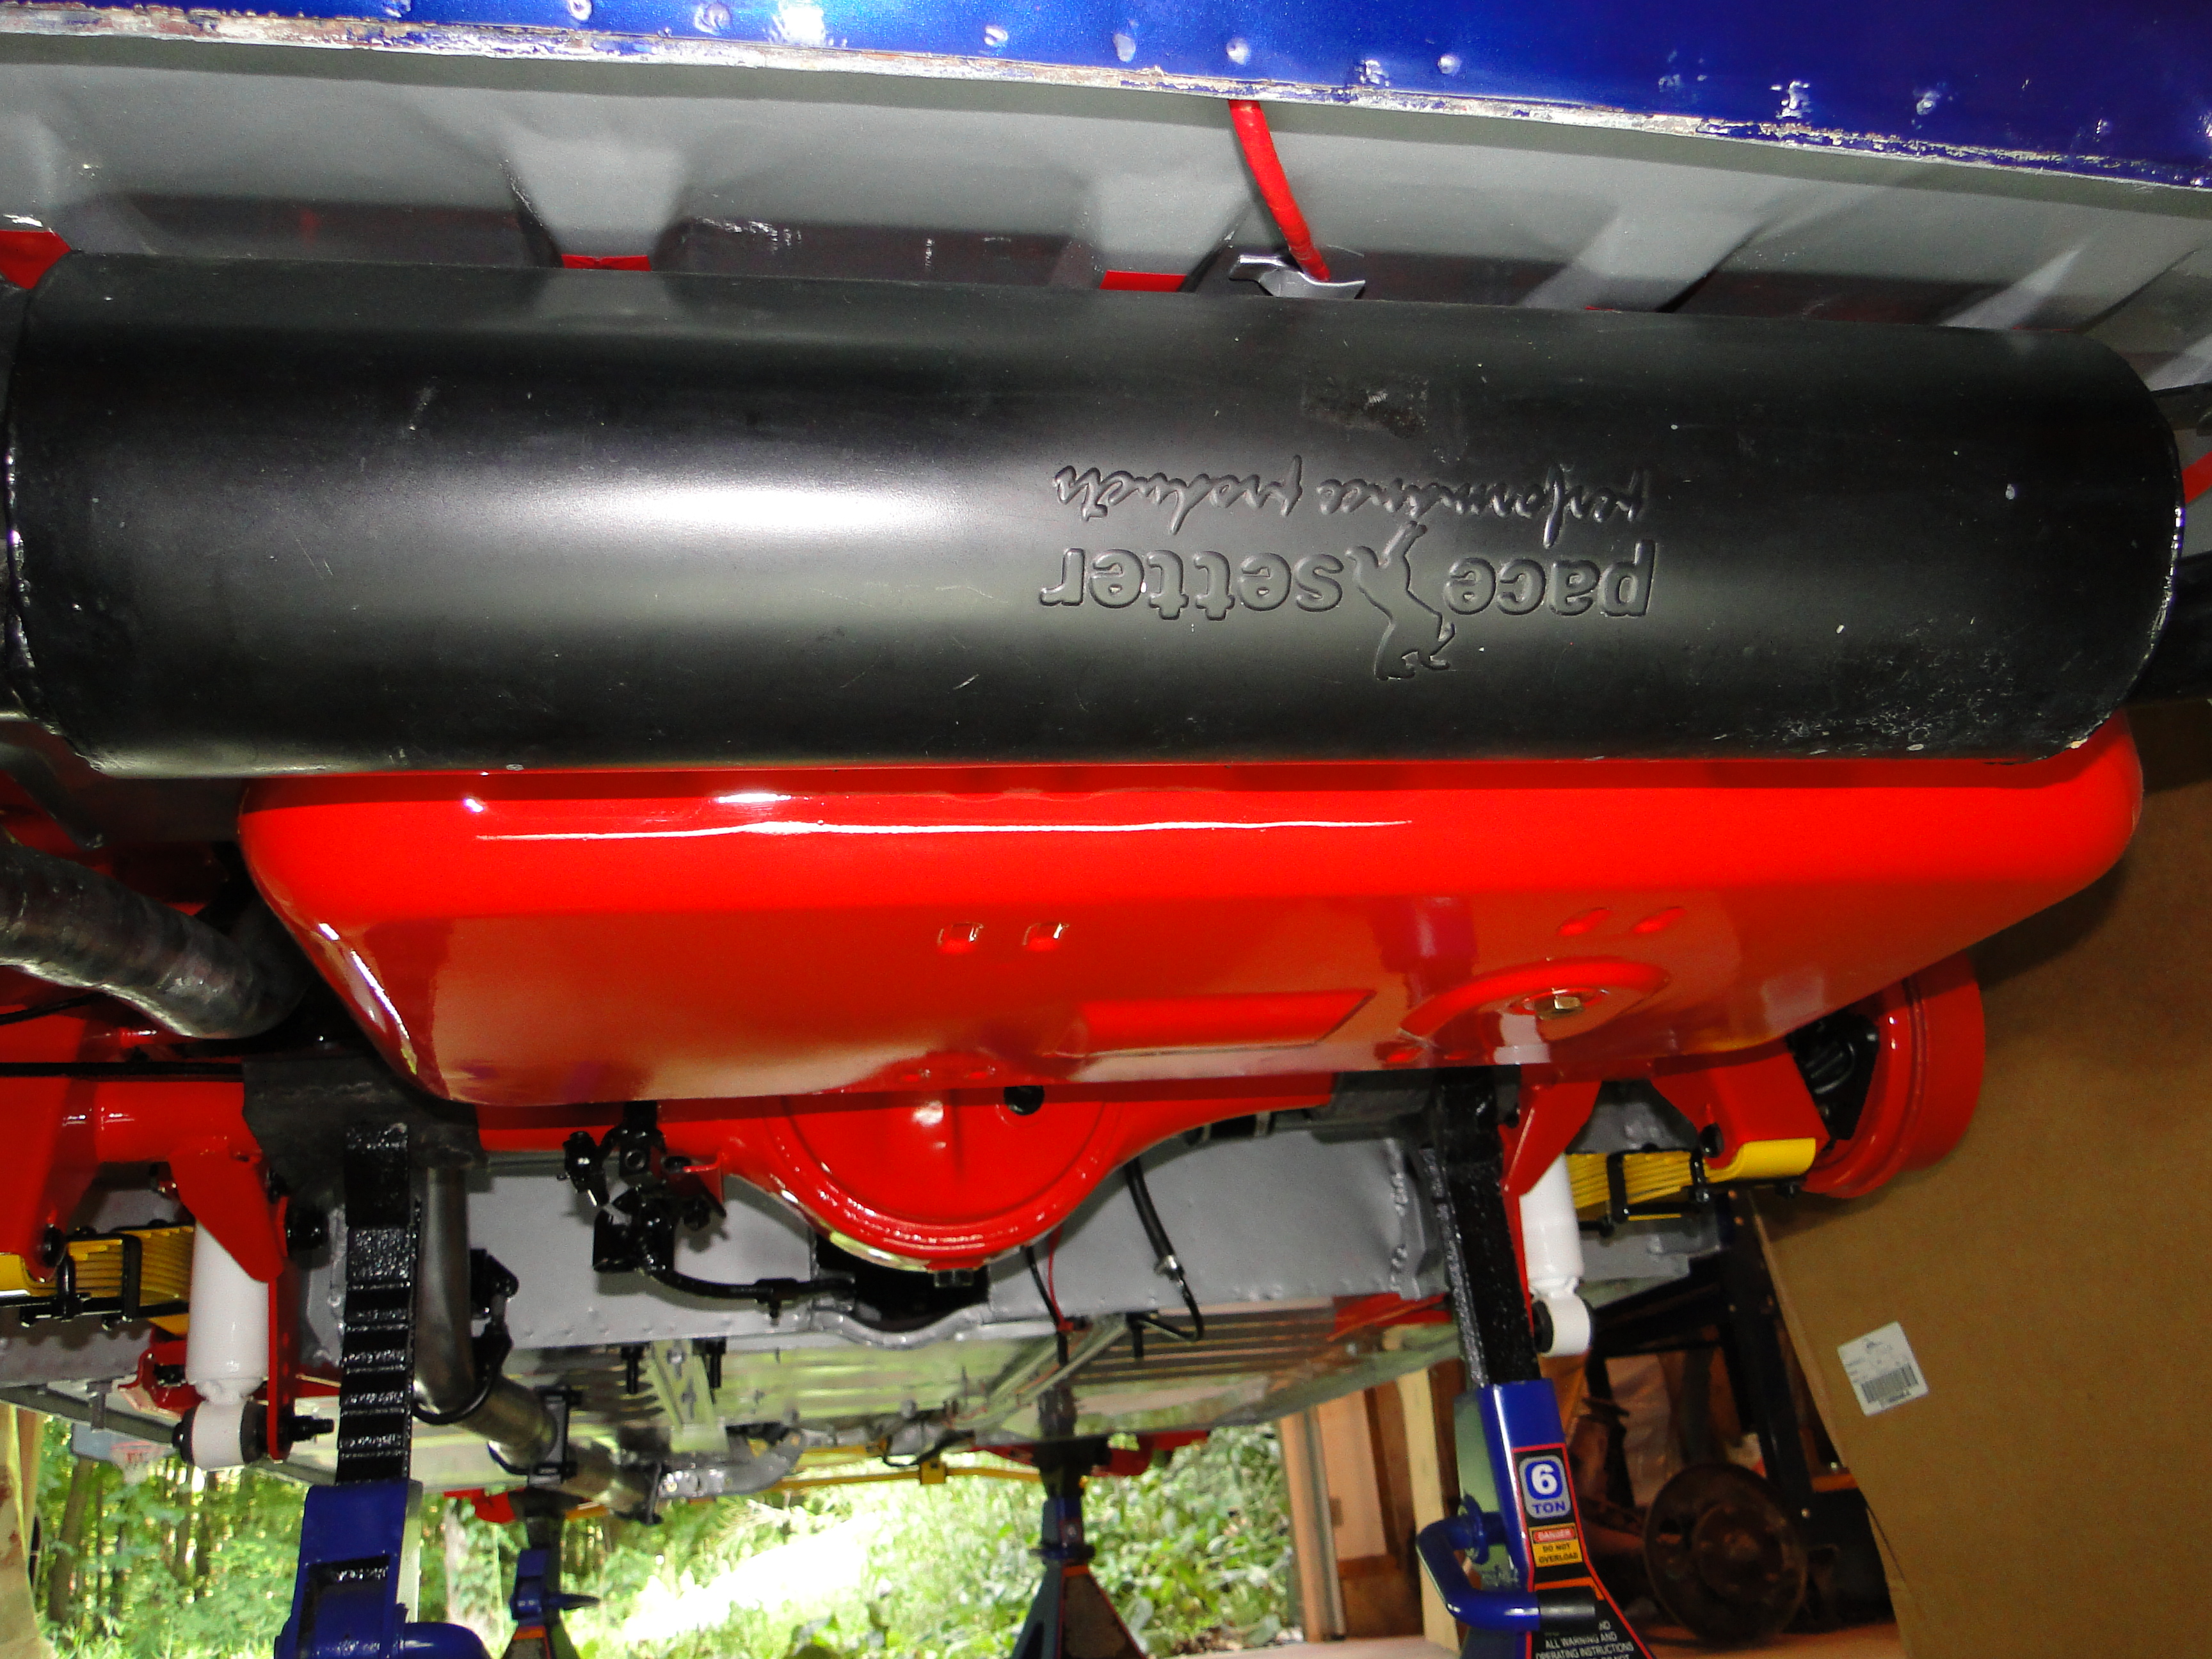
Wheel wells and undercarriage are highlighted with DCC silver metallic paint. I also added DCC red highlights for show.
Click Any Picture To Enlarge
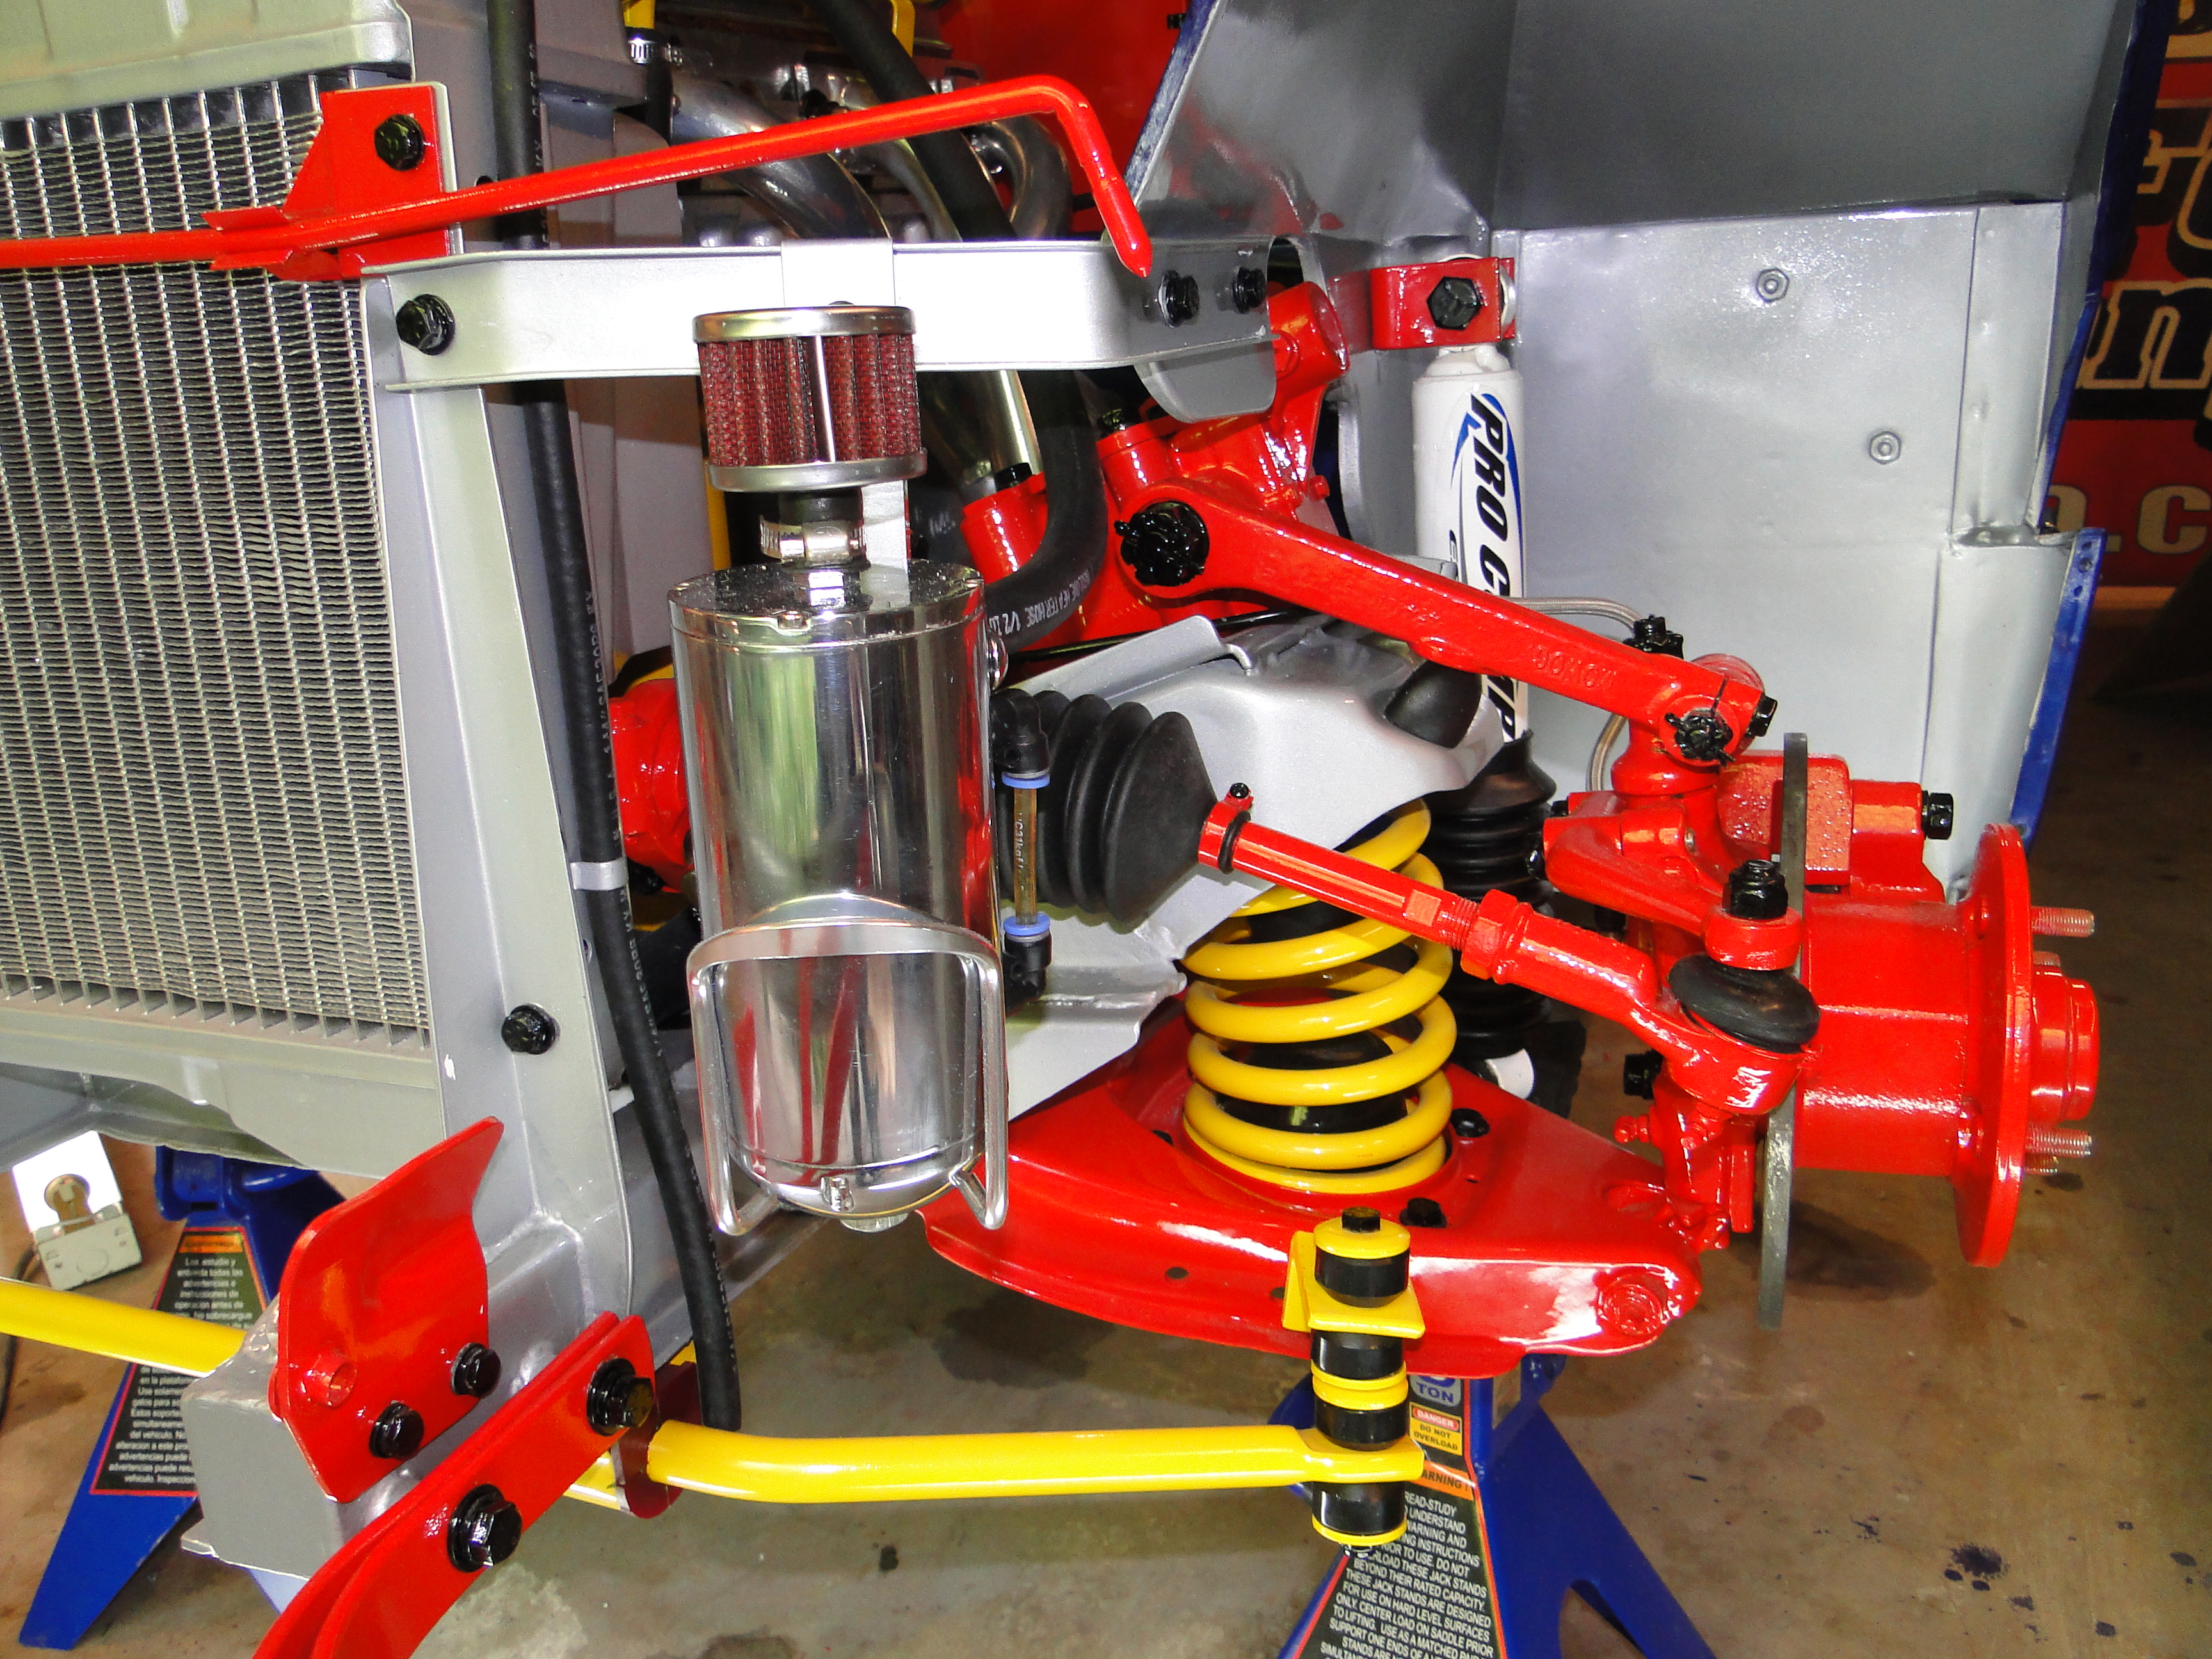
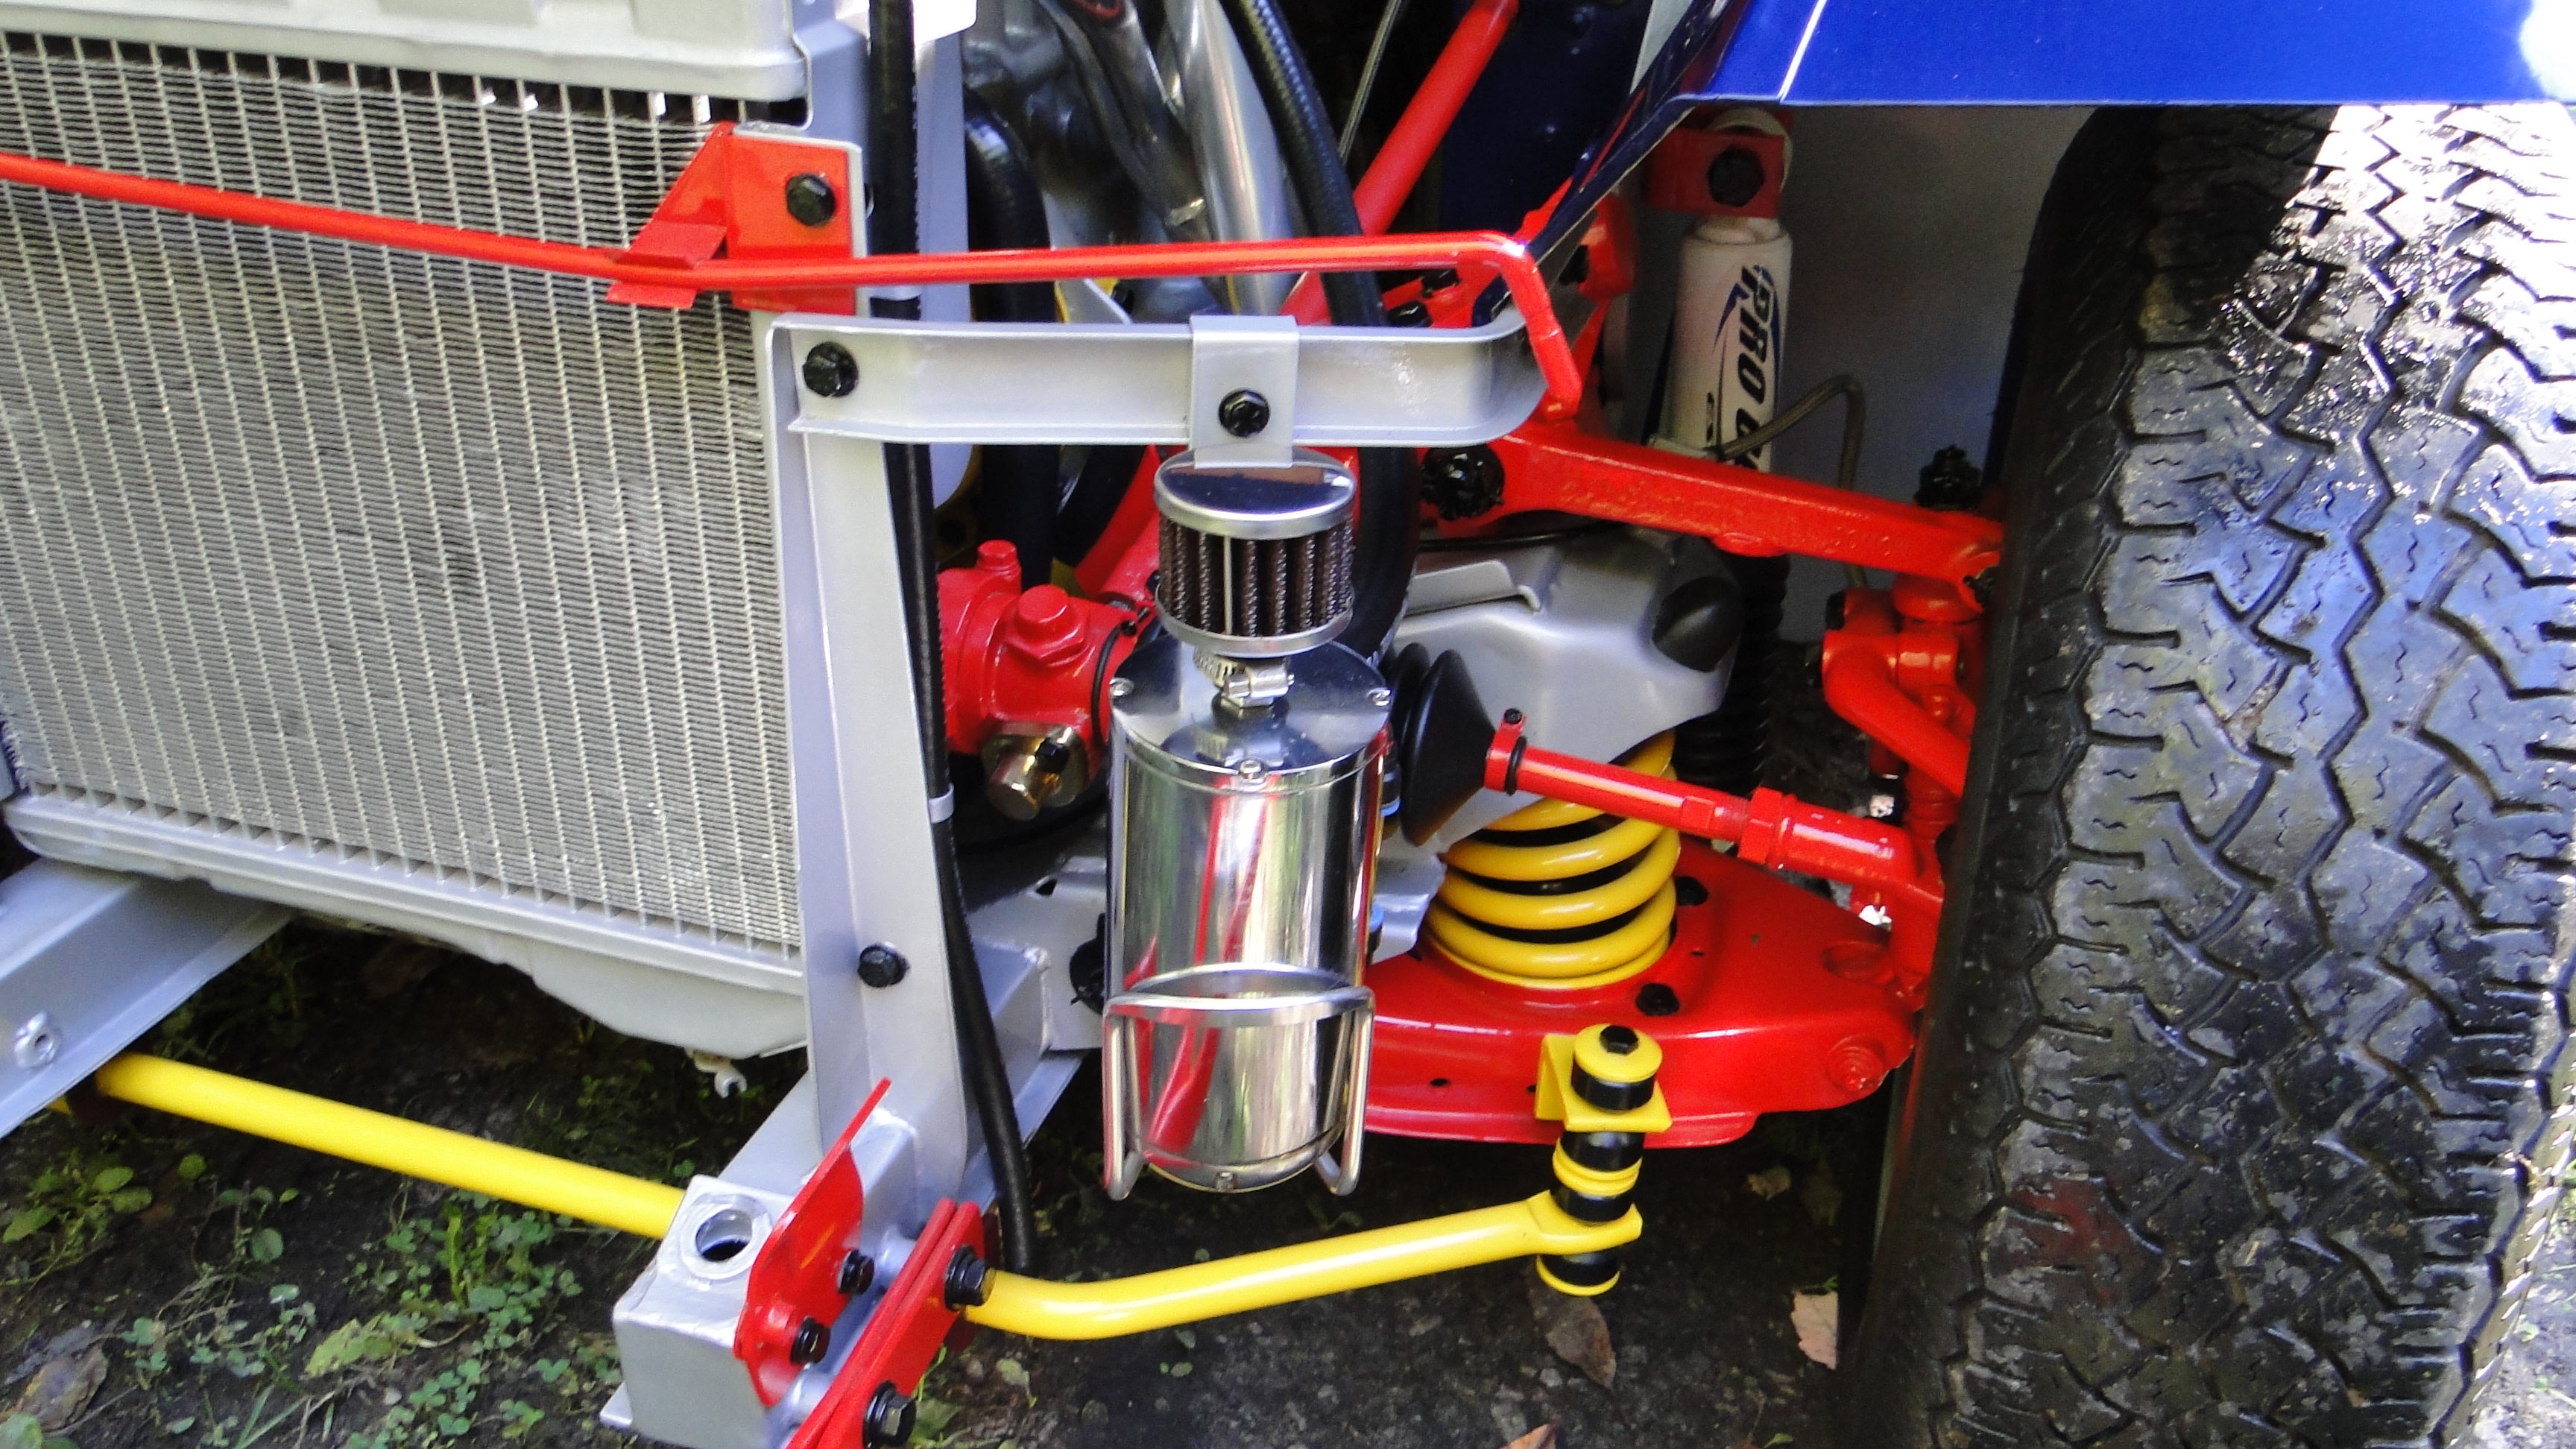
Suspension / Brakes
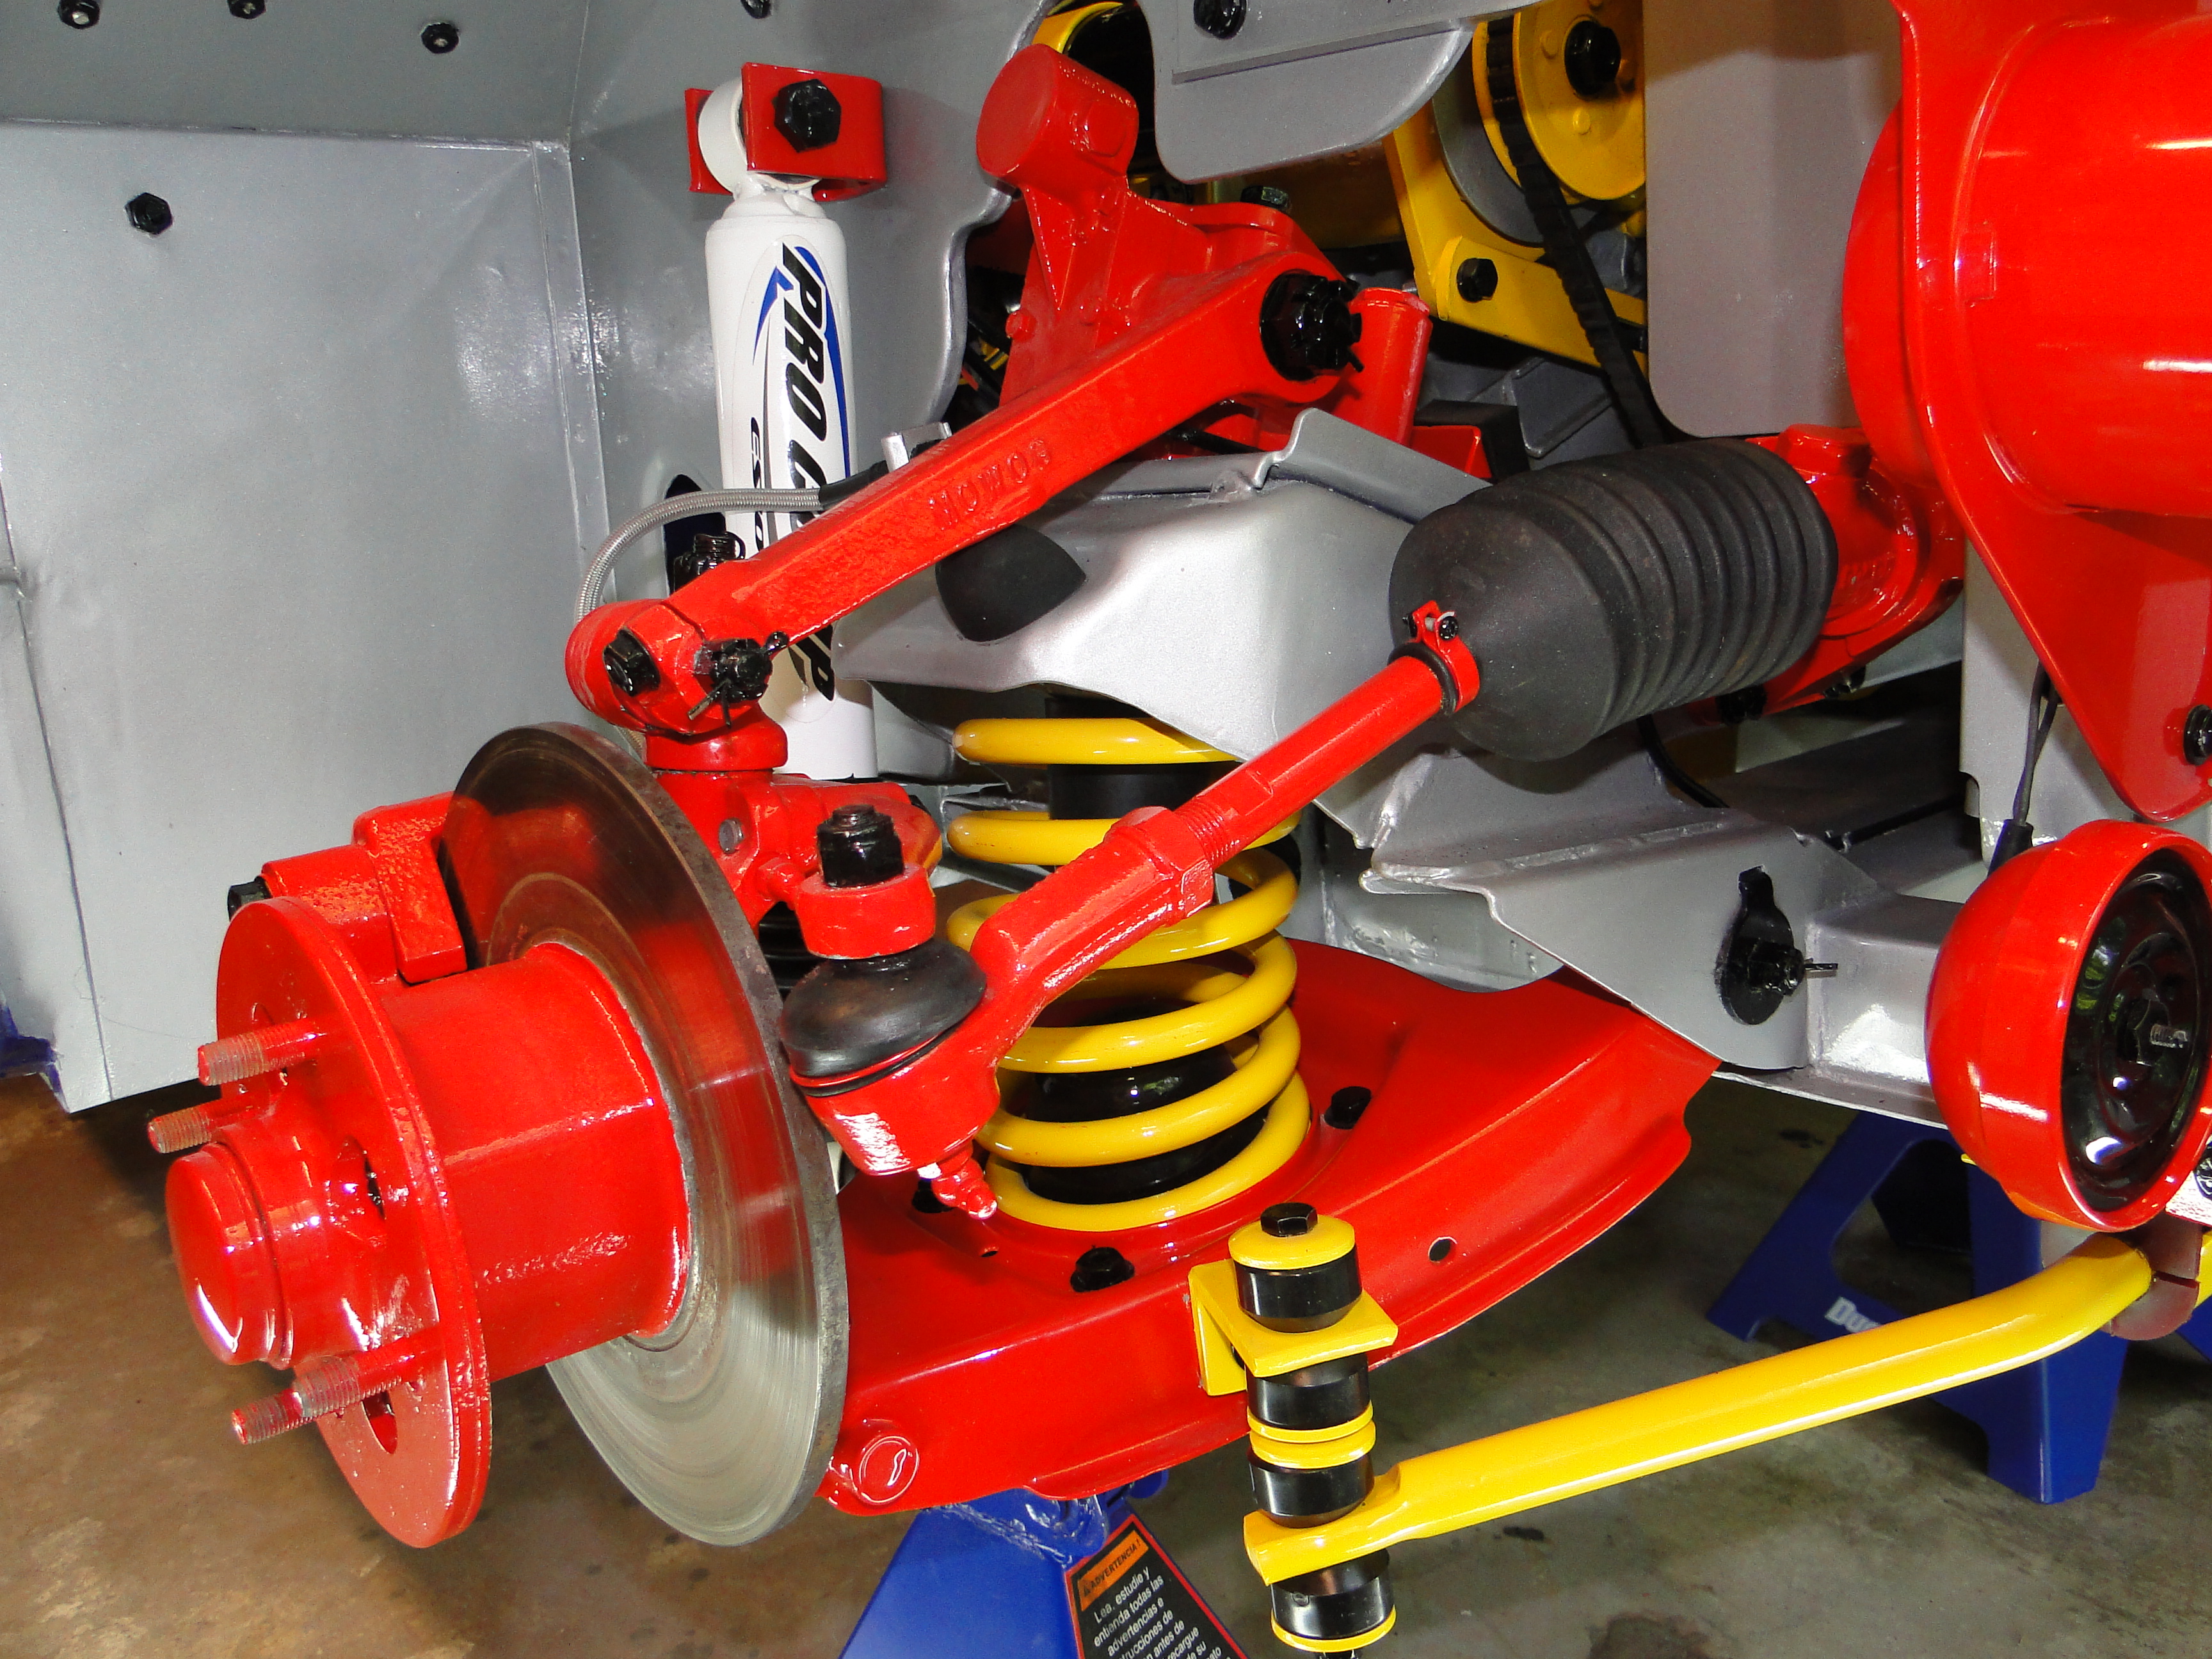
To increase my Bugeye's handling, I replaced the front drum brakes with disk brakes, both front and rear lever shocks were replaced with Pro Comp tube shocks. I also replaced the standard rims with Mini lights, and a high performance front swaybar was added.

Click Any Picture To Enlarge
Engine
I replaced the stock 948cc engine with a 1275cc, bored 60 over to 1340cc. The stock pistons have been replaced with dish pistons, and stock cam was replaced with a racing cam. The standard rocker arms were replaced with aluminum roller rocker arms from Minispeed.com. My stock cast iron flywheel was replaced with a lighter aluminum flywheel, NOTE; you will need to replaced stock starter with a gear reduction starter to counter the lack of flywheel weight to start the engine. I also replaced the mechanical fuel pump with an electric fuel pump.
Click Any Picture To Enlarge
Even after all the above engine upgrades were completed, I wanted more power! I had a dilemma, I could go with the Super Charger from Judson or the Cross Flow Head from British Performance Parts. I decided to go with the custom aluminum cross flow head from British Performance Parts, and then we also removed an additional 1/8 inch from existing head surface to boost my compression to 9 to 1.
One of the problems with the British Performance kit, was the exhaust mounting bolt spacers were made for a standard exhaust thickness, not for the thinner headers. Who in there right mind would spend the over two thousand dollars for this upgrade, and not add a $75.00 header in to the mix.
You will have additional machining cost, to reduce the header spacers size to match the thinner headers.
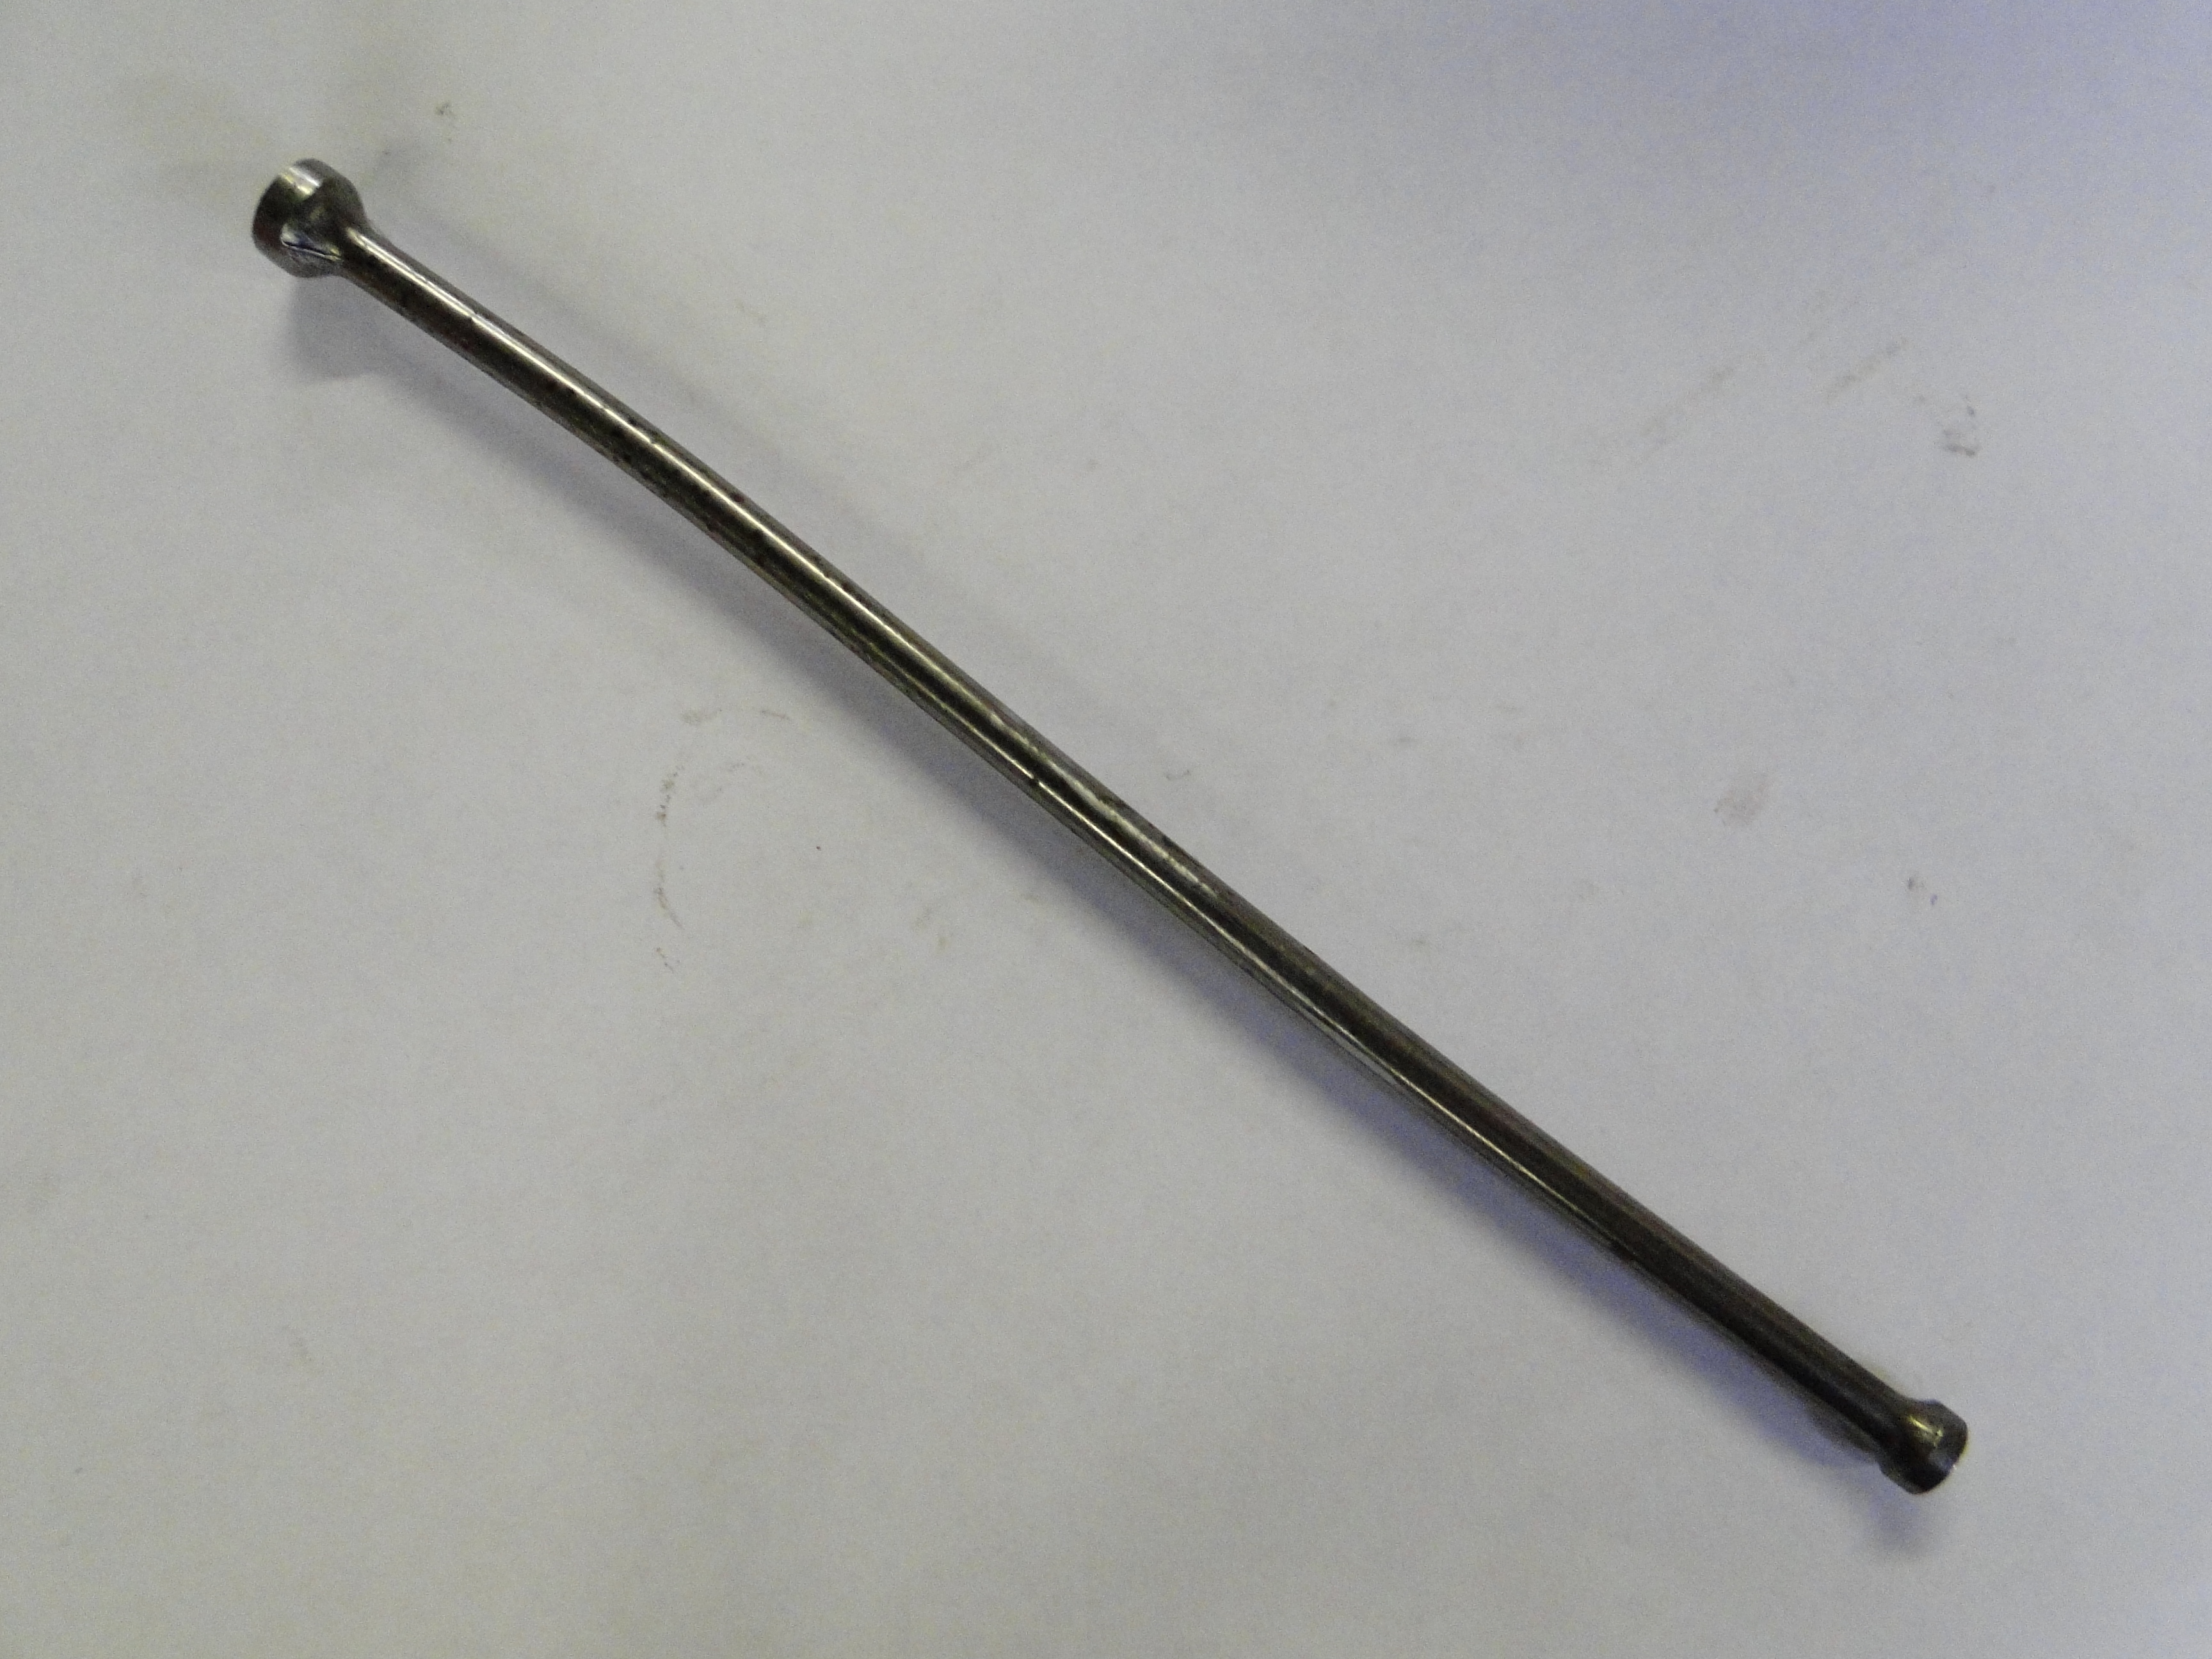
Another issue is you can not use hollow push rods with this cross flow head, the rod gateways in the head are to small for the larger push rods, and will not allow proper oil flow after installation.

Click Any Picture To Enlarge
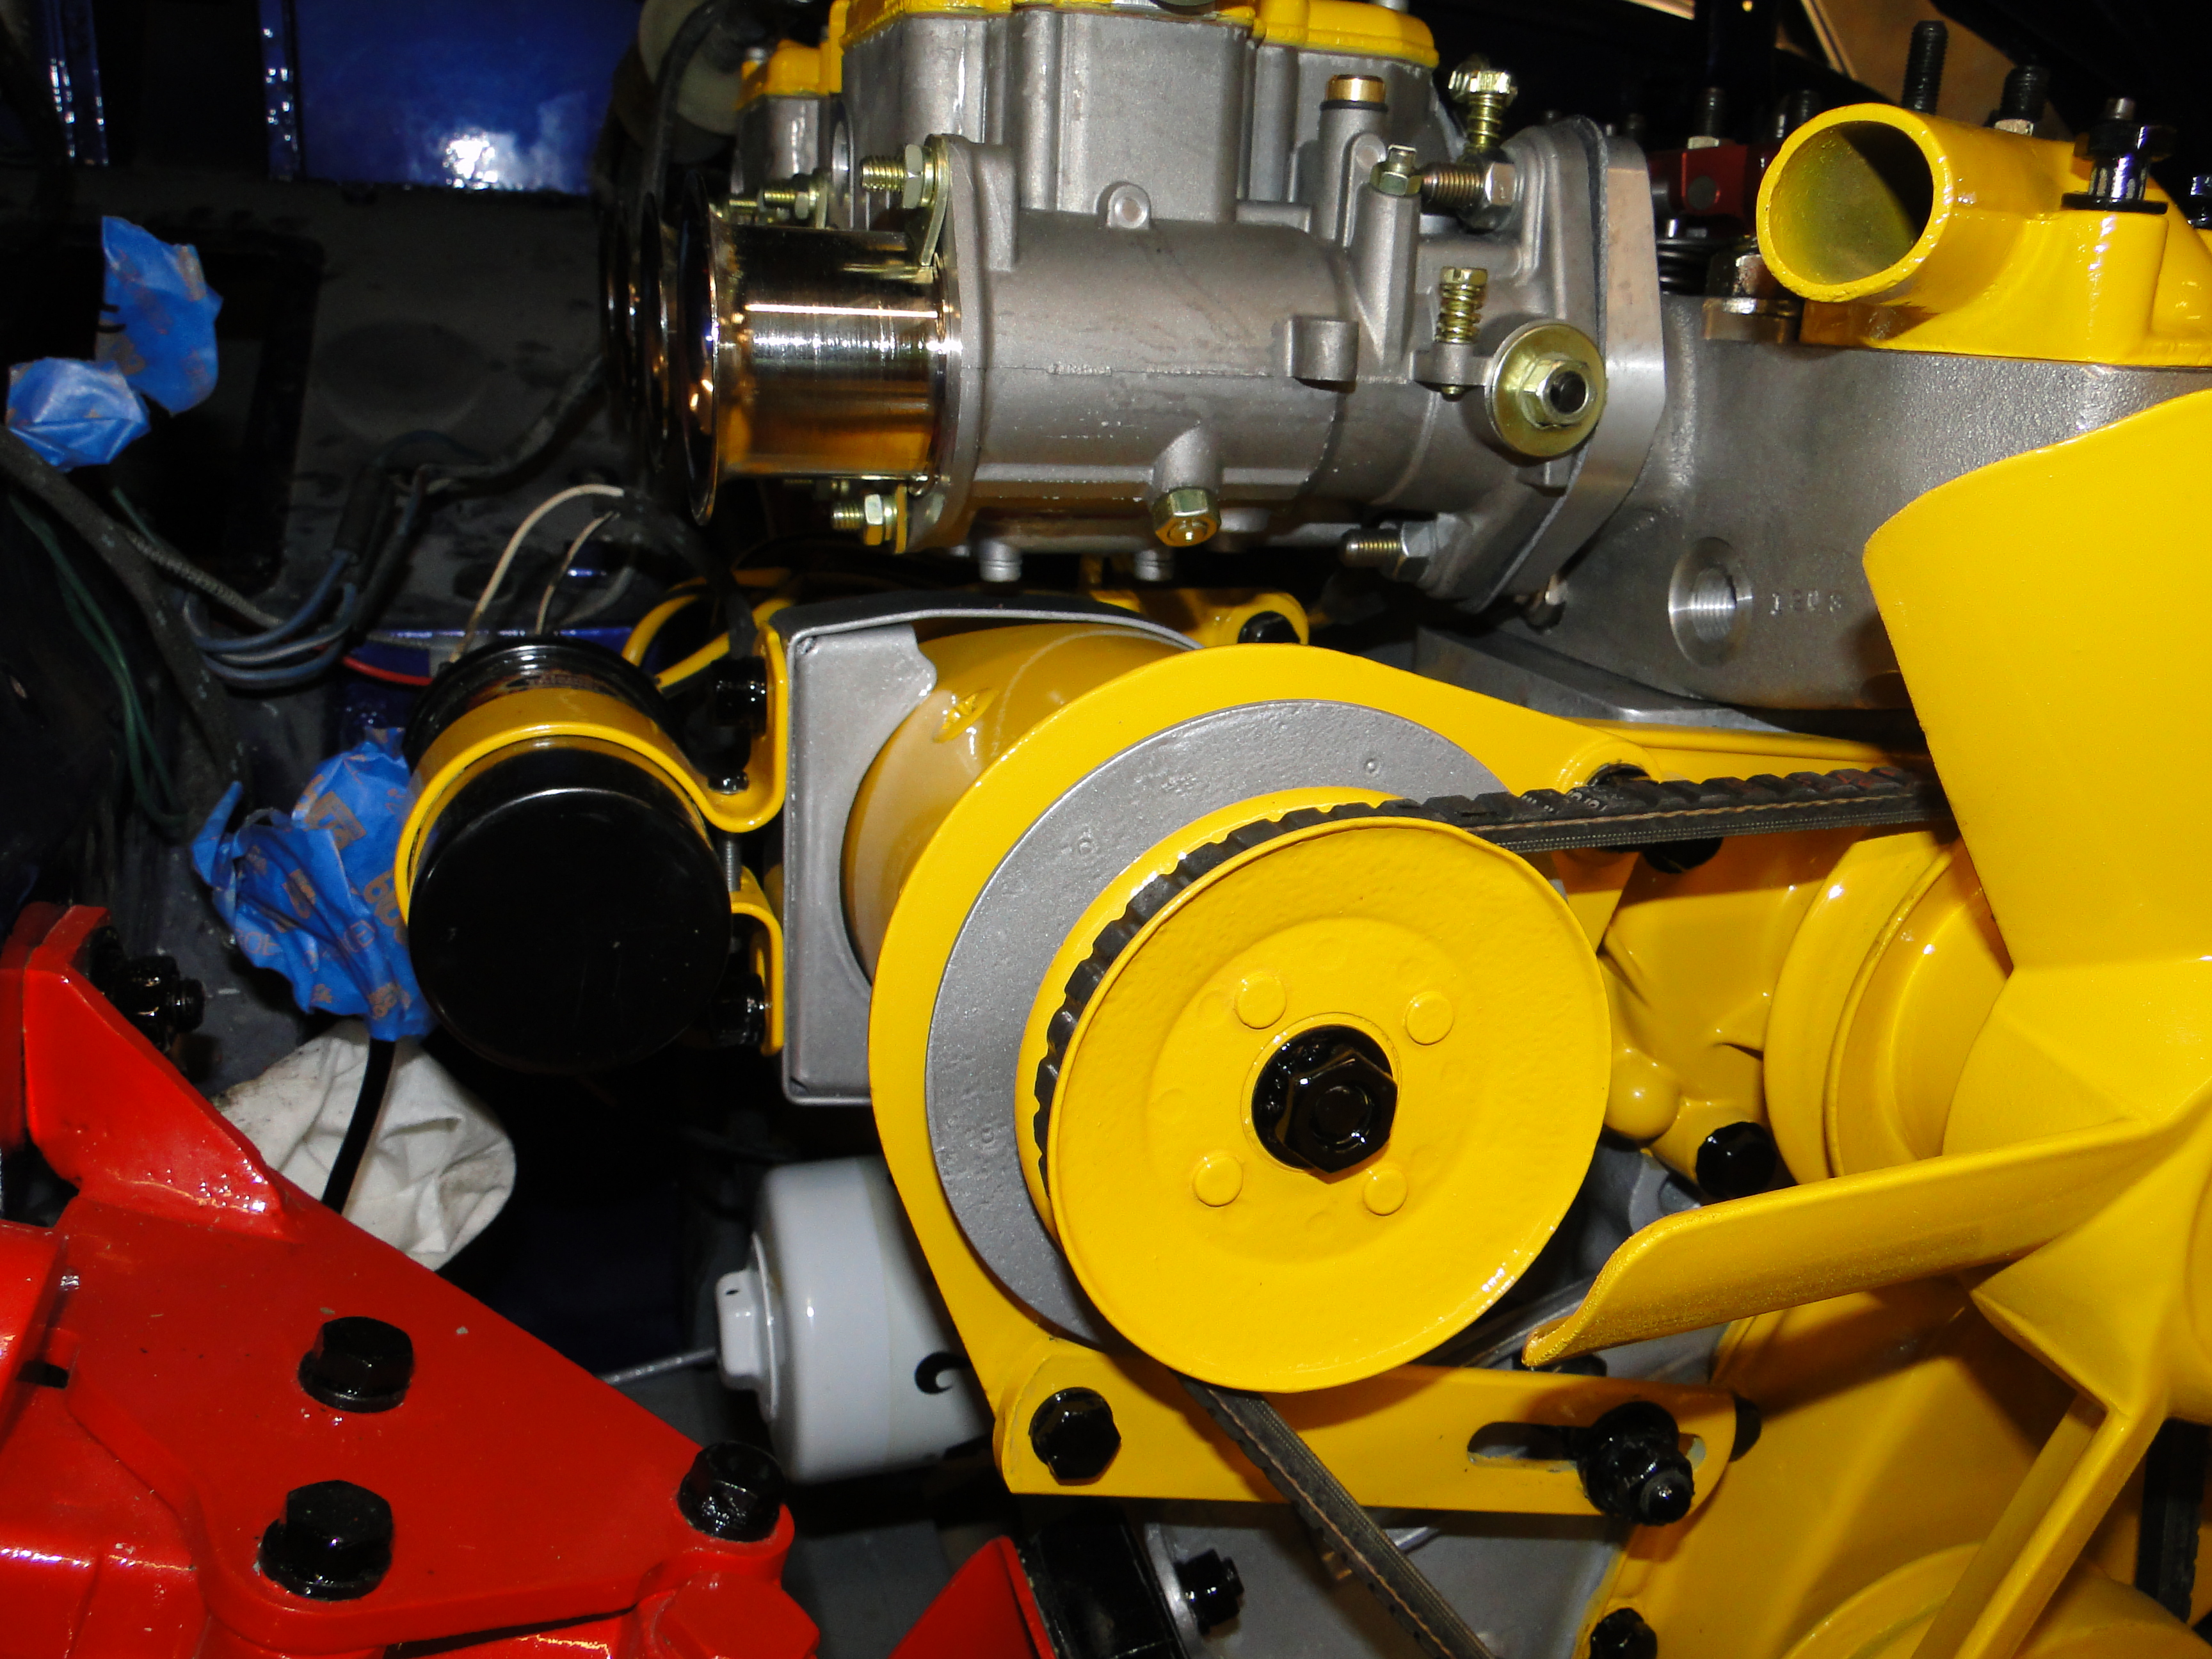
When performing this type of an engine upgrade, most Bugeye owners have to replace the stock generator with a the newer style Alternator. The problem with replacing the generator, is your connection for the tachometer is on the generator, so consequently you will have to replace your stock tachometer with a newer style tachometer as well. Finally you will have to move your ignition coil to a new location as it is also mounted on the top of the generator.
Well that's not going to happen, after working on the problem, here is the my solution that allows you to keep the stock generator.
Step: 1 You will need to cut two inches off the generator support arm, and re drill the bolt hole.
Step: 2 Replace you fan belt with a shorter fan belt by 1 . 1/2 inches.
Step: 3 Then rotate the coil mount from the top of the generator to the passenger side of the engine
Be mindful of the break light switch, there is not much clearance between the two.
This way you can have the new cross flow head and keep your stock tachometer too.
Click Picture To Enlarge
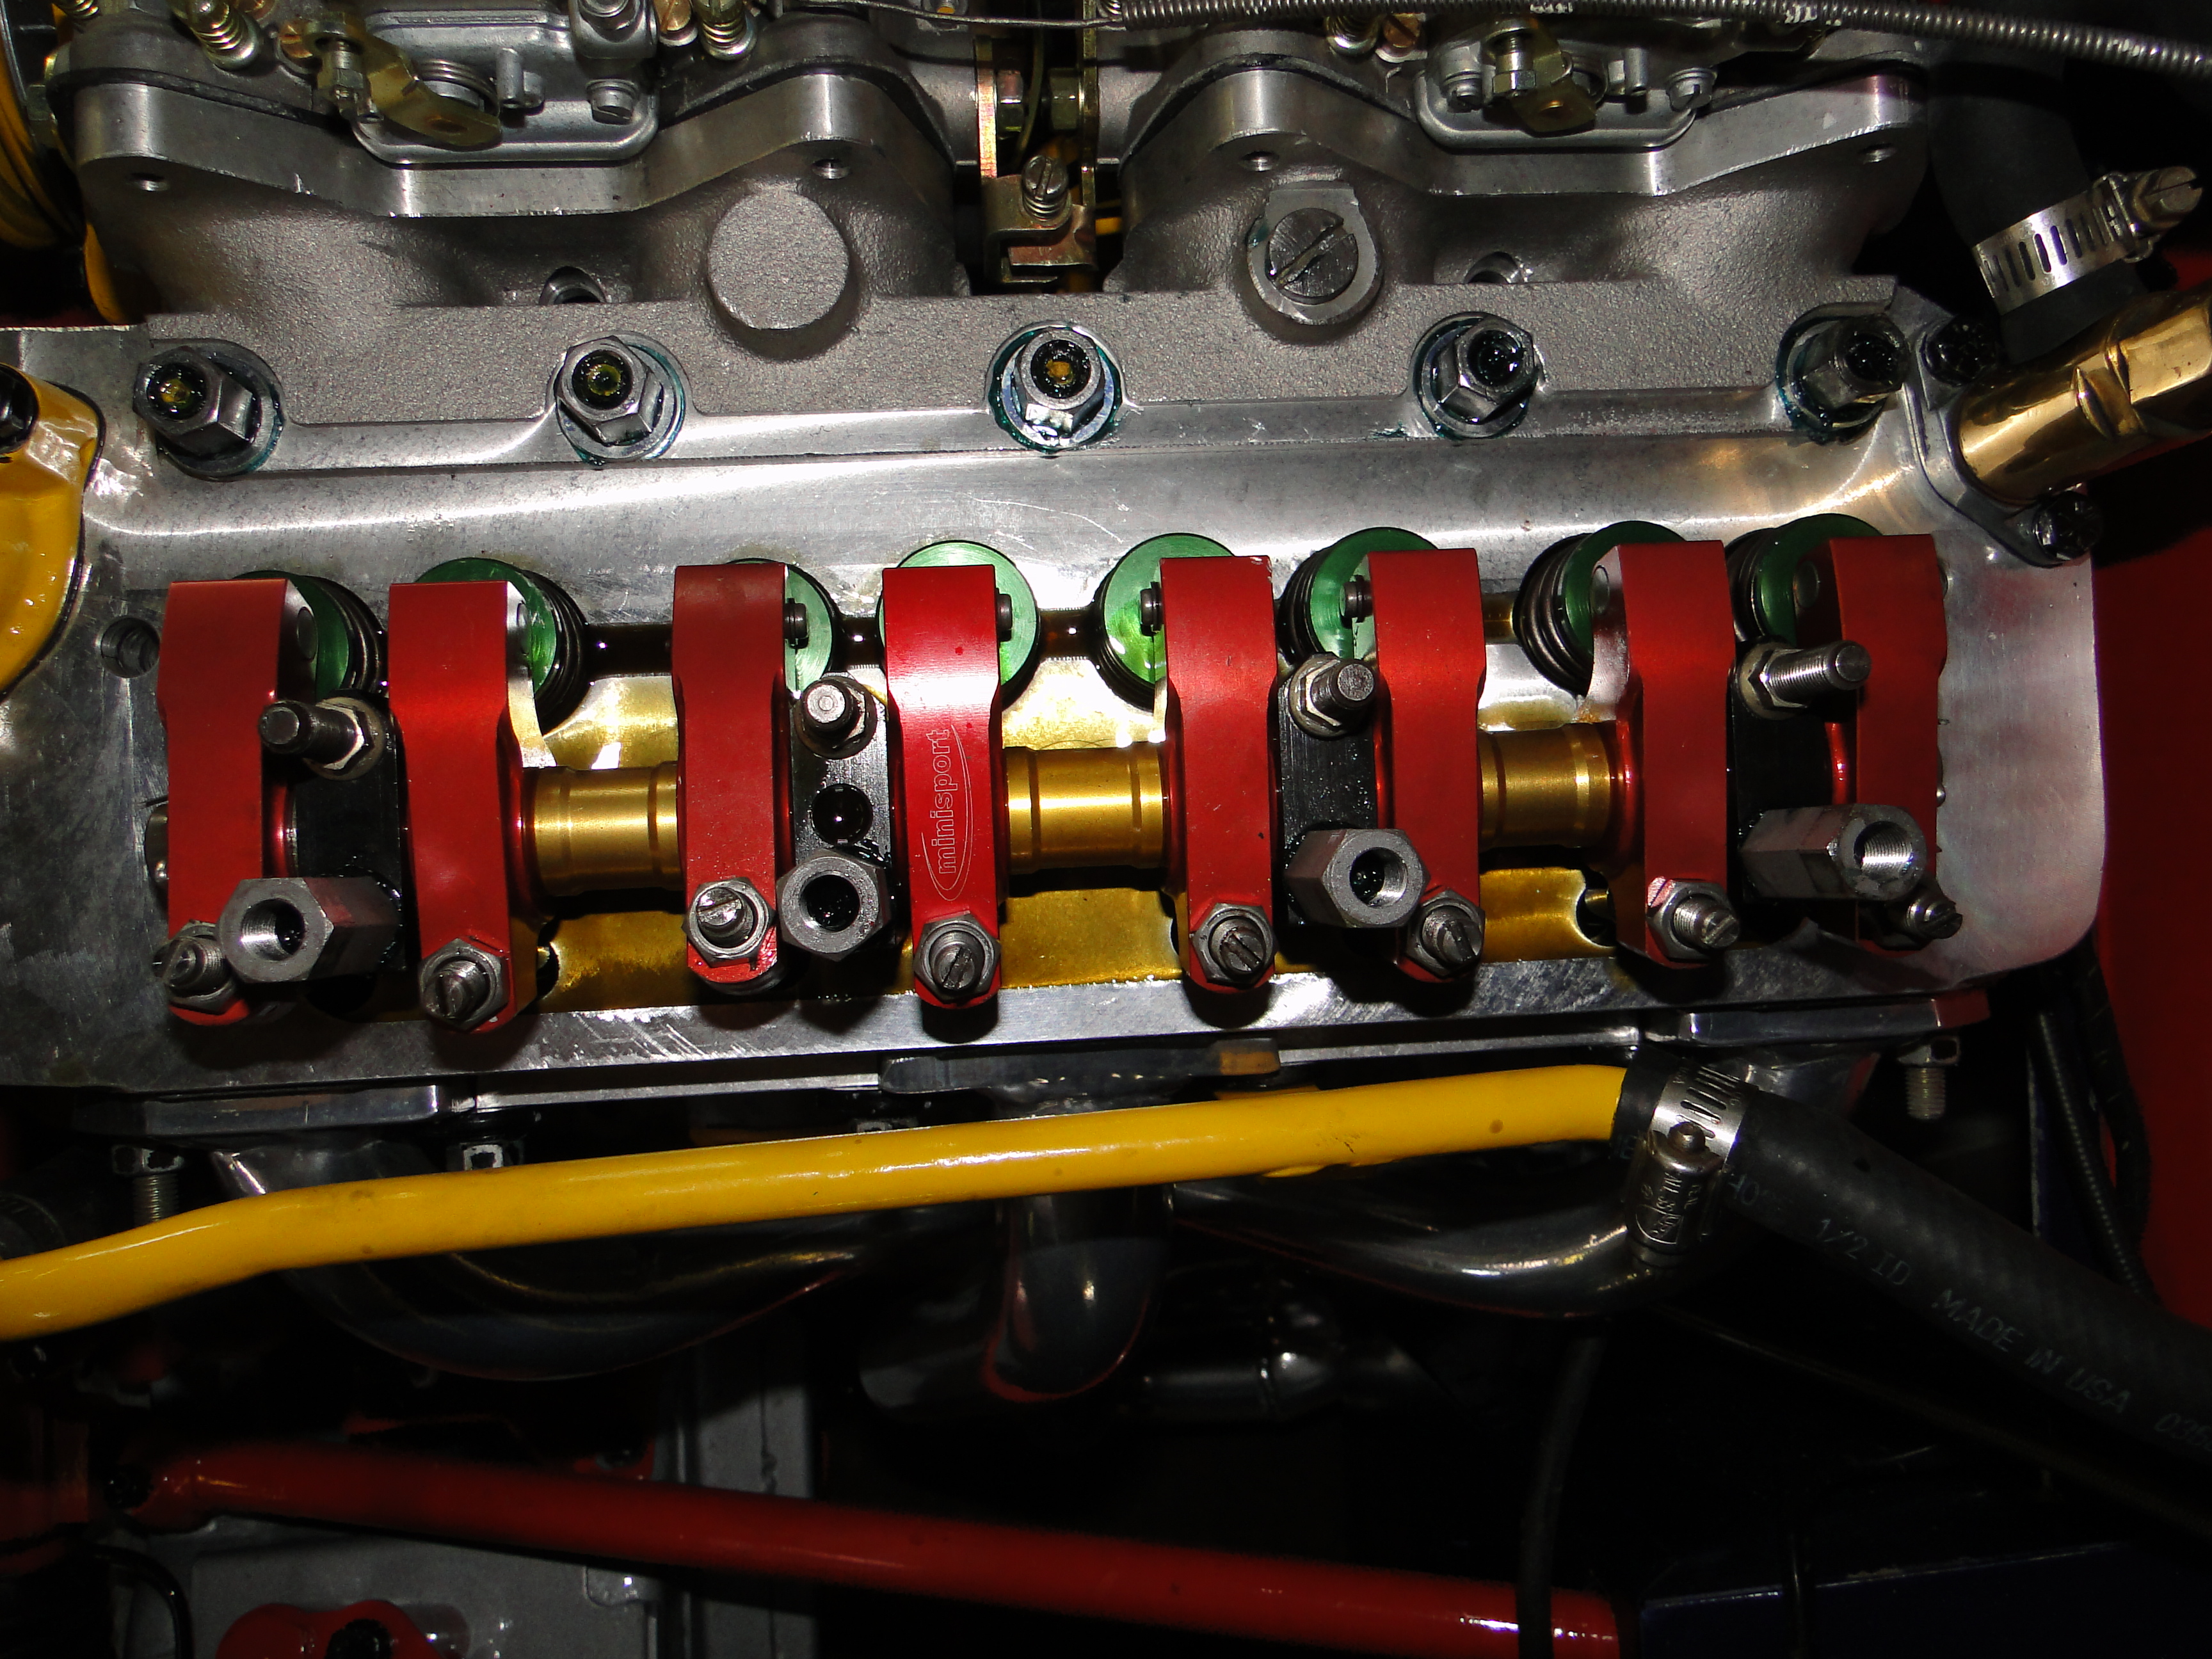
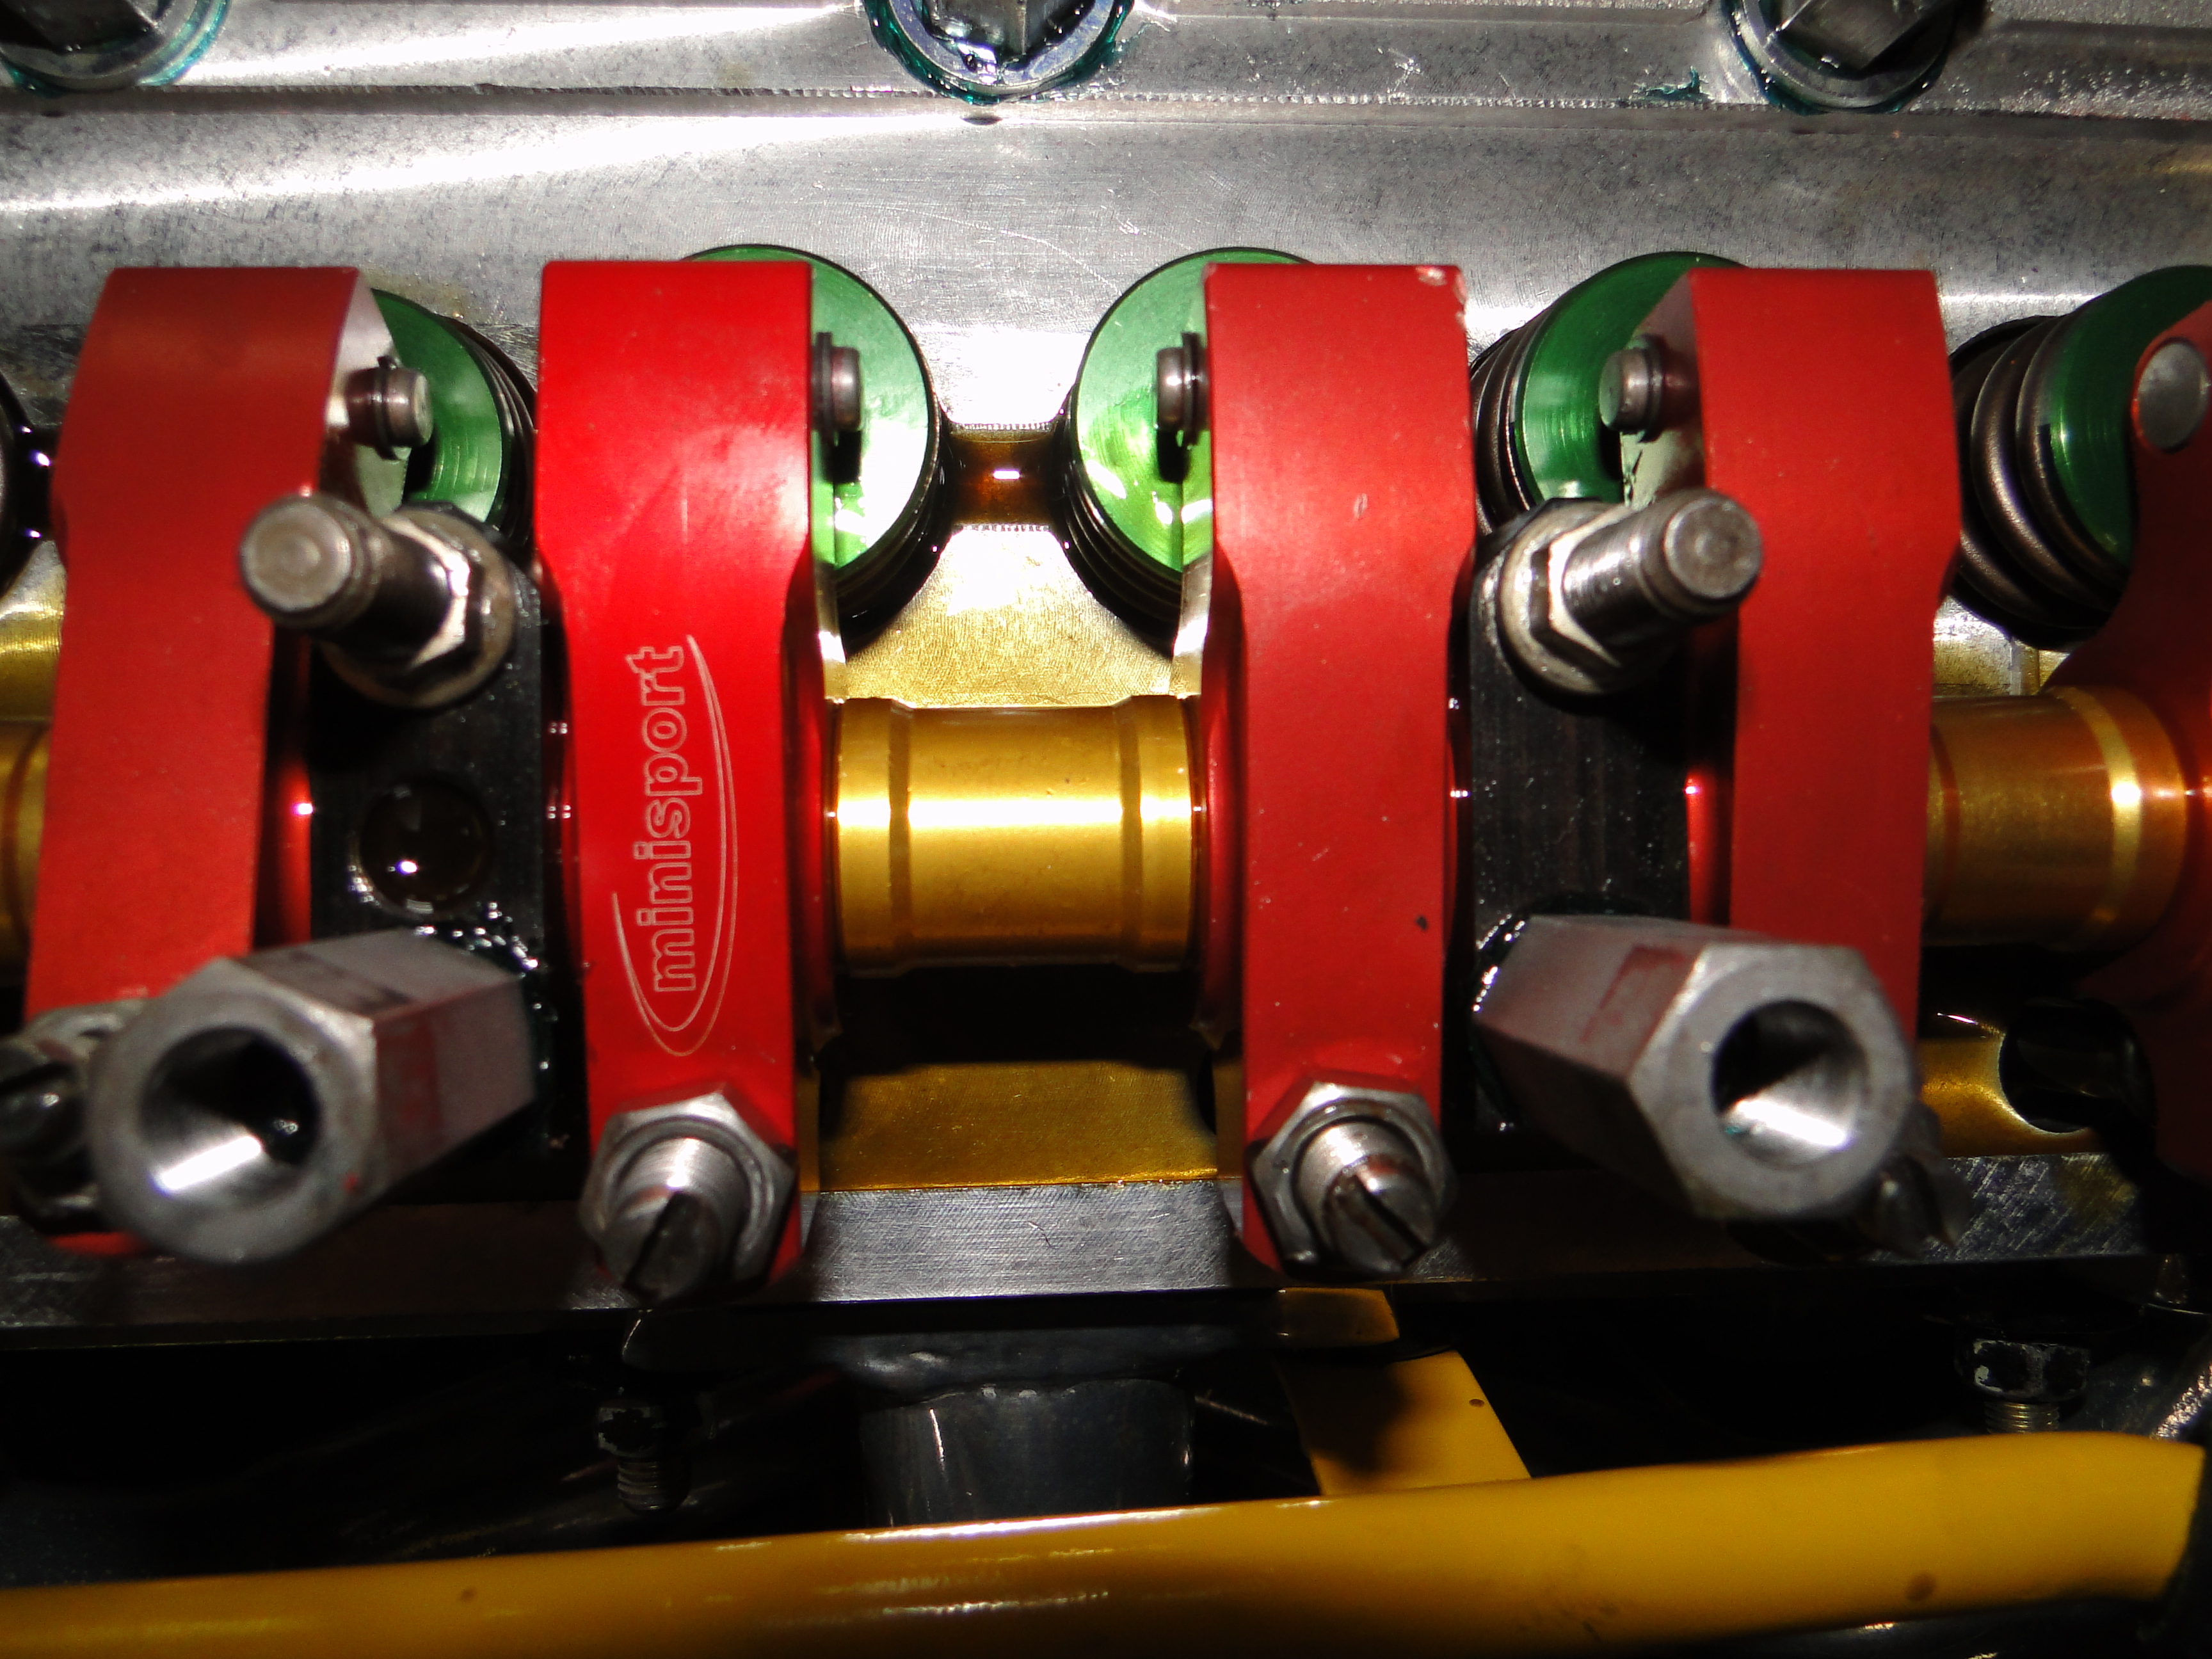
When I replaced standard 1.4 rocker arms with what was advertized was 1.5 aluminum roller rocker arms from Minispeed.com from EBay, item number 120810108035. As you can see by the EBay description these rollers rockers were sold as 1.5, how ever they are actually measure over 1.6. Minispeed.com denies any wrong doing of course, and refuses to respond to any of my emails.
Warning do not purchase anything from Minispeed.com, they apparently do not know how to properly measure, package and service their products, and or customers, and I am not the only customer to complain about them just Google their name.
Click Any Picture To Enlarge
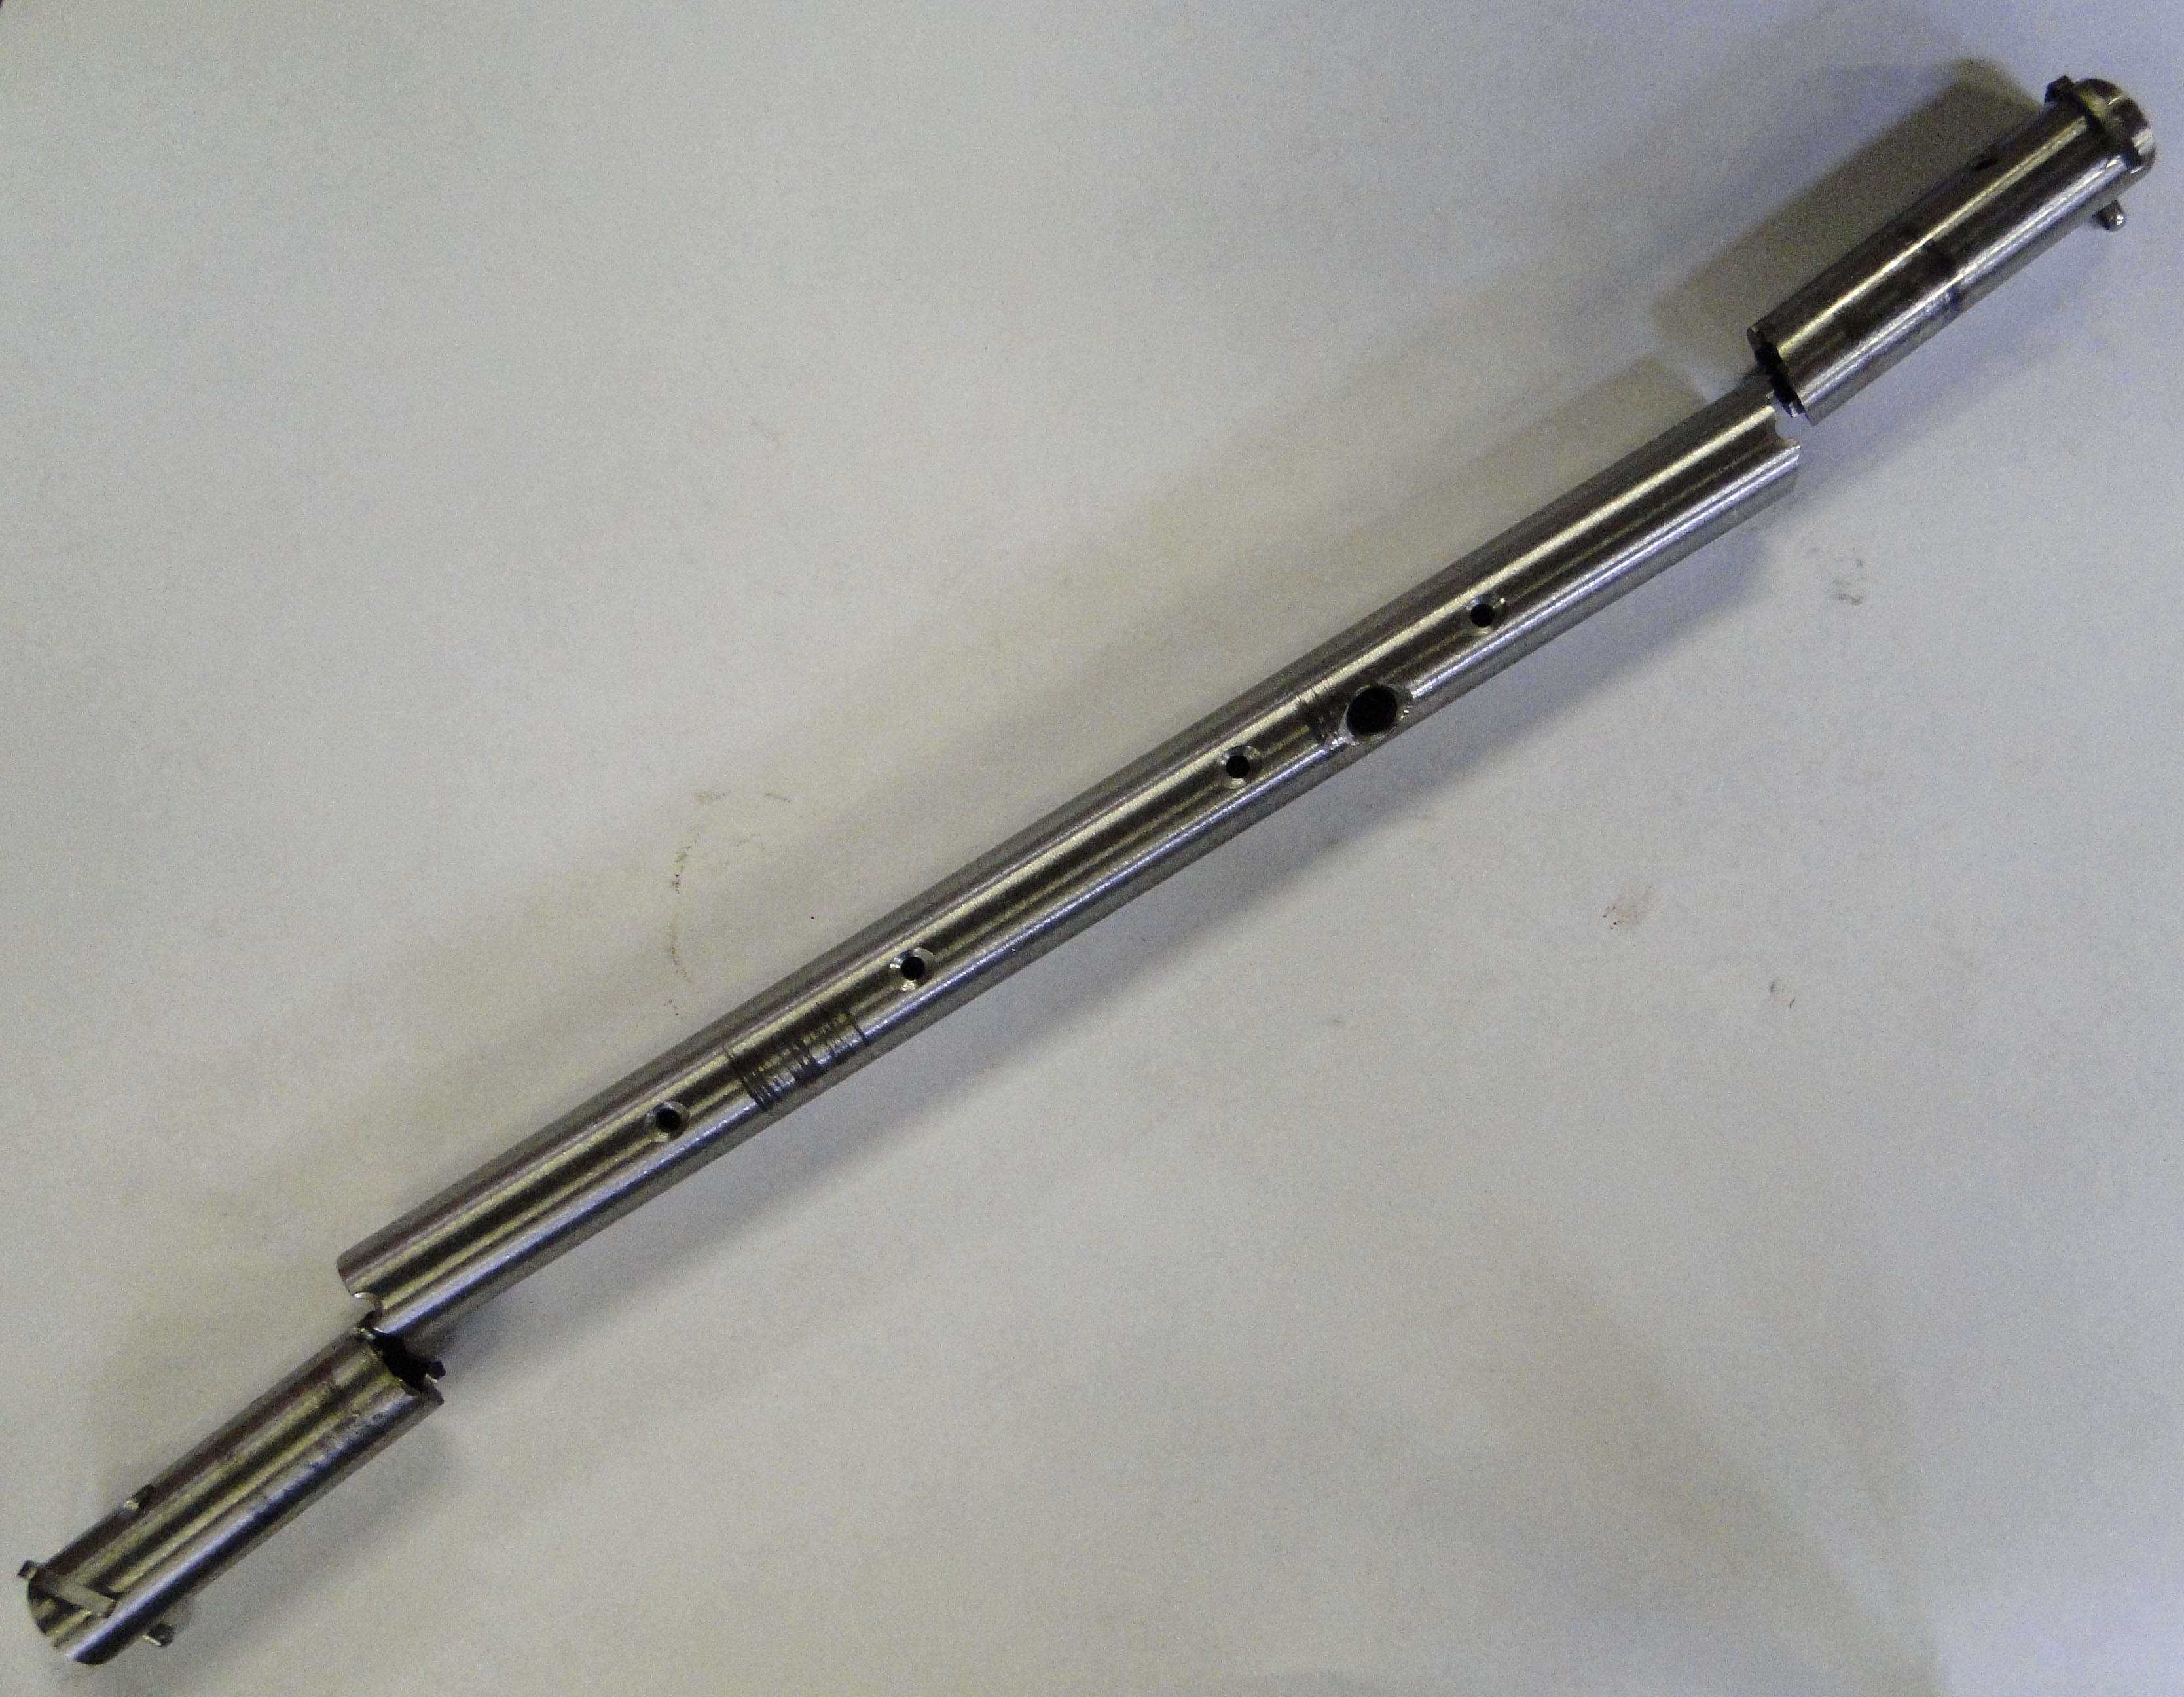
This is what happens to your engine when Minispeed.com ships you the wrong size roller rockers, in an unlabeled box. You will end up with a broken rocker shaft, rocker arms, and all of your push rods will be bent to hell. Minispeed sold us a roller rocker kit size 1.5 and its actually measures over 1.6, and as a result my upper engine failure occurred.
When Minispeed was confronted about the problem they stated that my mechanic did no know to properly measure the rocker arm kit, and the failure was not their fault. To give Minispeed.com the benefit of the doubt, we sent one of the roller rocker arms to Harland Sharp of Ohio, their company actually invented the first roller rocker arms in the sixties. I figure they have to know what they are doing, and they determination that the Minispeed roller rockers measured over 1.6.
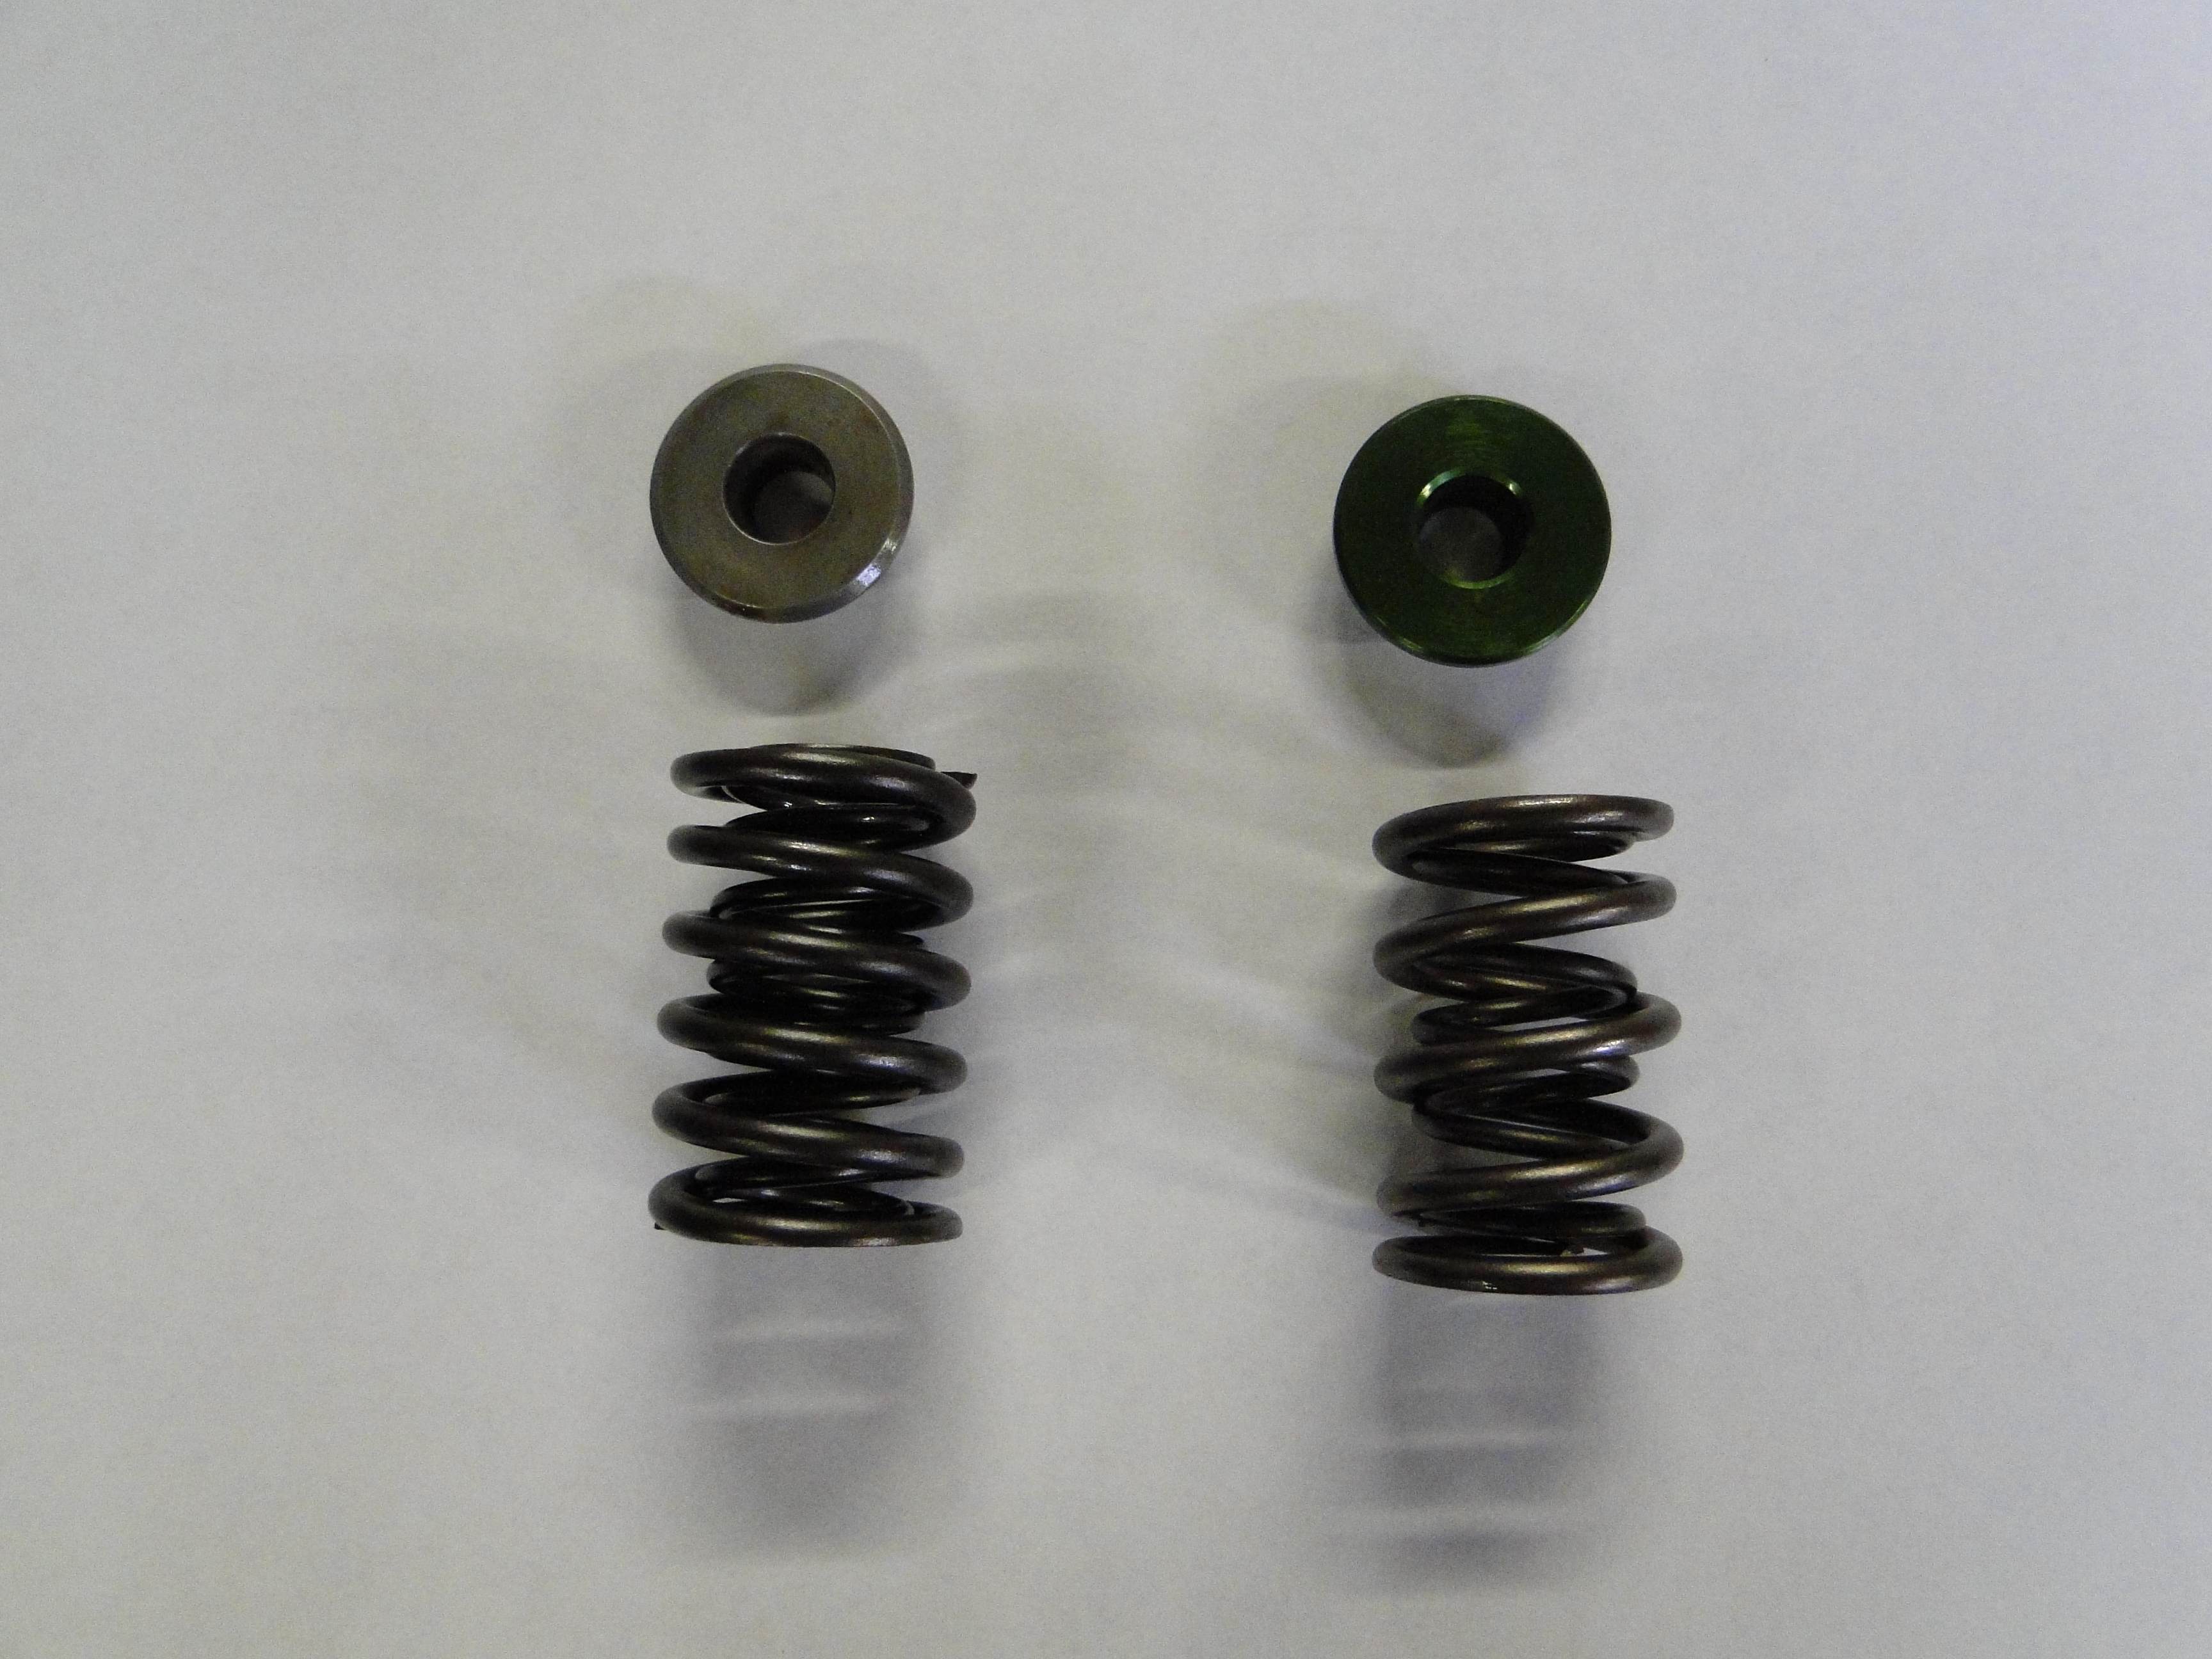
To add even more salt in the wound, I had to have the new aluminum head valve guides re-drilled to accommodate the over 1.6 lift, and my valve springs also had to be replace with thinner Iskee high performance springs in order to make this all work properly. The roller rockers rotation is so high that they were actually hitting the inside of my aluminum valve cover, and I had to add a second valve cover gasket to the cover so the rollers would clear it.

Click Any Picture To Enlarge
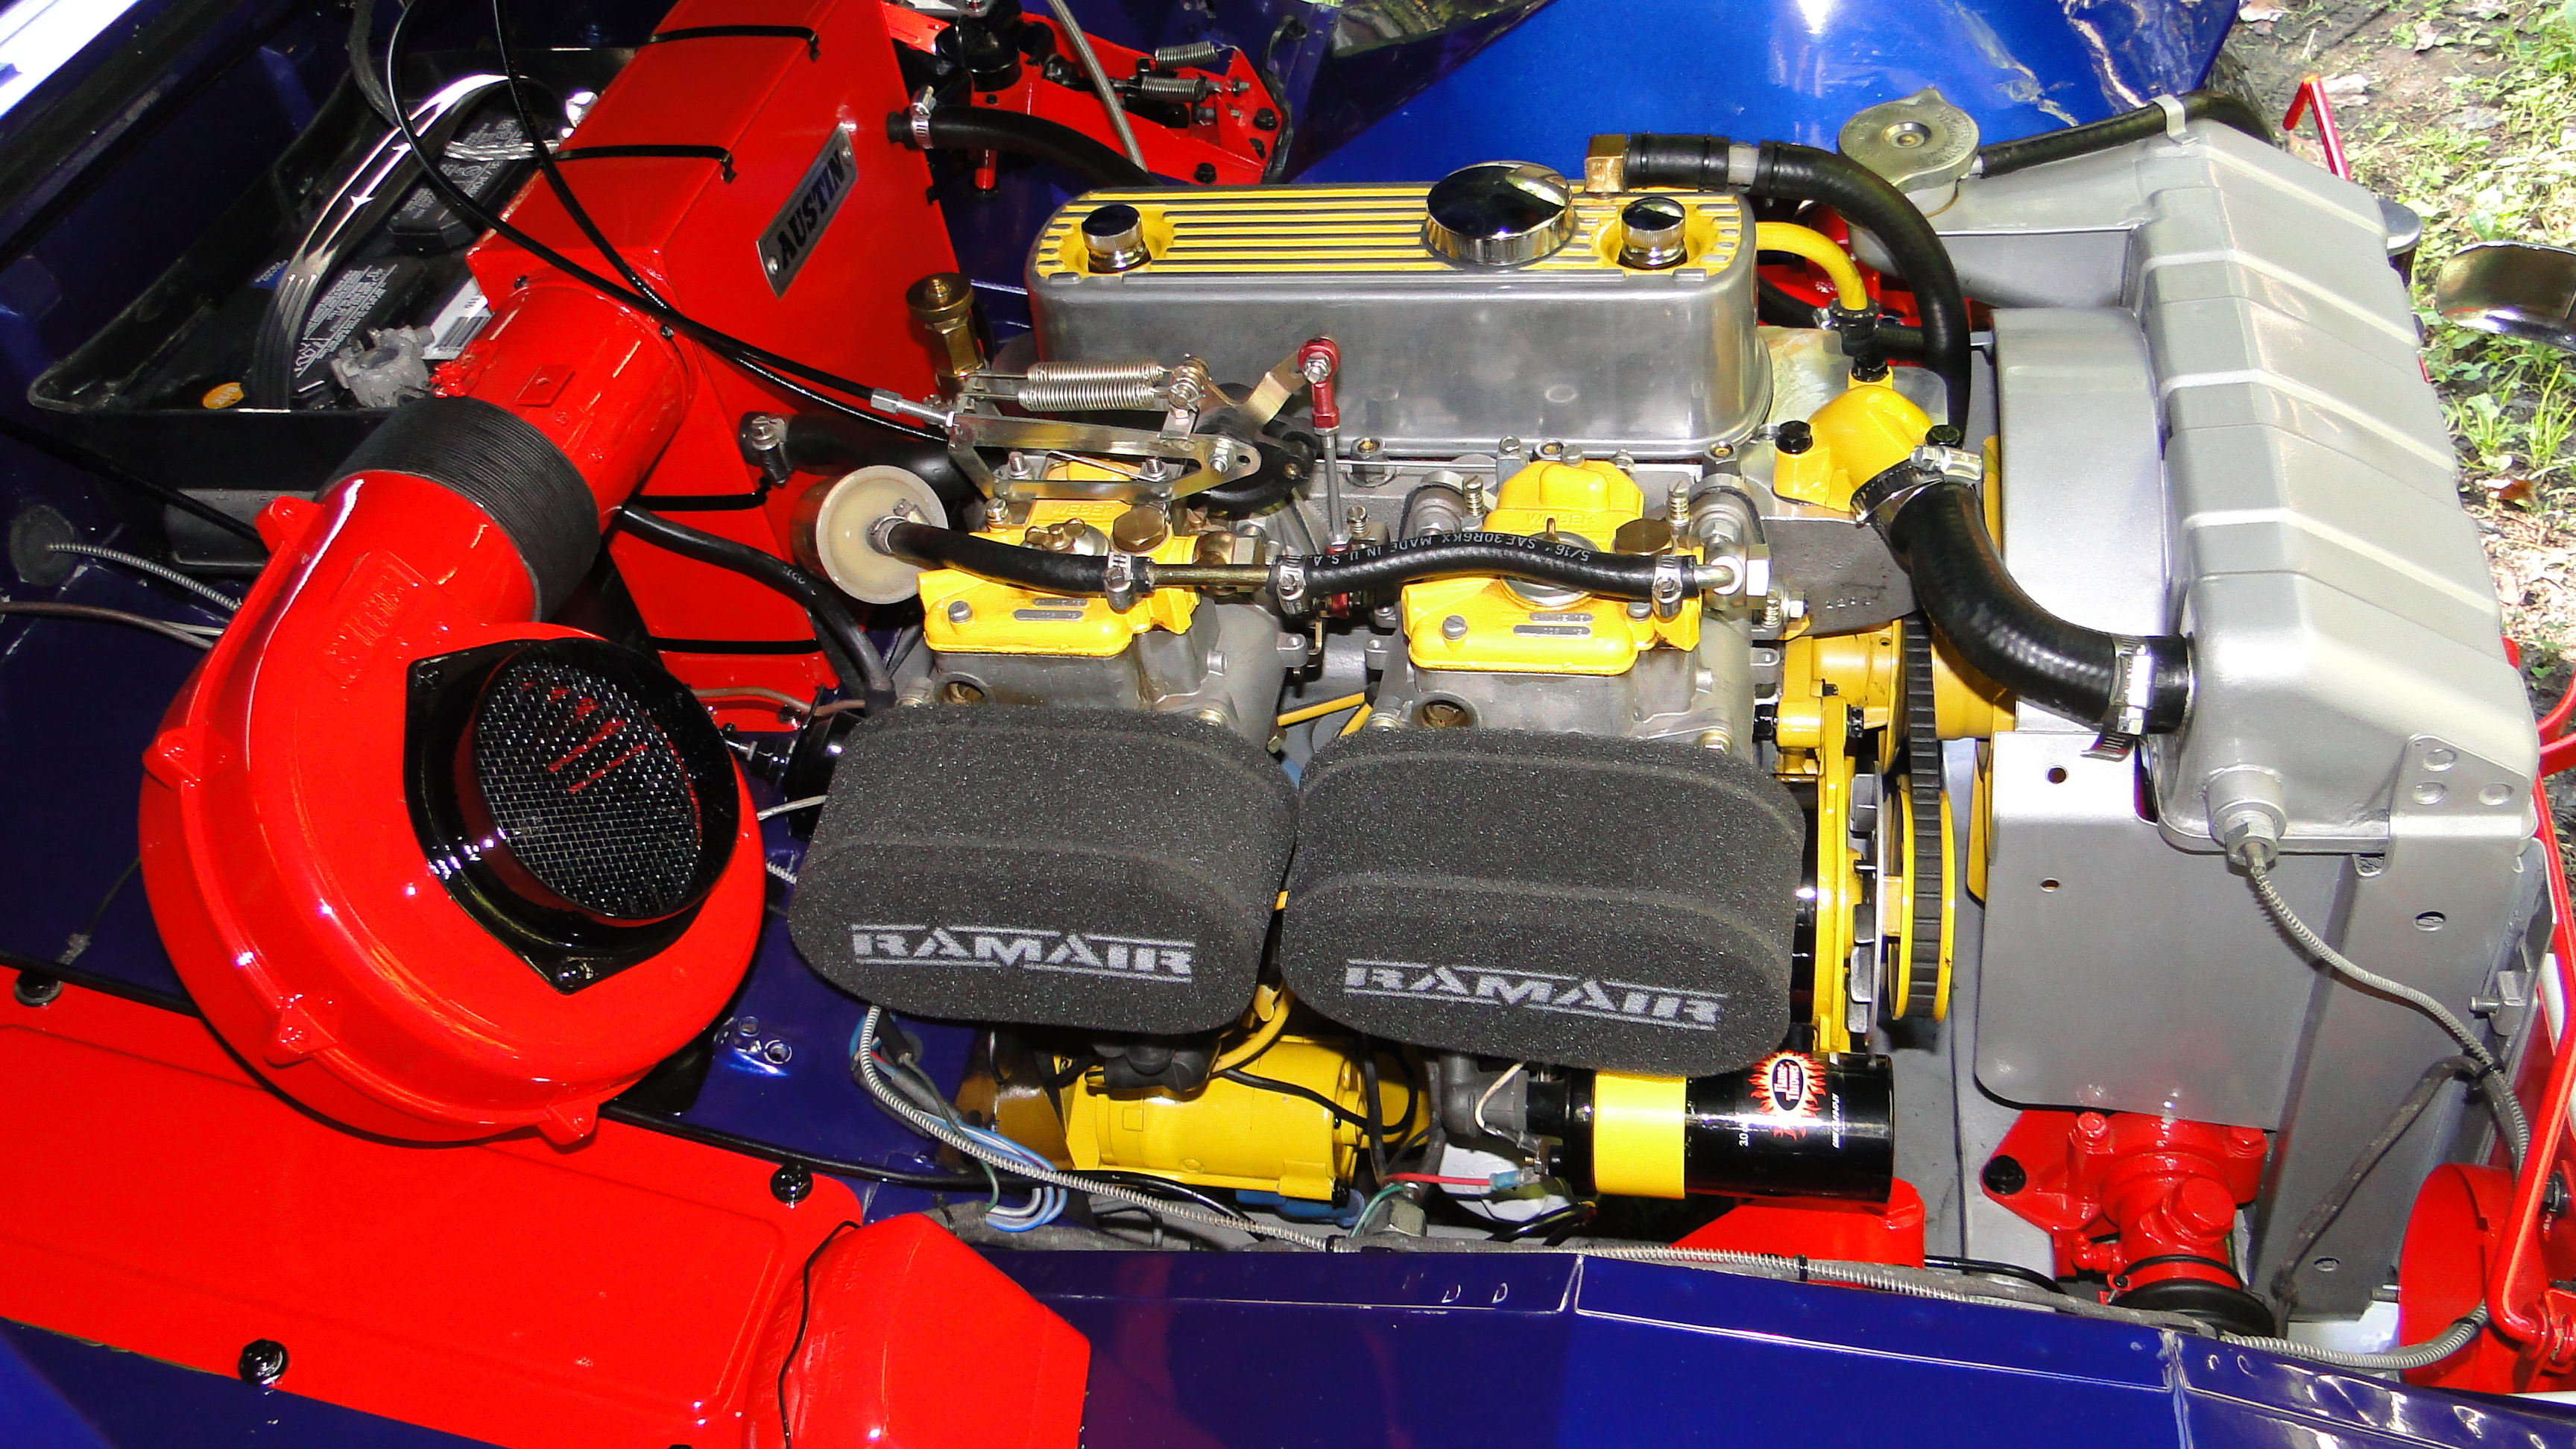
I also replace the stock SU carburetors with dual Weber DCOE side draft carburetors from British Performance Parts, they were purchased as a package deal at the same time that the cross flow head was purchased. For some reason we did not receive all the necessary carburetor linkage from them in their kit, and I had to repurchase the necessary parts to finish the installation.
The exhaust need to be upgraded as well so I replace stock manifold with headers, and the single exhaust pipe was replaced with a quad exhaust system.
Last but not least, I added oil catch can.
Click Any Picture To Enlarge
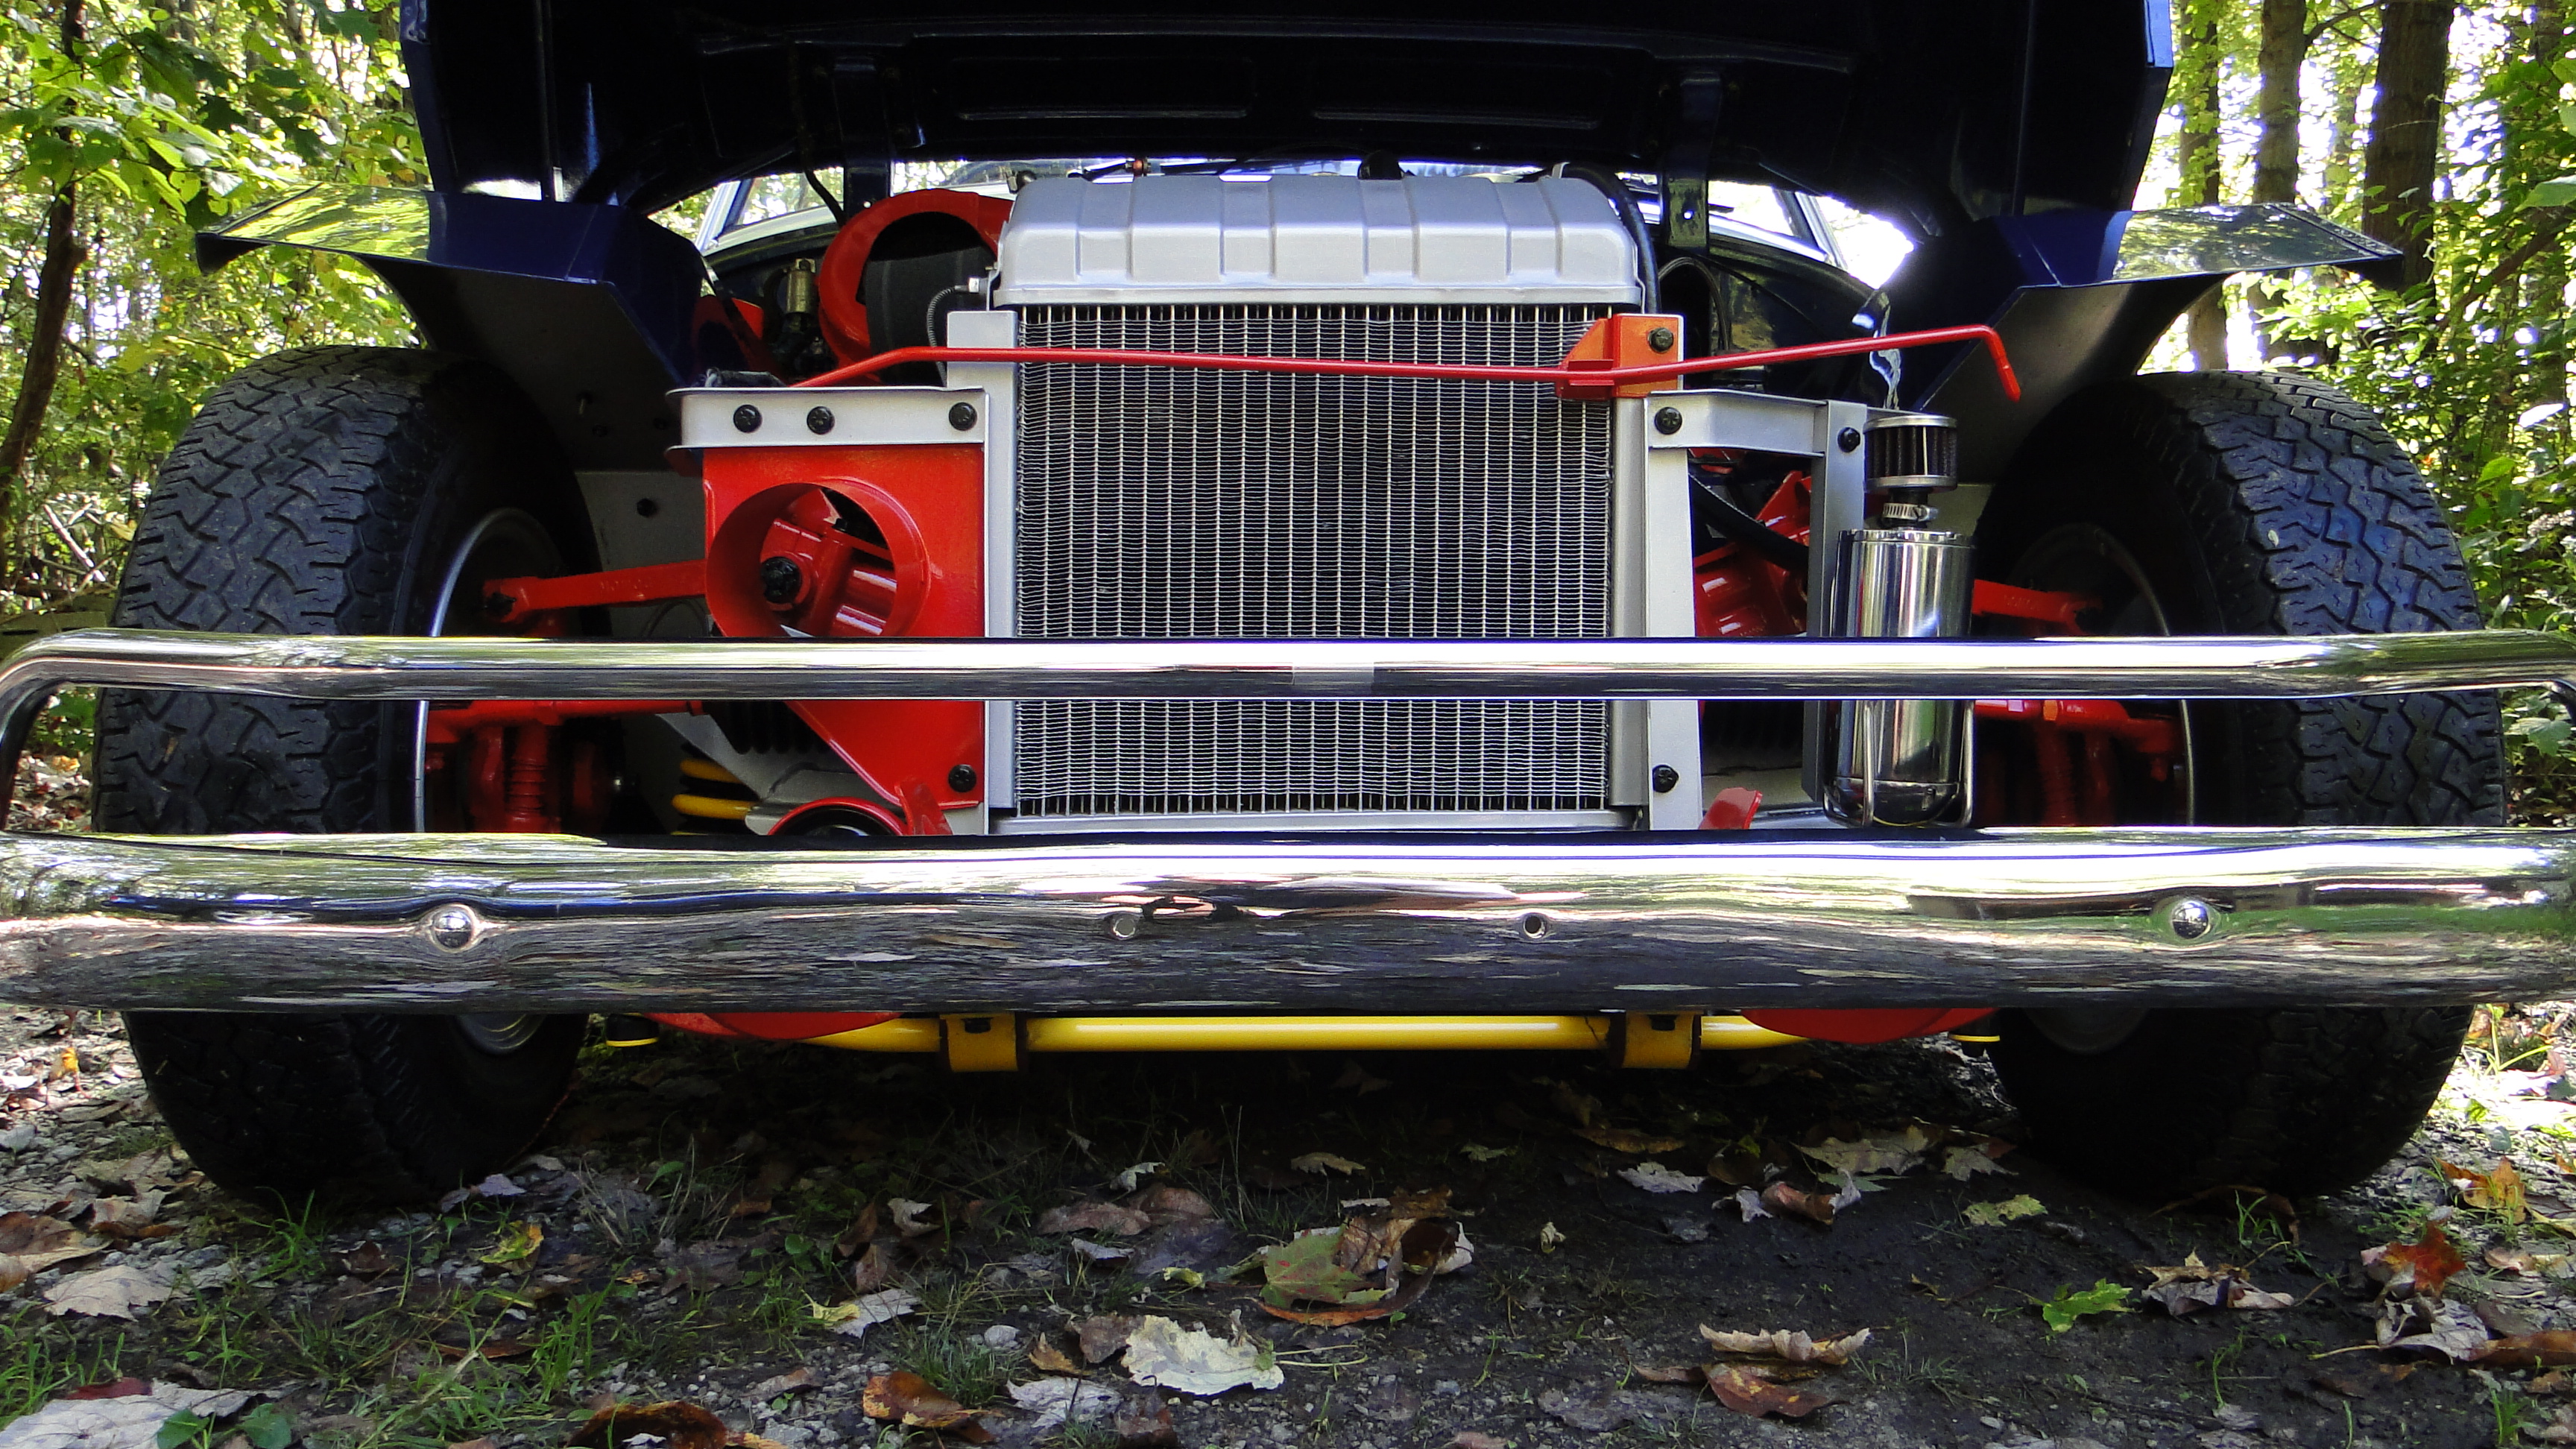
Cooling System The increased horsepower required me to
replaced two core stock radiator with three core radiator, and the four blade
metal fan with a six blade plastic cooling fan. 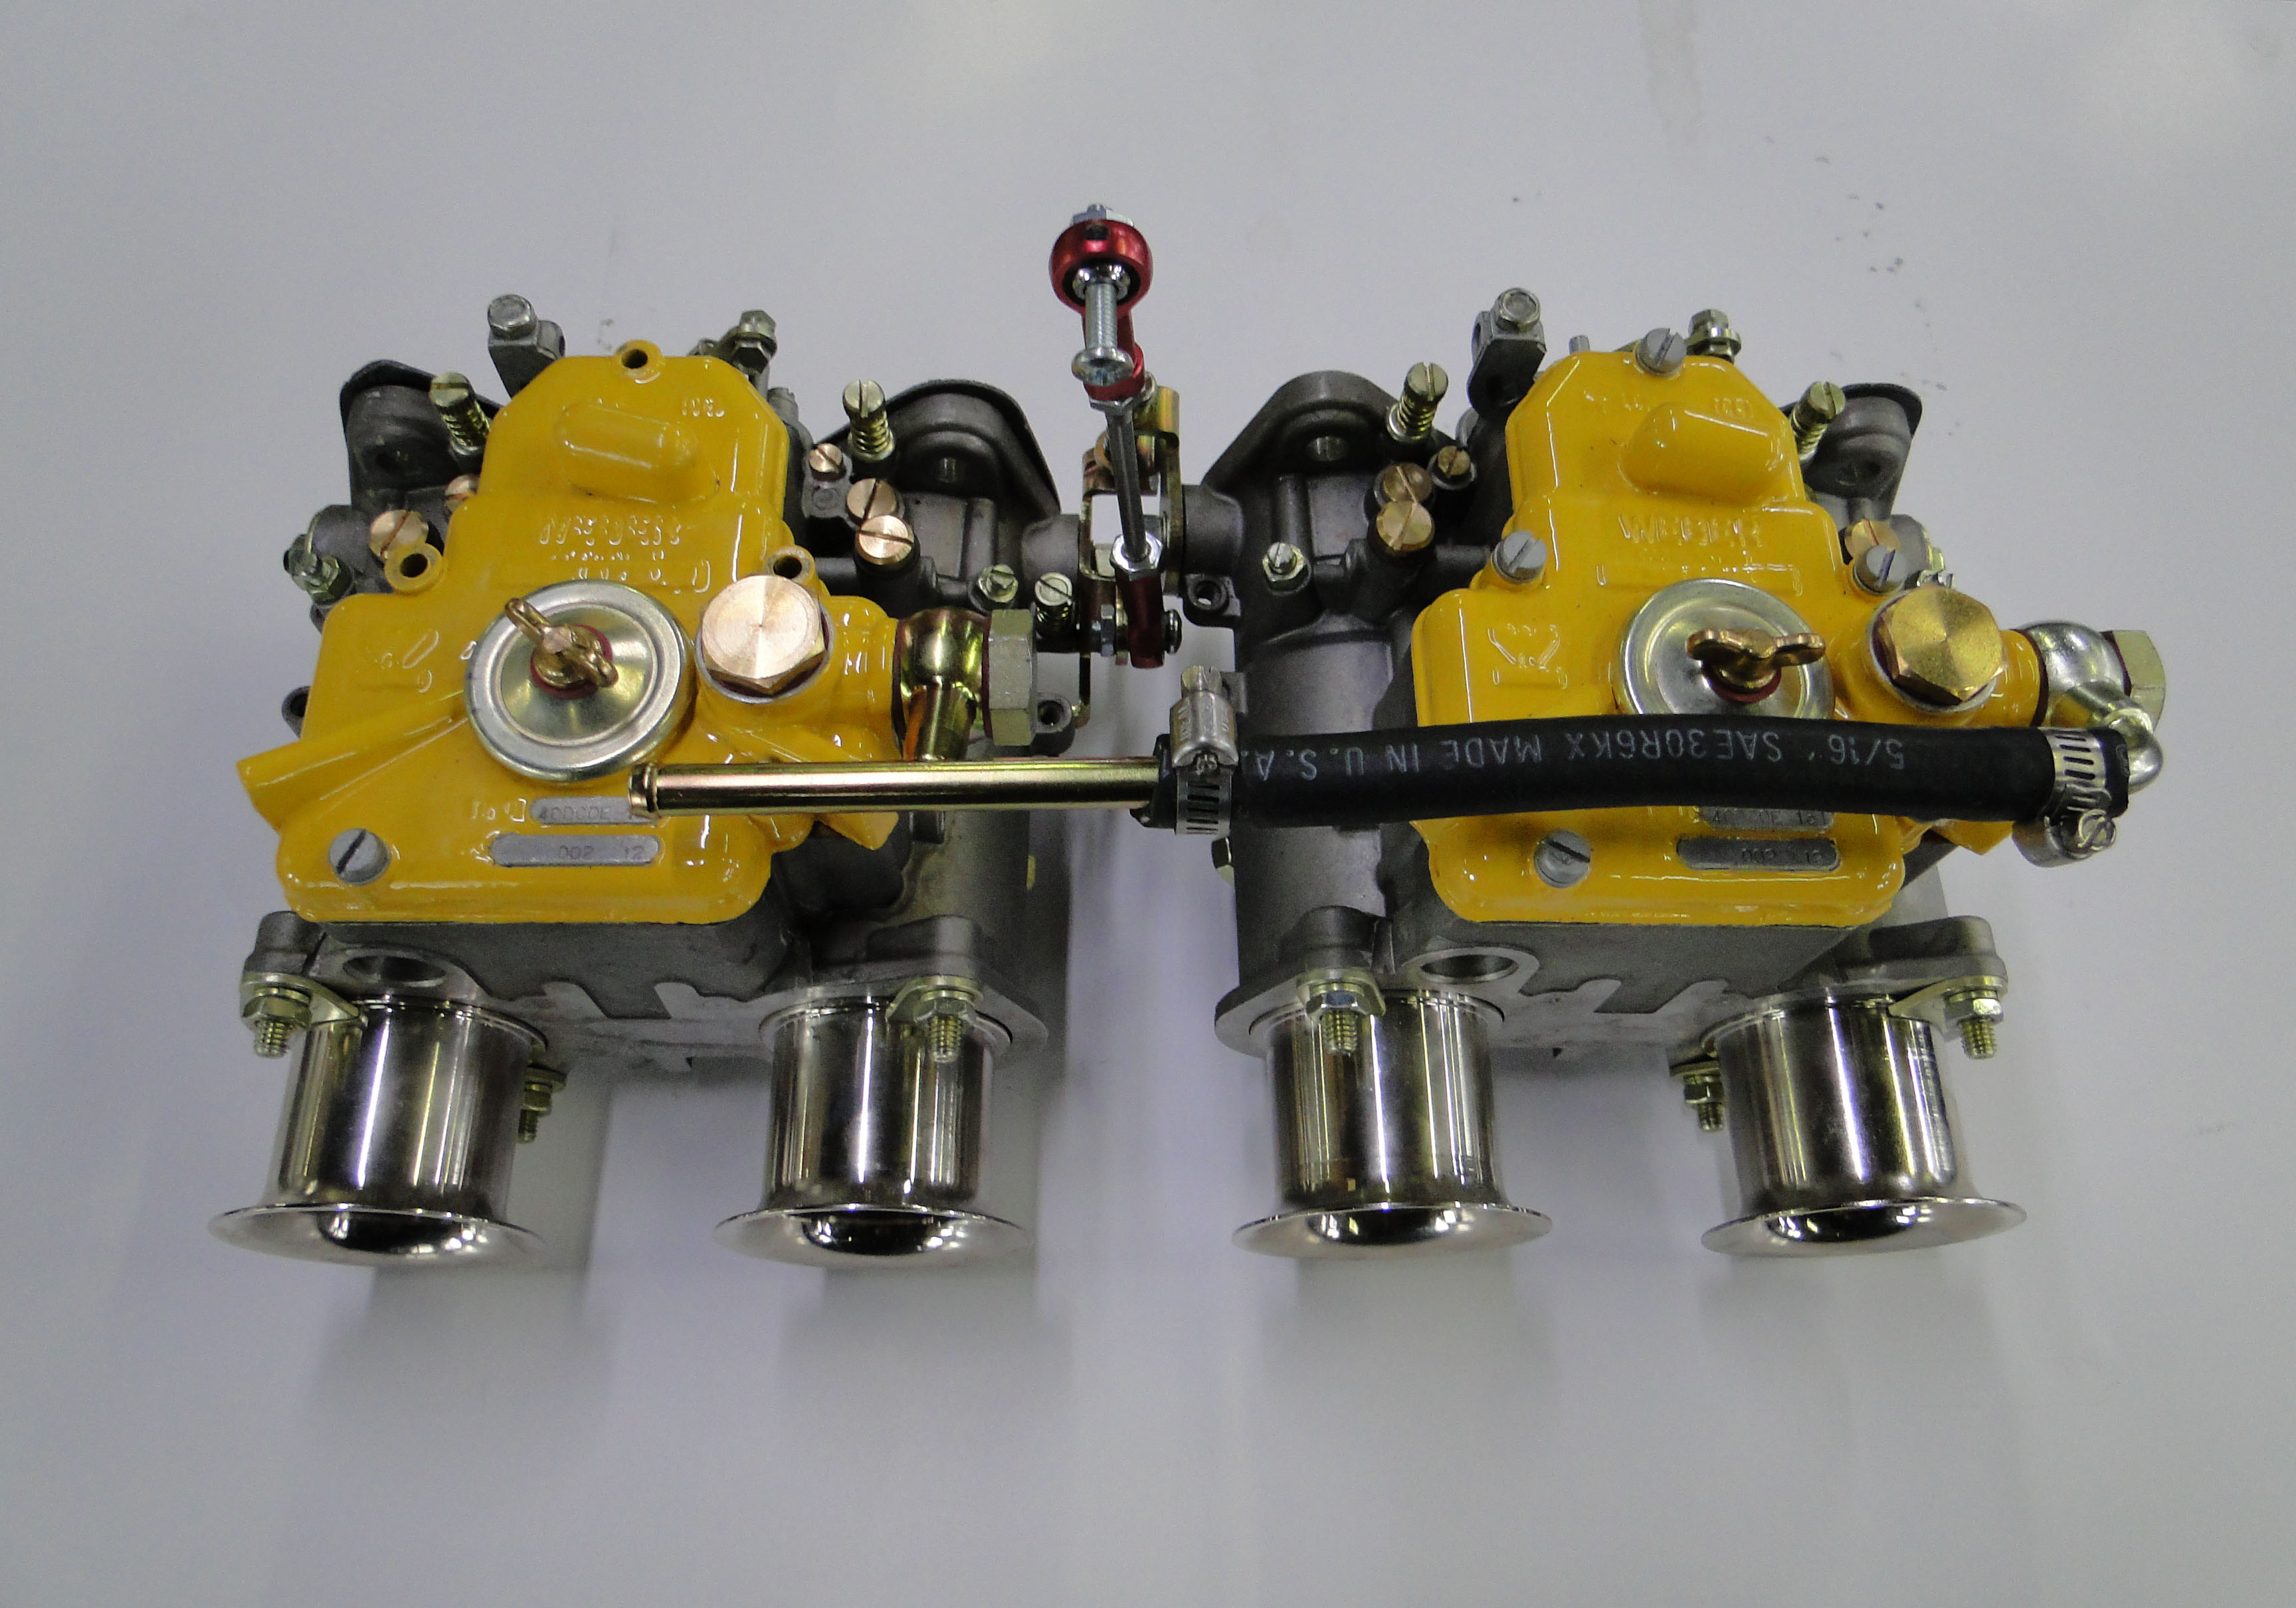
Click Picture To Enlarge
Drive Train
The standard smooth case transmission was ok, but first gear was way to low, second did not accelerate very much, third gear took way to long to wind out, forth gear did not have much of a top end speed at all. I replaced the smooth case with a Midget/Sprite ribcage transmission, and first, second, and third gears were much more balanced, but fourth still did not have any better top end speed.

Click Picture To Enlarge
After about 500 miles on the Midget/Sprite transmission, I needed something else for my Bugeye.
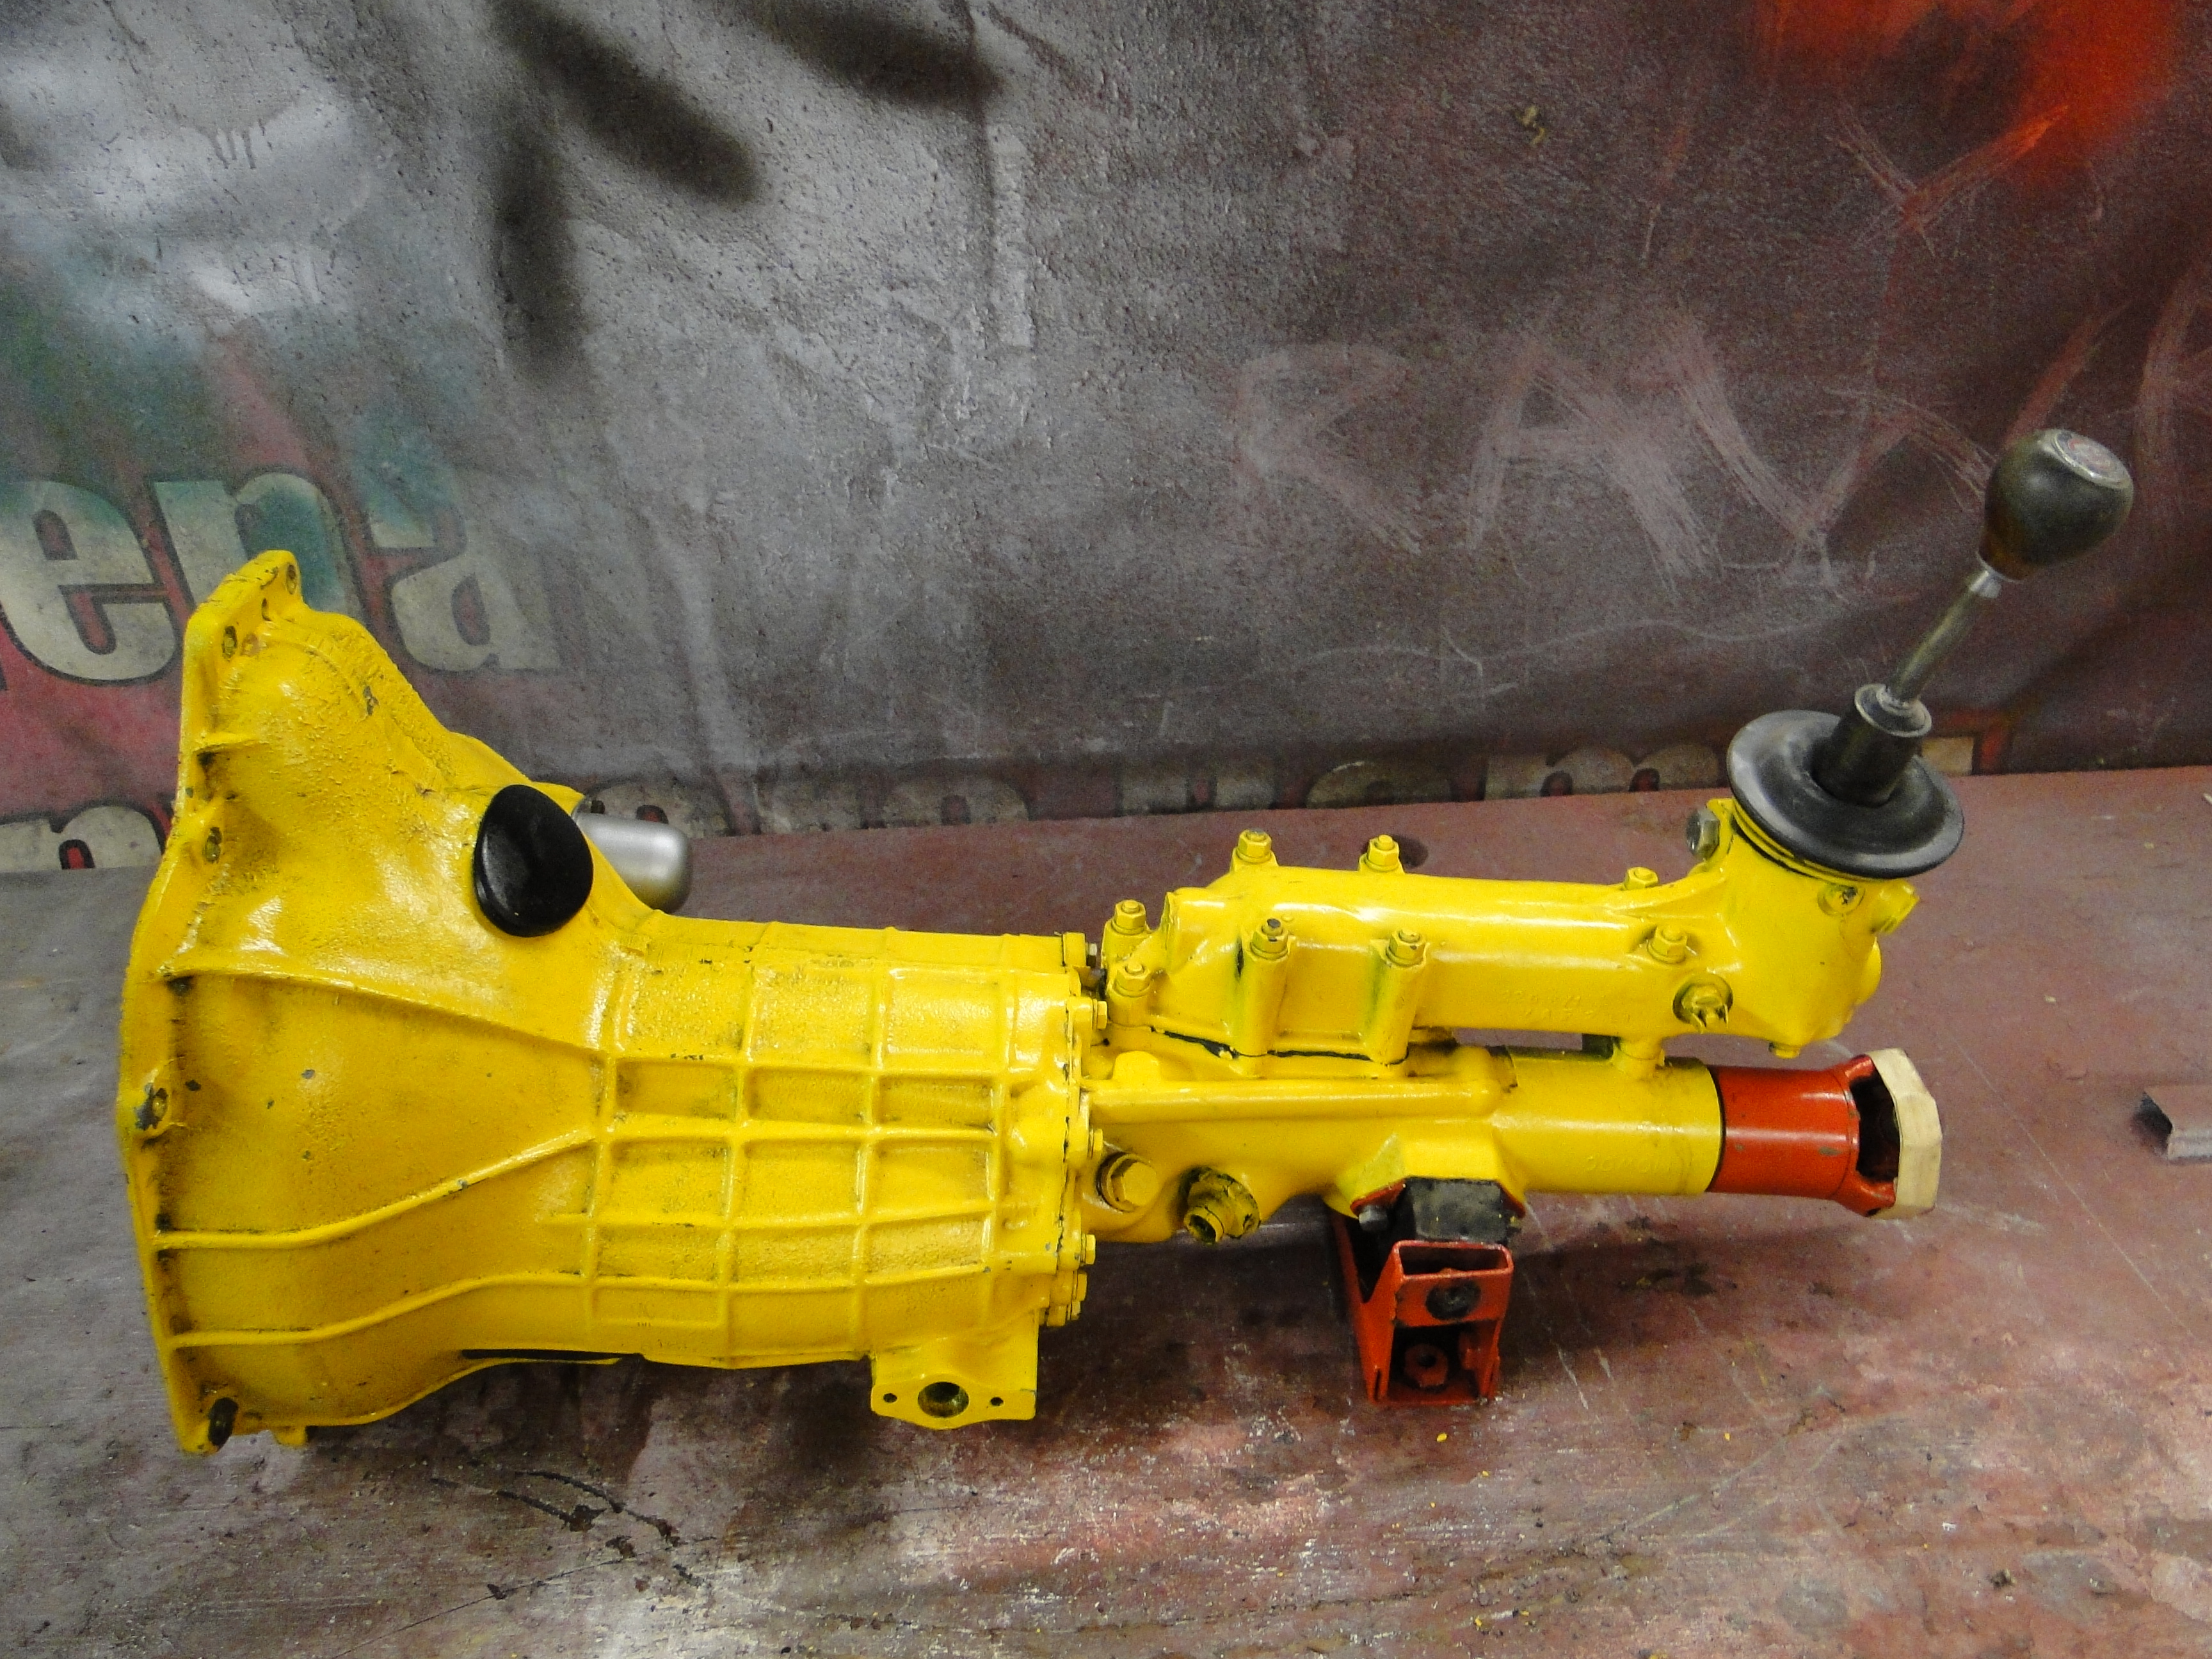
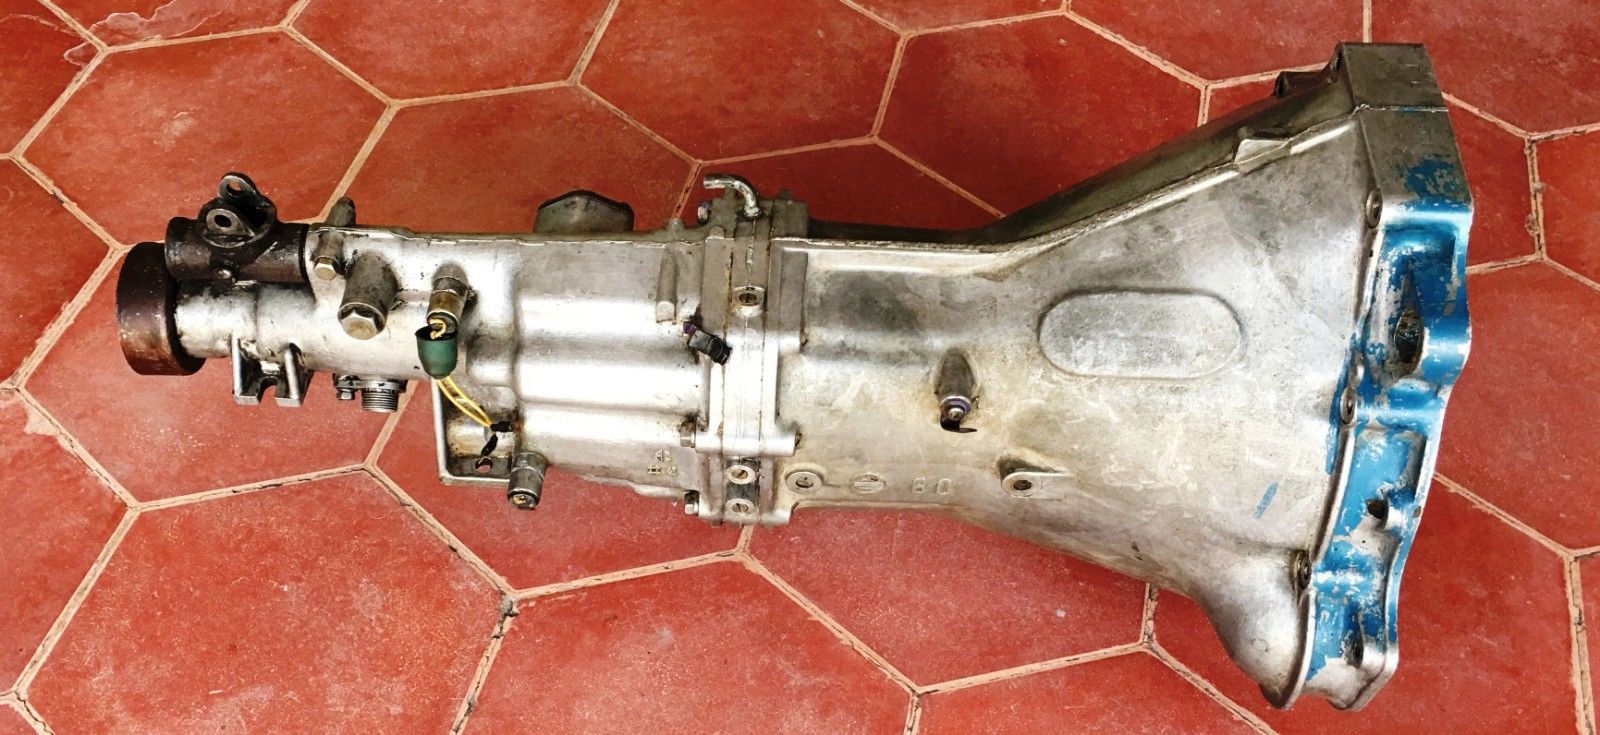
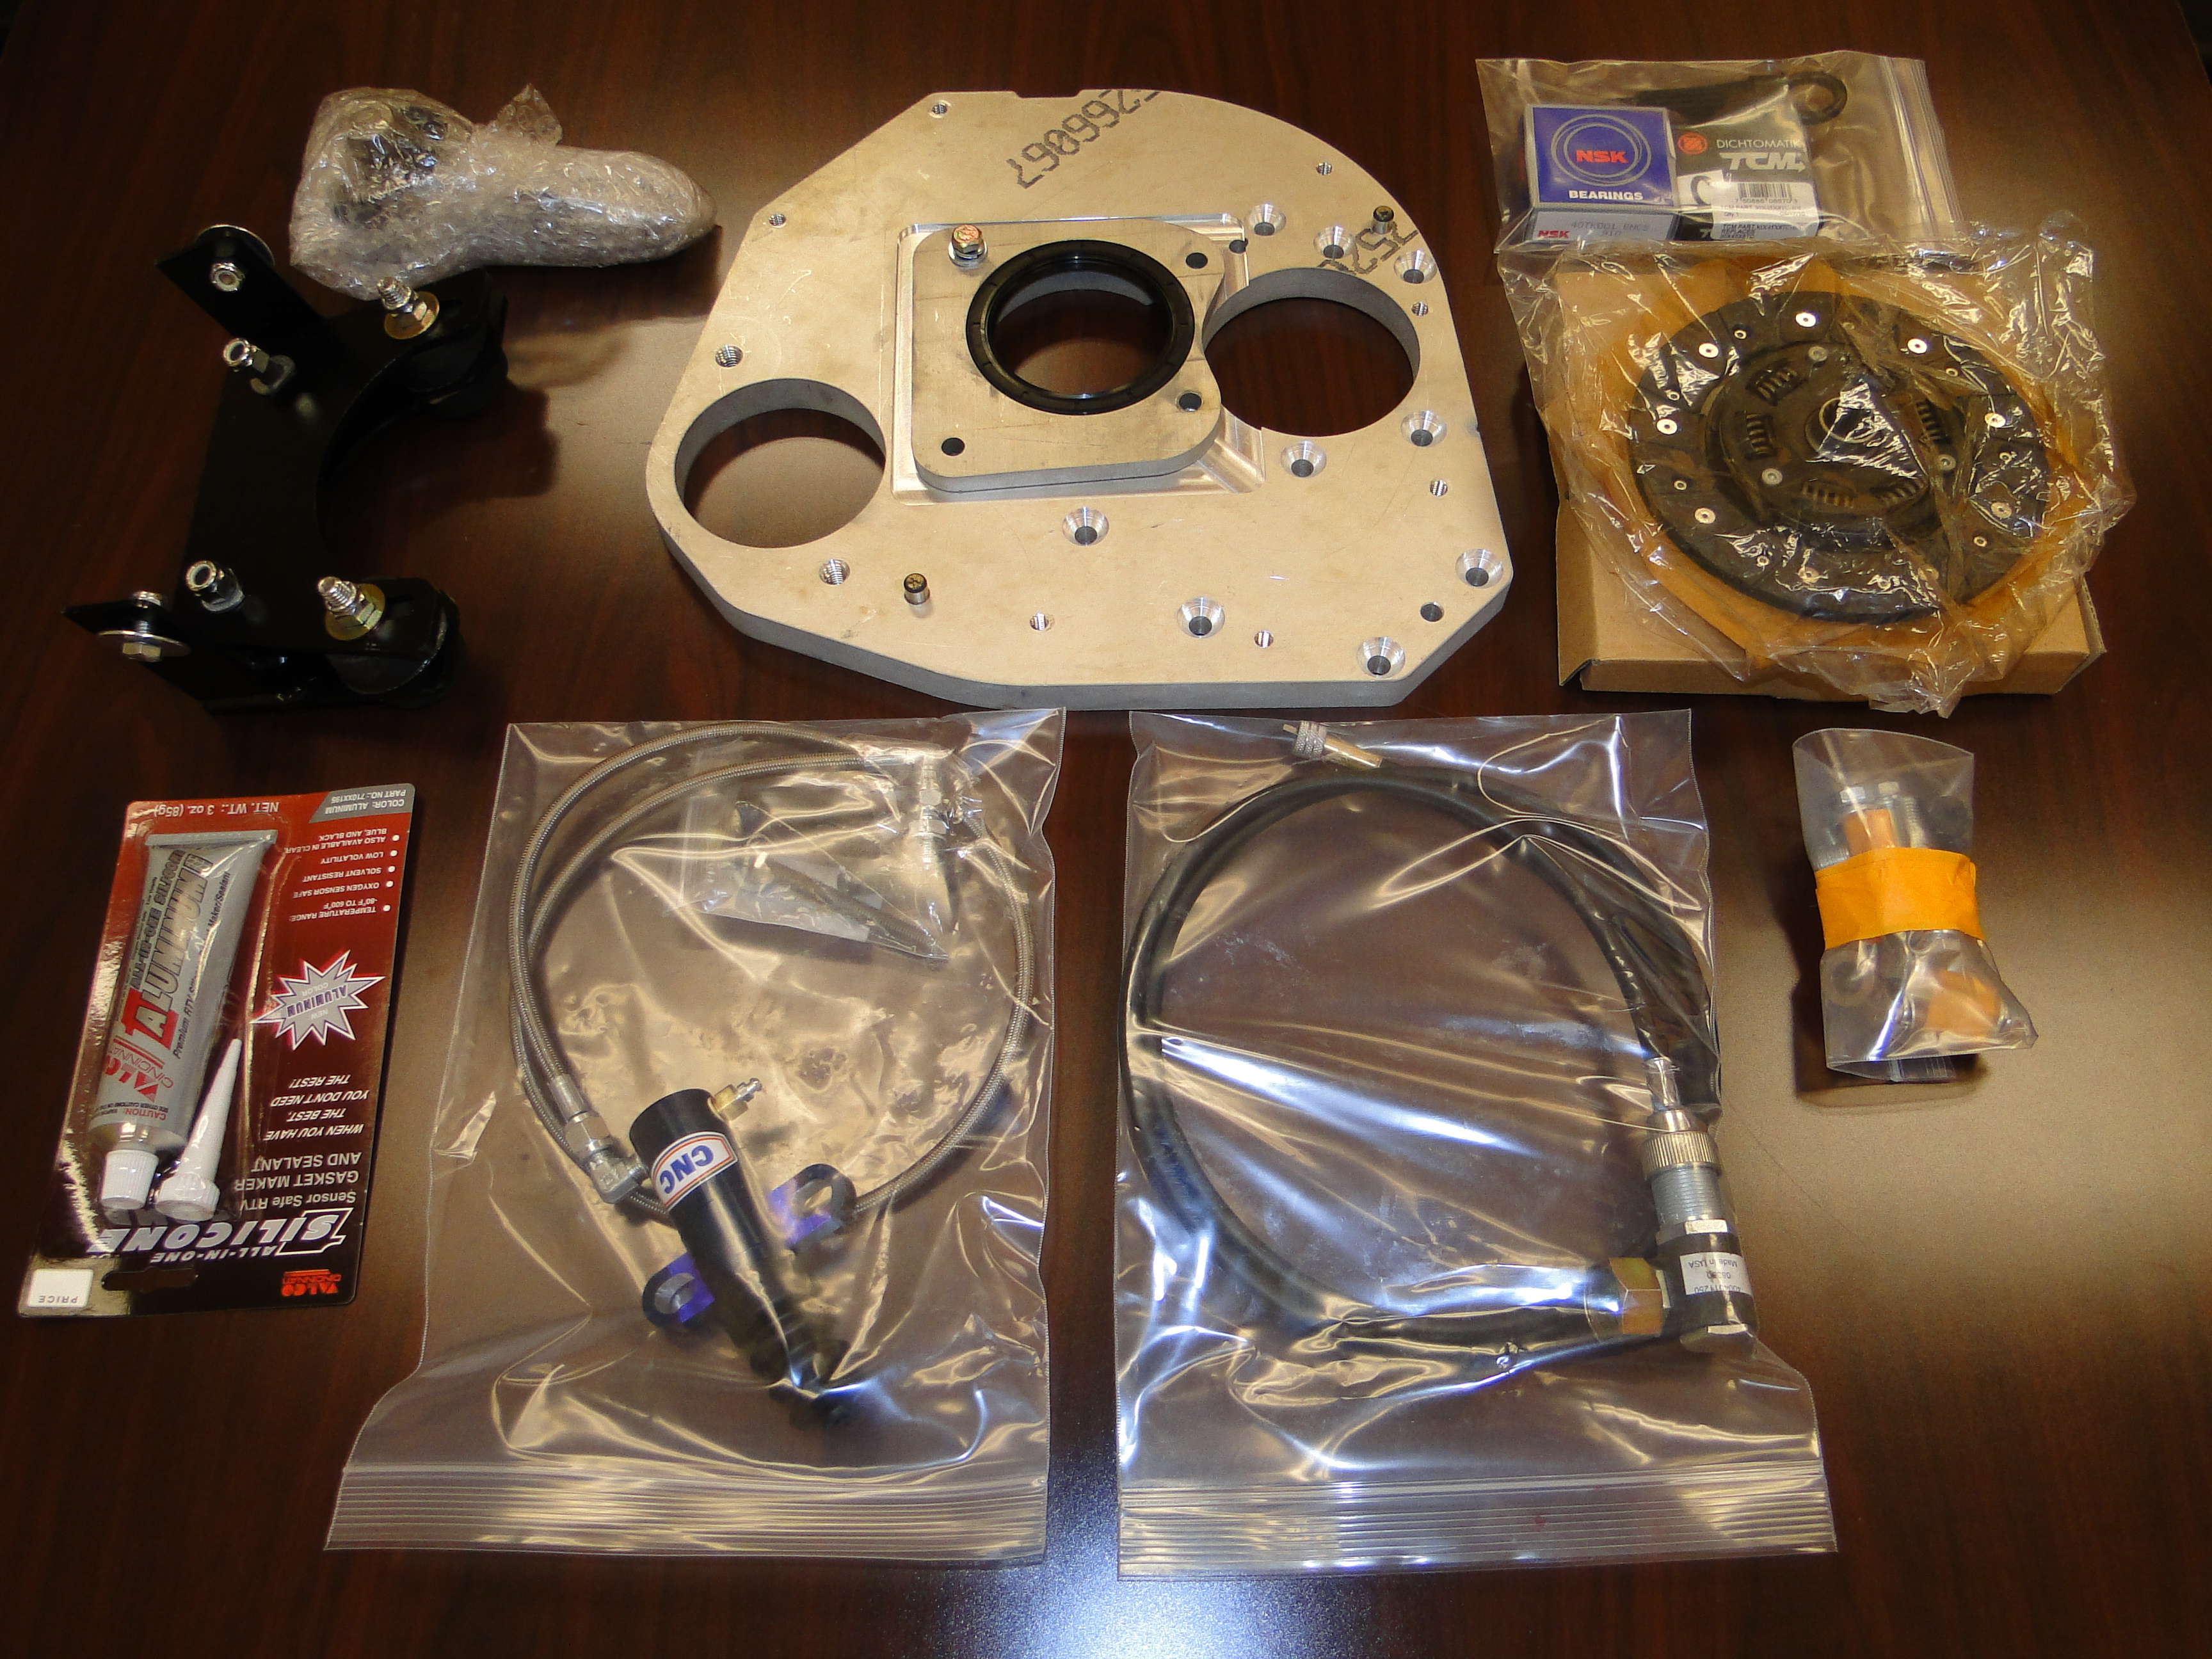
My search for something more in a transmission for my Bugeye, lead me to Boffo Motors www.boffo-motors.com to see the all knowing Mr. Jim Boffo. he recommended the Rivergate five speed transmission kit. The Rivergate kit requires you to purchase a used Datson B210 transmission to use as a core for the replacement. Once I acquired a Datson B210 transmission Boffo Motors rebuilt it with the parts kit also supplied by Rivergate, and the rest of the kit is for adapting the Datson B210 transmission to your Bugeye 1275 engine block. Once this was all done I removed the engine and replaced the old transmission with the five speed and I reinstalled the engine.
Jim also purchased the Rivergate clutch cylinder, and speedometer accessories.
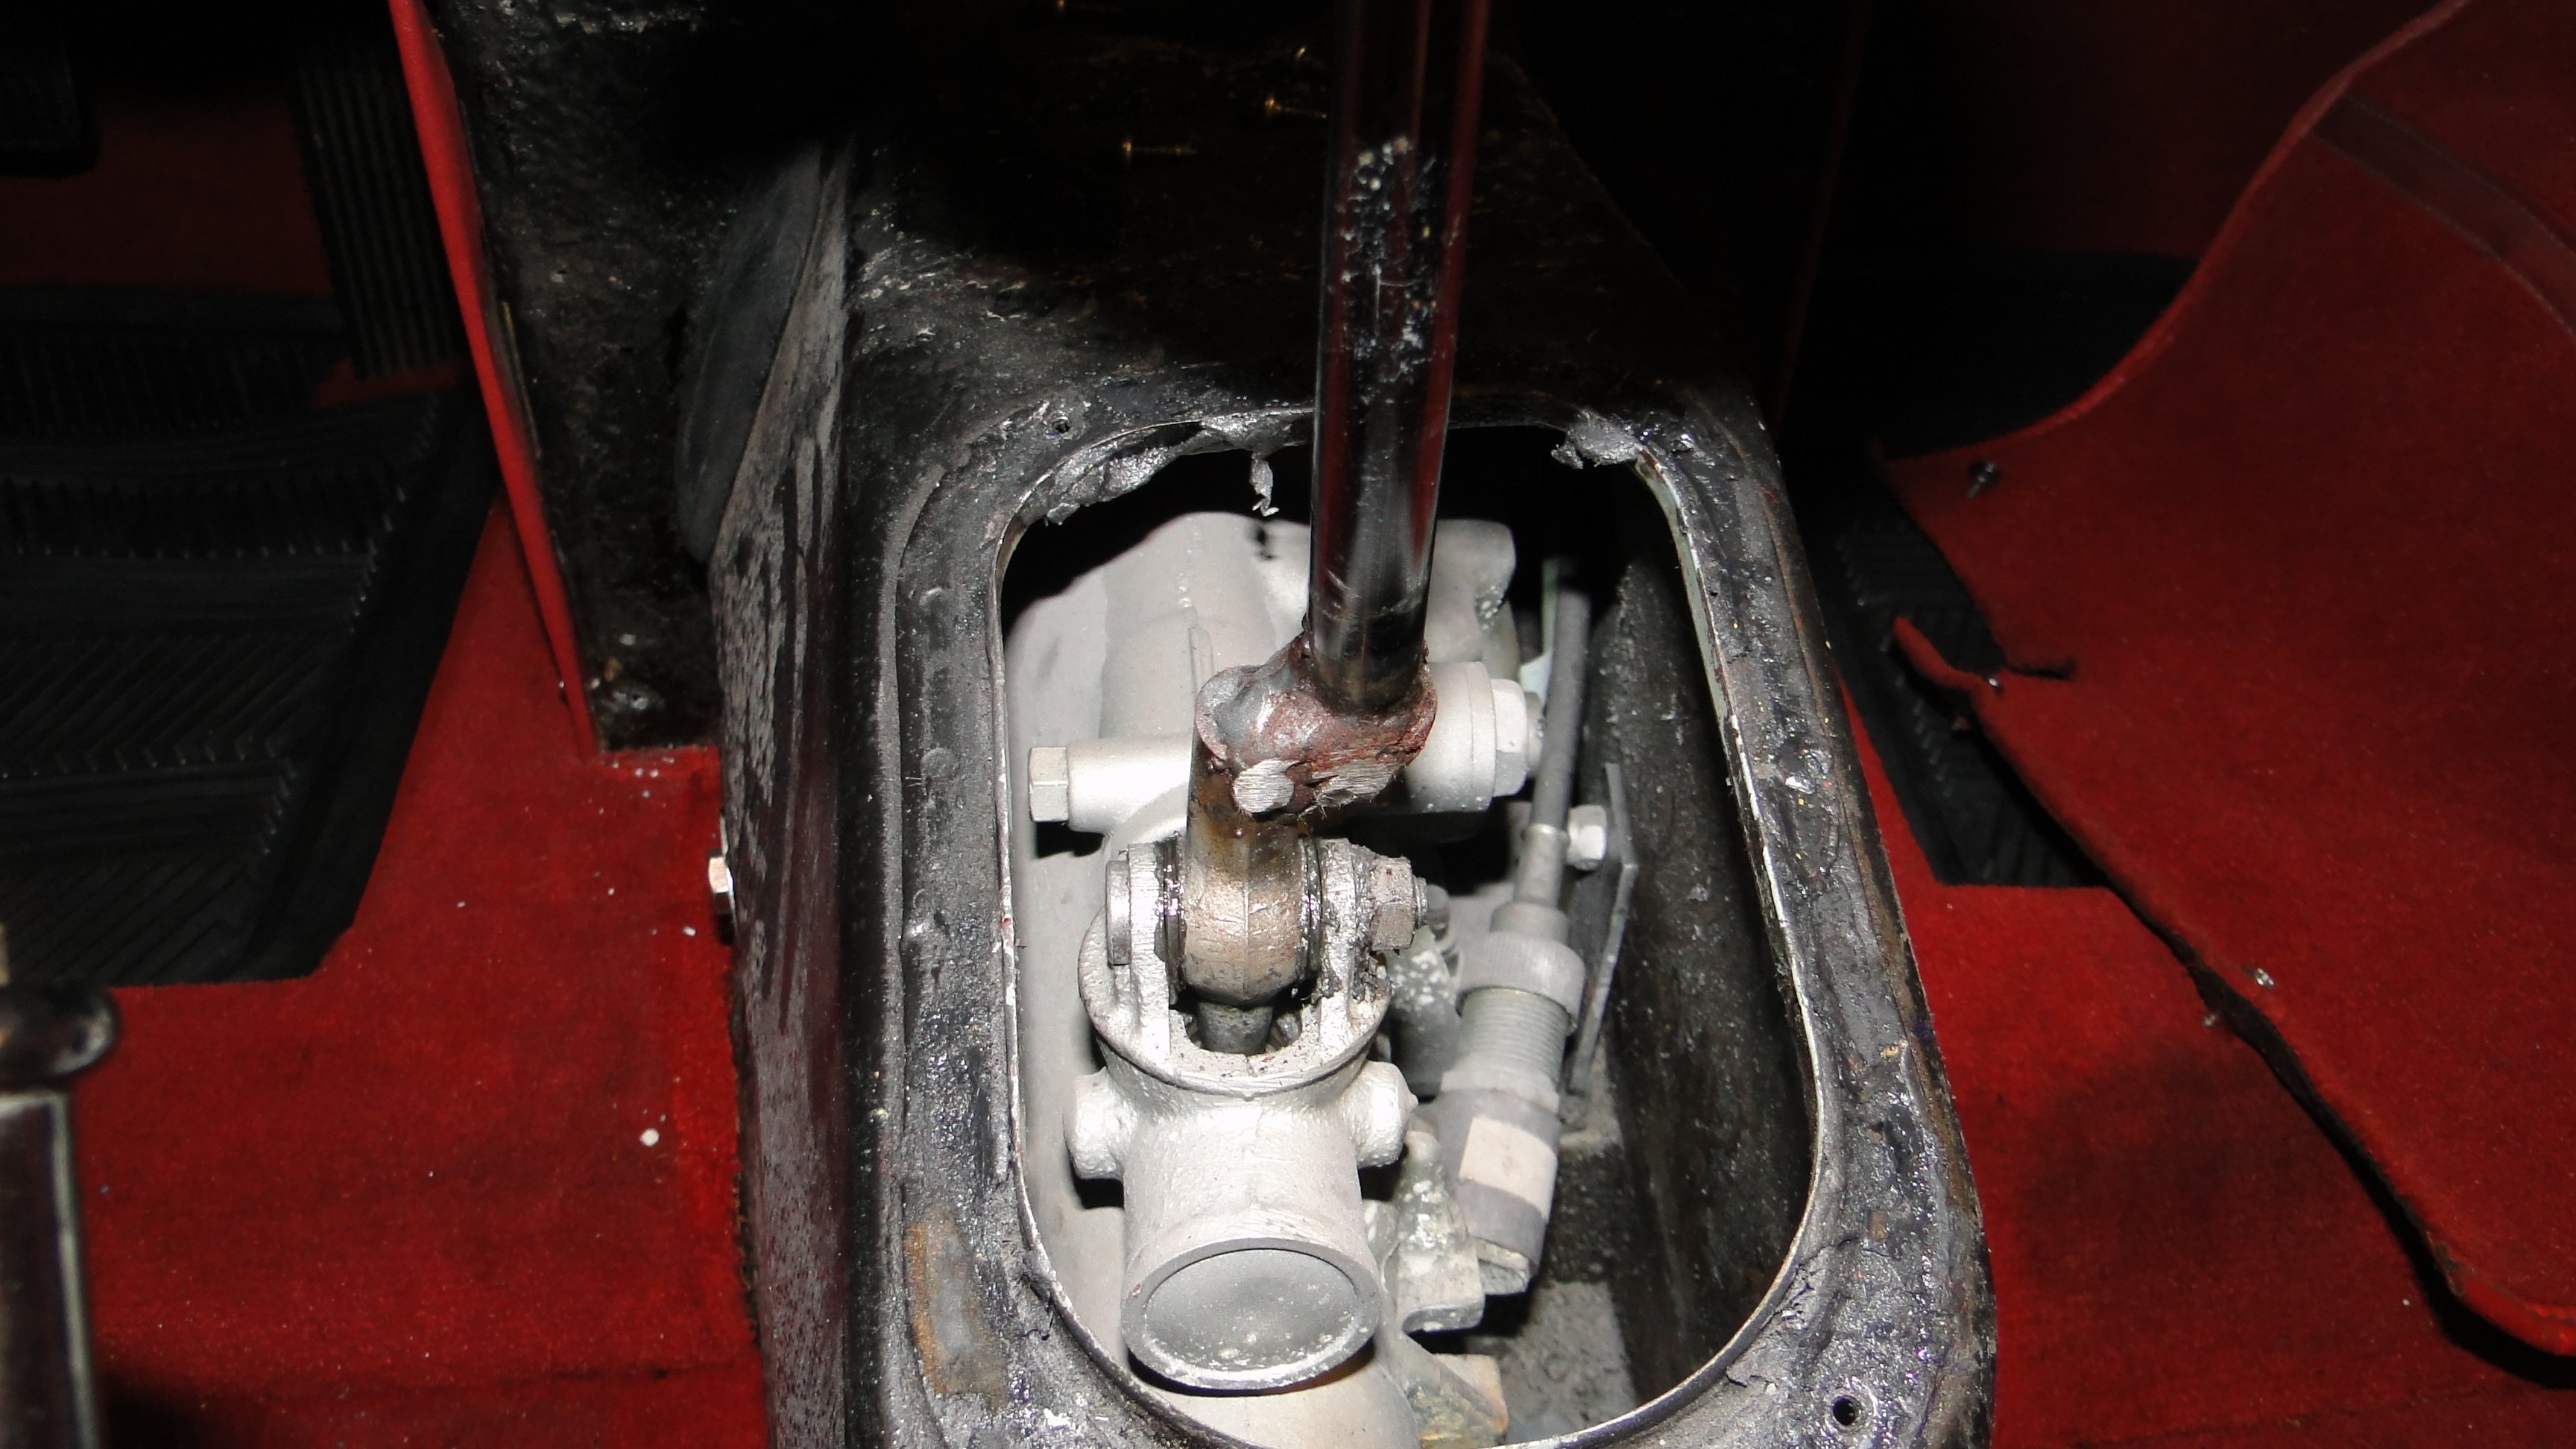
First: as part of this installation you will have to shorten the Datson gear shift lever to your preferred height.
Second: the gear shift lever end coming out of the transmission will be left of center inside your shifter cover, just cut the lever below the shifter boot cover.
Third: Then simply weld it to the right side of shift existing lever, see photo.
Performance wise the Rivergate five speed is great if you have the horse power to handle it. However if your Bugeye engine is not up to the task, fifth gear will only maintain your speed on a level road with the wind at you back, or down hill, and forget about using fifth gear on a long up hill grade.
Click Picture To Enlarge
Rear End
To add a little more top end speed, I replaced 4.11 rear end with 3.9 rear end.
Click Picture To Enlarge
Interior
For safety reasons I replaced the standard lap belts with four point racing belts.
I custom made and painted the roll bar so that it does not penetrate the body.
Last but not least I removed the dash and painted it to match the rest of the car.

Click Picture To Enlarge
Bugeye / Frogeye Videos
Most of the Bugeye videos on U-tube are lame, how ever I found one from Topgear.com that was very good.